Page 214 of 636

The drivers preferred units can be selected through the
instrument panel settings if equipped. Refer to “Under-
standing Your Instrument Panel” for more information.
The speed increment shown is dependant on the speed of
U.S. (mph) or Metric (km/h) units:
U.S. Speed (mph)
•Pushing the SET+button once will result ina1mph
increase in set speed. Each subsequent tap of the
button results in an increase of 1 mph.
•If the button is continually pushed, the set speed will
continue to increase in 5 mph increments until the
button is released. The increase in set speed is reflected
in the DID display.
Metric Speed (km/h)
•Pushing the SET+button once will result in a 1 km/h
increase in set speed. Each subsequent tap of the
button results in an increase of 1 km/h.•If the button is continually pushed, the set speed will
continue to increase in 10 km/h increments until the
button is released. The increase in set speed is reflected
in the DID display.
To Decrease Speed
When the Normal (Fixed Speed) Cruise Control is set,
you can decrease speed by pushing the SET-button.
The drivers preferred units can be selected through the
instrument panel settings if equipped. Refer to “Under-
standing Your Instrument Panel” for more information.
The speed decrement shown is dependant on the speed
of U.S. (mph) or Metric (km/h) units:
U.S. Speed (mph)
•Pushing the SET-button once will result ina1mph
decrease in set speed. Each subsequent tap of the
button results in a decrease of 1 mph.
212 UNDERSTANDING THE FEATURES OF YOUR VEHICLE
Page 222 of 636
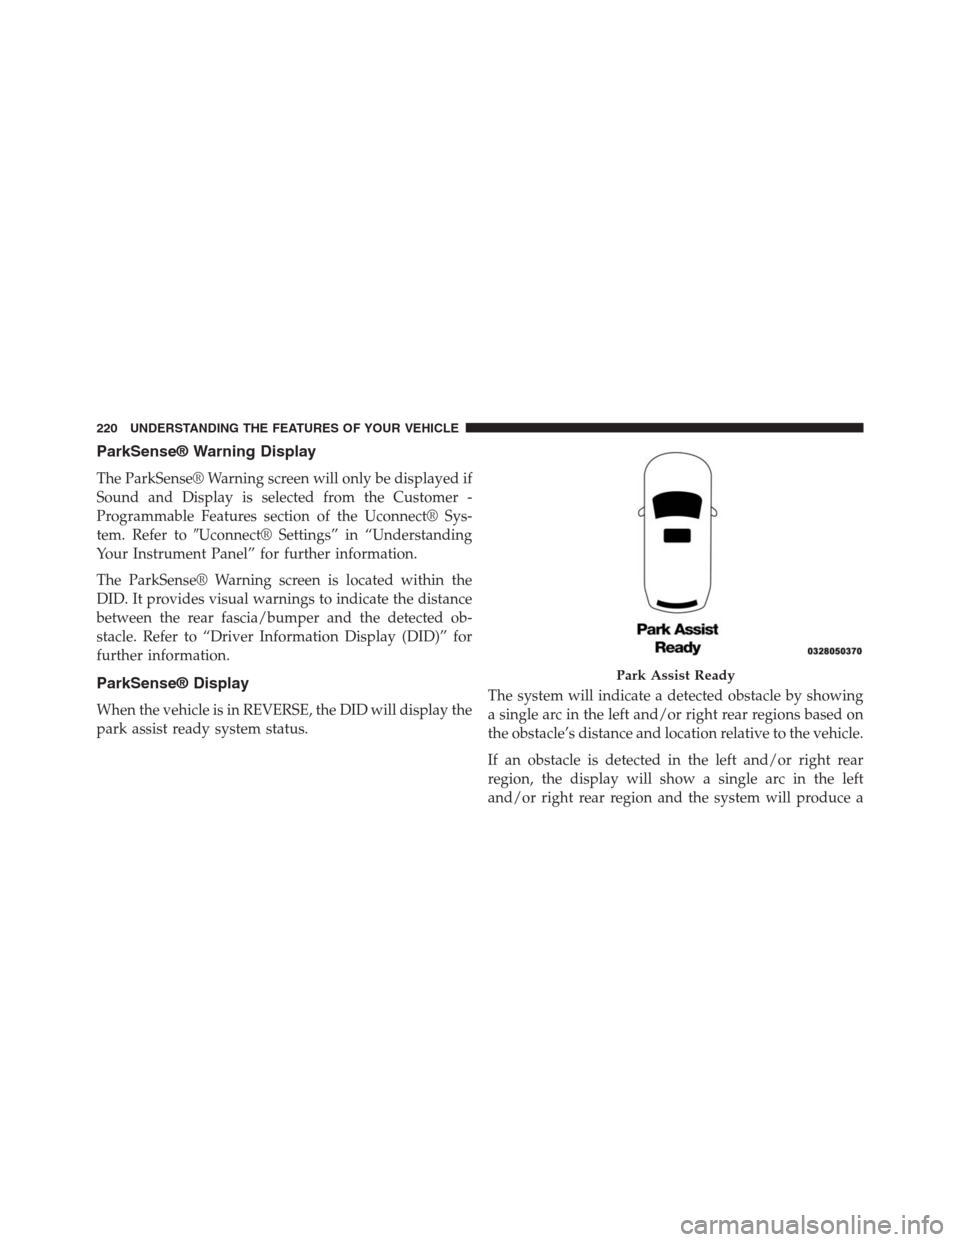
ParkSense® Warning Display
The ParkSense® Warning screen will only be displayed if
Sound and Display is selected from the Customer -
Programmable Features section of the Uconnect® Sys-
tem. Refer to�Uconnect® Settings” in “Understanding
Your Instrument Panel” for further information.
The ParkSense® Warning screen is located within the
DID. It provides visual warnings to indicate the distance
between the rear fascia/bumper and the detected ob-
stacle. Refer to “Driver Information Display (DID)” for
further information.
ParkSense® Display
When the vehicle is in REVERSE, the DID will display the
park assist ready system status.The system will indicate a detected obstacle by showing
a single arc in the left and/or right rear regions based on
the obstacle’s distance and location relative to the vehicle.
If an obstacle is detected in the left and/or right rear
region, the display will show a single arc in the left
and/or right rear region and the system will produce a
Park Assist Ready
220 UNDERSTANDING THE FEATURES OF YOUR VEHICLE
Page 226 of 636
Adjustable Chime Volume Settings
Rear chime volume settings can be selected from the
Customer-Programmable Features section of the
Uconnect® System, refer to “Uconnect Settings” in “Un-
derstanding Your Instrument Panel” for further informa-
tion.
The chime volume settings include LOW, MEDIUM, and
HIGH. The factory default volume setting is MEDIUM.
ParkSense® will retain its last known configuration state
through ignition cycles.
Enabling And Disabling ParkSense®
ParkSense® can be enabled and disabled with the
ParkSense® switch.
When the ParkSense® switch is pushed to
disable the system, the instrument cluster will
display the “PARKSENSE OFF” message for
approximately five seconds. Refer to “DriverInformation Display (DID)” in “Understanding Your
Instrument Panel” for further information. When the
shift lever/gear selector is moved to REVERSE and the
system is disabled, the DID will display the
“PARKSENSE OFF” message for as long as the vehicle is
in REVERSE.
The ParkSense® switch LED will be ON when
ParkSense® is disabled or requires service. The
ParkSense® switch LED will be OFF when the system is
enabled. If the ParkSense® switch is pushed, and the
system requires service, the ParkSense® switch LED will
blink momentarily, and then the LED will be ON.Service The ParkSense® Rear Park Assist
System
During vehicle start up, when the ParkSense® Rear Park
Assist System has detected a faulted condition, the
instrument cluster will actuate a single chime, once per
ignition cycle, and it will display the “PARKSENSE
224 UNDERSTANDING THE FEATURES OF YOUR VEHICLE
Page 231 of 636
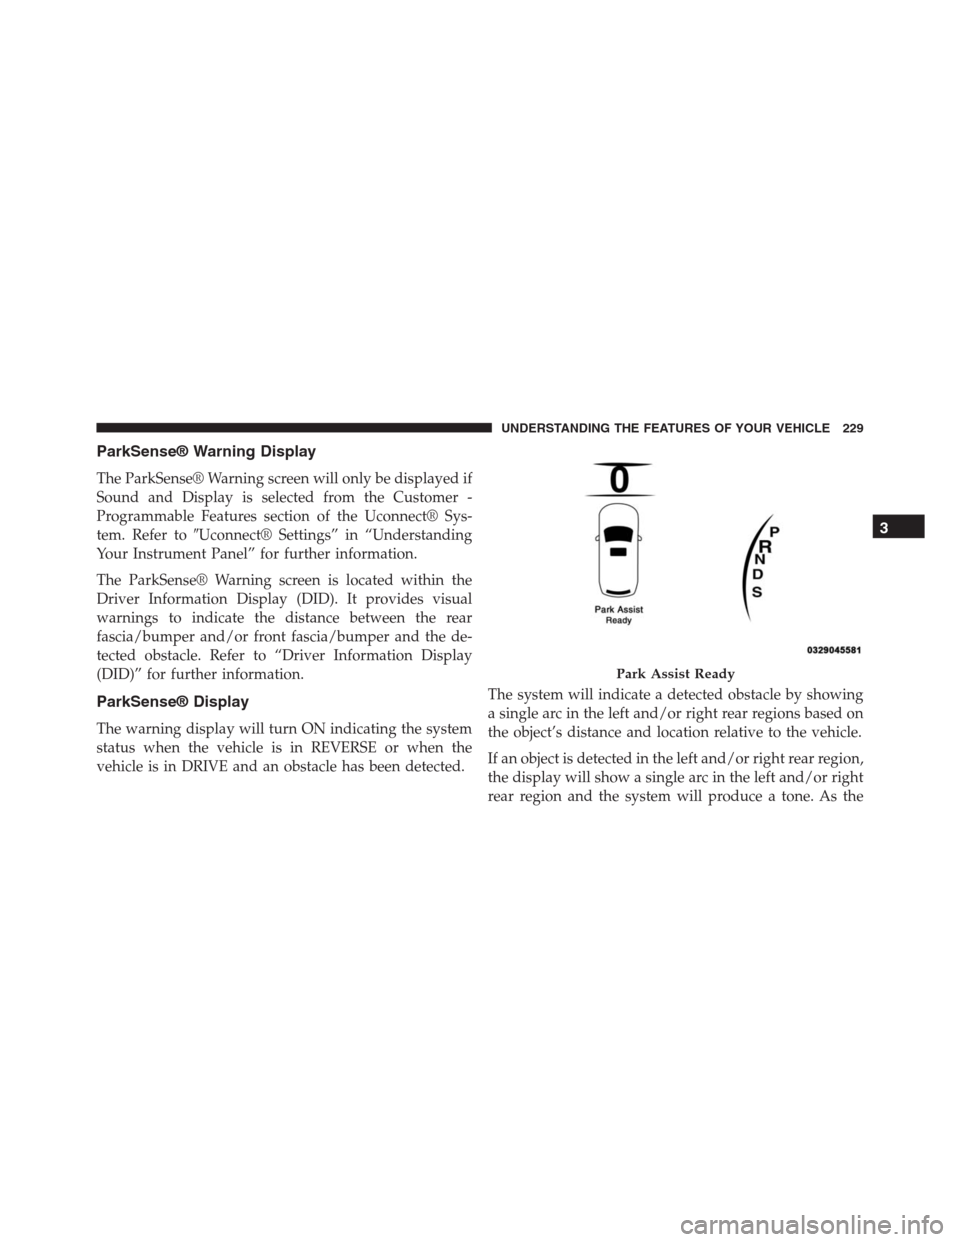
ParkSense® Warning Display
The ParkSense® Warning screen will only be displayed if
Sound and Display is selected from the Customer -
Programmable Features section of the Uconnect® Sys-
tem. Refer to�Uconnect® Settings” in “Understanding
Your Instrument Panel” for further information.
The ParkSense® Warning screen is located within the
Driver Information Display (DID). It provides visual
warnings to indicate the distance between the rear
fascia/bumper and/or front fascia/bumper and the de-
tected obstacle. Refer to “Driver Information Display
(DID)” for further information.
ParkSense® Display
The warning display will turn ON indicating the system
status when the vehicle is in REVERSE or when the
vehicle is in DRIVE and an obstacle has been detected.The system will indicate a detected obstacle by showing
a single arc in the left and/or right rear regions based on
the object’s distance and location relative to the vehicle.
If an object is detected in the left and/or right rear region,
the display will show a single arc in the left and/or right
rear region and the system will produce a tone. As the
Park Assist Ready
3
UNDERSTANDING THE FEATURES OF YOUR VEHICLE 229
Page 235 of 636
Front Park Assist Audible Alerts
ParkSense® will turn off the Front Park Assist audible
alert (chime) after approximately 3 seconds when an
obstacle has been detected, the vehicle is stationary, and
brake pedal is applied.
Adjustable Chime Volume Settings
Front and Rear chime volume settings can be selected
from the Uconnect® System. Refer to�Uconnect® Set-
tings” in “Understanding Your Instrument Panel” for
further information.
The chime volume settings include LOW, MEDIUM, and
HIGH. The factory default volume setting is MEDIUM.
ParkSense® will retain its last known configuration state
through ignition cycles.Enabling And Disabling ParkSense®
ParkSense® can be enabled and disabled with the
ParkSense® switch.
When the ParkSense® switch is pushed to
disable the system, the instrument cluster will
display the “PARKSENSE OFF” message for
approximately five seconds. Refer to “Driver
Information Display (DID)” in “Understanding Your
Instrument Panel” for further information. When the
shift lever/gear selector is moved to REVERSE and the
system is disabled, the DID will display the
“PARKSENSE OFF” message for as long as the vehicle is
in REVERSE.
The ParkSense® switch LED will be ON when
ParkSense® is disabled or requires service. The
ParkSense® switch LED will be OFF when the system is
enabled. If the ParkSense® switch is pushed, and the
3
UNDERSTANDING THE FEATURES OF YOUR VEHICLE 233
Page 240 of 636

shifting out of�REVERSE�unless the forward vehicle
speed exceeds 8 mph (13 km/h), the transmission is
shifted into�PARK�or the ignition is switched to the OFF
position.
NOTE:The ParkView® Rear Back Up Camera has pro-
grammable modes of operation that may be selected
through the Uconnect® System. Refer to “Uconnect®
Settings” in “Understanding Your Instrument Panel” for
further information.When enabled, active guide lines are overlaid on the
image to illustrate the width of the vehicle and its
projected backup path based on the steering wheel
position. A dashed center line overlay indicates the center
of the vehicle to assist with parking or aligning to a
hitch/receiver.�Different colored zones indicate the dis-
tance to the rear of the vehicle.�The following table
shows the approximate distances for each zone:
Zone Distance to the rear of the vehicle
Red 0 - 1 ft (0 - 30 cm)
Yellow 1 ft - 6.5 ft (30 cm - 2 m)
Green 6.5 ft or greater (2 m or greater)
238 UNDERSTANDING THE FEATURES OF YOUR VEHICLE
Page 256 of 636
Sunroof Maintenance
Use only a nonabrasive cleaner and a soft cloth to clean
the glass panel.
Ignition Off Operation
NOTE:
•The power sunroof switch can remain active for up to
approximately ten minutes after the vehicles ignition is
placed to the Off position. Opening either front door
will cancel this feature.
•This feature is programmable using the Uconnect®
System. Refer to “Uconnect® Settings” in “Under-
standing Your Instrument Panel” for further informa-
tion.
COMMANDVIEW® SUNROOF WITH POWER
SHADE — IF EQUIPPED
The CommandView® sunroof switch is located to the left
between the sun visors on the overhead console.
The power shade switch is located to the right between
the sun visors on the overhead console.
254 UNDERSTANDING THE FEATURES OF YOUR VEHICLE
Page 261 of 636
Ignition Off Operation
NOTE:
•The power sunroof switch can remain active for up to
approximately ten minutes after the vehicles ignition is
placed to the Off position. Opening either front door
will cancel this feature.
•This feature is programmable using the Uconnect®
System. Refer to “Uconnect® Settings” in “Under-
standing Your Instrument Panel” for further informa-
tion.
ELECTRICAL POWER OUTLETS
Your vehicle is equipped with 12 Volt (13 Amp) power
outlets that can be used to power cellular phones, small
electronics and other low powered electrical accessories.
The power outlets are labeled with either a “key” or a
“battery” symbol to indicate how the outlet is powered.
Power outlets labeled with a “key” are powered whenthe ignition is in the ON or ACC position, while the
outlets labeled with a “battery” are connected directly to
the battery and powered at all times.
NOTE:
•All accessories connected to the “battery” powered
outlets should be removed or turned off when the
vehicle is not in use to protect the battery against
discharge.
•To ensure proper cigar lighter operation, a MOPAR®
knob and element must be used.
CAUTION!
Power outlets are designed for accessory plugs only.
Do not insert any other object in the power outlets as
this will damage the outlet and blow the fuse.
Improper use of the power outlet can cause damage
not covered by your New Vehicle Limited Warranty.
3
UNDERSTANDING THE FEATURES OF YOUR VEHICLE 259