Page 81 of 636

The ORC contains a backup power supply system that
may deploy the air bags even if the battery loses power or
it becomes disconnected prior to deployment.
The ORC turns on the Air Bag Warning Light in the
instrument panel for approximately four to eight seconds
for a self-check when the ignition is first placed in the
ON/RUN position. After the self-check, the Air Bag
Warning Light will turn off. If the ORC detects a mal-
function in any part of the system, it turns on the Air Bag
Warning Light, either momentarily or continuously. A
single chime will sound to alert you if the light comes on
again after initial startup.
The ORC also includes diagnostics that will illuminate
the instrument panel Air Bag Warning Light if a malfunc-
tion is detected that could affect the air bag system. The
diagnostics also record the nature of the malfunction.
While the air bag system is designed to be maintenancefree, if any of the following occurs, have an authorized
dealer service the air bag system immediately.
•The Air Bag Warning Light does not come on during
the four to eight seconds when the ignition is first
placed in the ON/RUN position.
•The Air Bag Warning Light remains on after the four to
eight-second interval.
•The Air Bag Warning Light comes on intermittently or
remains on while driving.
NOTE:If the speedometer, tachometer, or any engine
related gauges are not working, the Occupant Restraint
Controller (ORC) may also be disabled. In this condition
the air bags may not be ready to inflate for your protec-
tion. Have an authorized dealer service the air bag
system immediately.
2
THINGS TO KNOW BEFORE STARTING YOUR VEHICLE 79
Page 82 of 636

WARNING!
Ignoring the Air Bag Warning Light in your instru-
ment panel could mean you won’t have the air bags
to protect you in a collision. If the light does not come
on as a bulb check when the ignition is first placed in
the on position, and stays on after you start the
vehicle, or if it comes on as you drive, have an
authorized dealer service the air bag system immedi-
ately.
Maintaining Your Air Bag System
WARNING!
•Modifications to any part of the air bag system
could cause it to fail when you need it. You could
be injured if the air bag system is not there to
(Continued)
WARNING!(Continued)
protect you. Do not modify the components or
wiring, including adding any kind of badges or
stickers to the steering wheel hub trim cover or the
upper right side of the instrument panel. Do not
modify the front bumper, vehicle body structure, or
add aftermarket side steps or running boards.
•It is dangerous to try to repair any part of the air
bag system yourself. Be sure to tell anyone who
works on your vehicle that it has an air bag system.
•Do not attempt to modify any part of your air bag
system. The air bag may inflate accidentally or may
not function properly if modifications are made.
Take your vehicle to an authorized dealer for any
air bag system service. If your seat, including your
trim cover and cushion, needs to be serviced in any
way (including removal or loosening/tightening of
(Continued)
80 THINGS TO KNOW BEFORE STARTING YOUR VEHICLE
Page 113 of 636

WARNING!(Continued)
•Check mounting of mats on a regular basis. Always
properly reinstall and secure floor mats that have
been removed for cleaning.
•Always make sure that objects cannot fall into the
driver footwell while the vehicle is moving. Ob-
jects can become trapped under the brake pedal
and accelerator pedal causing a loss of vehicle
control.
•If required, mounting posts must be properly in-
stalled, if not equipped from the factory.
Failure to properly follow floor mat installation or
mounting can cause interference with the brake
pedal and accelerator pedal operation causing loss of
control of the vehicle.
Periodic Safety Checks You Should Make Outside
The Vehicle
Tires
Examine tires for excessive tread wear and uneven wear
patterns. Check for stones, nails, glass, or other objects
lodged in the tread or sidewall. Inspect the tread for cuts
and cracks. Inspect sidewalls for cuts, cracks, and bulges.
Check the wheel nuts for tightness. Check the tires
(including spare) for proper cold inflation pressure.
Lights
Have someone observe the operation of brake lights and
exterior lights while you work the controls. Check turn
signal and high beam indicator lights on the instrument
panel.
2
THINGS TO KNOW BEFORE STARTING YOUR VEHICLE 111
Page 128 of 636

9-1-1 Call System Limitations
Vehicles sold in Canada and MexicoDO NOThave 9-1-1
Call system capabilities.
9-1-1 or other emergency line operators in Canada and
Mexico may not answer or respond to 9-1-1 system calls.
If the 9-1-1 Call system detects a malfunction, any of the
following may occur at the time the malfunction is
detected, and at the beginning of each ignition cycle:
•The Rearview Mirror light located between the Assist
and 9-1-1 buttons will continuously be illuminated
red.
•The Phone Screen will display the following message
“Vehicle phone requires service. Please contact your
dealer.”
•An In-Vehicle Audio message will state “Vehicle phone
requires service. Please contact your dealer.”WARNING!
•Ignoring the Rearview Mirror light could mean you
will not have 9-1-1 Call services. If the Rearview
Mirror light is illuminated, have an authorized
dealer service the 9-1-1 Call system immediately.
•The Occupant Restraint Control module turns on
the Air Bag Warning Light on the instrument panel
if a malfunction in any part of the system is
detected. If the Air Bag Warning Light is illumi-
nated, the air bag system may not be working
properly and the 9-1-1 system may not be able to
send a signal to a 9-1-1 operator. If the Air Bag
Warning Light is illuminated, have an authorized
dealer service the ORC system immediately.
126 UNDERSTANDING THE FEATURES OF YOUR VEHICLE
Page 133 of 636

Tilt Mirrors In Reverse (Available With Memory
Seat Only) — If Equipped
Tilt Mirrors in Reverse provides automatic outside mirror
positioning which will aid the drivers view of the ground
rearward of the front doors. Outside mirrors will move
slightly downward from the present position when the
vehicle is shifted into REVERSE. Outside mirrors will
then return to the original position when the vehicle is
shifted out of REVERSE position. Each stored memory
seat setting will have an associated Tilt Mirrors in Re-
verse position.
NOTE:The Tilt Mirrors in Reverse feature is not turned
on when delivered from the factory. The Tilt Mirrors in
Reverse feature can be turned on and off using the
Uconnect® System. Refer to “Uconnect® Settings/
Customer Programmable Features” in “Understanding
Your Instrument Panel” for further information.
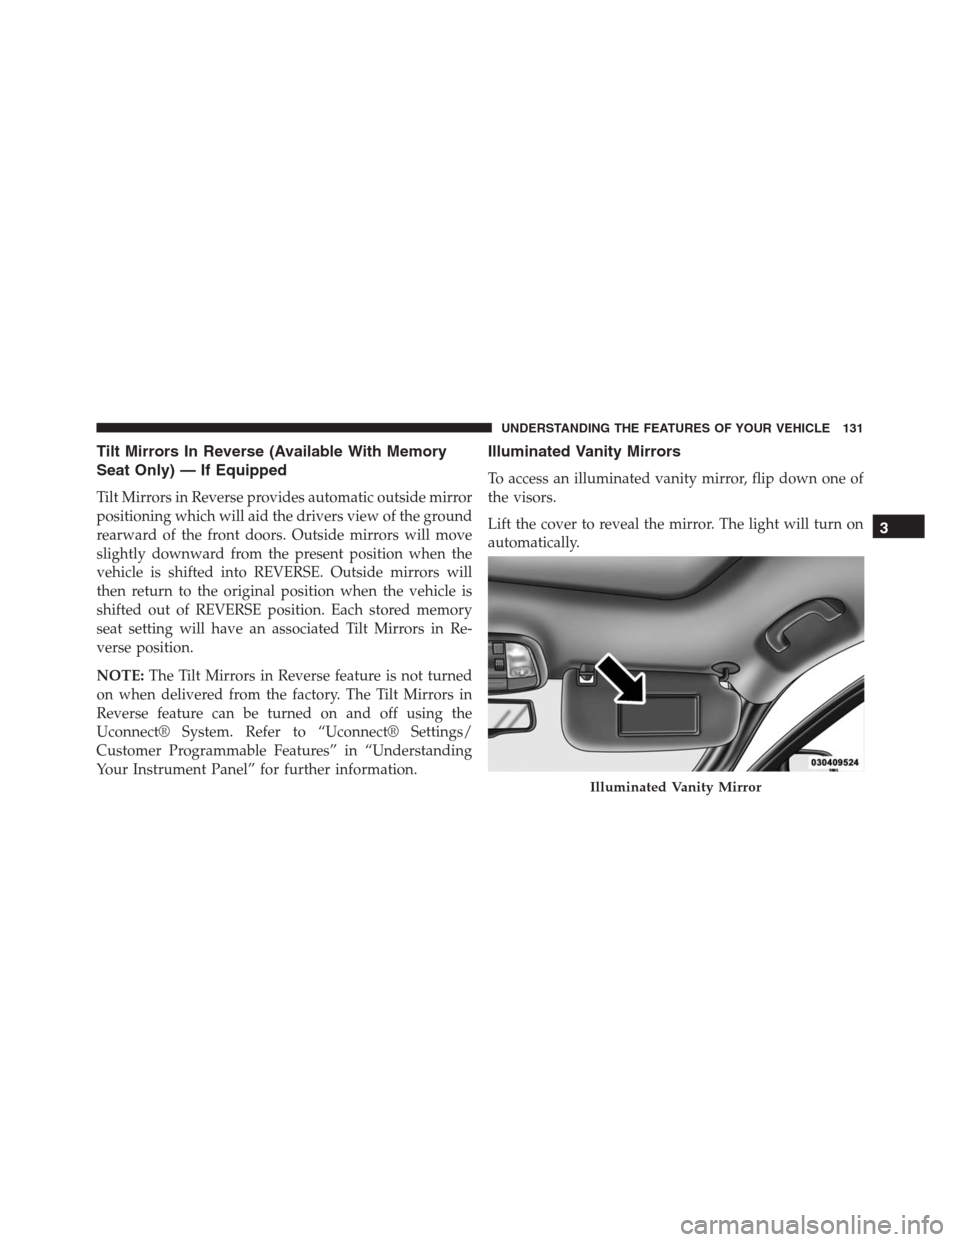
Illuminated Vanity Mirrors
To access an illuminated vanity mirror, flip down one of
the visors.
Lift the cover to reveal the mirror. The light will turn on
automatically.
Illuminated Vanity Mirror
3
UNDERSTANDING THE FEATURES OF YOUR VEHICLE 131
Page 142 of 636

Modes Of Operation
Three selectable modes of operation are available in the
Uconnect® System. Refer to “Uconnect® Settings/
Customer Programmable Features” in “Understanding
Your Instrument Panel” for further information.
Blind Spot Alert Lights Only
When operating in Blind Spot Alert mode, the BSM
system will provide a visual alert in the appropriate side
view mirror based on a detected object. However, when
the system is operating in Rear Cross Path (RCP) mode,
the system will respond with both visual and audible
alerts when a detected object is present. Whenever an
audible alert is requested, the radio is muted.
Blind Spot Alert Lights/Chime
When operating in Blind Spot Alert Lights/Chime mode,
the BSM system will provide a visual alert in the appro-
priate side view mirror based on a detected object. If theturn signal is then activated, and it corresponds to an
alert present on that side of the vehicle, an audible chime
will also be sounded. Whenever a turn signal and de-
tected object are present on the same side at the same
time, both the visual and audible alerts will be issued. In
addition to the audible alert the radio (if on) will also be
muted.
NOTE:Whenever an audible alert is requested by the
BSM system, the radio is also muted.
When the system is in RCP, the system shall respond with
both visual and audible alerts when a detected object is
present. Whenever an audible alert is requested, the radio
is also muted. Turn/hazard signal status is ignored; the
RCP state always requests the chime.
Blind Spot Alert Off
When the BSM system is turned off there will be no
visual or audible alerts from either the BSM or RCP
systems.
140 UNDERSTANDING THE FEATURES OF YOUR VEHICLE
Page 151 of 636
NOTE:
•Once a heat setting is selected, heat will be felt within
two to five minutes.
•The engine must be running for the heated seats to
operate.
Vehicles Equipped With Remote Start
On models that are equipped with remote start, the
heated seats can be programed to come on during a
remote start.
This feature can be programmed through the Uconnect®
system. Refer to “Uconnect® Settings” in “Understand-
ing Your Instrument Panel” for further information.
Rear Heated Seats — If Equipped
On some models, the two rear outboard seats may be
equipped with heated seats. There are two heated seat
switches that allow the rear passengers to operate theseats independently. The heated seat switches for each
heater are located on the rear of the center console.
Rear Heated Seat Switches
3
UNDERSTANDING THE FEATURES OF YOUR VEHICLE 149
Page 153 of 636

air through fine perforations in the seat cover to help
keep the driver and front passenger cooler in higher
ambient temperatures. The fans operate at two speeds,
HI and LO.
The front ventilated seats control buttons are located
within the Uconnect® system. You can gain access to the
control buttons through the climate screen or the controls
screen.
•Press the ventilated seat button
once to choose HI.
•Press the ventilated seat buttona second time to
choose LO.
•Press the ventilated seat buttona third time to
turn the ventilated seat OFF.
NOTE:The engine must be running for the ventilated
seats to operate.Vehicles Equipped With Remote Start
On models that are equipped with remote start, the
ventilated seats can be programed to come on during a
remote start.
This feature can be programmed through the Uconnect®
system. Refer to “Uconnect® Settings” in “Understand-
ing Your Instrument Panel” for further information.
Head Restraints
Head restraints are designed to reduce the risk of injury
by restricting head movement in the event of a rear-
impact. Head restraints should be adjusted so that the top
of the head restraint is located above the top of your ear.
3
UNDERSTANDING THE FEATURES OF YOUR VEHICLE 151