Page 316 of 717
•Air Bag Warning Light
This light will turn on for four to eight seconds
as a bulb check when the ignition switch is first
turned to the ON/RUN position. Refer to “Oc-
cupant Restraints” in “Things To Know Before
Starting Your Vehicle” of your owners manual for further
information.
DID Green Telltales
•Electronic Speed Control SET
This telltale will illuminate green when the elec-
tronic speed control is SET. For further informa-
tion, refer to “Electronic Speed Control” in “Un-
derstanding The Features Of Your Vehicle.”
•Front Fog Light Indicator — If Equipped
This telltale will illuminate when the front fog
lights are on.
•Park/Headlight ON Indicator — If Equipped
This telltale will illuminate when the park
lights or headlights are turned on.
DID Selectable Menu Items
Push and release theUPorDOWNarrow buttons until
the desired Selectable Menu icon/title is highlighted in
the DID.
314 UNDERSTANDING YOUR INSTRUMENT PANEL
Page 322 of 717
Restore To Defaults (Restores All Settings To Default
Settings)
•Cancel
•Okay
Uconnect® SETTINGS
The Uconnect® system uses a combination of buttons on
the touchscreen and buttons on the faceplate located on
the center of the instrument panel that allow you to
access and change the customer programmable features.
Many features can vary by vehicle.Uconnect® 5.0 Buttons On Touchscreen And Buttons On
Faceplate
1—Uconnect®ButtonsOnTheTouchscreen2—Uconnect®ButtonsOnTheFaceplate
320 UNDERSTANDING YOUR INSTRUMENT PANEL
Page 323 of 717
Buttons On The Faceplate
Buttons on the faceplate are located below the Uconnect®
system in the center of the instrument panel. In addition,
there is a Scroll/Enter control knob located on the right
side of the Climate Controls in the center of the instru-
ment panel. Turn the control knob to scroll through
menus and change settings (i.e., 30, 60, 90), push the
center of the control knob one or more times to select or
change a setting (i.e., ON, OFF).
Your Uconnect® system may also have a Screen Off and
Back buttons located below the system.
Push the Screen Off button to turn off the Uconnect®
screen. Push the Screen Off button a second time to turn
the screen on.
Push the Back button to exit out of a Menu or certain
option on the Uconnect® system.
Uconnect® 8.4A/8.4AN Buttons On Faceplate And
Buttons On Touchscreen
1—Uconnect®ButtonsOnTheTouchscreen2—Uconnect®ButtonsOnTheFaceplate
4
UNDERSTANDING YOUR INSTRUMENT PANEL 321
Page 324 of 717

Buttons On The Touchscreen
Buttons on the touchscreen are accessible on the
Uconnect® display.
Customer Programmable Features — Uconnect®
5.0 Personal Settings
Push the MORE button on the faceplate to display the
menu setting screen. In this mode the Uconnect® system
allows you to access programmable features that may be
equipped such as Display, Voice, Clock & Date, Safety &
Assistance, Lights, Doors & Locks, Auto-On Comfort,
Engine Off Options, Suspension, Compass Settings, Au-
dio, Phone/Bluetooth®, Sirius Setup, Restore Settings,
and Clear Personal Data.
NOTE:Only one touchscreen area may be selected at a
time.
When making a selection, press the button on the touch-
screen to enter the desired mode. Once in the desired
mode, press and release the preferred setting and make
your selection. Once the setting is complete, either press
the Back Arrow/Done button on the touchscreen or the
Back button on the faceplate to return to the previous
menu or press the “X” button on the touchscreen to close
out of the settings screen. Pressing the Up or Down
Arrow buttons on the right side of the screen will allow
you to toggle up or down through the available settings.
NOTE:All settings should be changed with the ignition
in the “Run” position.
Display
After pressing the “Display” button on the touchscreen
the following settings will be available.
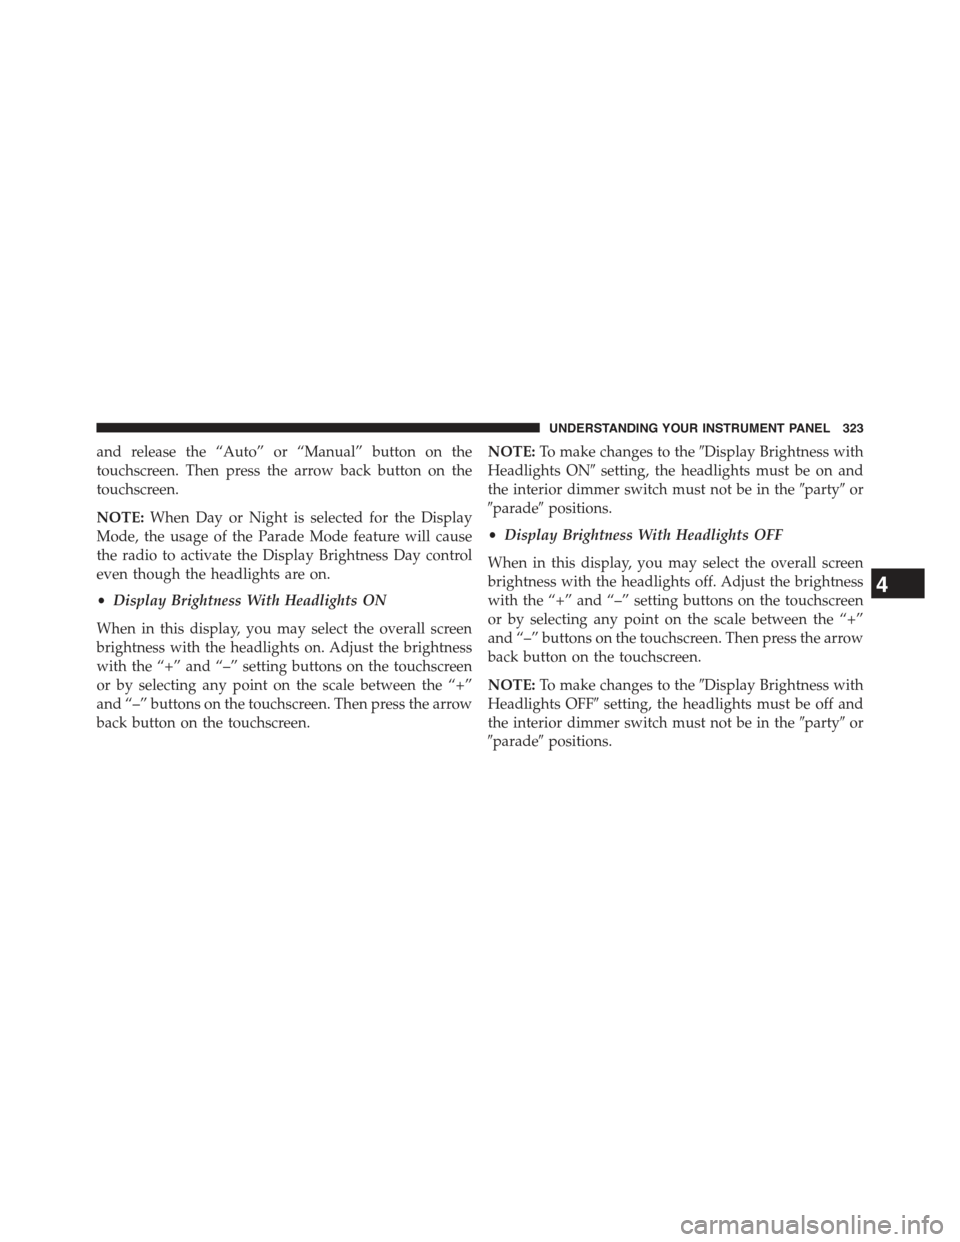
•Display Mode
When in this display you may select the “Auto” or
“Manual” display settings. To change Mode status, press
322 UNDERSTANDING YOUR INSTRUMENT PANEL
Page 325 of 717

and release the “Auto” or “Manual” button on the
touchscreen. Then press the arrow back button on the
touchscreen.
NOTE:When Day or Night is selected for the Display
Mode, the usage of the Parade Mode feature will cause
the radio to activate the Display Brightness Day control
even though the headlights are on.
•Display Brightness With Headlights ON
When in this display, you may select the overall screen
brightness with the headlights on. Adjust the brightness
with the “+” and “–” setting buttons on the touchscreen
or by selecting any point on the scale between the “+”
and “–” buttons on the touchscreen. Then press the arrow
back button on the touchscreen.
NOTE:To make changes to the#Display Brightness with
Headlights ON#setting, the headlights must be on and
the interior dimmer switch must not be in the#party#or
#parade#positions.
•Display Brightness With Headlights OFF
When in this display, you may select the overall screen
brightness with the headlights off. Adjust the brightness
with the “+” and “–” setting buttons on the touchscreen
or by selecting any point on the scale between the “+”
and “–” buttons on the touchscreen. Then press the arrow
back button on the touchscreen.
NOTE:To make changes to the#Display Brightness with
Headlights OFF#setting, the headlights must be off and
the interior dimmer switch must not be in the#party#or
#parade#positions.
4
UNDERSTANDING YOUR INSTRUMENT PANEL 323
Page 333 of 717

NOTE:Passive Entry — If Equipped. If “All” is selected,
all doors will unlock no matter which Passive Entry door
handle is grasped. If “Driver” is selected, only the
driver ’s door will unlock when the driver ’s door is
grasped.
•Passive Entry
This feature allows you to lock and unlock the vehicle’s
door(s) without having to press the Remote Keyless
Entry (RKE) transmitter lock or unlock buttons. To make
your selection, press the “Passive Entry” button on the
touchscreen and select from “On” or “Off. Press the back
arrow button on the touchscreen to return to the previous
menu. Refer to “Keyless Enter-N-Go™” in “Things To
Know Before Starting Your Vehicle” for further informa-
tion.
•Memory Linked to Fob — If Equipped
This feature provides automatic driver seat positioning to
enhance driver mobility when entering and exiting the
vehicle. To make your selection, press the “Memory
Linked to Fob” button on the touchscreen and select from
“On” or “Off.” Press the back arrow button on the
touchscreen to return to the previous menu.
NOTE:The seat will return to the memorized seat
location if “Memory Linked to Fob” is set to (ON) when
the Remote Keyless Entry (RKE) transmitter is used to
unlock the door. Refer to “Driver Memory Seat” in
“Understanding The Features Of Your Vehicle” for fur-
ther information.
•Power Lift Gate Alert — If Equipped
This feature plays an alert when the power lift gate is
raising or lowering. To make your selection, press the
“Power Lift Gate Alert” button on the touchscreen and
select from “On” or “Off.” Press the back arrow button on
the touchscreen to return to the previous menu.
4
UNDERSTANDING YOUR INSTRUMENT PANEL 331
Page 337 of 717

NOTE:Keep magnetic materials away from the top of the
instrument panel, such as iPod’s, Mobile Phones, Lap-
tops and Radar Detectors. This is where the compass
module is located, and it can cause interference with the
compass sensor, and it may give false readings.
•Perform Compass Calibration
Press the “Calibration” button on the touchscreen to
change this setting. This compass is self-calibrating,
which eliminates the need to manually reset the compass.
When the vehicle is new, the compass may appear erratic
until it is calibrated. You may also calibrate the compass
by pressing the “ON” button on the touchscreen and
completing one or more 360-degree turns (in an area free
from large metal or metallic objects). The compass will
now function normally.
Audio
After pressing the “Audio” button on the touchscreen the
following settings will be available:
•Equalizer
When in this display you may adjust the Bass, Mid and
Treble settings. Adjust the settings with the “+” and “–”
buttons on the touchscreen or by selecting any point onCompass Variance Map
4
UNDERSTANDING YOUR INSTRUMENT PANEL 335
Page 338 of 717

the scale between the “+” and “–” buttons on the
touchscreen. Press the back arrow/Done button on the
touchscreen to return to the previous menu.
•Balance/Fade
This feature allows you to adjust the Balance and Fade
settings. Press and drag the speaker icon or use the
arrows to adjust, tap the “C” icon to readjust to the center.
Press the back arrow/Done button on the touchscreen to
return to the previous menu.
•Speed Adjusted Volume
This feature increases or decreases volume relative to
vehicle speed. To change the Speed Adjusted Volume
press the “Speed Adjusted Volume” button on the touch-
screen and select from “Off,” “1,” “2” or “3” buttons on
the touchscreen. Press the back arrow/Done button on
the touchscreen to return to the previous menu.
•Surround Sound — If Equipped
This feature provides simulated surround sound mode.
To make your selection, press the “Surround Sound”
button on the touchscreen, select “On” or “Off.” Press the
back arrow/Done button on the touchscreen to return to
the previous menu.
•AUX Volume Offset — If Equipped
This feature provides the ability to tune the audio level
for portable devices connected through the AUX input.
To make your selection, press the “AUX Volume Offset”
button on the touchscreen, select “On” or “Off.” Press the
back arrow/Done button on the touchscreen to return to
the previous menu.
•Loudness — If Equipped
This feature improves sound quality at lower volumes.
To make your selection, press the “Loudness” button on
336 UNDERSTANDING YOUR INSTRUMENT PANEL