Page 163 of 717
•The (1) and (2) buttons which are used to recall either
of two pre-programmed memory profiles.
Programming The Memory Feature
NOTE:To create a new memory profile, perform the
following:
1. Cycle the vehicles ignition to the ON/RUN position
(Do not start the engine).
2. Adjust all memory profile settings to desired prefer-
ences (i.e., seat, side mirror, power tilt and telescopic
steering column [if equipped], and radio station pre-
sets).
3. Press and release the S (Set) button on the memory
switch.
4. Within five seconds, press and release either of the
memory buttons (1) or (2). The Driver Information
Display (DID) will display which memory position
has been set.
NOTE:
•Memory profiles can be set without the vehicle in
PARK, but the vehicle must be in PARK to recall a
memory profile.
Memory Seat Switch
3
UNDERSTANDING THE FEATURES OF YOUR VEHICLE 161
Page 165 of 717

Memory Position Recall
NOTE:The vehicle must be in PARK to recall memory
positions. If a recall is attempted when the vehicle is not
in PARK, a message will be displayed in the Driver
Information Display (DID).
Driver One Memory Position Recall
•To recall the memory settings for driver one using the
memory switch , press MEMORY button number 1 on
the memory switch.
•To recall the memory settings for driver one using the
RKE transmitter, press the UNLOCK button on the
RKE transmitter linked to memory position 1.
Driver Two Memory Position Recall
•To recall the memory setting for driver two using the
memory switch, press MEMORY button number 2 on
the memory switch.
•To recall the memory settings for driver two using the
RKE transmitter, press the UNLOCK button on the
RKE transmitter linked to memory position 2.
A recall can be cancelled by pressing any of the
MEMORY buttons during a recall (S, 1, or 2). When a
recall is cancelled, the driver’s seat, steering column (if
equipped) and pedals (if equipped) stop moving. A delay
of one second will occur before another recall can be
selected.
3
UNDERSTANDING THE FEATURES OF YOUR VEHICLE 163
Page 176 of 717

Battery Saver
To protect the life of your vehicle’s battery, load shedding
is provided for both the interior and exterior lights.
If the ignition is OFF and any door is left ajar for 10
minutes or the dimmer control is rotated all the way up
to the dome ON position for 10 minutes, the interior
lights will automatically turn off.
NOTE:Battery saver mode is cancelled if the ignition is
ON.
If the headlights remain on while the ignition is cycled
OFF, the exterior lights will automatically turn off after
eight minutes. If the headlights are turned on and left on
for eight minutes while the ignition is OFF, the exterior
lights will automatically turn off.
Front Map/Reading Lights — If Equipped
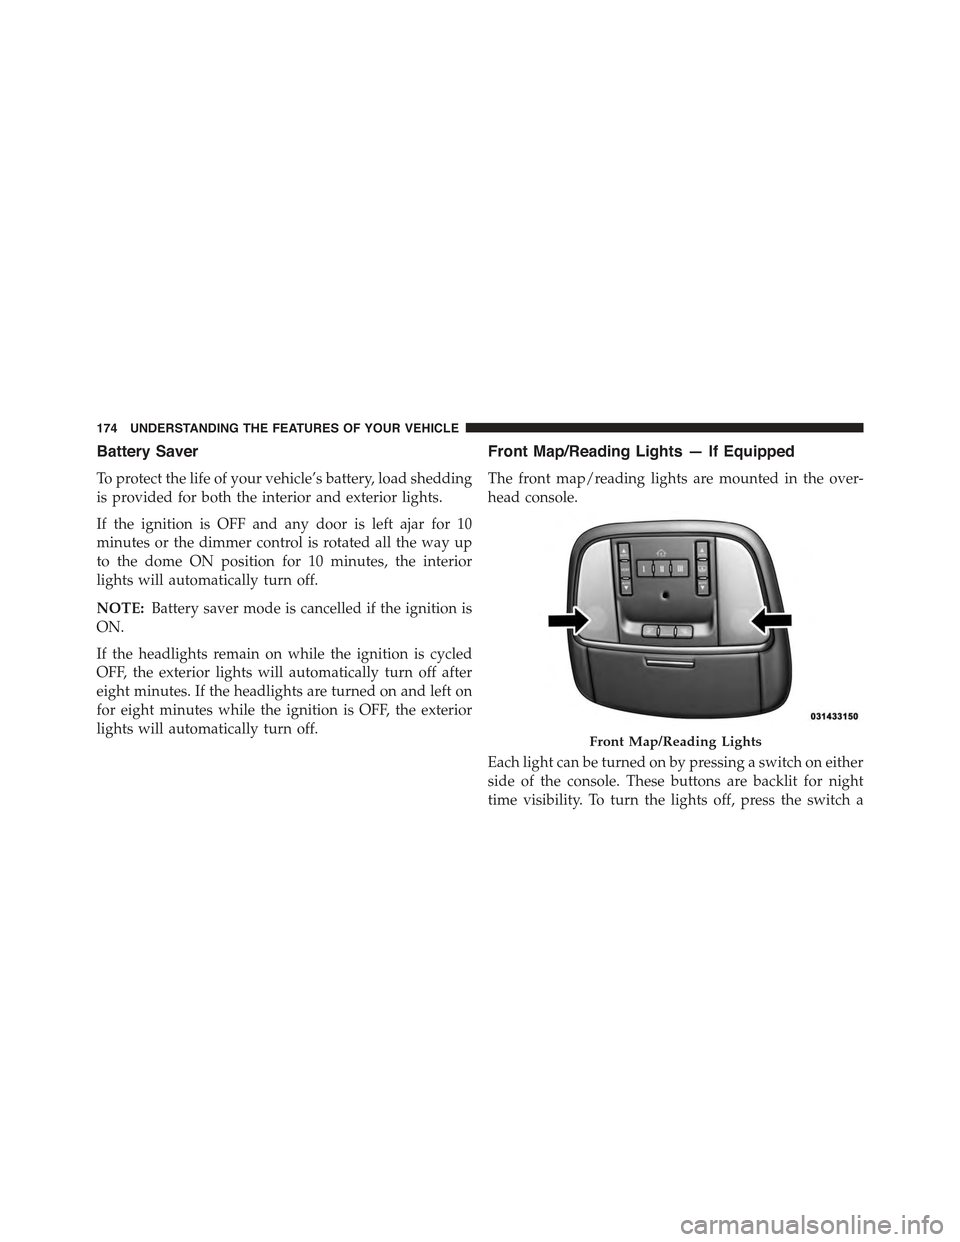
The front map/reading lights are mounted in the over-
head console.
Each light can be turned on by pressing a switch on either
side of the console. These buttons are backlit for night
time visibility. To turn the lights off, press the switch a
Front Map/Reading Lights
174 UNDERSTANDING THE FEATURES OF YOUR VEHICLE
Page 190 of 717
ELECTRONIC SPEED CONTROL — IF EQUIPPED
When engaged, the Electronic Speed Control takes over
accelerator operations at speeds greater than 25 mph
(40 km/h).
The Electronic Speed Control buttons are located on the
right side of the steering wheel.
Electronic Speed Control Buttons
1—ON/OFF4—SET-/DECEL2—SET+/ACCEL5—CANCEL3—RESUME
188 UNDERSTANDING THE FEATURES OF YOUR VEHICLE
Page 196 of 717

WARNING!(Continued)
You should switch off the ACC system:
When driving in fog, heavy rain, heavy snow, sleet,
heavy traffic, and complex driving situations (i.e., in
highway construction zones).
When entering a turn lane or highway off ramp;
when driving on roads that are winding, icy, snow-
covered, slippery, or have steep uphill or downhill
slopes.
When towing a trailer up or down steep slopes.
When circumstances do not allow safe driving at a
constant speed.
The Cruise Control system has two control modes:
•Adaptive Cruise Control mode for maintaining an
appropriate distance between vehicles.
•Normal (fixed speed) electronic speed control mode
for cruising at a constant preset speed. For additional
information, refer to “Normal (Fixed Speed) Cruise
Control Mode” in this section.
NOTE:Normal (fixed speed) electronic speed control
will not react to preceding vehicles. Always be aware of
the mode selected.
You can change the mode by using the Cruise Control
buttons. The two control modes function differently.
Always confirm which mode is selected.
194 UNDERSTANDING THE FEATURES OF YOUR VEHICLE
Page 197 of 717
Adaptive Cruise Control (ACC) Operation
The speed control buttons (located on the right side of the
steering wheel) operates the ACC system.
Adaptive Cruise Control Buttons1—NORMAL(FIXEDSPEED)CRUISECONTROLON/OFF2—SET+/ACCEL3—RESUME4—SET-/DECEL5—DISTANCESETTING—INCREASE6—ADAPTIVECRUISECONTROL(ACC)ON/OFF7—DISTANCESETTING—DECREASE8—CANCEL
3
UNDERSTANDING THE FEATURES OF YOUR VEHICLE 195
Page 203 of 717

To Decrease Speed
While ACC is set, the set speed can be decreased by
pressing the SET-button.
The speed decrement shown is dependant on the chosen
speed unit of U.S. (mph) or Metric (km/h):
U.S. Speed (mph)
•Pressing the SET-button once will result ina1mph
decrease in set speed. Each subsequent tap of the
button results in a decrease of 1 mph.
•If the button is continually pressed, the set speed will
continue to decrease in 5 mph increments until the
button is released. The decrease in set speed is re-
flected in the DID.
Metric Speed (km/h)
•Pressing the SET-button once will result in a 1 km/h
decrease in set speed. Each subsequent tap of the
button results in a decrease of 1 km/h.
•If the button is continually pressed, the set speed will
continue to decrease in 10 km/h increments until the
button is released. The decrease in set speed is re-
flected in the DID.
NOTE:
•When you override and push the SET+button or
SET-buttons, the new Set Speed will be the current
speed of the vehicle.
•When you use the SET-button to decelerate, if the
engine’s braking power does not slow the vehicle
sufficiently to reach the set speed, the brake system
will automatically slow the vehicle.
3
UNDERSTANDING THE FEATURES OF YOUR VEHICLE 201
Page 248 of 717
Front Map/Reading Lights — If Equipped
Lights are mounted in the overhead console. Each light
can be turned on by pressing the switch on either side of
the console. These buttons are backlit for night time
visibility.
To turn the lights off, press the switch a second time. The
lights also turn on when a door is opened. The lights will
also turn on when the UNLOCK button on the RKE is
pressed.
Front Map/Reading Lights
Front Map/Reading Light Switches
246 UNDERSTANDING THE FEATURES OF YOUR VEHICLE