2015 Hyundai Santa Fe Sport headlamp
[x] Cancel search: headlampPage 95 of 785
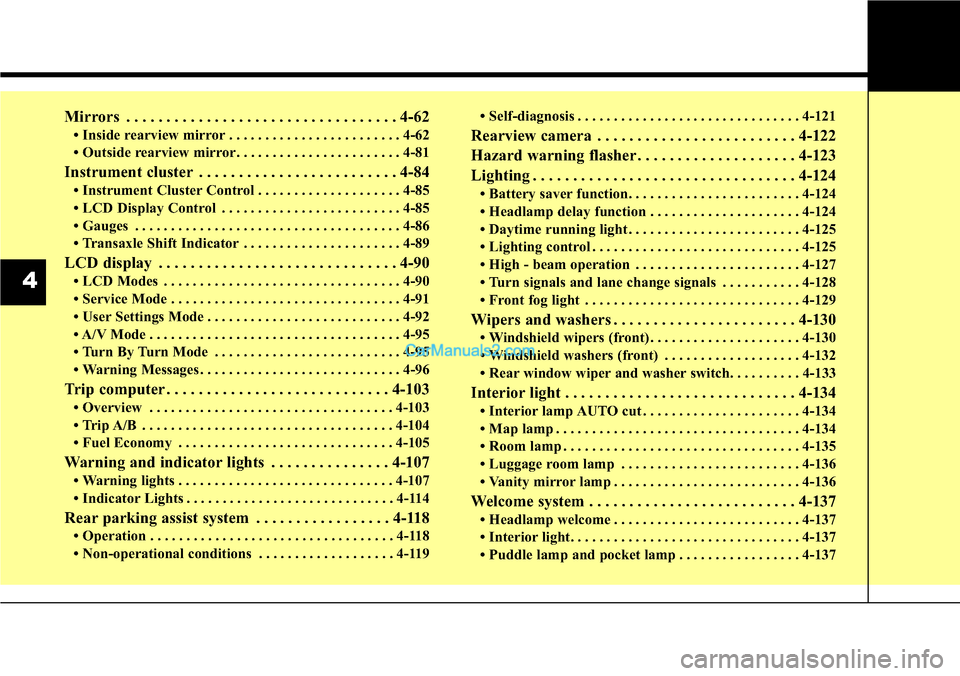
Mirrors . . . . . . . . . . . . . . . . . . . . . . . . . . . . . . . . . . 4-62
• Inside rearview mirror . . . . . . . . . . . . . . . . . . . . . . . . 4-62
• Outside rearview mirror. . . . . . . . . . . . . . . . . . . . . . . 4-81
Instrument cluster . . . . . . . . . . . . . . . . . . . . . . . . . 4-84
• Instrument Cluster Control . . . . . . . . . . . . . . . . . . . . 4-85
• LCD Display Control . . . . . . . . . . . . . . . . . . . . . . . . . 4-85
• Gauges . . . . . . . . . . . . . . . . . . . . . . . . . . . . . . . . . . . . . 4-86
• Transaxle Shift Indicator . . . . . . . . . . . . . . . . . . . . . . 4-89
LCD display . . . . . . . . . . . . . . . . . . . . . . . . . . . . . . 4-90
• LCD Modes . . . . . . . . . . . . . . . . . . . . . . . . . . . . . . . . . 4-90
• Service Mode . . . . . . . . . . . . . . . . . . . . . . . . . . . . . . . . 4-91
• User Settings Mode . . . . . . . . . . . . . . . . . . . . . . . . . . . 4-92
• A/V Mode . . . . . . . . . . . . . . . . . . . . . . . . . . . . . . . . . . . 4-95
• Turn By Turn Mode . . . . . . . . . . . . . . . . . . . . . . . . . . 4-95
• Warning Messages . . . . . . . . . . . . . . . . . . . . . . . . . . . . 4-96
Trip computer . . . . . . . . . . . . . . . . . . . . . . . . . . . . 4-103
• Overview . . . . . . . . . . . . . . . . . . . . . . . . . . . . . . . . . . 4-103
• Trip A/B . . . . . . . . . . . . . . . . . . . . . . . . . . . . . . . . . . . 4-104
• Fuel Economy . . . . . . . . . . . . . . . . . . . . . . . . . . . . . . 4-105
Warning and indicator lights . . . . . . . . . . . . . . . 4-107
• Warning lights . . . . . . . . . . . . . . . . . . . . . . . . . . . . . . 4-107
• Indicator Lights . . . . . . . . . . . . . . . . . . . . . . . . . . . . . 4-114
Rear parking assist system . . . . . . . . . . . . . . . . . 4-118
• Operation . . . . . . . . . . . . . . . . . . . . . . . . . . . . . . . . . . 4-118
• Non-operational conditions . . . . . . . . . . . . . . . . . . . 4-119• Self-diagnosis . . . . . . . . . . . . . . . . . . . . . . . . . . . . . . . 4-121
Rearview camera . . . . . . . . . . . . . . . . . . . . . . . . . 4-122
Hazard warning flasher . . . . . . . . . . . . . . . . . . . . 4-123
Lighting . . . . . . . . . . . . . . . . . . . . . . . . . . . . . . . . . 4-124
• Battery saver function. . . . . . . . . . . . . . . . . . . . . . . . 4-124
• Headlamp delay function . . . . . . . . . . . . . . . . . . . . . 4-124
• Daytime running light . . . . . . . . . . . . . . . . . . . . . . . . 4-125
• Lighting control . . . . . . . . . . . . . . . . . . . . . . . . . . . . . 4-125
• High - beam operation . . . . . . . . . . . . . . . . . . . . . . . 4-127
• Turn signals and lane change signals . . . . . . . . . . . 4-128
• Front fog light . . . . . . . . . . . . . . . . . . . . . . . . . . . . . . 4-129
Wipers and washers . . . . . . . . . . . . . . . . . . . . . . . 4-130
• Windshield wipers (front) . . . . . . . . . . . . . . . . . . . . . 4-130
• Windshield washers (front) . . . . . . . . . . . . . . . . . . . 4-132
• Rear window wiper and washer switch. . . . . . . . . . 4-133
Interior light . . . . . . . . . . . . . . . . . . . . . . . . . . . . . 4-134
• Interior lamp AUTO cut . . . . . . . . . . . . . . . . . . . . . . 4-134
• Map lamp . . . . . . . . . . . . . . . . . . . . . . . . . . . . . . . . . . 4-134
• Room lamp . . . . . . . . . . . . . . . . . . . . . . . . . . . . . . . . . 4-135
• Luggage room lamp . . . . . . . . . . . . . . . . . . . . . . . . . 4-136
• Vanity mirror lamp . . . . . . . . . . . . . . . . . . . . . . . . . . 4-136
Welcome system . . . . . . . . . . . . . . . . . . . . . . . . . . 4-137
• Headlamp welcome . . . . . . . . . . . . . . . . . . . . . . . . . . 4-137
• Interior light. . . . . . . . . . . . . . . . . . . . . . . . . . . . . . . . 4-137
• Puddle lamp and pocket lamp . . . . . . . . . . . . . . . . . 4-137
4
Page 186 of 785
493
Features of your vehicle
Two Press Unlock (if equipped)
• Off:
The two press unlock function will
be deactivated. Therefore, all doors
will unlock if the door is unlocked.
• On:
The driver’s door will unlock if the
door is unlocked. When the door is
unlocked again within 4 seconds,
all doors will unlock.
Power Tailgate (if equipped)
If this item is checked, the power tail-
gate system function will be activat-
ed.
Smart Tailgate (if equipped)
If this item is checked, the Smart
Tailgate system function will be acti-
vated.Horn Feedback (if equipped)
• Off:
The Horn feedback operation will
be deactivated.
• On:
After locking the door by pressing
the lock button on the transmitter, if
you press the lock button again
within 4 seconds, the warning
sound will operate once to indicate
that all doors are locked.Lamp
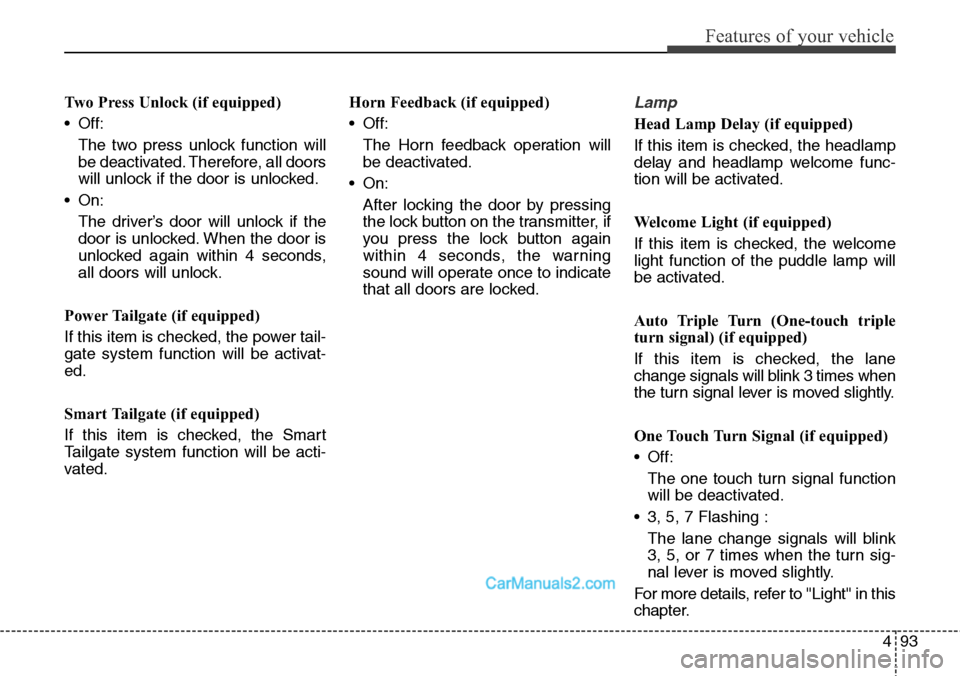
Head Lamp Delay (if equipped)
If this item is checked, the headlamp
delay and headlamp welcome func-
tion will be activated.
Welcome Light (if equipped)
If this item is checked, the welcome
light function of the puddle lamp will
be activated.
Auto Triple Turn (One-touch triple
turn signal) (if equipped)
If this item is checked, the lane
change signals will blink 3 times when
the turn signal lever is moved slightly.
One Touch Turn Signal (if equipped)
• Off:
The one touch turn signal function
will be deactivated.
• 3, 5, 7 Flashing :
The lane change signals will blink
3, 5, or 7 times when the turn sig-
nal lever is moved slightly.
For more details, refer to ''Light'' in this
chapter.
Page 217 of 785
Features of your vehicle
124 4
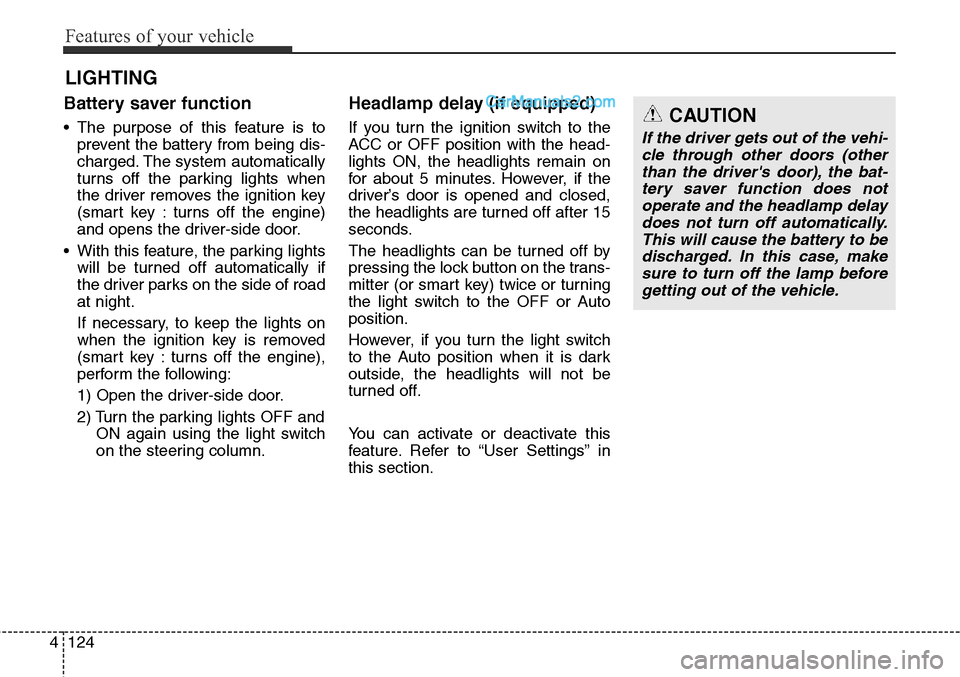
Battery saver function
• The purpose of this feature is to
prevent the battery from being dis-
charged. The system automatically
turns off the parking lights when
the driver removes the ignition key
(smart key : turns off the engine)
and opens the driver-side door.
• With this feature, the parking lights
will be turned off automatically if
the driver parks on the side of road
at night.
If necessary, to keep the lights on
when the ignition key is removed
(smart key : turns off the engine),
perform the following:
1) Open the driver-side door.
2) Turn the parking lights OFF and
ON again using the light switch
on the steering column.
Headlamp delay (if equipped)
If you turn the ignition switch to the
ACC or OFF position with the head-
lights ON, the headlights remain on
for about 5 minutes. However, if the
driver’s door is opened and closed,
the headlights are turned off after 15
seconds.
The headlights can be turned off by
pressing the lock button on the trans-
mitter (or smart key) twice or turning
the light switch to the OFF or Auto
position.
However, if you turn the light switch
to the Auto position when it is dark
outside, the headlights will not be
turned off.
You can activate or deactivate this
feature. Refer to “User Settings” in
this section.
LIGHTING
CAUTION
If the driver gets out of the vehi-
cle through other doors (other
than the driver's door), the bat-
tery saver function does not
operate and the headlamp delay
does not turn off automatically.
This will cause the battery to be
discharged. In this case, make
sure to turn off the lamp before
getting out of the vehicle.
Page 230 of 785
4137
Features of your vehicle
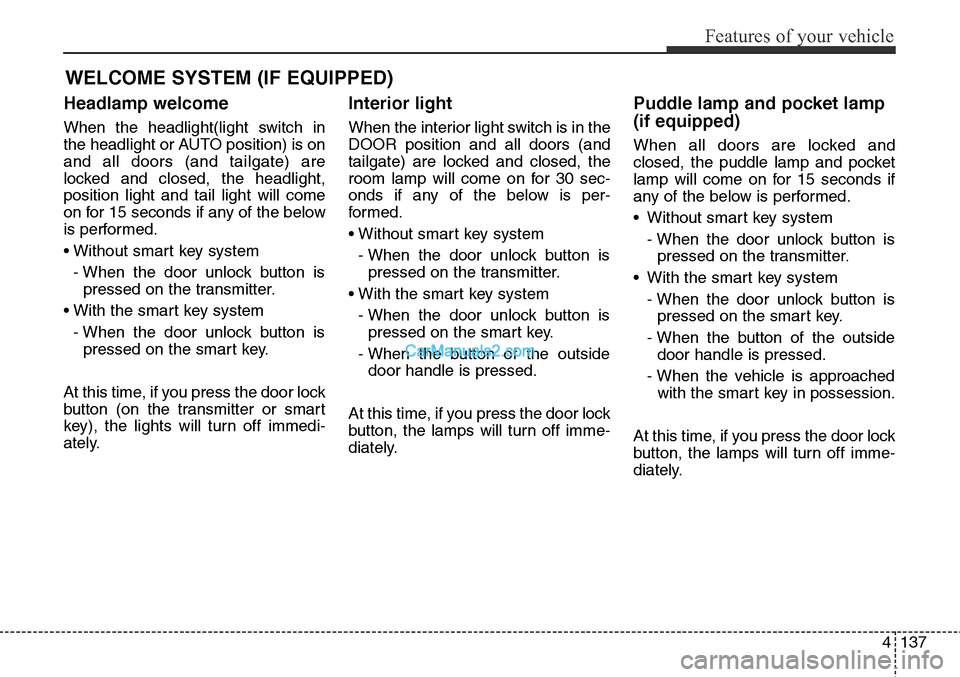
Headlamp welcome
When the headlight(light switch in
the headlight or AUTO position) is on
and all doors (and tailgate) are
locked and closed, the headlight,
position light and tail light will come
on for 15 seconds if any of the below
is performed.
• Without smart key system
- When the door unlock button is
pressed on the transmitter.
• With the smart key system
- When the door unlock button is
pressed on the smart key.
At this time, if you press the door lock
button (on the transmitter or smart
key), the lights will turn off immedi-
ately.
Interior light
When the interior light switch is in the
DOOR position and all doors (and
tailgate) are locked and closed, the
room lamp will come on for 30 sec-
onds if any of the below is per-
formed.
• Without smart key system
- When the door unlock button is
pressed on the transmitter.
• With the smart key system
- When the door unlock button is
pressed on the smart key.
- When the button of the outside
door handle is pressed.
At this time, if you press the door lock
button, the lamps will turn off imme-
diately.
Puddle lamp and pocket lamp
(if equipped)
When all doors are locked and
closed, the puddle lamp and pocket
lamp will come on for 15 seconds if
any of the below is performed.
• Without smart key system
- When the door unlock button is
pressed on the transmitter.
• With the smart key system
- When the door unlock button is
pressed on the smart key.
- When the button of the outside
door handle is pressed.
- When the vehicle is approached
with the smart key in possession.
At this time, if you press the door lock
button, the lamps will turn off imme-
diately.
WELCOME SYSTEM (IF EQUIPPED)
Page 265 of 785
Features of your vehicle
172 4
✽NOTICE
• If you install an aftermarket HID
headlamp, your vehicle's audio
and electronic device may mal-
function.
• Prevent caustic solutions such as
perfume and cosmetic oil from
contacting the dashboard because
they may cause damage or discol-
oration.
Antenna
Roof antenna
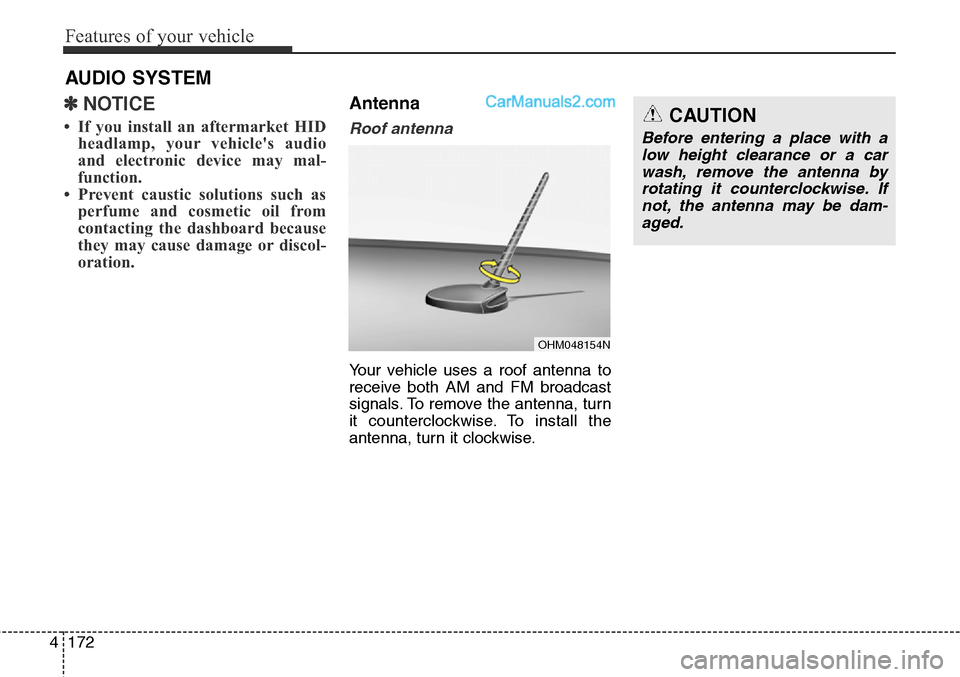
Your vehicle uses a roof antenna to
receive both AM and FM broadcast
signals. To remove the antenna, turn
it counterclockwise. To install the
antenna, turn it clockwise.
AUDIO SYSTEM
CAUTION
Before entering a place with a
low height clearance or a car
wash, remove the antenna by
rotating it counterclockwise. If
not, the antenna may be dam-
aged.
OHM048154N
Page 755 of 785
Maintenance
80 7
LIGHT BULBS
Use only the bulbs of the specified
wattage.
✽NOTICE
After heavy, driving rain or wash-
ing, headlamp and taillamp lenses
could appear frosty. This condition
is caused by the temperature differ-
ence between the lamp inside and
outside. This is similar to the con-
densation on your windows inside
your vehicle during the rain and
doesn’t indicate a problem with
your vehicle. If the water leaks into
the lamp bulb circuitry, have the
vehicle checked by an authorized
HYUNDAI dealer.WARNING - Working on
the lights
Prior to working on the light,
firmly apply the parking brake,
ensure that the ignition switch
is turned to the “LOCK” position
and turn off the lights to avoid
sudden movement of the vehi-
cle and burning your fingers or
receiving an electric shock.
CAUTION
Be sure to replace the burned-
out bulb with one of the same
wattage rating. Otherwise, it
may cause damage to the fuse
or electric wiring system.
CAUTION
If you don’t have necessary
tools, the correct bulbs and the
expertise, consult an authorized
HYUNDAI dealer. In many cases,
it is difficult to replace vehicle
light bulbs because other parts
of the vehicle must be removed
before you can get to the bulb.
This is especially true if you
have to remove the headlight
assembly to get to the bulb(s).
Removing/installing the head-
light assembly can result in
damage to the vehicle.
Page 756 of 785
781
Maintenance
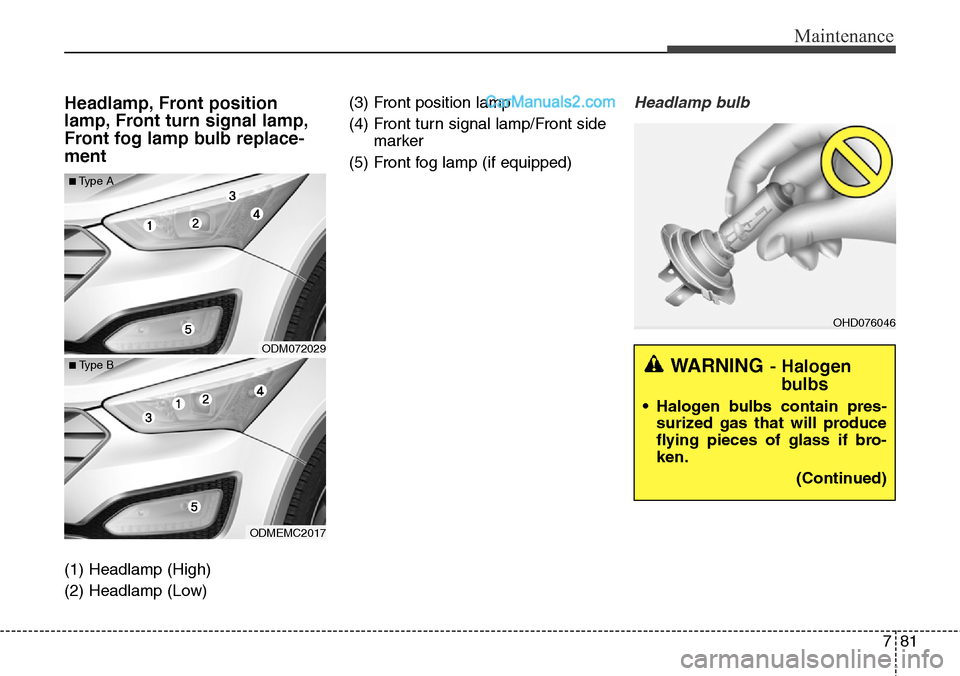
Headlamp, Front position
lamp, Front turn signal lamp,
Front fog lamp bulb replace-
ment
(1) Headlamp (High)
(2) Headlamp (Low)(3) Front position lamp
(4) Front turn signal lamp/Front side
marker
(5) Front fog lamp (if equipped)
Headlamp bulb
ODM072029
ODMEMC2017
■Type A
■ Type B
OHD076046
WARNING- Halogen
bulbs
• Halogen bulbs contain pres-
surized gas that will produce
flying pieces of glass if bro-
ken.
(Continued)
Page 757 of 785
Maintenance
82 7
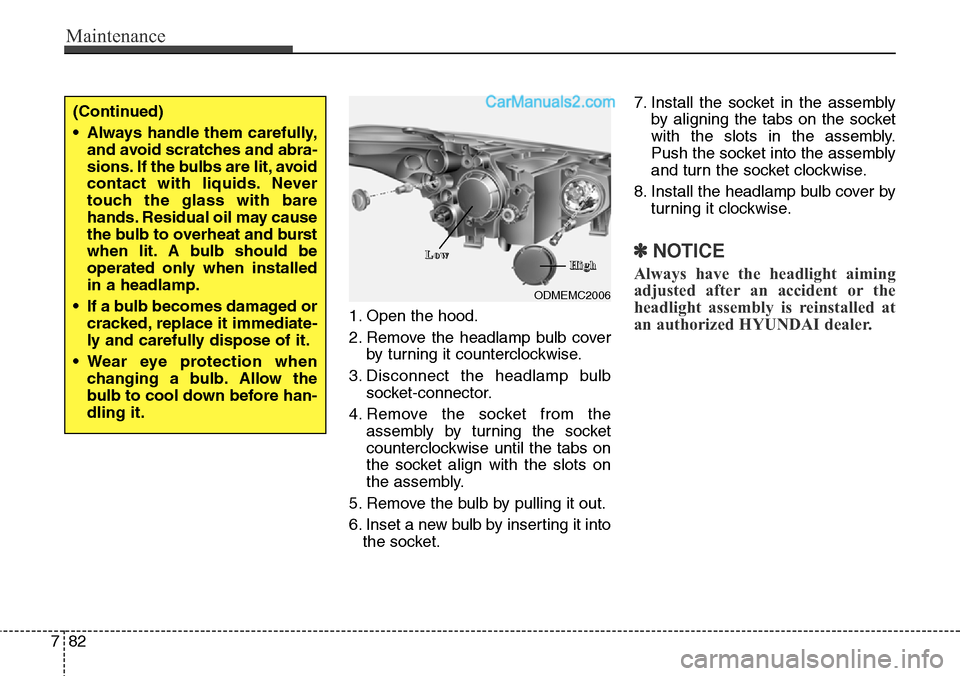
1. Open the hood.
2. Remove the headlamp bulb cover
by turning it counterclockwise.
3. Disconnect the headlamp bulb
socket-connector.
4. Remove the socket from the
assembly by turning the socket
counterclockwise until the tabs on
the socket align with the slots on
the assembly.
5. Remove the bulb by pulling it out.
6. Inset a new bulb by inserting it into
the socket.7. Install the socket in the assembly
by aligning the tabs on the socket
with the slots in the assembly.
Push the socket into the assembly
and turn the socket clockwise.
8. Install the headlamp bulb cover by
turning it clockwise.
✽NOTICE
Always have the headlight aiming
adjusted after an accident or the
headlight assembly is reinstalled at
an authorized HYUNDAI dealer.
(Continued)
• Always handle them carefully,
and avoid scratches and abra-
sions. If the bulbs are lit, avoid
contact with liquids. Never
touch the glass with bare
hands. Residual oil may cause
the bulb to overheat and burst
when lit. A bulb should be
operated only when installed
in a headlamp.
• If a bulb becomes damaged or
cracked, replace it immediate-
ly and carefully dispose of it.
• Wear eye protection when
changing a bulb. Allow the
bulb to cool down before han-
dling it.
ODMEMC2006
L L
o o
w wH H
i i
g g
h h