Page 135 of 785
Features of your vehicle
42 4
If the window detects the resistance
while the power window switch is
pulled up continuously, the window
will stop upward movement then
lower approximately 2.5 cm (1 in.). If
the power window switch is pulled up
continuously again within 5 seconds
after the window is lowered by the
automatic window reversal feature,
the automatic window reversal will
not operate.
✽NOTICE
The automatic reverse feature for
the driver’s window is only active
when the “auto up” feature is used
by fully pulling up the switch. The
automatic reverse feature will not
operate if the window is raised using
the halfway position on the power
window switch.
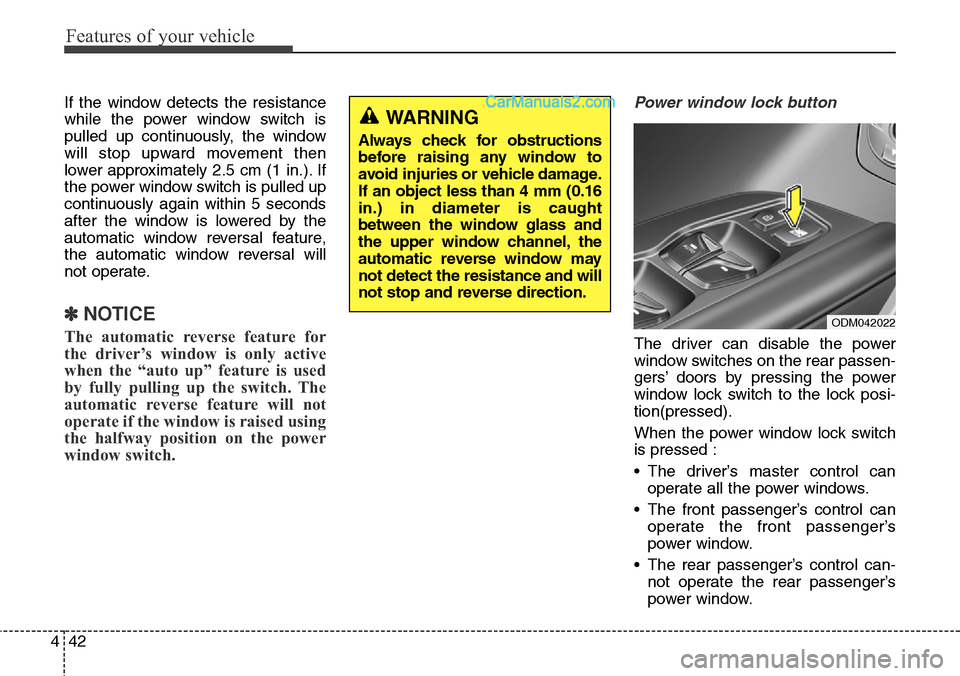
Power window lock button
The driver can disable the power
window switches on the rear passen-
gers’ doors by pressing the power
window lock switch to the lock posi-
tion(pressed).
When the power window lock switch
is pressed :
• The driver’s master control can
operate all the power windows.
• The front passenger’s control can
operate the front passenger’s
power window.
• The rear passenger’s control can-
not operate the rear passenger’s
power window.
WARNING
Always check for obstructions
before raising any window to
avoid injuries or vehicle damage.
If an object less than 4 mm (0.16
in.) in diameter is caught
between the window glass and
the upper window channel, the
automatic reverse window may
not detect the resistance and will
not stop and reverse direction.
ODM042022
Page 136 of 785
443
Features of your vehicle
CAUTION
• To prevent possible damage
to the power window system,
do not open or close two win-
dows or more at the same
time. This will also ensure the
longevity of the fuse.
• Never try to operate the main
switch on the driver's door
and the individual door win-
dow switch in opposing direc-
tions at the same time. If this is
done, the window will stop and
cannot be opened or closed.
WARNING - Windows
• NEVER leave the keys in your
vehicle with unsupervised
children, when the engine is
running.
• NEVER leave any child unat-
tended in the vehicle. Even
very young children may inad-
vertently cause the vehicle to
move, entangle themselves in
the windows, or otherwise
injure themselves or others.
• Always double check to make
sure all arms, hands, head
and other obstructions are
safely out of the way before
closing a window.
• Do not allow children to play
with the power windows. Keep
the driver’s door power win-
dow lock switch in the LOCK
position (depressed). Serious
injury can result from uninten-
tional window operation by
the child.
• Do not extend any head or
arms outside through the win-
dow opening while driving.
Page 155 of 785
Features of your vehicle
62 4
MIRRORS
Inside rearview mirror
Adjust the rearview mirror so that the
center view through the rear window
is seen. Make this adjustment before
you start driving.
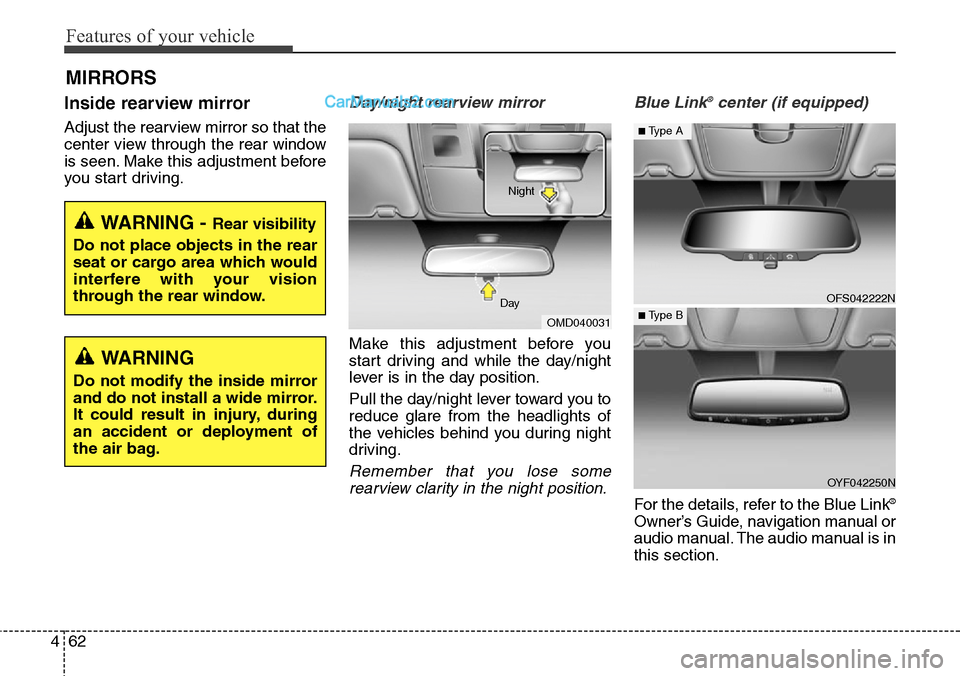
Day/night rearview mirror
Make this adjustment before you
start driving and while the day/night
lever is in the day position.
Pull the day/night lever toward you to
reduce glare from the headlights of
the vehicles behind you during night
driving.
Remember that you lose some
rearview clarity in the night position.Blue Link
®center (if equipped)
For the details, refer to the Blue Link®
Owner’s Guide, navigation manual or
audio manual. The audio manual is in
this section.
WARNING - Rear visibility
Do not place objects in the rear
seat or cargo area which would
interfere with your vision
through the rear window.
OMD040031 DayNight
WARNING
Do not modify the inside mirror
and do not install a wide mirror.
It could result in injury, during
an accident or deployment of
the air bag.
OFS042222N
OYF042250N
■Type A
■ Type B
Page 156 of 785
463
Features of your vehicle
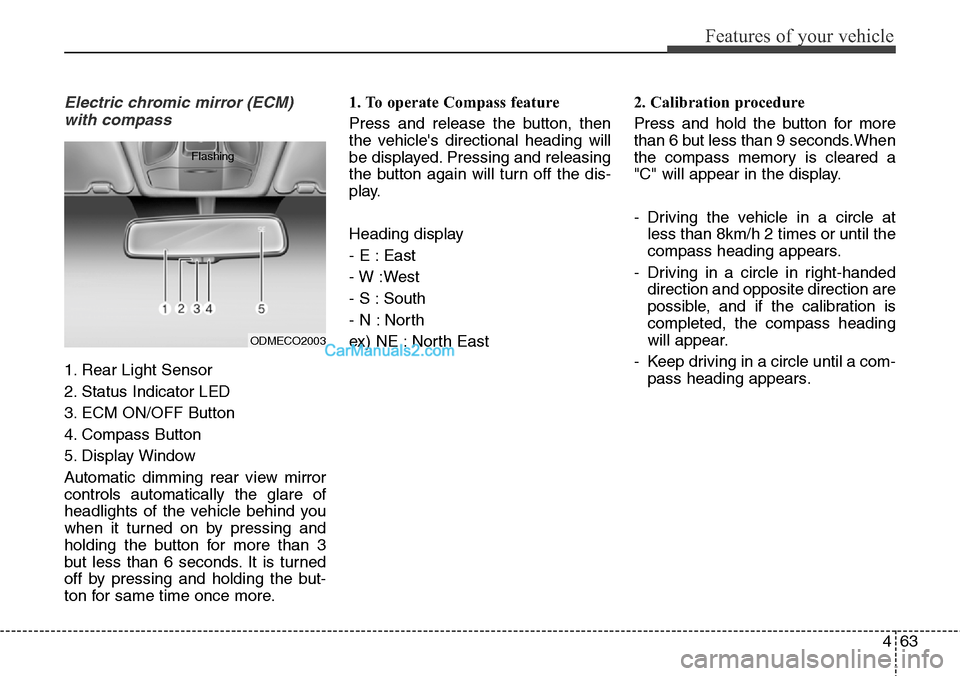
Electric chromic mirror (ECM)
with compass
1. Rear Light Sensor
2. Status Indicator LED
3. ECM ON/OFF Button
4. Compass Button
5. Display Window
Automatic dimming rear view mirror
controls automatically the glare of
headlights of the vehicle behind you
when it turned on by pressing and
holding the button for more than 3
but less than 6 seconds. It is turned
off by pressing and holding the but-
ton for same time once more.1. To operate Compass feature
Press and release the button, then
the vehicle's directional heading will
be displayed. Pressing and releasing
the button again will turn off the dis-
play.
Heading display
- E : East
- W :West
- S : South
- N : North
ex) NE : North East2. Calibration procedure
Press and hold the button for more
than 6 but less than 9 seconds.When
the compass memory is cleared a
"C" will appear in the display.
- Driving the vehicle in a circle at
less than 8km/h 2 times or until the
compass heading appears.
- Driving in a circle in right-handed
direction and opposite direction are
possible, and if the calibration is
completed, the compass heading
will appear.
- Keep driving in a circle until a com-
pass heading appears.
ODMECO2003 Flashing
Page 160 of 785
467
Features of your vehicle
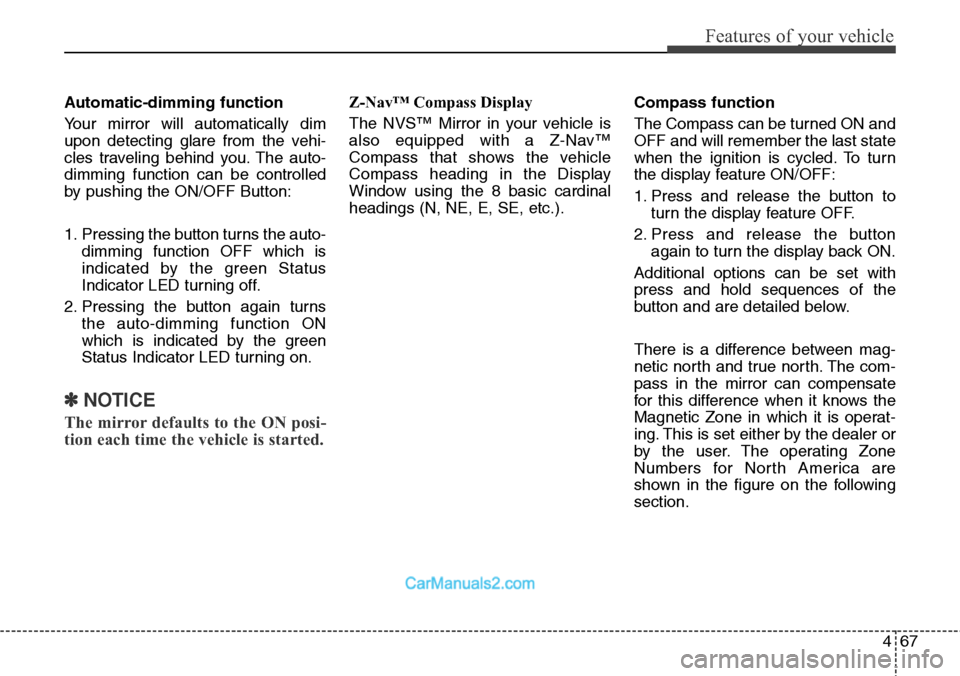
Automatic-dimming function
Your mirror will automatically dim
upon detecting glare from the vehi-
cles traveling behind you. The auto-
dimming function can be controlled
by pushing the ON/OFF Button:
1. Pressing the button turns the auto-
dimming function OFF which is
indicated by the green Status
Indicator LED turning off.
2. Pressing the button again turns
the auto-dimming function ON
which is indicated by the green
Status Indicator LED turning on.
✽NOTICE
The mirror defaults to the ON posi-
tion each time the vehicle is started.
Z-Nav™ Compass Display
The NVS™ Mirror in your vehicle is
also equipped with a Z-Nav™
Compass that shows the vehicle
Compass heading in the Display
Window using the 8 basic cardinal
headings (N, NE, E, SE, etc.).Compass function
The Compass can be turned ON and
OFF and will remember the last state
when the ignition is cycled. To turn
the display feature ON/OFF:
1. Press and release the button to
turn the display feature OFF.
2. Press and release the button
again to turn the display back ON.
Additional options can be set with
press and hold sequences of the
button and are detailed below.
There is a difference between mag-
netic north and true north. The com-
pass in the mirror can compensate
for this difference when it knows the
Magnetic Zone in which it is operat-
ing. This is set either by the dealer or
by the user. The operating Zone
Numbers for North America are
shown in the figure on the following
section.
Page 167 of 785
Features of your vehicle
74 4
Automatic-Dimming Night Vision
Safety™ (NVS®) Mirror
The NVS®Mirror in your vehicle is
the most advanced way to reduce
annoying glare in the rearview mirror
during any driving situation. For more
information regarding NVS
®mirrors
and other applications, please refer
to the Gentex website:
www.gentex.com
✽NOTICE
The NVS®Mirror automatically
reduces glare during driving condi-
tions based upon light levels moni-
tored in front of the vehicle and
from the rear of the vehicle. These
light sensors are visible through
openings in the front and rear of the
mirror case. Any object that
obstructs either light sensor will
degrade the automatic dimming
control feature.
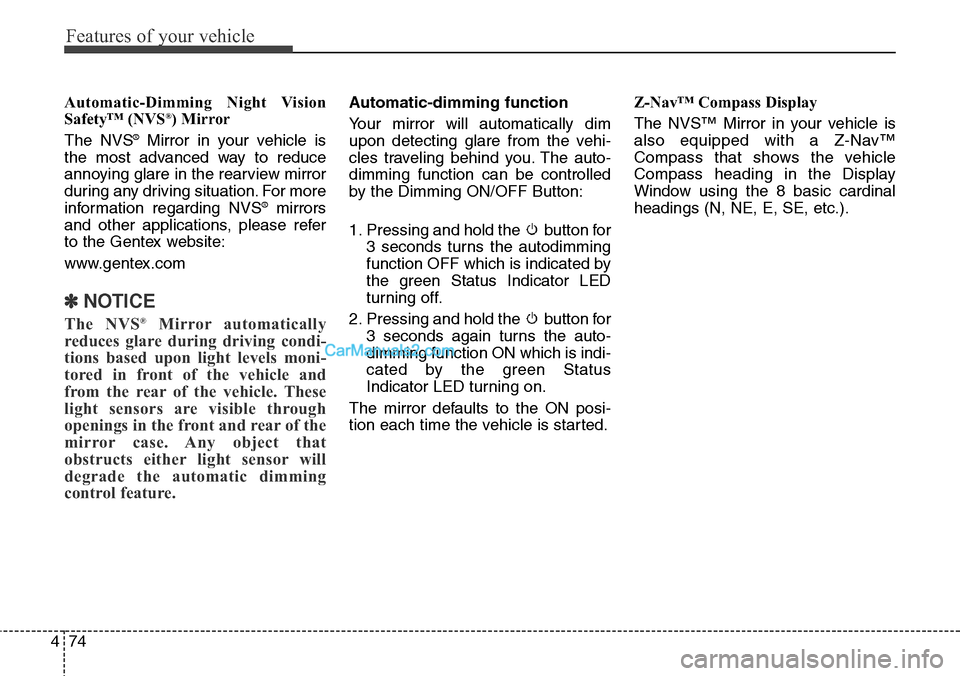
Automatic-dimming function
Your mirror will automatically dim
upon detecting glare from the vehi-
cles traveling behind you. The auto-
dimming function can be controlled
by the Dimming ON/OFF Button:
1. Pressing and hold the button for
3 seconds turns the autodimming
function OFF which is indicated by
the green Status Indicator LED
turning off.
2. Pressing and hold the button for
3 seconds again turns the auto-
dimming function ON which is indi-
cated by the green Status
Indicator LED turning on.
The mirror defaults to the ON posi-
tion each time the vehicle is started.Z-Nav™ Compass Display
The NVS™ Mirror in your vehicle is
also equipped with a Z-Nav™
Compass that shows the vehicle
Compass heading in the Display
Window using the 8 basic cardinal
headings (N, NE, E, SE, etc.).
Page 199 of 785
Features of your vehicle
106 4
Automatic reset
To make the average fuel economy
be reset automatically whenever refu-
eling, select the “Auto Reset” mode in
User Setting menu of the LCD display
(Refer to “LCD Display”).
Under “Auto Reset” mode, the aver-
age fuel economy will be cleared to
zero (---) when the vehicle speed
exceeds 1 km/h after refueling more
than 6 liters (1.6 gallons).
✽NOTICE
The average fuel economy is not dis-
played for more accurate calculation
if the vehicle does not drive more
than 10 seconds or 50 meters (0.03
miles) since the ignition switch or
Engine Start/Stop button is turned
to ON.
Instant Fuel Economy (3)
• This mode displays the instant fuel
economy during the last few sec-
onds when the vehicle speed is
more than 10 km/h (6.2 MPH).
- Fuel economy range: 0 ~ 50 MPG
or 0 ~ 30 L/100km
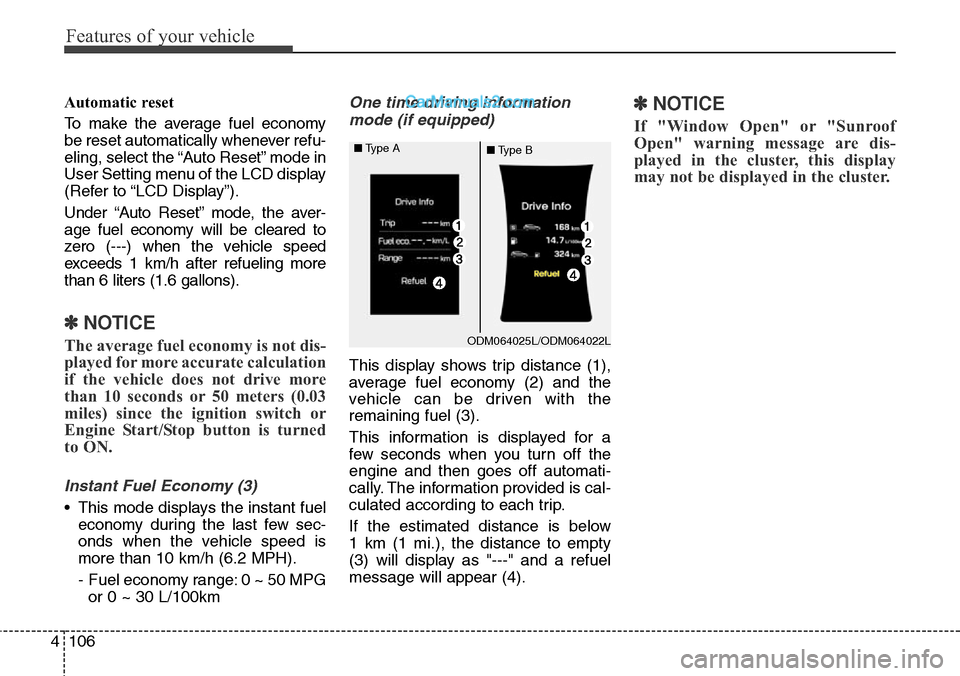
One time driving information
mode (if equipped)
This display shows trip distance (1),
average fuel economy (2) and the
vehicle can be driven with the
remaining fuel (3).
This information is displayed for a
few seconds when you turn off the
engine and then goes off automati-
cally. The information provided is cal-
culated according to each trip.
If the estimated distance is below
1 km (1 mi.), the distance to empty
(3) will display as "---" and a refuel
message will appear (4).
✽NOTICE
If "Window Open" or "Sunroof
Open" warning message are dis-
played in the cluster, this display
may not be displayed in the cluster.
ODM064025L/ODM064022L ■Type A
■Type B
Page 220 of 785
4127
Features of your vehicle
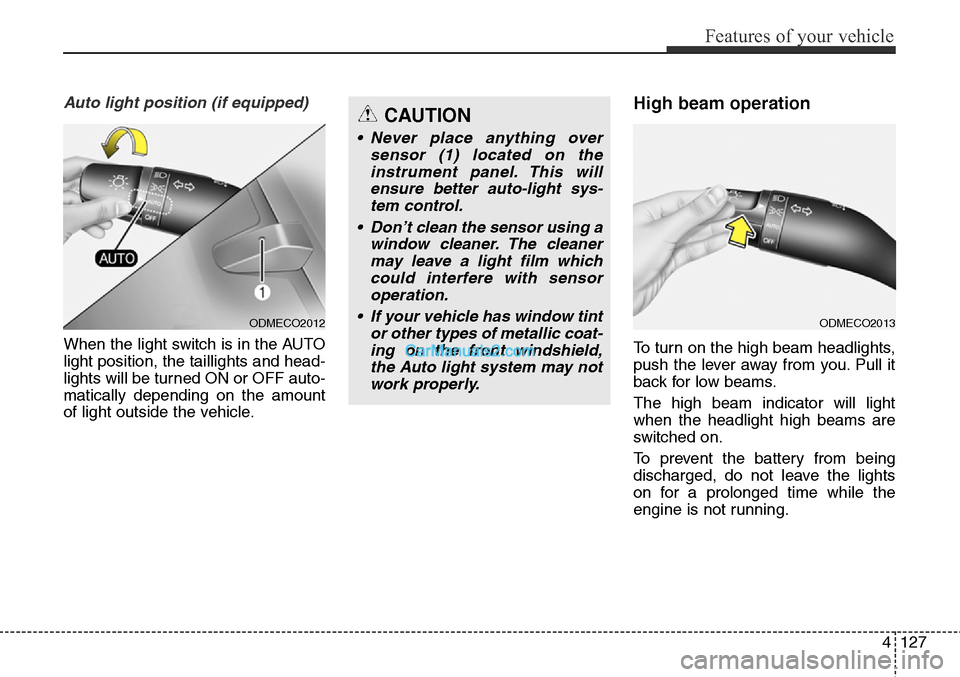
Auto light position (if equipped)
When the light switch is in the AUTO
light position, the taillights and head-
lights will be turned ON or OFF auto-
matically depending on the amount
of light outside the vehicle.
High beam operation
To turn on the high beam headlights,
push the lever away from you. Pull it
back for low beams.
The high beam indicator will light
when the headlight high beams are
switched on.
To prevent the battery from being
discharged, do not leave the lights
on for a prolonged time while the
engine is not running.
ODMECO2012
CAUTION
• Never place anything over
sensor (1) located on the
instrument panel. This will
ensure better auto-light sys-
tem control.
• Don’t clean the sensor using a
window cleaner. The cleaner
may leave a light film which
could interfere with sensor
operation.
• If your vehicle has window tint
or other types of metallic coat-
ing on the front windshield,
the Auto light system may not
work properly.
ODMECO2013