2015 Hyundai Grand Santa Fe reset
[x] Cancel search: resetPage 24 of 717
35
Safety features of your vehicle
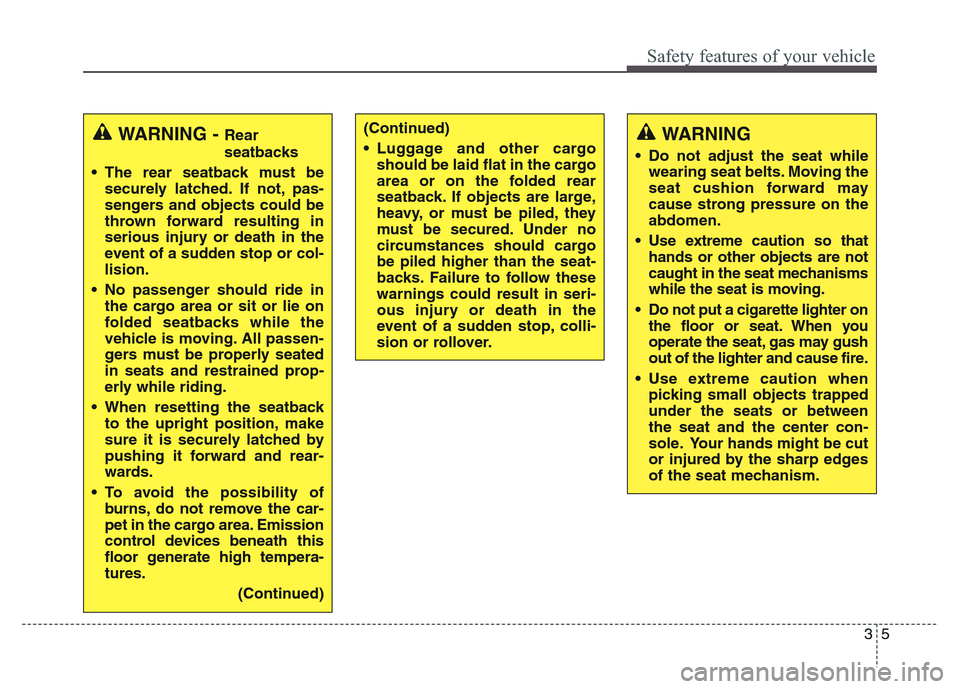
WARNING
• Do not adjust the seat while
wearing seat belts. Moving the
seat cushion forward may
cause strong pressure on the
abdomen.
• Use extreme caution so that
hands or other objects are not
caught in the seat mechanisms
while the seat is moving.
• Do not put a cigarette lighter on
the floor or seat. When you
operate the seat, gas may gush
out of the lighter and cause fire.
• Use extreme caution when
picking small objects trapped
under the seats or between
the seat and the center con-
sole. Your hands might be cut
or injured by the sharp edges
of the seat mechanism.
(Continued)
• Luggage and other cargo
should be laid flat in the cargo
area or on the folded rear
seatback. If objects are large,
heavy, or must be piled, they
must be secured. Under no
circumstances should cargo
be piled higher than the seat-
backs. Failure to follow these
warnings could result in seri-
ous injury or death in the
event of a sudden stop, colli-
sion or rollover.WARNING - Rear
seatbacks
• The rear seatback must be
securely latched. If not, pas-
sengers and objects could be
thrown forward resulting in
serious injury or death in the
event of a sudden stop or col-
lision.
• No passenger should ride in
the cargo area or sit or lie on
folded seatbacks while the
vehicle is moving. All passen-
gers must be properly seated
in seats and restrained prop-
erly while riding.
• When resetting the seatback
to the upright position, make
sure it is securely latched by
pushing it forward and rear-
wards.
• To avoid the possibility of
burns, do not remove the car-
pet in the cargo area. Emission
control devices beneath this
floor generate high tempera-
tures.
(Continued)
Page 98 of 717
Features of your vehicle
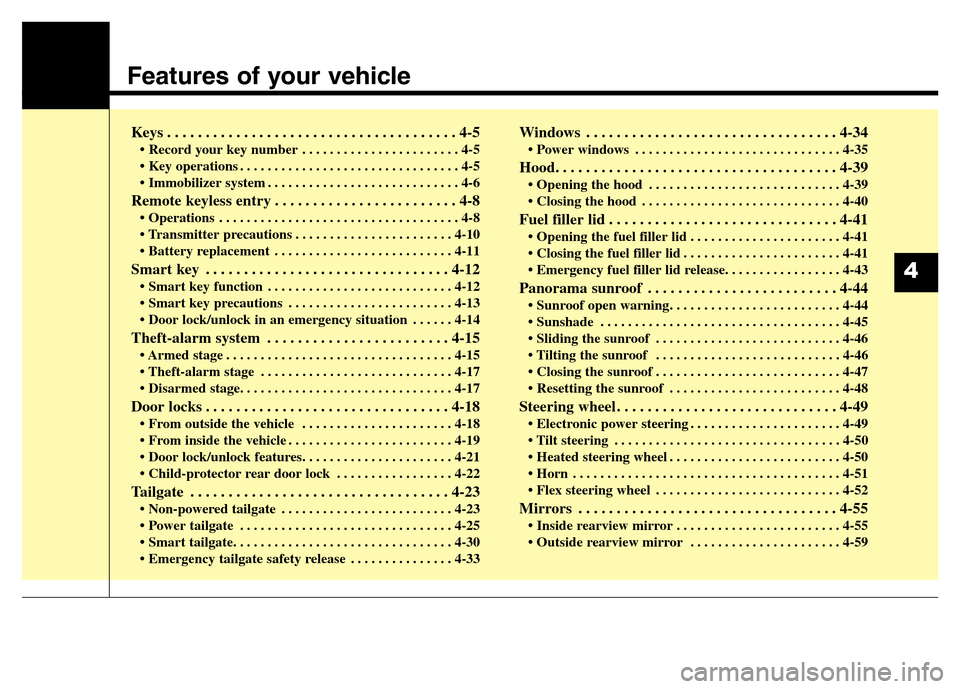
Keys . . . . . . . . . . . . . . . . . . . . . . . . . . . . . . . . . . . . . . 4-5
• Record your key number . . . . . . . . . . . . . . . . . . . . . . . 4-5
• Key operations . . . . . . . . . . . . . . . . . . . . . . . . . . . . . . . . 4-5
• Immobilizer system . . . . . . . . . . . . . . . . . . . . . . . . . . . . 4-6
Remote keyless entry . . . . . . . . . . . . . . . . . . . . . . . . 4-8
• Operations . . . . . . . . . . . . . . . . . . . . . . . . . . . . . . . . . . . 4-8
• Transmitter precautions . . . . . . . . . . . . . . . . . . . . . . . 4-10
• Battery replacement . . . . . . . . . . . . . . . . . . . . . . . . . . 4-11
Smart key . . . . . . . . . . . . . . . . . . . . . . . . . . . . . . . . 4-12
• Smart key function . . . . . . . . . . . . . . . . . . . . . . . . . . . 4-12
• Smart key precautions . . . . . . . . . . . . . . . . . . . . . . . . 4-13
• Door lock/unlock in an emergency situation . . . . . . 4-14
Theft-alarm system . . . . . . . . . . . . . . . . . . . . . . . . 4-15
• Armed stage . . . . . . . . . . . . . . . . . . . . . . . . . . . . . . . . . 4-15
• Theft-alarm stage . . . . . . . . . . . . . . . . . . . . . . . . . . . . 4-17
• Disarmed stage. . . . . . . . . . . . . . . . . . . . . . . . . . . . . . . 4-17
Door locks . . . . . . . . . . . . . . . . . . . . . . . . . . . . . . . . 4-18
• From outside the vehicle . . . . . . . . . . . . . . . . . . . . . . 4-18
• From inside the vehicle . . . . . . . . . . . . . . . . . . . . . . . . 4-19
• Door lock/unlock features. . . . . . . . . . . . . . . . . . . . . . 4-21
• Child-protector rear door lock . . . . . . . . . . . . . . . . . 4-22
Tailgate . . . . . . . . . . . . . . . . . . . . . . . . . . . . . . . . . . 4-23
• Non-powered tailgate . . . . . . . . . . . . . . . . . . . . . . . . . 4-23
• Power tailgate . . . . . . . . . . . . . . . . . . . . . . . . . . . . . . . 4-25
• Smart tailgate. . . . . . . . . . . . . . . . . . . . . . . . . . . . . . . . 4-30
• Emergency tailgate safety release . . . . . . . . . . . . . . . 4-33
Windows . . . . . . . . . . . . . . . . . . . . . . . . . . . . . . . . . 4-34
• Power windows . . . . . . . . . . . . . . . . . . . . . . . . . . . . . . 4-35
Hood. . . . . . . . . . . . . . . . . . . . . . . . . . . . . . . . . . . . . 4-39
• Opening the hood . . . . . . . . . . . . . . . . . . . . . . . . . . . . 4-39
• Closing the hood . . . . . . . . . . . . . . . . . . . . . . . . . . . . . 4-40
Fuel filler lid . . . . . . . . . . . . . . . . . . . . . . . . . . . . . . 4-41
• Opening the fuel filler lid . . . . . . . . . . . . . . . . . . . . . . 4-41
• Closing the fuel filler lid . . . . . . . . . . . . . . . . . . . . . . . 4-41
• Emergency fuel filler lid release. . . . . . . . . . . . . . . . . 4-43
Panorama sunroof . . . . . . . . . . . . . . . . . . . . . . . . . 4-44
• Sunroof open warning. . . . . . . . . . . . . . . . . . . . . . . . . 4-44
• Sunshade . . . . . . . . . . . . . . . . . . . . . . . . . . . . . . . . . . . 4-45
• Sliding the sunroof . . . . . . . . . . . . . . . . . . . . . . . . . . . 4-46
• Tilting the sunroof . . . . . . . . . . . . . . . . . . . . . . . . . . . 4-46
• Closing the sunroof . . . . . . . . . . . . . . . . . . . . . . . . . . . 4-47
• Resetting the sunroof . . . . . . . . . . . . . . . . . . . . . . . . . 4-48
Steering wheel . . . . . . . . . . . . . . . . . . . . . . . . . . . . . 4-49
• Electronic power steering . . . . . . . . . . . . . . . . . . . . . . 4-49
• Tilt steering . . . . . . . . . . . . . . . . . . . . . . . . . . . . . . . . . 4-50
• Heated steering wheel . . . . . . . . . . . . . . . . . . . . . . . . . 4-50
• Horn . . . . . . . . . . . . . . . . . . . . . . . . . . . . . . . . . . . . . . . 4-51
• Flex steering wheel . . . . . . . . . . . . . . . . . . . . . . . . . . . 4-52
Mirrors . . . . . . . . . . . . . . . . . . . . . . . . . . . . . . . . . . 4-55
• Inside rearview mirror . . . . . . . . . . . . . . . . . . . . . . . . 4-55
• Outside rearview mirror . . . . . . . . . . . . . . . . . . . . . . 4-59
4
Page 126 of 717
429
Features of your vehicle
How to reset the power tailgate
If the battery has been discharged or
disconnected, or if the related fuse has
been replaced or disconnected, for the
power tailgate to operate normally,
reset the power tailgate as follow:
1. Put the shift lever in P (Park).
2. While pressing the tailgate close
button, press the tailgate handle
switch for more than 3 seconds.
(the chime will sound)
3. Close the tailgate manually.
If the power tailgate does not work
properly after the above procedure,
we recommend that the system be
checked by an authorized HYUNDAI
dealer.
✽NOTICE
If the power tailgate does not oper-
ate normally, first check the follow-
ing condition before using the power
tailgate.
Check if the shift lever is in P (Park)
for automatic transaxle vehicles.
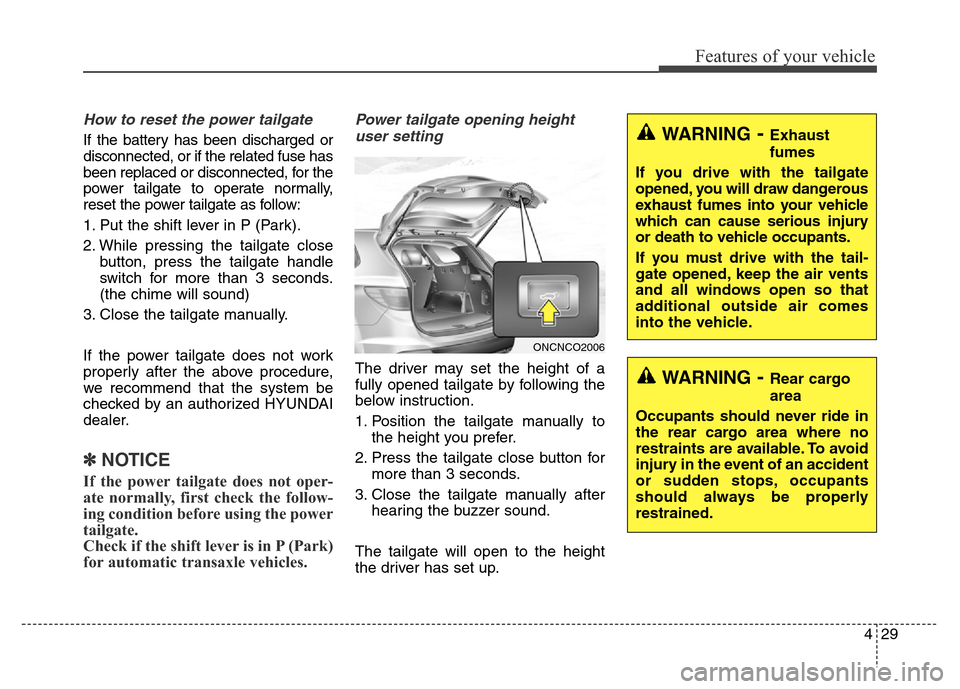
Power tailgate opening height
user setting
The driver may set the height of a
fully opened tailgate by following the
below instruction.
1. Position the tailgate manually to
the height you prefer.
2. Press the tailgate close button for
more than 3 seconds.
3. Close the tailgate manually after
hearing the buzzer sound.
The tailgate will open to the height
the driver has set up.
ONCNCO2006
WARNING- Exhaust
fumes
If you drive with the tailgate
opened, you will draw dangerous
exhaust fumes into your vehicle
which can cause serious injury
or death to vehicle occupants.
If you must drive with the tail-
gate opened, keep the air vents
and all windows open so that
additional outside air comes
into the vehicle.
WARNING- Rear cargo
area
Occupants should never ride in
the rear cargo area where no
restraints are available. To avoid
injury in the event of an accident
or sudden stops, occupants
should always be properly
restrained.
Page 133 of 717
Features of your vehicle
36 4
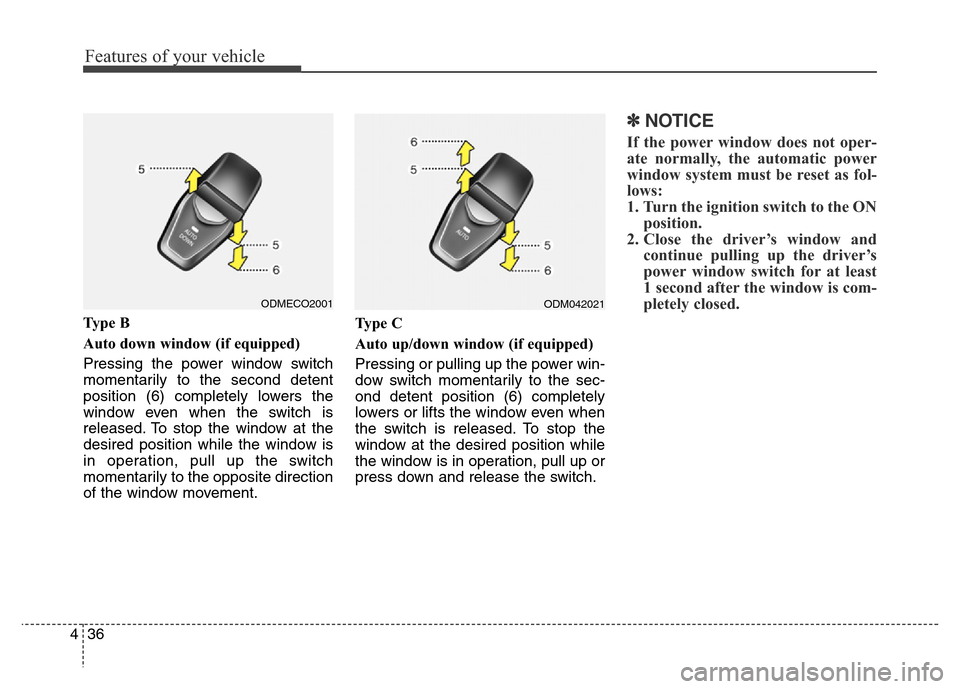
Ty p e B
Auto down window (if equipped)
Pressing the power window switch
momentarily to the second detent
position (6) completely lowers the
window even when the switch is
released. To stop the window at the
desired position while the window is
in operation, pull up the switch
momentarily to the opposite direction
of the window movement.Ty p e C
Auto up/down window (if equipped)
Pressing or pulling up the power win-
dow switch momentarily to the sec-
ond detent position (6) completely
lowers or lifts the window even when
the switch is released. To stop the
window at the desired position while
the window is in operation, pull up or
press down and release the switch.
✽NOTICE
If the power window does not oper-
ate normally, the automatic power
window system must be reset as fol-
lows:
1. Turn the ignition switch to the ON
position.
2. Close the driver’s window and
continue pulling up the driver’s
power window switch for at least
1 second after the window is com-
pletely closed.
ODM042021ODMECO2001
Page 145 of 717
Features of your vehicle
48 4
Resetting the sunroof
Sunroof needs to be reset if (in the
followings)
- Battery is discharged or disconnect-
ed or the related fuse has been
replaced or disconnected.
- The one-touch sliding function of the
sunroof does not normally operate.
1.Turn the ignition switch to the ON
position.
2.Close the sunshade and sunroof
completely if opened.
3.Release the sunroof control lever.
4.Push the sunroof control lever for-
ward in the direction of close
(about 10 seconds) until the sun-
roof moves a little. Then, release
the lever.5.Push the sunroof control lever for-
ward in the direction of close, until
the sunroof operates as follows
again:
The sunshade and sunroof glass
slide open →The sunroof glass
slide close →The sunshade close
Then, release the lever.
When this is complete, the sunroof
system has been reset.
✽NOTICE
If you do not reset the sunroof, it
may not work properly.
CAUTION
• Periodically remove any dirt
that may accumulate on the
guide rail.
• If you try to open the sunroof
when the temperature is
below freezing or when the
sunroof is covered with snow
or ice, the glass or the motor
could be damaged.
Page 162 of 717
465
Features of your vehicle
Instrument Cluster Control
Adjusting Instrument Cluster
Illumination (if equipped)
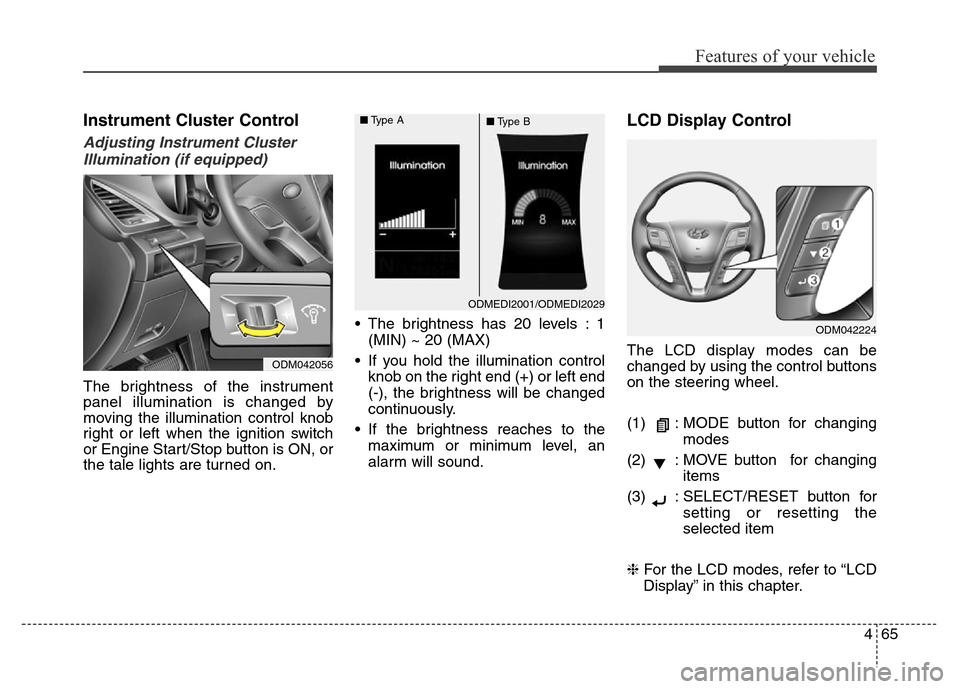
The brightness of the instrument
panel illumination is changed by
moving the illumination control knob
right or left when the ignition switch
or Engine Start/Stop button is ON, or
the tale lights are turned on.• The brightness has 20 levels : 1
(MIN) ~ 20 (MAX)
• If you hold the illumination control
knob on the right end (+) or left end
(-), the brightness will be changed
continuously.
• If the brightness reaches to the
maximum or minimum level, an
alarm will sound.
LCD Display Control
The LCD display modes can be
changed by using the control buttons
on the steering wheel.
(1) : MODE button for changing
modes
(2) : MOVE button for changing
items
(3) : SELECT/RESET button for
setting or resetting the
selected item
❈For the LCD modes, refer to “LCD
Display” in this chapter.
ODMEDI2001/ODMEDI2029 ■Type A
■Type B
ODM042056
ODM042224
Page 170 of 717
473
Features of your vehicle
Service Mode
Service Interval
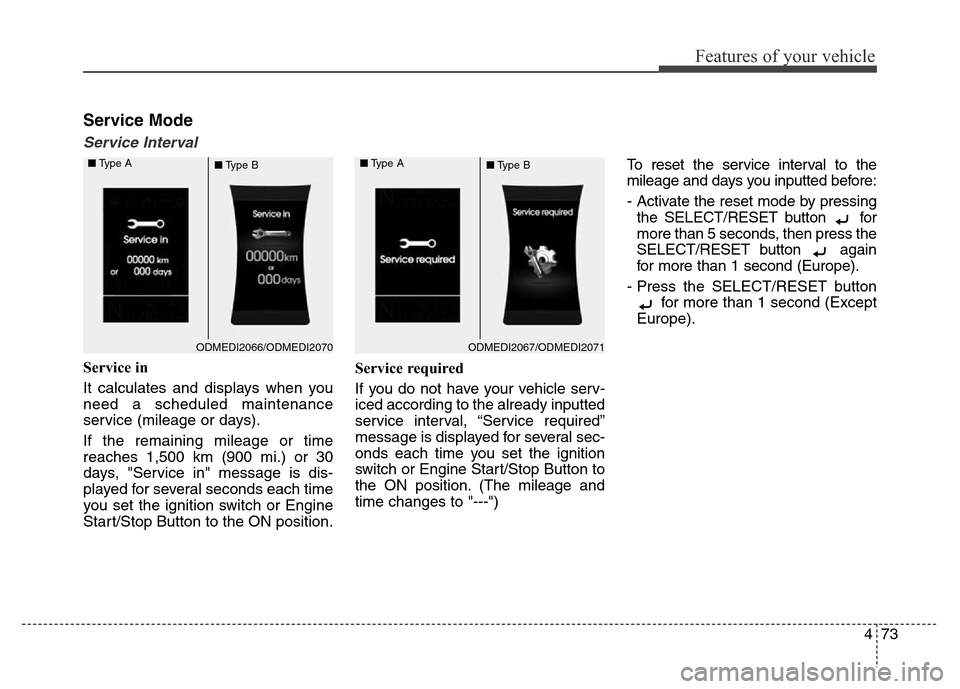
Service in
It calculates and displays when you
need a scheduled maintenance
service (mileage or days).
If the remaining mileage or time
reaches 1,500 km (900 mi.) or 30
days, "Service in" message is dis-
played for several seconds each time
you set the ignition switch or Engine
Start/Stop Button to the ON position.Service required
If you do not have your vehicle serv-
iced according to the already inputted
service interval, “Service required”
message is displayed for several sec-
onds each time you set the ignition
switch or Engine Start/Stop Button to
the ON position. (The mileage and
time changes to "---")To reset the service interval to the
mileage and days you inputted before:
- Activate the reset mode by pressing
the SELECT/RESET button for
more than 5 seconds, then press the
SELECT/RESET button again
for more than 1 second (Europe).
- Press the SELECT/RESET button
for more than 1 second (Except
Europe).
ODMEDI2067/ODMEDI2071 ■Type A
■Type BODMEDI2066/ODMEDI2070 ■Type A
■Type B
Page 173 of 717
Features of your vehicle
76 4
Travel Mode (if equipped)
If this item is checked, the traffic
change function will be activated.
For more details, refer to "Lighting" in
this chapter.Settings
Language (if equipped)
Choose the language you prefer
within the LCD display.
Temperature Unit
Convert the temperature unit from °C
to °F or from °F to °C.
Welcome Sound
If this item is checked, the welcome
sound function will be activated.
Shift Indicator (if equipped)
If this item is checked, the shift indi-
cator function will be activated.
For more details, refer to “Instrument
Cluster” in this chapter.
Seat Easy Access (if equipped)
If this item is checked, the driver’s
seat will automatically move forward
or rearward for the driver to enter or
exit the vehicle comfortably.Tire Pressure Unit (if equipped)
Choose the tire pressure unit.
(psi, kPa, Bar)
AVG Fuel Eco Reset
• Auto Reset:
The average fuel economy will
reset automatically when refueling.
• Manual Reset:
The average fuel economy will not
reset automatically whenever refu-
eling.
For more details, refer to “Trip
Computer” in this chapter.