2015 FORD SUPER DUTY ECO mode
[x] Cancel search: ECO modePage 10 of 470
ABOUT THIS MANUAL
Thank you for choosing Ford. Werecommend that you take some time toget to know your vehicle by reading thismanual. The more that you know about it,the greater the safety and pleasure youwill get from driving it.
WARNING
Driving while distracted can result inloss of vehicle control, crash andinjury. We strongly recommend thatyou use extreme caution when using anydevice that may take your focus off theroad. Your primary responsibility is the safeoperation of your vehicle. We recommendagainst the use of any handheld devicewhile driving and encourage the use ofvoice-operated systems when possible.Make sure you are aware of all applicablelocal laws that may affect the use ofelectronic devices while driving.
Note:This manual describes productfeatures and options available throughoutthe range of available models, sometimeseven before they are generally available. Itmay describe options not fitted to yourvehicle.
Note:Some of the illustrations in thismanual may be used for different models,so may appear different to you on yourvehicle. However, the essential informationin the illustrations is always correct.
Note:Always use and operate your vehiclein line with all applicable laws andregulations.
Note:Pass on this manual when sellingyour vehicle. It is an integral part of thevehicle.
Note:Either Ford Motor Company or anauthorized Ford dealer may have originallysold this incomplete vehicle to a vehiclemodifier who upfitted it. As a result, someof the options and features on this vehiclemay differ from what we describe in thismanual.
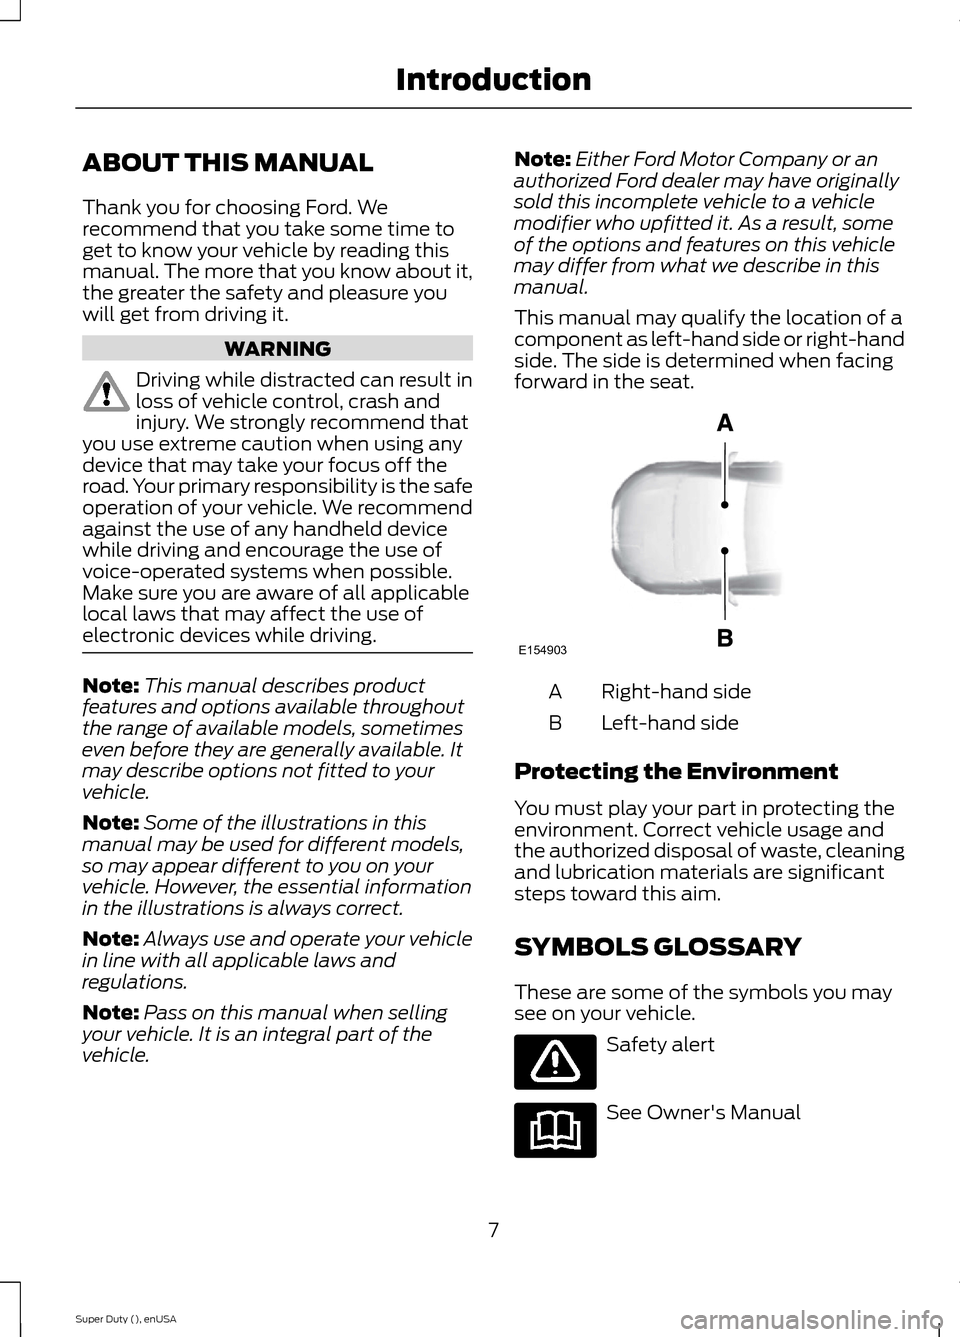
This manual may qualify the location of acomponent as left-hand side or right-handside. The side is determined when facingforward in the seat.
Right-hand sideA
Left-hand sideB
Protecting the Environment
You must play your part in protecting theenvironment. Correct vehicle usage andthe authorized disposal of waste, cleaningand lubrication materials are significantsteps toward this aim.
SYMBOLS GLOSSARY
These are some of the symbols you maysee on your vehicle.
Safety alert
See Owner's Manual
7Super Duty (), enUSAIntroductionE154903
Page 31 of 470
PRINCIPLE OF OPERATION
WARNINGS
Always drive and ride with your seatback upright and the lap belt snugand low across the hips.
To reduce the risk of injury, makesure children sit where they can beproperly restrained.
Never let a passenger hold a child onhis or her lap while the vehicle ismoving. The passenger cannotprotect the child from injury in a crashwhich may result in serious injury or death.
All occupants of the vehicle,including the driver, should alwaysproperly wear their safety belts, evenwhen an airbag supplemental restraintsystem is provided. Failure to properly wearyour safety belt could seriously increasethe risk of injury or death.
It is extremely dangerous to ride in acargo area, inside or outside of avehicle. In a crash, people riding inthese areas are more likely to be seriouslyinjured or killed. Do not allow people to ridein any area of your vehicle that is notequipped with seats and safety belts. Besure everyone in your vehicle is in a seatand using a safety belt properly.
In a rollover crash, an unbeltedperson is significantly more likely todie than a person wearing a safetybelt.
Each seating position in your vehiclehas a specific safety belt assemblywhich is made up of one buckle andone tongue that are designed to be usedas a pair. 1) Use the shoulder belt on theoutside shoulder only. Never wear theshoulder belt under the arm. 2) Neverswing the safety belt around your neck overthe inside shoulder. 3) Never use a singlebelt for more than one person.
WARNINGS
When possible, all children 12 yearsold and under should be properlyrestrained in a rear seating position.Failure to follow this could seriouslyincrease the risk of injury or death.
Safety belts and seats can becomehot in a vehicle that has been closedup in sunny weather; they could burna small child. Check seat covers andbuckles before you place a child anywherenear them.
Front and rear seat occupants,including pregnant women, shouldwear safety belts for optimumprotection in an accident.
All seating positions in this vehicle havelap and shoulder safety belts. Alloccupants of the vehicle should alwaysproperly wear their safety belts, even whenan airbag supplemental restraint systemis provided.
The safety belt system consists of:
•Lap and shoulder safety belts.
•Shoulder safety belt with automaticlocking mode, (except driver safetybelt).
•Height adjuster at the front outboardseating positions.
•Safety belt pretensioner at the frontoutboard seating positions.
•Safety belt warning light and chime.
•Crash sensors and monitoring systemwith readiness indicator.
28Super Duty (), enUSASafety Belts
Page 33 of 470
Fastening the Cinch Tongue
WARNING
The lap belt should fit snugly and aslow as possible around the hips, notacross the waist.
1.Pull the lap and shoulder belt from theretractor so that the shoulder beltportion of the safety belt crosses yourshoulder and chest.
2.Be sure the belt is not twisted. If thebelt is twisted, remove the twist.
3.Insert the belt tongue into the properbuckle for your seating position untilyou hear a snap and feel it latch.
4.Make sure the tongue is securelyfastened to the buckle by pulling onthe tongue.
While you are fastened in the safety belt,the lap and shoulder belt with a cinchtongue adjusts to your movement.However, if you brake hard, turn hard, or ifyour vehicle receives an impact of 5 mph(8 km/h) or more, the safety belt willbecome locked and help reduce yourforward movement.
Using Safety Belts DuringPregnancy
WARNING
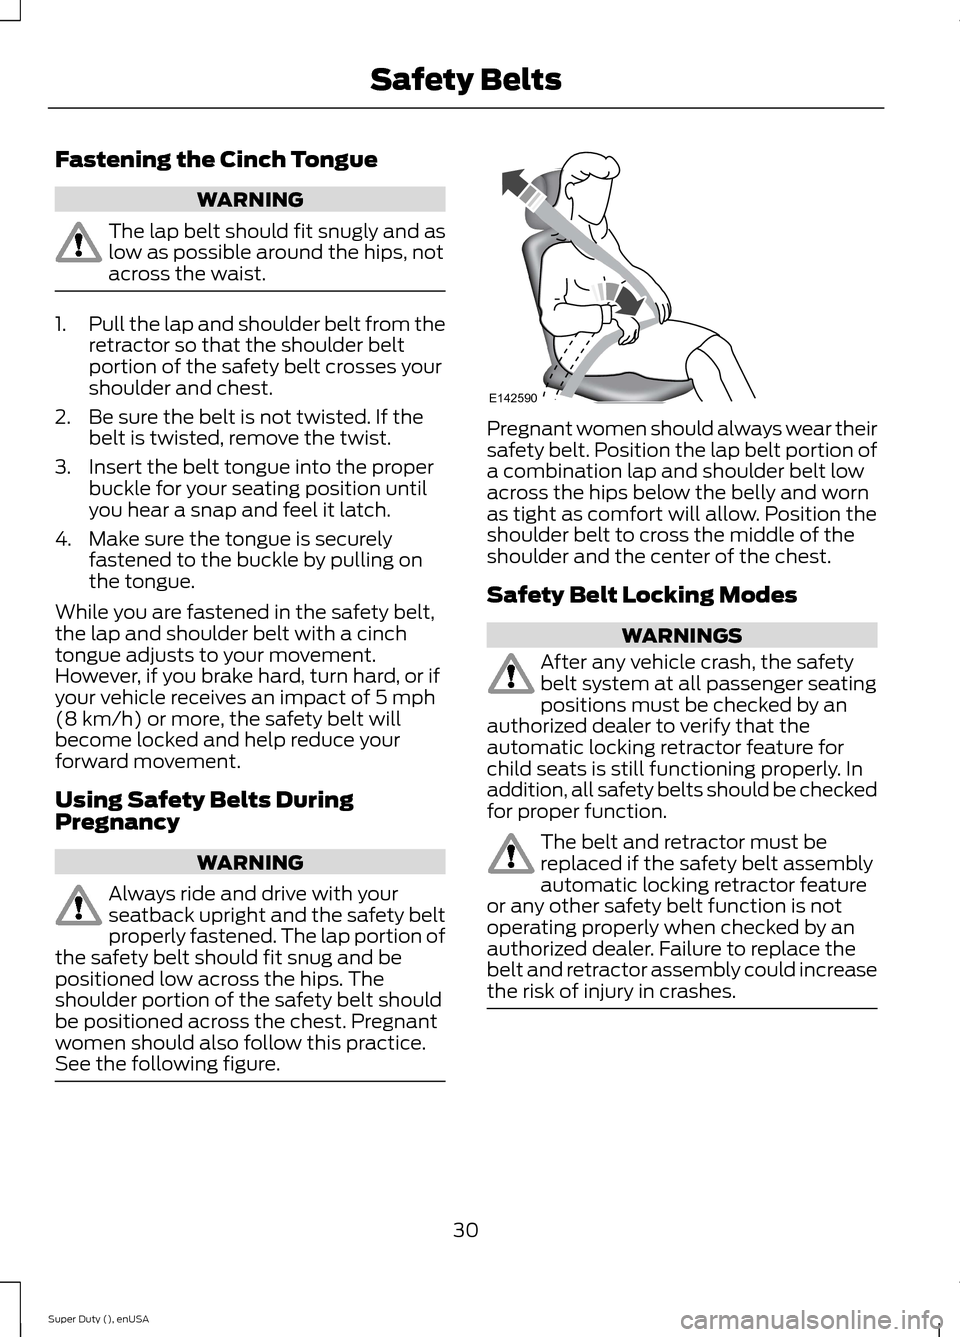
Always ride and drive with yourseatback upright and the safety beltproperly fastened. The lap portion ofthe safety belt should fit snug and bepositioned low across the hips. Theshoulder portion of the safety belt shouldbe positioned across the chest. Pregnantwomen should also follow this practice.See the following figure.
Pregnant women should always wear theirsafety belt. Position the lap belt portion ofa combination lap and shoulder belt lowacross the hips below the belly and wornas tight as comfort will allow. Position theshoulder belt to cross the middle of theshoulder and the center of the chest.
Safety Belt Locking Modes
WARNINGS
After any vehicle crash, the safetybelt system at all passenger seatingpositions must be checked by anauthorized dealer to verify that theautomatic locking retractor feature forchild seats is still functioning properly. Inaddition, all safety belts should be checkedfor proper function.
The belt and retractor must bereplaced if the safety belt assemblyautomatic locking retractor featureor any other safety belt function is notoperating properly when checked by anauthorized dealer. Failure to replace thebelt and retractor assembly could increasethe risk of injury in crashes.
30Super Duty (), enUSASafety BeltsE142590
Page 34 of 470
All safety restraints in the vehicle arecombination lap and shoulder belts. Thedriver safety belt has the first type oflocking mode. The front outboardpassenger and rear outboard seat safetybelts have both types of locking modesdescribed as follows:
Vehicle Sensitive Mode
This is the normal retractor mode, whichallows free shoulder belt lengthadjustment to your movements andlocking in response to vehicle movement.For example, if the driver brakes suddenlyor turns a corner sharply, or the vehiclereceives an impact of about 5 mph(8 km/h) or more, the combination safetybelts will lock to help reduce forwardmovement of the driver and passengers.
In addition, the retractor is designed to lockif the webbing is pulled out too quickly. Ifthis occurs, let the belt retract slightly andpull webbing out again in a slow andcontrolled manner.
Automatic Locking Mode
In this mode, the shoulder belt isautomatically pre-locked. The belt will stillretract to remove any slack in the shoulderbelt. The automatic locking mode is notavailable on the driver safety belt.
When to Use the Automatic LockingMode
Use this mode any time a child safety seat,except a booster, is installed in passengerfront or rear seating positions. You shouldproperly restrain children 12 years old andunder in a rear seating position wheneverpossible. See Child Safety (page 15).
How to Use the Automatic LockingMode
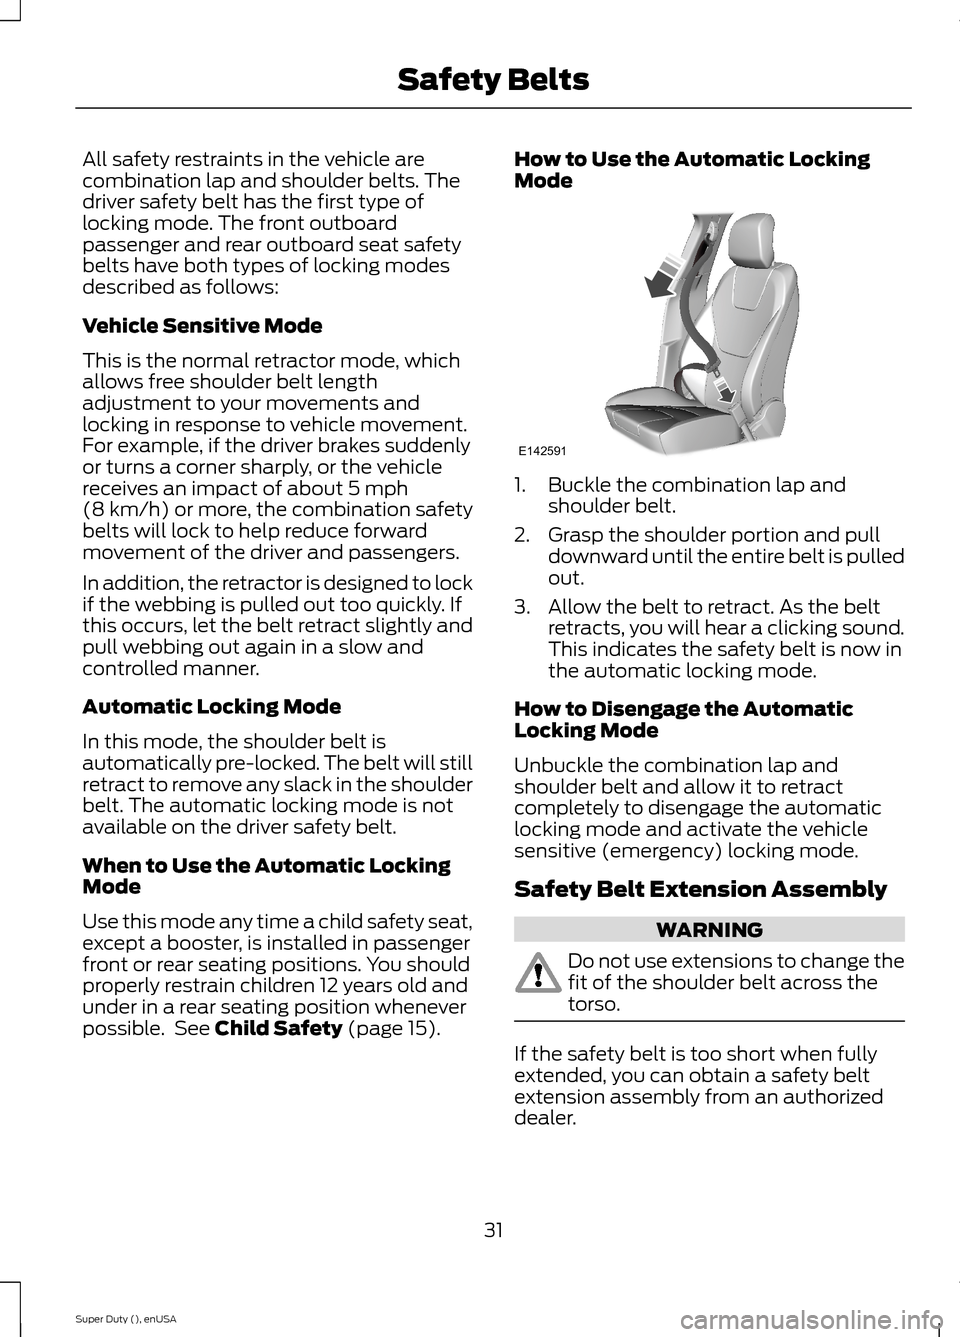
1.Buckle the combination lap andshoulder belt.
2.Grasp the shoulder portion and pulldownward until the entire belt is pulledout.
3.Allow the belt to retract. As the beltretracts, you will hear a clicking sound.This indicates the safety belt is now inthe automatic locking mode.
How to Disengage the AutomaticLocking Mode
Unbuckle the combination lap andshoulder belt and allow it to retractcompletely to disengage the automaticlocking mode and activate the vehiclesensitive (emergency) locking mode.
Safety Belt Extension Assembly
WARNING
Do not use extensions to change thefit of the shoulder belt across thetorso.
If the safety belt is too short when fullyextended, you can obtain a safety beltextension assembly from an authorizeddealer.
31Super Duty (), enUSASafety BeltsE142591
Page 37 of 470
Then...If...
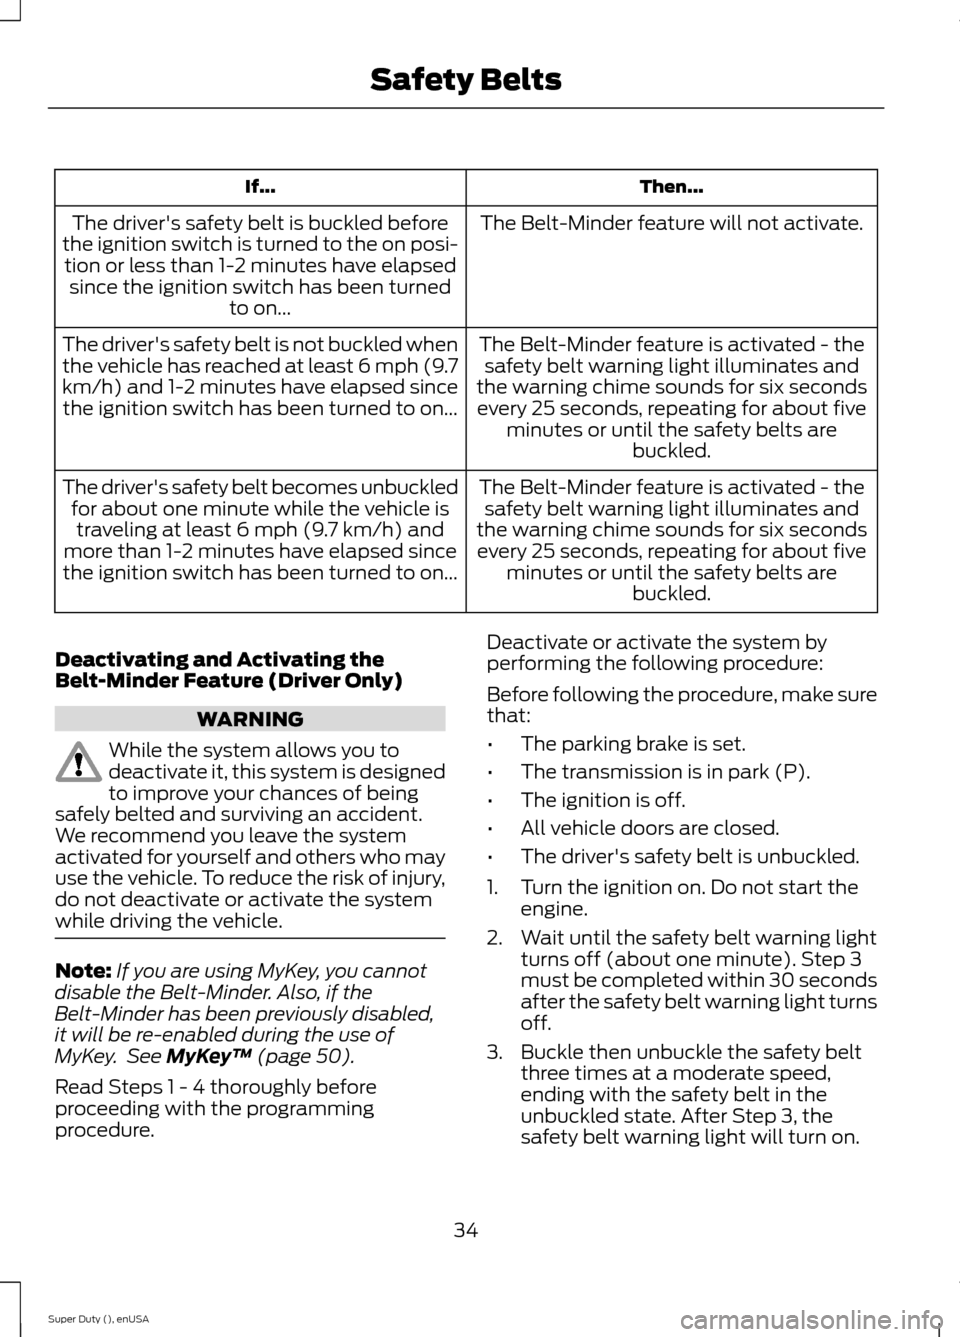
The Belt-Minder feature will not activate.The driver's safety belt is buckled beforethe ignition switch is turned to the on posi-tion or less than 1-2 minutes have elapsedsince the ignition switch has been turnedto on...
The Belt-Minder feature is activated - thesafety belt warning light illuminates andthe warning chime sounds for six secondsevery 25 seconds, repeating for about fiveminutes or until the safety belts arebuckled.
The driver's safety belt is not buckled whenthe vehicle has reached at least 6 mph (9.7km/h) and 1-2 minutes have elapsed sincethe ignition switch has been turned to on...
The Belt-Minder feature is activated - thesafety belt warning light illuminates andthe warning chime sounds for six secondsevery 25 seconds, repeating for about fiveminutes or until the safety belts arebuckled.
The driver's safety belt becomes unbuckledfor about one minute while the vehicle istraveling at least 6 mph (9.7 km/h) andmore than 1-2 minutes have elapsed sincethe ignition switch has been turned to on...
Deactivating and Activating theBelt-Minder Feature (Driver Only)
WARNING
While the system allows you todeactivate it, this system is designedto improve your chances of beingsafely belted and surviving an accident.We recommend you leave the systemactivated for yourself and others who mayuse the vehicle. To reduce the risk of injury,do not deactivate or activate the systemwhile driving the vehicle.
Note:If you are using MyKey, you cannotdisable the Belt-Minder. Also, if theBelt-Minder has been previously disabled,it will be re-enabled during the use ofMyKey. See MyKey™ (page 50).
Read Steps 1 - 4 thoroughly beforeproceeding with the programmingprocedure.
Deactivate or activate the system byperforming the following procedure:
Before following the procedure, make surethat:
•The parking brake is set.
•The transmission is in park (P).
•The ignition is off.
•All vehicle doors are closed.
•The driver's safety belt is unbuckled.
1.Turn the ignition on. Do not start theengine.
2.Wait until the safety belt warning lightturns off (about one minute). Step 3must be completed within 30 secondsafter the safety belt warning light turnsoff.
3.Buckle then unbuckle the safety beltthree times at a moderate speed,ending with the safety belt in theunbuckled state. After Step 3, thesafety belt warning light will turn on.
34Super Duty (), enUSASafety Belts
Page 57 of 470
LOCKING AND UNLOCKING
You can use the power door lock controlor the remote control to lock and unlockyour vehicle.
Power Door Locks (If Equipped)
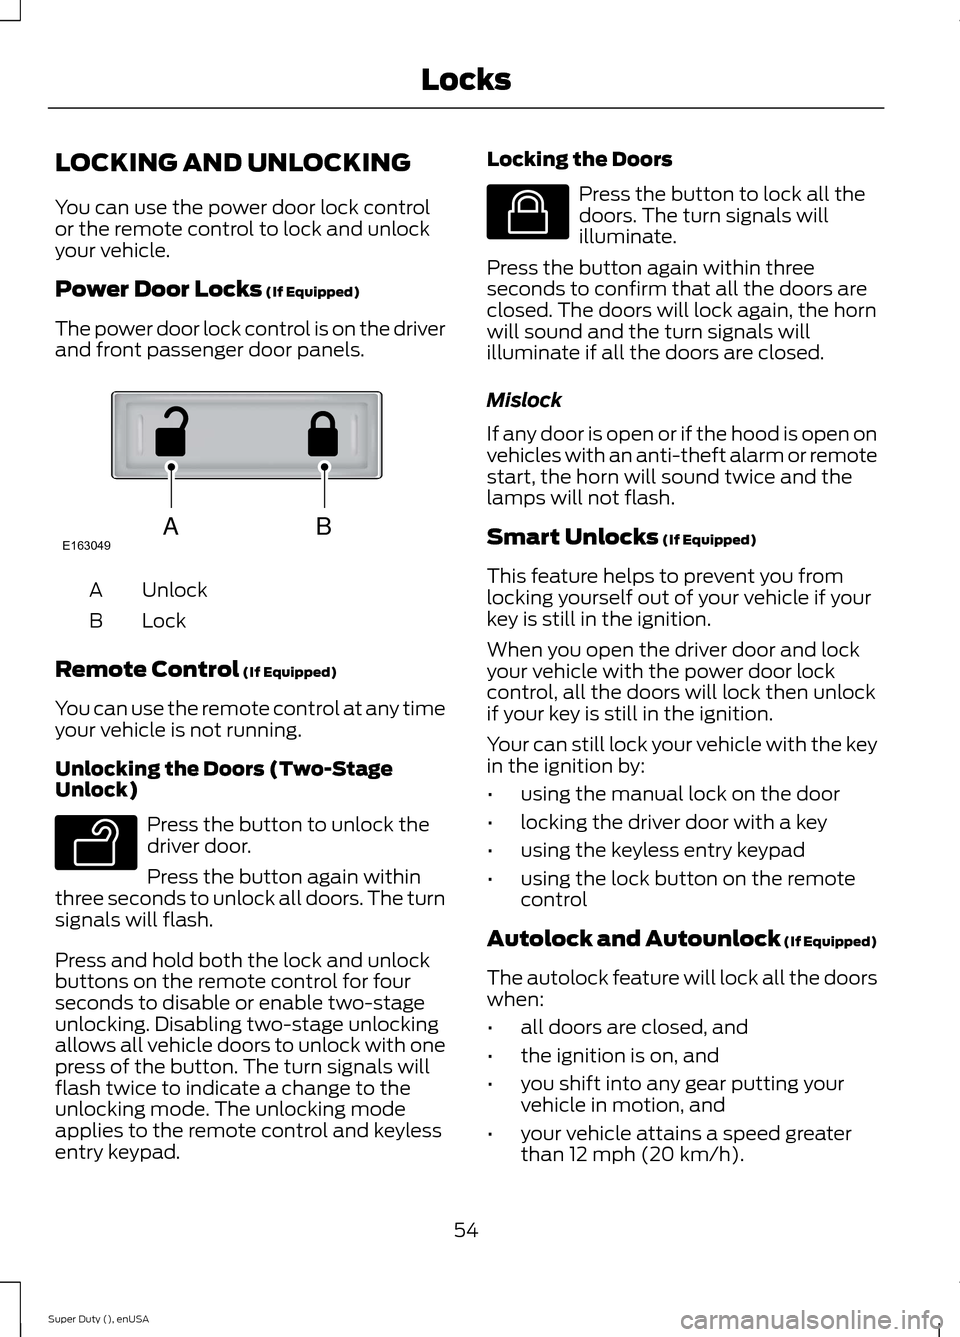
The power door lock control is on the driverand front passenger door panels.
UnlockA
LockB
Remote Control (If Equipped)
You can use the remote control at any timeyour vehicle is not running.
Unlocking the Doors (Two-StageUnlock)
Press the button to unlock thedriver door.
Press the button again withinthree seconds to unlock all doors. The turnsignals will flash.
Press and hold both the lock and unlockbuttons on the remote control for fourseconds to disable or enable two-stageunlocking. Disabling two-stage unlockingallows all vehicle doors to unlock with onepress of the button. The turn signals willflash twice to indicate a change to theunlocking mode. The unlocking modeapplies to the remote control and keylessentry keypad.
Locking the Doors
Press the button to lock all thedoors. The turn signals willilluminate.
Press the button again within threeseconds to confirm that all the doors areclosed. The doors will lock again, the hornwill sound and the turn signals willilluminate if all the doors are closed.
Mislock
If any door is open or if the hood is open onvehicles with an anti-theft alarm or remotestart, the horn will sound twice and thelamps will not flash.
Smart Unlocks (If Equipped)
This feature helps to prevent you fromlocking yourself out of your vehicle if yourkey is still in the ignition.
When you open the driver door and lockyour vehicle with the power door lockcontrol, all the doors will lock then unlockif your key is still in the ignition.
Your can still lock your vehicle with the keyin the ignition by:
•using the manual lock on the door
•locking the driver door with a key
•using the keyless entry keypad
•using the lock button on the remotecontrol
Autolock and Autounlock (If Equipped)
The autolock feature will lock all the doorswhen:
•all doors are closed, and
•the ignition is on, and
•you shift into any gear putting yourvehicle in motion, and
•your vehicle attains a speed greaterthan 12 mph (20 km/h).
54Super Duty (), enUSALocksABE163049 E138629 E138623
Page 58 of 470
The autolock feature will unlock all thedoors when:
•autolock has locked the doors
•you stop the vehicle and switch theignition off or to accessory mode, and
•you open the driver door within 10minutes.
Note:The doors will not autounlock if youhave electronically locked them beforeopening the driver door.
Enabling or Disabling
You can enable or disable these featuresin the information display or yourauthorized dealer can do it for you. SeeGeneral Information (page 81).
Note:You can enable or disable theautolock and autounlock featuresindependently of each other.
Illuminated Entry
The interior lamps and select exteriorlamps will illuminate when you unlock thedoors with the remote entry system.
The illuminated entry system will turn offthe lights if:
•the ignition is on
•you press the remote control lockbutton, or
•after 25 seconds of illumination.
The dome lamp will not turn on if thecontrol is set to the off position.
The lights will not turn off if:
•you turn them on with the dimmercontrol, or
•any door is open.
Battery Saver
The battery saver turns off the interiorlamps 30 minutes after you switch theignition off if a door is open and the domelamp switch is on. It turns off the interiorlamps after 10 minutes if the dome lampswitch is off.
KEYLESS ENTRY (IF EQUIPPED)
SECURICODE™ KEYLESS ENTRYKEYPAD
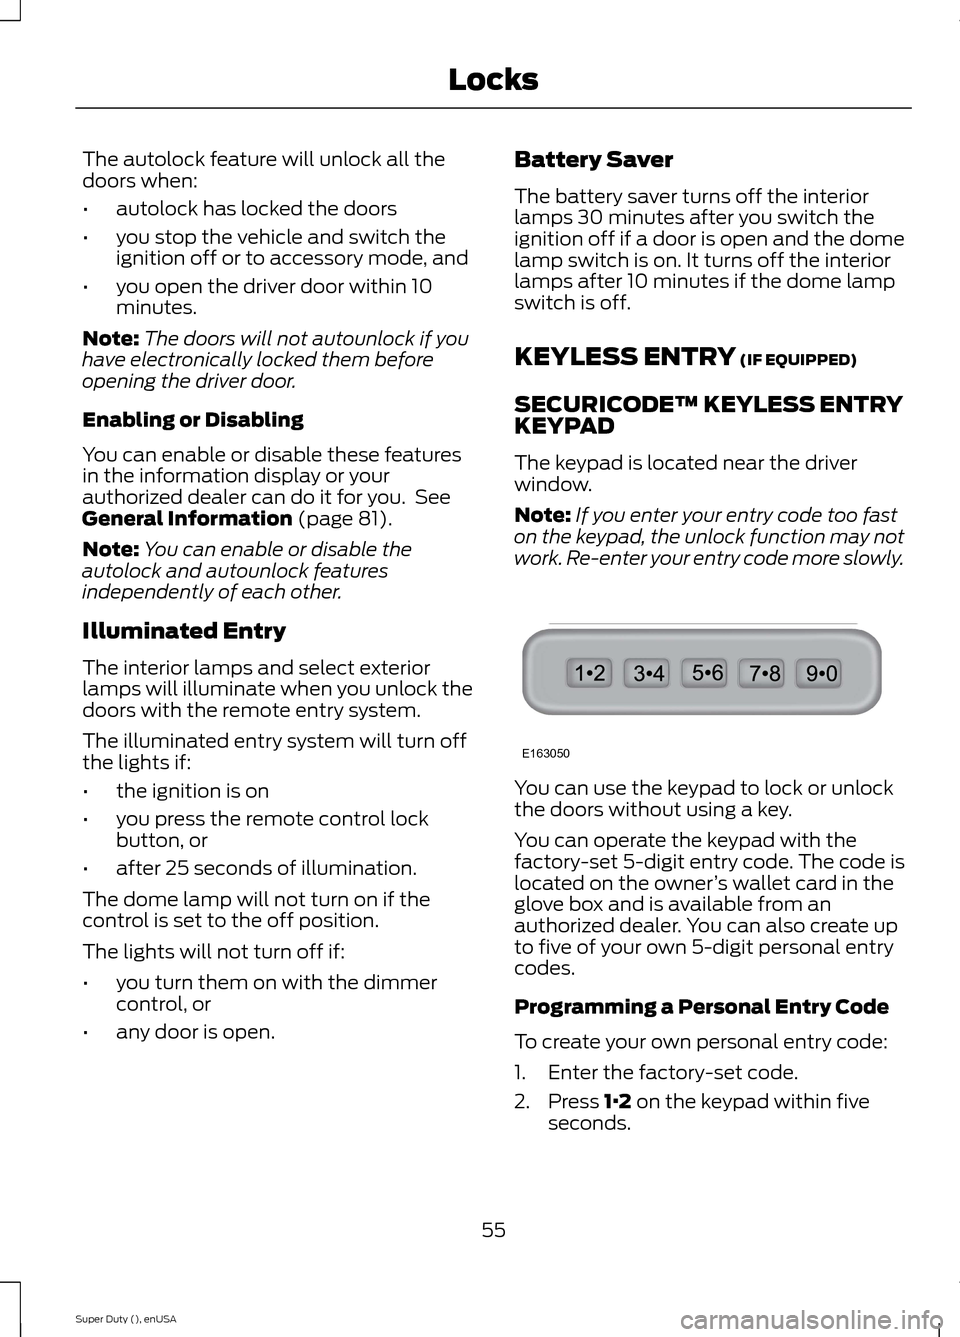
The keypad is located near the driverwindow.
Note:If you enter your entry code too faston the keypad, the unlock function may notwork. Re-enter your entry code more slowly.
You can use the keypad to lock or unlockthe doors without using a key.
You can operate the keypad with thefactory-set 5-digit entry code. The code islocated on the owner’s wallet card in theglove box and is available from anauthorized dealer. You can also create upto five of your own 5-digit personal entrycodes.
Programming a Personal Entry Code
To create your own personal entry code:
1.Enter the factory-set code.
2.Press 1·2 on the keypad within fiveseconds.
55Super Duty (), enUSALocksE163050
Page 59 of 470
3.Enter your personal 5-digit code. Youmust enter each number within fiveseconds of each other.
4.Press 1·2 on the keypad to savepersonal code 1.
The doors will lock then unlock to confirmthat programming was successful.
To program additional personal entrycodes, repeat Steps 1-3, then for Step 4:
•press 3·4 to save personal code 2
•press 5·6 to save personal code 3
•press 7·8 to save personal code 4
•press 9·0 to save personal code 5.
You may also program a personal entrycode through the MyFord Touch system.
Tips:
•Do not set a code that uses five of thesame number.
•Do not use five numbers in sequentialorder.
•The factory-set code will work even ifyou have set your own personal code.
Recalling Memory Positions (IfEquipped)
The programmed entry codes will recalldriver memory positions as follows:
•Entry code 1 will recall driver 1 memorypositions.
•Entry code 2 will recall driver 2 memorypositions.
Note:Personal entry codes 3, 4 and 5 willnot recall memory positions.
Erasing a Personal Code
1.Enter the factory-set 5-digit code.
2.Press and release 1·2 on the keypadwithin five seconds.
3.Press and hold 1·2 for two seconds.You must do this within five secondsof completing Step 2.
All personal codes will erase and only thefactory-set 5-digit code will work.
Anti-Scan Feature
The keypad will go into an anti-scan modeif you enter the wrong code seven times(35 consecutive button presses). Thismode disables the keypad for one minuteand the keypad lamp will flash.
The anti-scan feature will turn off after:
•one minute of keypad inactivity
•pressing the unlock button on theremote control
•switching the ignition on.
Unlocking and Locking the Doors
To Unlock the Driver Door
Enter the factory-set 5-digit code or yourpersonal code. You must press eachnumber within five seconds of each other.The interior lamps will illuminate.
Note:All doors will unlock if you disablethe two-stage unlocking mode. SeeLocking and Unlocking (page 54).
To Unlock All Doors
Enter the factory-set code or your personalcode, then press 3·4 within five seconds.
To Lock All Doors
Press and hold 7·8 and 9·0 at the sametime (with the driver door closed). You donot need to enter the keypad code first.
Displaying the Factory Set Code
Note:You will need to have twoprogrammed passive anti-theft keys for thisprocedure.
To display the factory-set code in theinformation display:
1.Insert a key into the ignition and switchthe ignition on for a few seconds.
56Super Duty (), enUSALocks