Page 83 of 441

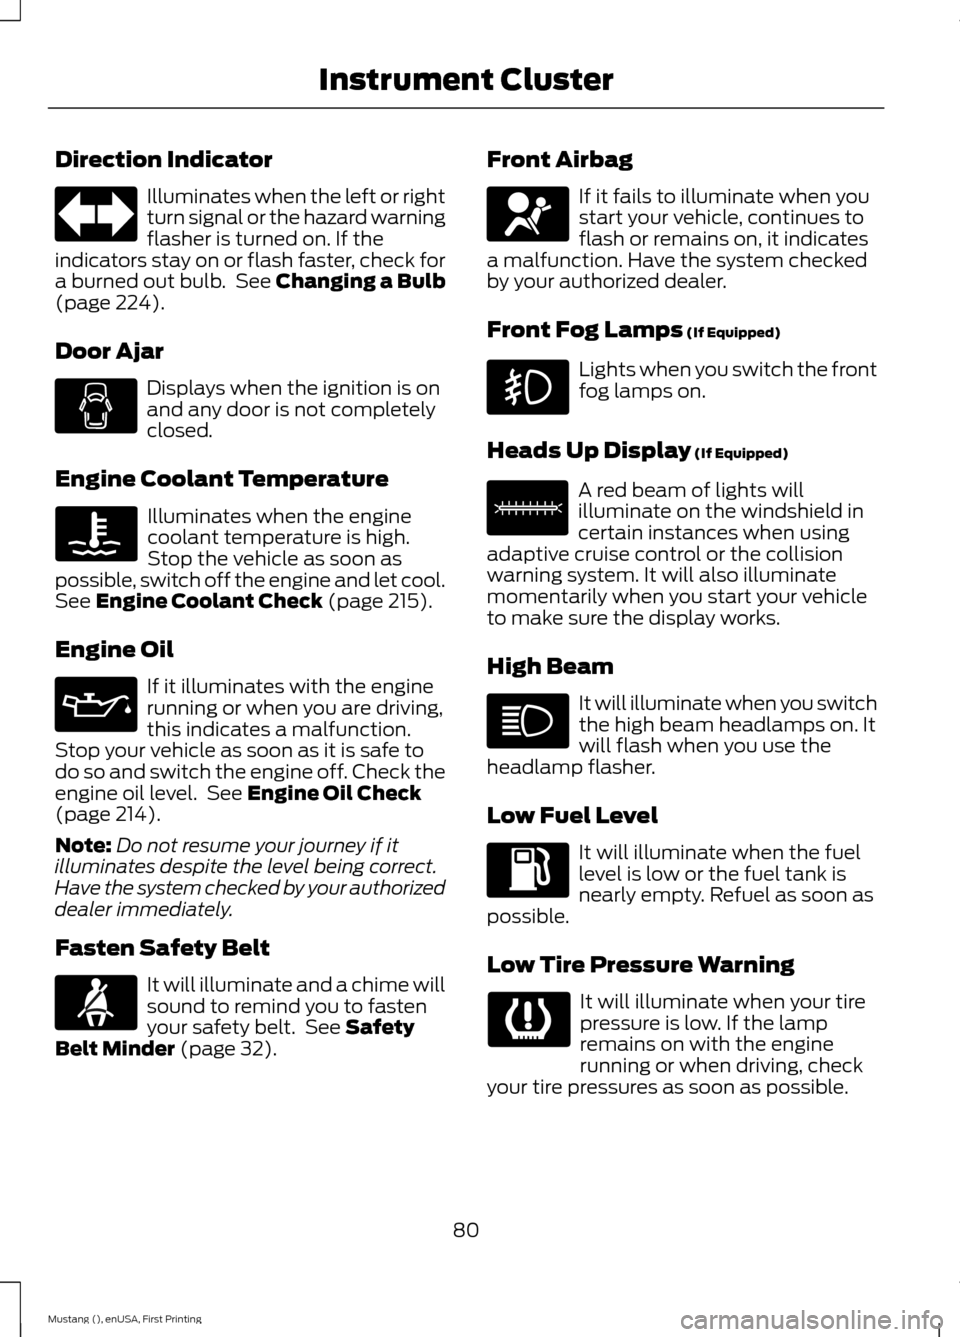
Direction Indicator
Illuminates when the left or right
turn signal or the hazard warning
flasher is turned on. If the
indicators stay on or flash faster, check for
a burned out bulb. See Changing a Bulb
(page 224).
Door Ajar Displays when the ignition is on
and any door is not completely
closed.
Engine Coolant Temperature Illuminates when the engine
coolant temperature is high.
Stop the vehicle as soon as
possible, switch off the engine and let cool.
See
Engine Coolant Check (page 215).
Engine Oil If it illuminates with the engine
running or when you are driving,
this indicates a malfunction.
Stop your vehicle as soon as it is safe to
do so and switch the engine off. Check the
engine oil level. See
Engine Oil Check
(page 214).
Note: Do not resume your journey if it
illuminates despite the level being correct.
Have the system checked by your authorized
dealer immediately.
Fasten Safety Belt It will illuminate and a chime will
sound to remind you to fasten
your safety belt. See
Safety
Belt Minder (page 32). Front Airbag If it fails to illuminate when you
start your vehicle, continues to
flash or remains on, it indicates
a malfunction. Have the system checked
by your authorized dealer.
Front Fog Lamps
(If Equipped) Lights when you switch the front
fog lamps on.
Heads Up Display
(If Equipped) A red beam of lights will
illuminate on the windshield in
certain instances when using
adaptive cruise control or the collision
warning system. It will also illuminate
momentarily when you start your vehicle
to make sure the display works.
High Beam It will illuminate when you switch
the high beam headlamps on. It
will flash when you use the
headlamp flasher.
Low Fuel Level It will illuminate when the fuel
level is low or the fuel tank is
nearly empty. Refuel as soon as
possible.
Low Tire Pressure Warning It will illuminate when your tire
pressure is low. If the lamp
remains on with the engine
running or when driving, check
your tire pressures as soon as possible.
80
Mustang (), enUSA, First Printing Instrument Cluster E156133
Page 227 of 441

5. Locate the vertical adjuster on each
headlamp. Use a Phillips #2
screwdriver to turn the adjuster either
clockwise or counterclockwise to
adjust the vertical aim of the
headlamp. The horizontal edge of the
brighter light should touch the
horizontal reference line.
6. Repeat Steps 3 through 7 to adjust the
other headlamp.
7. Close the hood and turn off the lamps.
Horizontal Aim Adjustment
Horizontal aim is not required for this
vehicle and is not adjustable.
CHANGING A BULB
Lamp Assembly Condensation
Exterior lamps have vents to
accommodate normal changes in pressure.
Condensation can be a natural occurrence
of this design. When moist air enters the
lamp assembly through the vents, there is
a possibility that condensation can occur
in cold temperatures. When normal
condensation occurs, a thin film of mist
can form on the interior of the lens. The
mist eventually clears and exits through
the vents during normal operation. Clearing
time may take as long as 48 hours under
dry weather conditions.
Examples of acceptable condensation are:
• Thin mist without streaks, drip marks
or droplets.
• Fine mist that covers less than 50% of
the lens.
Examples of unacceptable moisture are:
• Water puddle inside the lamp.
• Large water droplets, drip marks or
streaks on the interior of the lens. If any of the above conditions of
unacceptable moisture are present,
contact an authorized.
Replacing HID Headlamp Bulbs
Your vehicle has high intensity discharge
lamps. These lamps operate at a high
voltage. Contact an authorized dealer.
Accessing the Direction Indicator
and Fog Lamp Bulbs
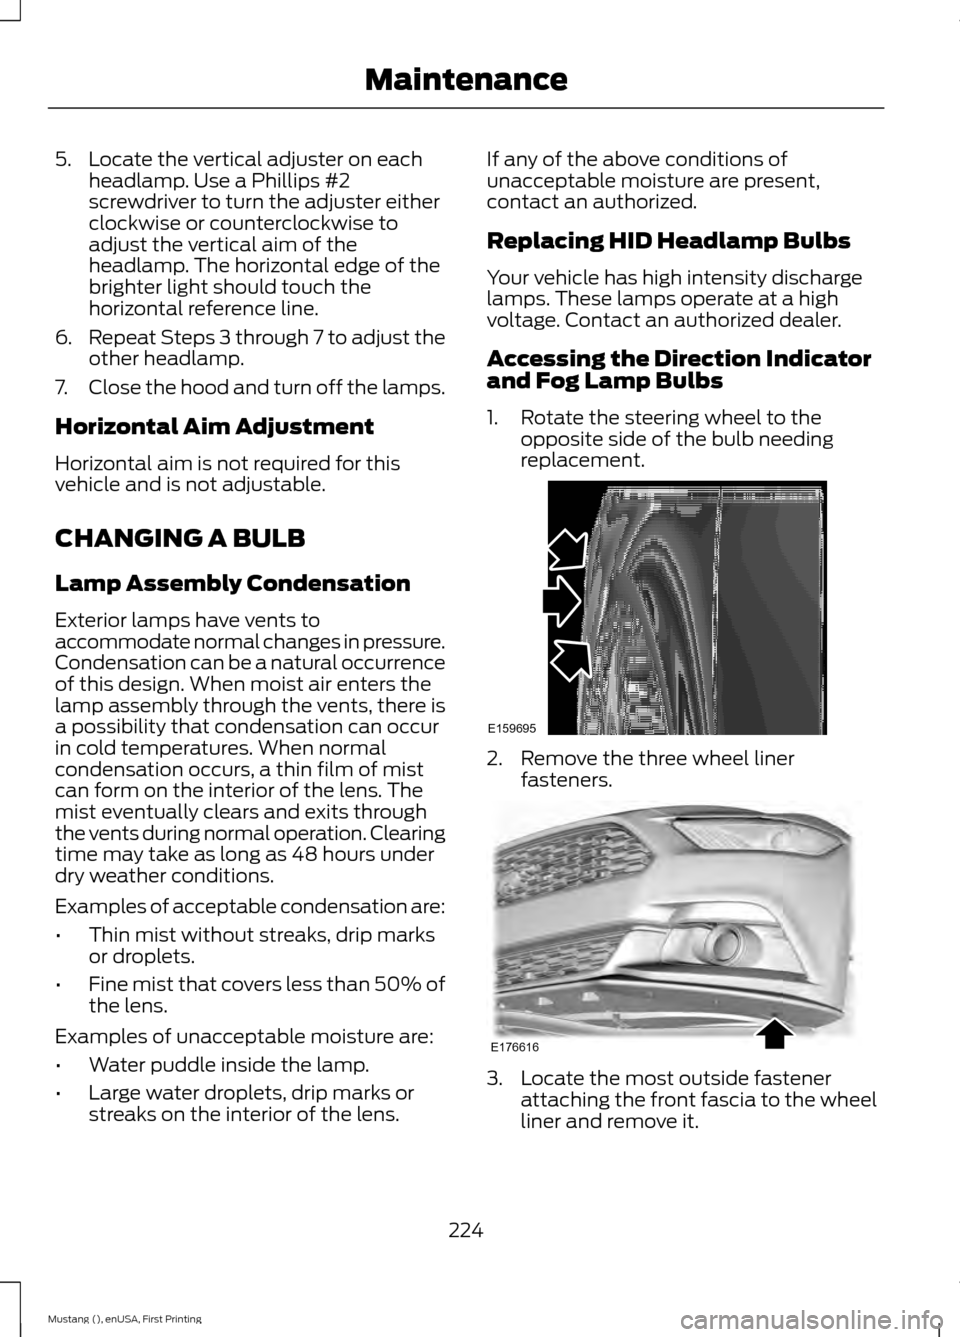
1. Rotate the steering wheel to the
opposite side of the bulb needing
replacement. 2. Remove the three wheel liner
fasteners. 3. Locate the most outside fastener
attaching the front fascia to the wheel
liner and remove it.
224
Mustang (), enUSA, First Printing MaintenanceE159695 E176616
Page 228 of 441

4. Pull the wheel liner back toward the
tire to gain access to the bulbs.
Replacing the Direction Indicator
Bulbs 1.
Remove the bulb holder from the lamp
assembly by turning it
counterclockwise.
2. Disconnect the electrical connector.
3. Remove the bulb from the bulb holder
by pulling it straight out.
Replacing Fog Lamp Bulbs (If
Equipped)
1. Make sure the lighting control is in the off position.
2. Disconnect the electrical connector from the bulb by pulling it straight off. 3. Rotate the bulb counterclockwise and
remove from the fog lamp assembly. 4. Install the bulb in reverse order.
Replacing LED Fog Lamp Bulbs (If
Equipped)
These lamps have LED bulbs. Contact an
authorized dealer.
Replacing Reverse Lamp Bulbs
1. Make sure the lighting control is in the
off position.
2. Locate the reverse lamp bulb under the
rear bumper of your vehicle. To access
the bulb, reach behind the bumper.
3. Disconnect the electrical sensor from the bulb by pulling it straight off. 4. Rotate the bulb counterclockwise and
remove it from the reverse lamp
assembly.
Replacing rear, Brake, High-Mount
Brake, Rear Direction Indicator and
License Plate Lamp Bulbs
These lamps have LED bulbs. Contact an
authorized dealer.
225
Mustang (), enUSA, First Printing MaintenanceE180889 E174588 E177487
Page 229 of 441
BULB SPECIFICATION CHART
Replacement bulbs are specified in the
chart below. Headlamp bulbs must be
marked with an authorized "D.O.T." for
North America and an "E" for Europe to
make sure lamp performance, light
brightness and pattern and safe visibility.
The correct bulbs do not damage the lamp
assembly or void the lamp assembly
warranty and provide quality bulb
illumination time. Trade name
Function
D3S
Headlamps - high intensity discharge
(HID)*
7444NA (amber)
Front park and Direction indicators
WY5W (amber)
Sidemarker
LED
Fog lamp
H11
LED
Rear lamp, brake lamp and direction
indicator lamp*
LED
High-mount brake lamp*
3156 or 3157
Backup lamp
LED
License plate lamp*
W5W
Dome and Map lamp
W5W
Glove box and Cargo lamp
To replace all instrument panel lights, contact an authorized dealer
* Contact an authorized dealer to replace the bulb.
226
Mustang (), enUSA, First Printing Maintenance