2015 FORD F250 SUPER DUTY service indicator
[x] Cancel search: service indicatorPage 243 of 470
•the engine coolant temperature gaugemoves fully into the red (hot) area
•the coolant temperature warning lightilluminates
•the service engine soon indicatorilluminates.
WARNING
Never remove the coolant reservoircap while the engine is running or hot.
1. Pull off the road as soon as safelypossible and place the vehicle in P(Park).
2. Leave the engine running until thecoolant temperature gauge needlemoves away from the H range. Afterseveral minutes, if this does nothappen, follow the remaining steps.
3. Turn the engine off and wait for it tocool before checking the coolant level.
4. If the coolant level is normal, you mayrestart your engine and continue on.
5. If the coolant is low, add coolant,restart the engine and take your vehicleto an authorized dealer. See Addingengine coolant in this chapter for moreinformation. Refer to fail-safe coolingfor additional information.
AUTOMATIC TRANSMISSION
FLUID CHECK
Have an authorized dealer check andchange the transmission fluid and filter atthe correct service interval. SeeScheduled Maintenance (page 440).
Do not use supplemental transmissionfluid additives, treatments or cleaningagents. The use of these materials mayaffect transmission operation and resultin damage to internal transmissioncomponents.
Checking Automatic TransmissionFluid (If Equipped)
For scheduled intervals of the fluid checksand changes, See ScheduledMaintenance (page 440). Yourtransmission does not consume fluid.However, the fluid level should be checkedif the transmission is not working properly,i.e., if the transmission slips or shifts slowlyor if you notice some sign of fluid leakage.
Automatic transmission fluid expandswhen warmed. To obtain an accurate fluidcheck, drive the vehicle until it is at normaloperating temperature (approximately19 mi (30 km)). Verify that thetransmission fluid temperature gauge,located on the instrument cluster, is withinnormal range.
1. Drive the vehicle 19 mi (30 km)until itreaches normal operating temperature.
2.Park the vehicle on a level surface andengage the parking brake.
3.With the engine running, parking brakeengaged and your foot on the brakepedal, move the gearshift lever throughall of the gear ranges. Allow sufficienttime for each gear to engage.
4.Latch the gearshift lever in P and leavethe engine running.
5. Remove the dipstick, wiping it cleanwith a clean, dry lint free rag. Ifnecessary, refer to the Under HoodOverview in this chapter for thelocation of the dipstick.
6.Install the dipstick making sure it is fullyseated in the filler tube.
7. Remove the dipstick and inspect thefluid level. The fluid should be in thedesignated area for normal operatingtemperature or ambient temperature.
Low Fluid Level
Type A
240
Super Duty (), enUSA
Maintenance
Page 282 of 470
WARNINGS
When inflating the tire formounting pressures up to 20 psi(1.38 bar) greater than themaximum pressure on the tiresidewall, the followingprecautions must be taken toprotect the person mounting thetire:
1. Make sure that you have thecorrect tire and wheel size.
2. Lubricate the tire bead andwheel bead seat area again.
3. Stand at a minimum of 12 feet(3.6 meters) away from the wheeland tire assembly.
4. Use both eye and earprotection.
For a mounting pressure morethan 20 psi (1.38 bar) greater thanthe maximum pressure, a Forddealer or other tire serviceprofessional should do themounting.
Always inflate steel carcass tireswith a remote air fill with theperson inflating standing at aminimum of 12 feet (3.6 meters)away from the wheel and tireassembly
Important: Remember to replacethe wheel valve stems when the
road tires are replaced on yourvehicle
The two front tires or two rear tiresshould generally be replaced as apair.
The tire pressure sensors mountedin the wheels are not designed tobe used in aftermarket wheels.
The use of wheels or tires notrecommended by Ford MotorCompany may affect theoperation of your tire pressuremonitoring system.
If the tire pressure monitoringsystem indicator is flashing, thesystem is malfunctioning. Yourreplacement tire might beincompatible with your tirepressure monitoring system, orsome component of the systemmay be damaged.
Safety Practices
WARNINGS
If your vehicle is stuck insnow, mud, or sand, do notrapidly spin the tires; spinning thetires can tear the tire and causean explosion. A tire can explode inas little as three to five seconds.
Do not spin the wheels atover 35 mph (56 km/h). Thetires may fail and injure apassenger or bystander.
Driving habits have a great dealto do with your tire mileage andsafety.
*Observe posted speed limits
279
Super Duty (), enUSA
Wheels and Tires
Page 290 of 470
•To reduce the chances of interferencefrom another vehicle, perform thesystem reset procedure at least threefeet (one meter) away from anotherFord Motor Company vehicleundergoing the system reset procedureat the same time.
•Do not wait more than two minutesbetween resetting each tire sensor orthe system will time-out and the entireprocedure will have to be repeated onall four wheels.
•A double horn will sound indicating theneed to repeat the procedure.
Performing the System Reset Procedure
Read the entire procedure beforeattempting.
1. Drive the vehicle above 20 mph (32km/h) for at least two minutes, thenpark in a safe location where you caneasily get to all four tires and haveaccess to an air pump.
2.Place the ignition in the off position andkeep the key in the ignition.
3. Cycle the ignition to the on positionwith the engine off.
4. Turn the hazard flashers on then offthree times. You must accomplish thiswithin 10 seconds. If the reset modehas been entered successfully, the hornwill sound once, the system indicatorwill flash and a message is shown inthe information display. If this does notoccur, please try again starting at Step2. If after repeated attempts to enterthe reset mode, the horn does notsound, the system indicator does notflash and no message is shown in theinformation display, seek service fromyour authorized dealer.
5. Train the tire pressure monitoringsystem sensors in the tires using thefollowing system reset sequencestarting with the left front tire in thefollowing clockwise order: Left front(driver's side front tire), Right front(passenger's side front tire), Right rear(passenger's side rear tire), Left rear(driver's side rear tire)
6. Remove the valve cap from the valvestem on the left front tire. Decrease theair pressure until the horn sounds.Note: The single horn chirp confirmsthat the sensor identification code hasbeen learned by the module for thisposition. If a double horn is heard, thereset procedure was unsuccessful, andyou must repeat it.
7. Remove the valve cap from the valvestem on the right front tire. Decreasethe air pressure until the horn sounds.
8. Remove the valve cap from the valvestem on the right rear tire. Decrease theair pressure until the horn sounds.
9. Remove the valve cap from the valvestem on the left rear tire. Decrease theair pressure until the horn sounds.Training is complete after the hornsounds for the last tire trained (driver'sside rear tire), the system indicatorstops flashing, and a message is shownin the information display.
10.Turn the ignition off. If two short hornbeeps are heard, the reset procedurewas unsuccessful and you mustrepeat it. If after repeating theprocedure and two short beeps areheard when the ignition is turned tooff, seek assistance from yourauthorized dealer.
287
Super Duty (), enUSA
Wheels and Tires
Page 291 of 470
11.Set all four tires to the recommendedair pressure as indicated on theSafety Compliance CertificationLabel (affixed to either the door hingepillar, door-latch post, or the dooredge that meets the door-latch post,next to the driver's seating position)or Tire Label located on the B-Pillaror the edge of the driver's door.
CHANGING A ROAD WHEEL
WARNINGS
The use of tire sealants may damageyour tire pressure monitoring systemand should not be used. However, ifyou must use a sealant, the tire pressuremonitoring system sensor and valve stemon the wheel must be replaced by anauthorized dealer.
If the tire pressure monitor sensorbecomes damaged, it will no longerfunction. See Tire PressureMonitoring System (page 282).
Note:If your vehicle is equipped with thetire pressure monitoring system, theindicator light will illuminate when the sparetire is in use. To restore the full function ofthe monitoring system, all road wheelsequipped with tire pressure monitoringsensors must be mounted on the vehicle.
If you get a flat tire while driving, do notapply the brake heavily. Instead, graduallydecrease your speed. Hold the steeringwheel firmly and slowly move to a safeplace on the side of the road.
If your vehicle is equipped with the tirepressure monitoring system, have a flatserviced by an authorized dealer in orderto prevent damage to the system sensors.See Tire Pressure Monitoring System(page 282). Replace the spare tire with aroad tire as soon as possible. Duringrepairing or replacing of the flat tire, havethe authorized dealer inspect the systemsensor for damage.
Dissimilar Spare Wheel and TireAssembly Information
WARNING
Failure to follow these guidelinescould result in an increased risk ofloss of vehicle control, injury or death.
If you have a dissimilar spare wheel andtire, then it is intended for temporary useonly. This means that if you need to use it,you should replace it as soon as possiblewith a road wheel and tire assembly thatis the same size and type as the road tiresand wheels that were originally providedby Ford. If the dissimilar spare tire or wheelis damaged, it should be replaced ratherthan repaired.
A dissimilar spare wheel and tire assemblyis defined as a spare wheel and tireassembly that is different in brand, size orappearance from the road tires and wheelsand can be one of three types:
1.T-type mini-spare: This spare tirebegins with the letter T for tire size andmay have Temporary Use Only molded inthe sidewall.
2.Full-size dissimilar spare with labelon wheel: This spare tire has a label onthe wheel that states: THIS WHEEL ANDTIRE ASSEMBLY FOR TEMPORARY USEONLY
When driving with one of the dissimilarspare tires listed above, do not:
288
Super Duty (), enUSA
Wheels and Tires
Page 461 of 470
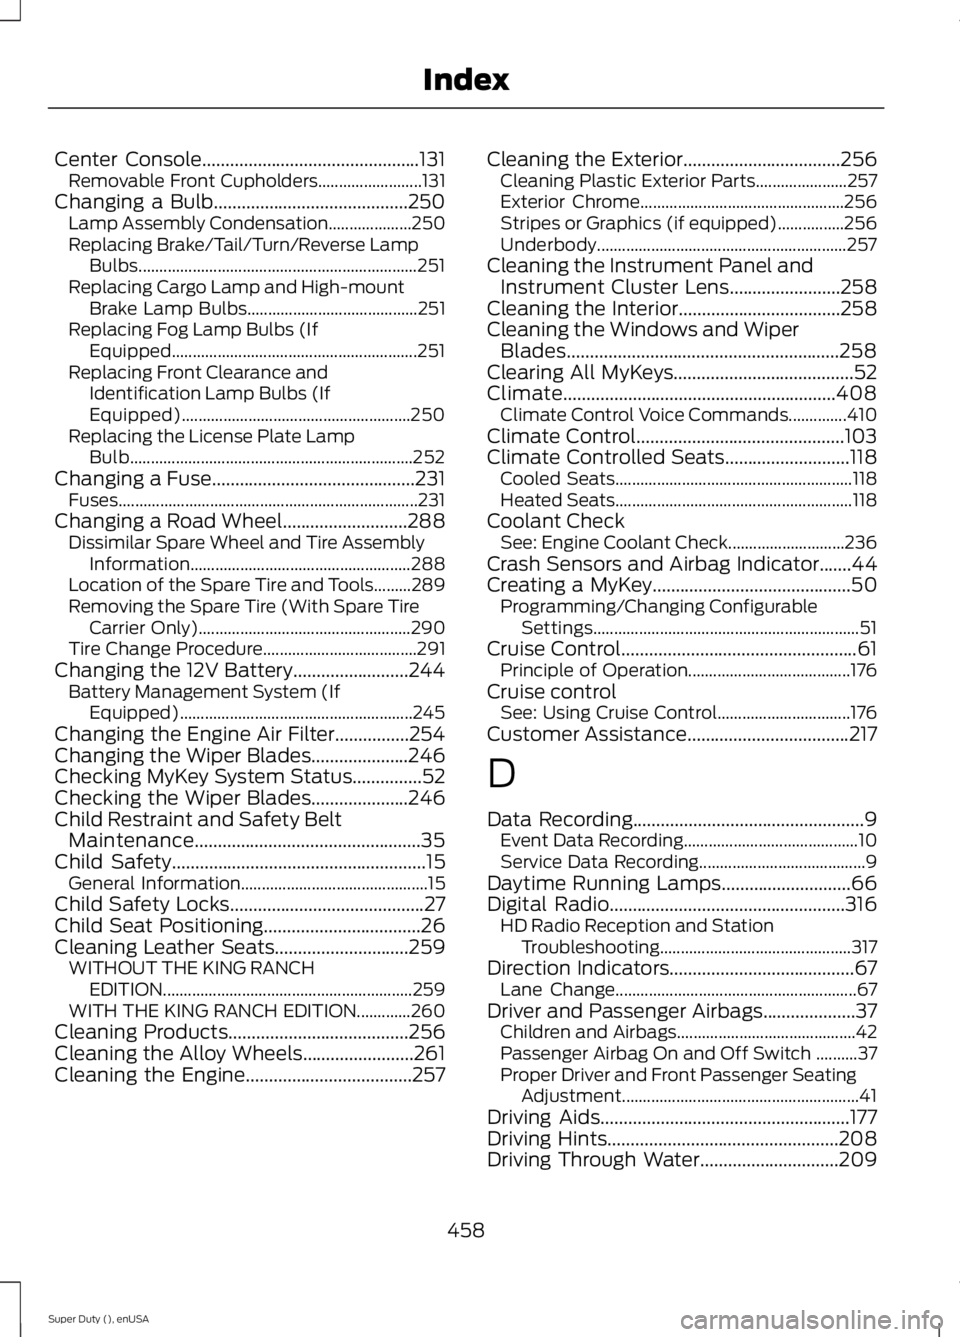
Center Console...............................................131Removable Front Cupholders.........................131Changing a Bulb..........................................250Lamp Assembly Condensation....................250Replacing Brake/Tail/Turn/Reverse LampBulbs...................................................................251Replacing Cargo Lamp and High-mountBrake Lamp Bulbs.........................................251Replacing Fog Lamp Bulbs (IfEquipped...........................................................251Replacing Front Clearance andIdentification Lamp Bulbs (IfEquipped).......................................................250Replacing the License Plate LampBulb....................................................................252Changing a Fuse............................................231Fuses........................................................................231Changing a Road Wheel...........................288Dissimilar Spare Wheel and Tire AssemblyInformation.....................................................288Location of the Spare Tire and Tools.........289Removing the Spare Tire (With Spare TireCarrier Only)...................................................290Tire Change Procedure.....................................291Changing the 12V Battery.........................244Battery Management System (IfEquipped)........................................................245Changing the Engine Air Filter................254Changing the Wiper Blades.....................246Checking MyKey System Status...............52Checking the Wiper Blades.....................246Child Restraint and Safety BeltMaintenance.................................................35Child Safety.......................................................15General Information.............................................15Child Safety Locks..........................................27Child Seat Positioning..................................26Cleaning Leather Seats.............................259WITHOUT THE KING RANCHEDITION............................................................259WITH THE KING RANCH EDITION.............260Cleaning Products.......................................256Cleaning the Alloy Wheels........................261Cleaning the Engine....................................257
Cleaning the Exterior..................................256Cleaning Plastic Exterior Parts......................257Exterior Chrome.................................................256Stripes or Graphics (if equipped)................256Underbody............................................................257Cleaning the Instrument Panel andInstrument Cluster Lens........................258Cleaning the Interior...................................258Cleaning the Windows and WiperBlades...........................................................258Clearing All MyKeys.......................................52Climate...........................................................408Climate Control Voice Commands..............410Climate Control.............................................103Climate Controlled Seats...........................118Cooled Seats.........................................................118Heated Seats.........................................................118Coolant CheckSee: Engine Coolant Check............................236Crash Sensors and Airbag Indicator.......44Creating a MyKey...........................................50Programming/Changing ConfigurableSettings................................................................51Cruise Control...................................................61Principle of Operation.......................................176Cruise controlSee: Using Cruise Control................................176Customer Assistance...................................217
D
Data Recording..................................................9Event Data Recording..........................................10Service Data Recording........................................9Daytime Running Lamps............................66Digital Radio...................................................316HD Radio Reception and StationTroubleshooting..............................................317Direction Indicators........................................67Lane Change..........................................................67Driver and Passenger Airbags....................37Children and Airbags...........................................42Passenger Airbag On and Off Switch ..........37Proper Driver and Front Passenger SeatingAdjustment.........................................................41Driving Aids......................................................177Driving Hints..................................................208Driving Through Water..............................209
458
Super Duty (), enUSA
Index
Page 466 of 470
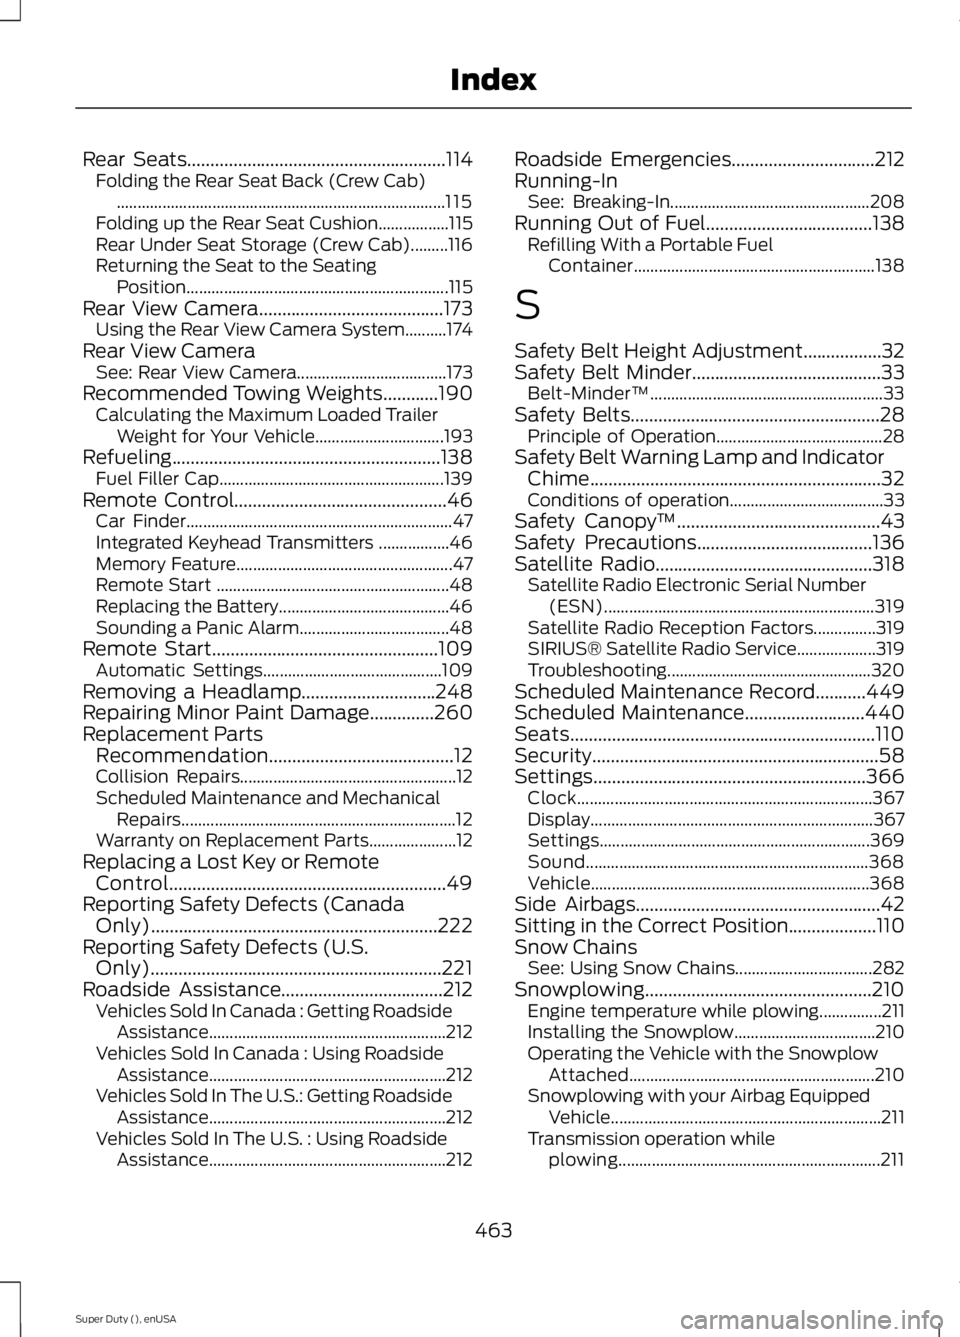
Rear Seats........................................................114Folding the Rear Seat Back (Crew Cab)...............................................................................115Folding up the Rear Seat Cushion.................115Rear Under Seat Storage (Crew Cab).........116Returning the Seat to the SeatingPosition...............................................................115Rear View Camera........................................173Using the Rear View Camera System..........174Rear View CameraSee: Rear View Camera....................................173Recommended Towing Weights............190Calculating the Maximum Loaded TrailerWeight for Your Vehicle...............................193Refueling..........................................................138Fuel Filler Cap......................................................139Remote Control..............................................46Car Finder................................................................47Integrated Keyhead Transmitters .................46Memory Feature....................................................47Remote Start ........................................................48Replacing the Battery.........................................46Sounding a Panic Alarm....................................48Remote Start.................................................109Automatic Settings...........................................109Removing a Headlamp.............................248Repairing Minor Paint Damage..............260Replacement PartsRecommendation........................................12Collision Repairs....................................................12Scheduled Maintenance and MechanicalRepairs..................................................................12Warranty on Replacement Parts.....................12Replacing a Lost Key or RemoteControl............................................................49Reporting Safety Defects (CanadaOnly)..............................................................222Reporting Safety Defects (U.S.Only)...............................................................221Roadside Assistance...................................212Vehicles Sold In Canada : Getting RoadsideAssistance.........................................................212Vehicles Sold In Canada : Using RoadsideAssistance.........................................................212Vehicles Sold In The U.S.: Getting RoadsideAssistance.........................................................212Vehicles Sold In The U.S. : Using RoadsideAssistance.........................................................212
Roadside Emergencies...............................212Running-InSee: Breaking-In................................................208Running Out of Fuel....................................138Refilling With a Portable FuelContainer..........................................................138
S
Safety Belt Height Adjustment.................32Safety Belt Minder.........................................33Belt-Minder™........................................................33Safety Belts......................................................28Principle of Operation........................................28Safety Belt Warning Lamp and IndicatorChime...............................................................32Conditions of operation.....................................33Safety Canopy™............................................43Safety Precautions......................................136Satellite Radio...............................................318Satellite Radio Electronic Serial Number(ESN).................................................................319Satellite Radio Reception Factors...............319SIRIUS® Satellite Radio Service...................319Troubleshooting.................................................320Scheduled Maintenance Record...........449Scheduled Maintenance..........................440Seats..................................................................110Security..............................................................58Settings...........................................................366Clock.......................................................................367Display....................................................................367Settings.................................................................369Sound....................................................................368Vehicle...................................................................368Side Airbags.....................................................42Sitting in the Correct Position...................110Snow ChainsSee: Using Snow Chains.................................282Snowplowing.................................................210Engine temperature while plowing...............211Installing the Snowplow..................................210Operating the Vehicle with the SnowplowAttached...........................................................210Snowplowing with your Airbag EquippedVehicle.................................................................211Transmission operation whileplowing...............................................................211
463
Super Duty (), enUSA
Index
Page 469 of 470
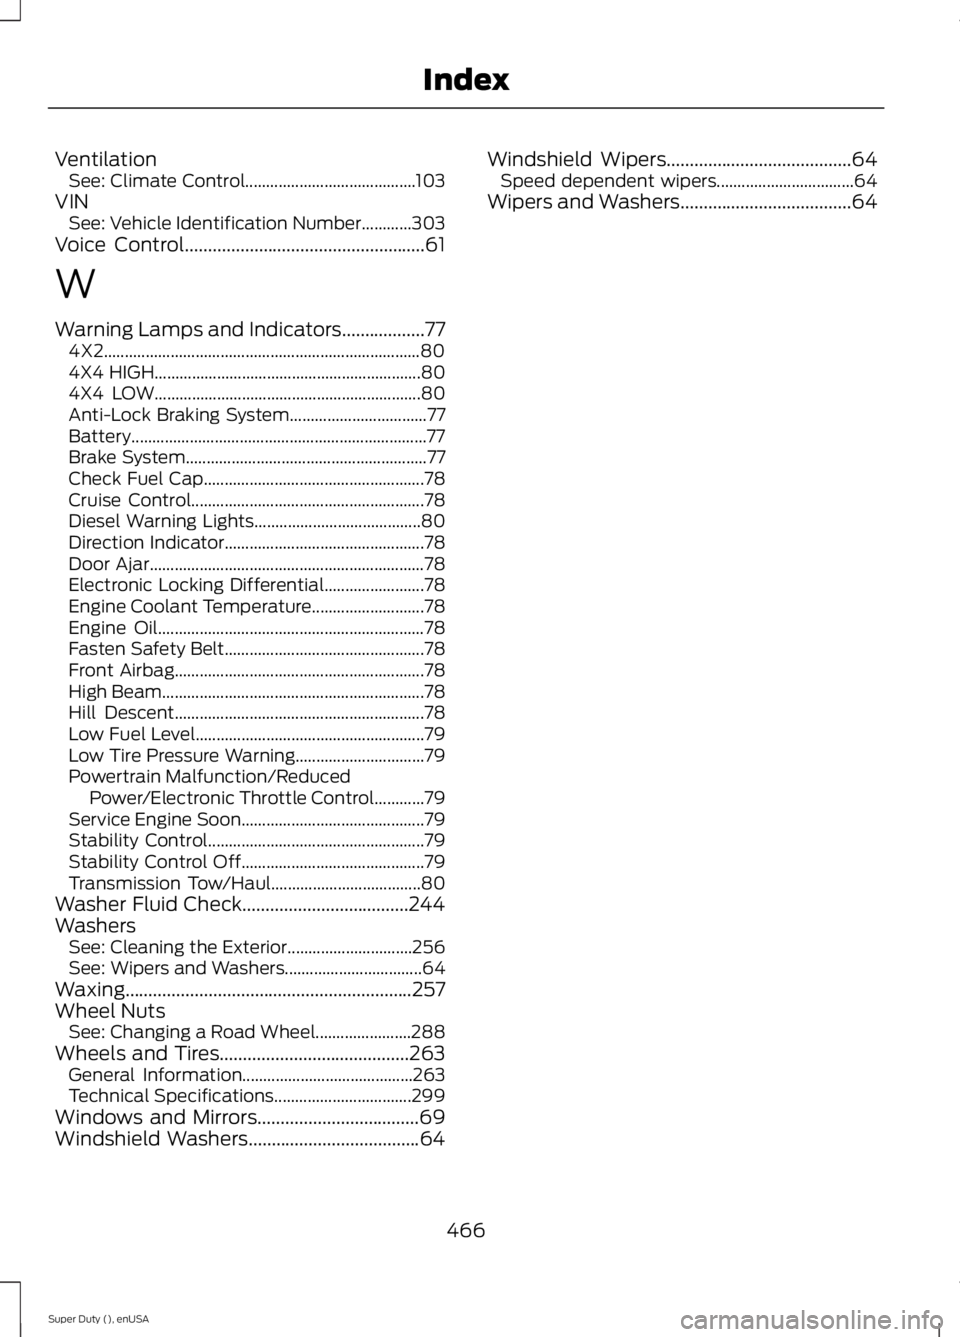
VentilationSee: Climate Control.........................................103VINSee: Vehicle Identification Number............303Voice Control....................................................61
W
Warning Lamps and Indicators..................774X2............................................................................804X4 HIGH................................................................804X4 LOW................................................................80Anti-Lock Braking System.................................77Battery.......................................................................77Brake System..........................................................77Check Fuel Cap.....................................................78Cruise Control........................................................78Diesel Warning Lights........................................80Direction Indicator................................................78Door Ajar..................................................................78Electronic Locking Differential........................78Engine Coolant Temperature...........................78Engine Oil................................................................78Fasten Safety Belt................................................78Front Airbag............................................................78High Beam...............................................................78Hill Descent............................................................78Low Fuel Level.......................................................79Low Tire Pressure Warning...............................79Powertrain Malfunction/ReducedPower/Electronic Throttle Control............79Service Engine Soon............................................79Stability Control....................................................79Stability Control Off............................................79Transmission Tow/Haul....................................80Washer Fluid Check....................................244WashersSee: Cleaning the Exterior..............................256See: Wipers and Washers.................................64Waxing..............................................................257Wheel NutsSee: Changing a Road Wheel.......................288Wheels and Tires.........................................263General Information.........................................263Technical Specifications.................................299Windows and Mirrors...................................69Windshield Washers.....................................64
Windshield Wipers........................................64Speed dependent wipers.................................64Wipers and Washers.....................................64
466
Super Duty (), enUSA
Index