2015 FORD F250 SUPER DUTY ESP
[x] Cancel search: ESPPage 103 of 470
Off Road
ActionMessage
The driver has disabled hill descent control mode.HILL DESCENT CONTROL OFF
You have not met the vehicle speed requirement forentry into off-road mode.FOR HILL DESCENT REDUCESPEED
The driver is able to select a transmission gear for hilldescent mode.FOR HILL DESCENT SELECTGEAR
Hill descent control mode is no longer active and thedriver must resume control.HILL DESCENT - DRIVERRESUME CONTROL
A hill descent system fault is present.HILL DESCENT CONTROLFAULT
The hill descent system is cooling due to overuse.HILL DESCENT CONTROL OFFSYSTEM COOLING
Hill descent control is active.HILL DESCENT CONTROLREADY
Tire Pressure Monitoring System
ActionMessage
One or more tires on your vehicle have low tire pressure. SeeTire Pressure Monitoring System (page 282).LOW TIRE PRESSURE
The tire pressure monitoring system is malfunctioning. If thewarning stays on or continues to come on, have the systemchecked by an authorized dealer. See Tire Pressure Monit-oring System (page 282).
TIRE PRESSUREMONITOR FAULT
A tire pressure sensor is malfunctioning, or your spare tire isin use. For more information on how the system operatesunder these conditions, see See Tire Pressure MonitoringSystem (page 282). If the warning stays on or continues tocome on, have the system checked by an authorized dealeras soon as possible.
TIRE PRESSURESENSOR FAULT
100
Super Duty (), enUSA
Information Displays
Page 104 of 470
![FORD F250 SUPER DUTY 2015 Owners Manual Trailer
ActionMessage
The current gain setting for the trailer brake.TRAILER BRAKE GAIN: XX.X[OUTPUT]
The current gain setting for the trailer brake when atrailer is not connected.TRAILER BRAKE GAIN: FORD F250 SUPER DUTY 2015 Owners Manual Trailer
ActionMessage
The current gain setting for the trailer brake.TRAILER BRAKE GAIN: XX.X[OUTPUT]
The current gain setting for the trailer brake when atrailer is not connected.TRAILER BRAKE GAIN:](/manual-img/11/58785/w960_58785-103.png)
Trailer
ActionMessage
The current gain setting for the trailer brake.TRAILER BRAKE GAIN: XX.X[OUTPUT]
The current gain setting for the trailer brake when atrailer is not connected.TRAILER BRAKE GAIN: XX.X NOTRAILER
Accompanied by a single chime, in response to faultssensed by the TBC. See Trailer Sway Control (page190).
TRAILER BRAKE MODULEFAULT
A correct trailer connection (a trailer with electric trailerbrakes) is sensed during a given ignition cycle.TRAILER CONNECTED
A trailer connection becomes disconnected, eitherintentionally or unintentionally, and has been sensedduring a given ignition cycle. Disregard this status ifyour vehicle is not equipped with a factory installedtrailer brake controller. This message may appear whenan aftermarket TBC is used even when the trailer isconnected.
TRAILER DISCONNECTED
Your trailer sway control has detected trailer sway soyou need to reduce your speed.TRAILER SWAY REDUCESPEED
Faults with your vehicle wiring and trailer wiring orbrake system. See Towing a Trailer (page 189).WIRING FAULT ON TRAILER
4WD
ActionMessage
A fault is present in your 4X4 system. See UsingFour-Wheel Drive (page 151).CHECK 4X4
Your 4X4 system is making a shift.4X4 SHIFT IN PROGRESS
You need to apply the brake in order to shift into4X4 LOW.FOR 4X4 LOW APPLY BRAKE
When your vehicle is at a stop and you need to shiftinto Neutral before you select 4X4 LOW.FOR 4X4 LOW SHIFT TO N
When your vehicle is moving and you need toreduce your speed to select 4X4 LOW.FOR 4X4 LOW SLOW TO 3 MPH
101
Super Duty (), enUSA
Information Displays
Page 119 of 470
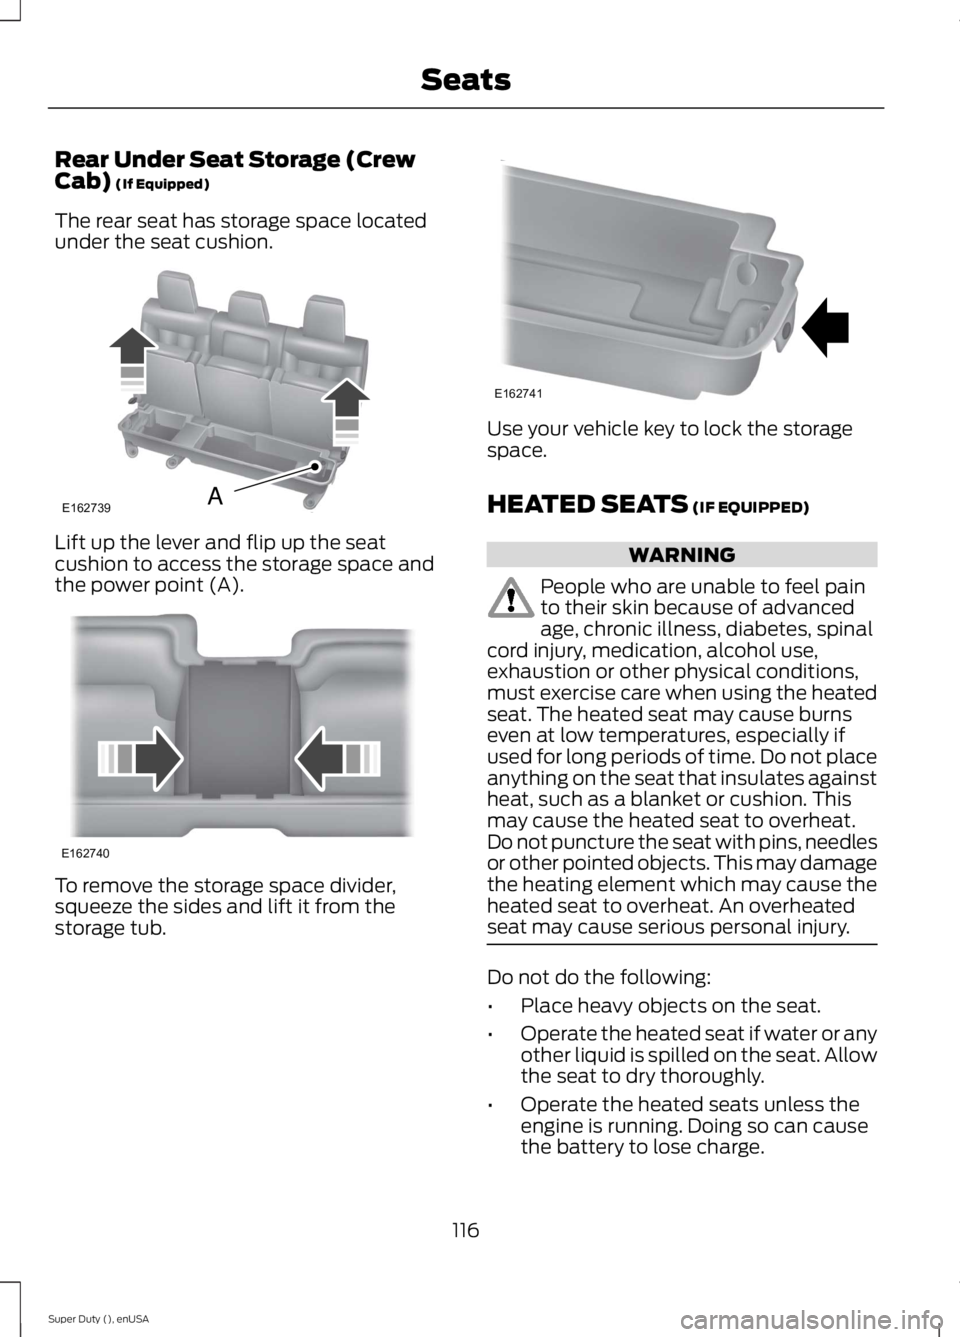
Rear Under Seat Storage (CrewCab) (If Equipped)
The rear seat has storage space locatedunder the seat cushion.
Lift up the lever and flip up the seatcushion to access the storage space andthe power point (A).
To remove the storage space divider,squeeze the sides and lift it from thestorage tub.
Use your vehicle key to lock the storagespace.
HEATED SEATS (IF EQUIPPED)
WARNING
People who are unable to feel painto their skin because of advancedage, chronic illness, diabetes, spinalcord injury, medication, alcohol use,exhaustion or other physical conditions,must exercise care when using the heatedseat. The heated seat may cause burnseven at low temperatures, especially ifused for long periods of time. Do not placeanything on the seat that insulates againstheat, such as a blanket or cushion. Thismay cause the heated seat to overheat.Do not puncture the seat with pins, needlesor other pointed objects. This may damagethe heating element which may cause theheated seat to overheat. An overheatedseat may cause serious personal injury.
Do not do the following:
•Place heavy objects on the seat.
•Operate the heated seat if water or anyother liquid is spilled on the seat. Allowthe seat to dry thoroughly.
•Operate the heated seats unless theengine is running. Doing so can causethe battery to lose charge.
116
Super Duty (), enUSA
SeatsE162739A E162740 E162741
Page 120 of 470
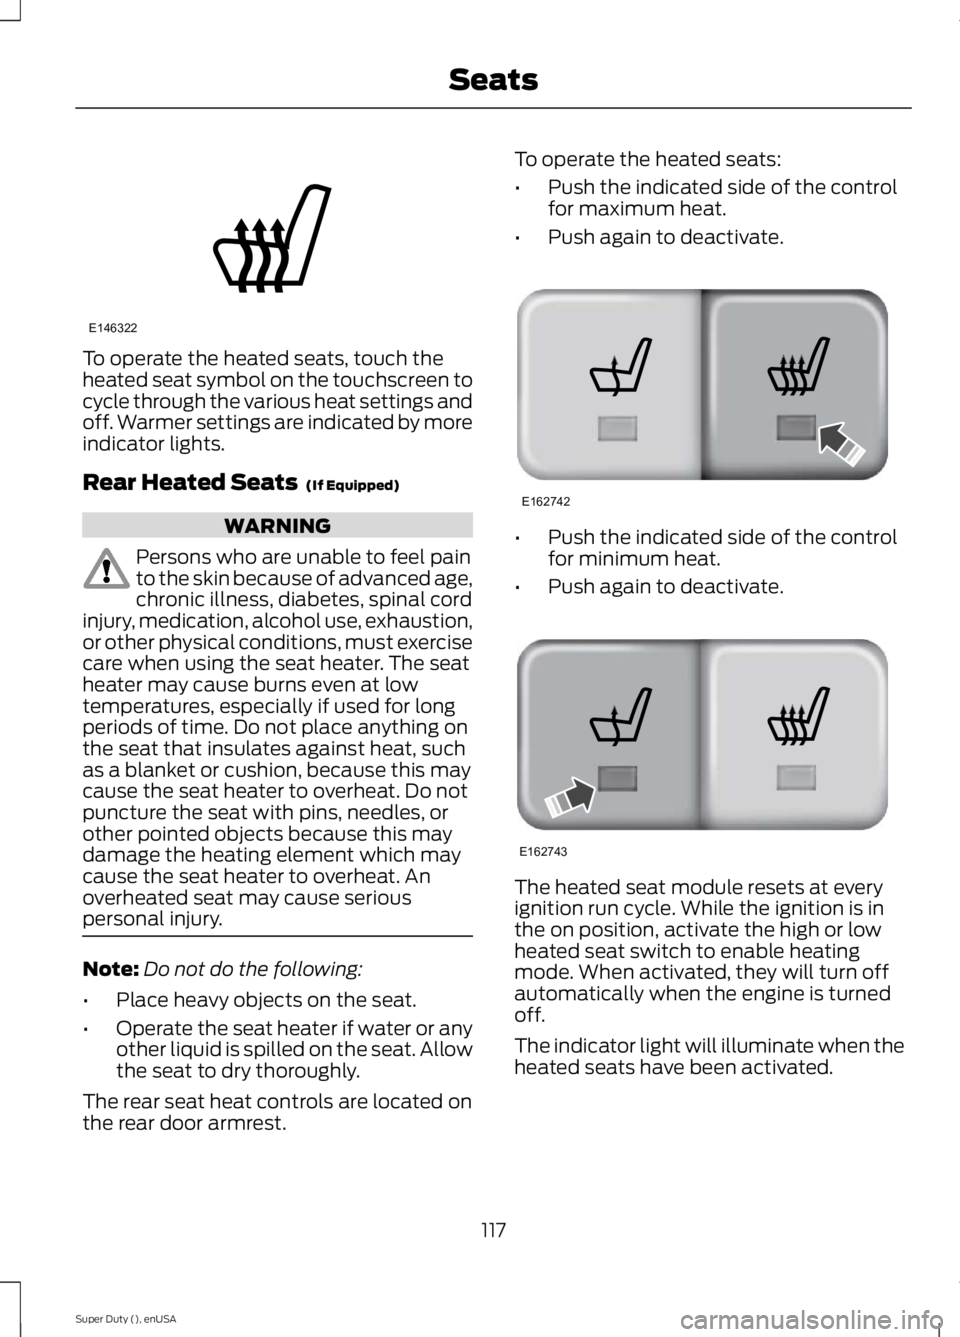
To operate the heated seats, touch theheated seat symbol on the touchscreen tocycle through the various heat settings andoff. Warmer settings are indicated by moreindicator lights.
Rear Heated Seats (If Equipped)
WARNING
Persons who are unable to feel painto the skin because of advanced age,chronic illness, diabetes, spinal cordinjury, medication, alcohol use, exhaustion,or other physical conditions, must exercisecare when using the seat heater. The seatheater may cause burns even at lowtemperatures, especially if used for longperiods of time. Do not place anything onthe seat that insulates against heat, suchas a blanket or cushion, because this maycause the seat heater to overheat. Do notpuncture the seat with pins, needles, orother pointed objects because this maydamage the heating element which maycause the seat heater to overheat. Anoverheated seat may cause seriouspersonal injury.
Note:Do not do the following:
•Place heavy objects on the seat.
•Operate the seat heater if water or anyother liquid is spilled on the seat. Allowthe seat to dry thoroughly.
The rear seat heat controls are located onthe rear door armrest.
To operate the heated seats:
•Push the indicated side of the controlfor maximum heat.
•Push again to deactivate.
•Push the indicated side of the controlfor minimum heat.
•Push again to deactivate.
The heated seat module resets at everyignition run cycle. While the ignition is inthe on position, activate the high or lowheated seat switch to enable heatingmode. When activated, they will turn offautomatically when the engine is turnedoff.
The indicator light will illuminate when theheated seats have been activated.
117
Super Duty (), enUSA
SeatsE146322 E162742 E162743
Page 121 of 470
CLIMATE CONTROLLED SEATS
Heated Seats (If Equipped)
WARNING
People who are unable to feel painto their skin because of advancedage, chronic illness, diabetes, spinalcord injury, medication, alcohol use,exhaustion or other physical conditions,must exercise care when using the heatedseat. The heated seat may cause burnseven at low temperatures, especially ifused for long periods of time. Do not placeanything on the seat that insulates againstheat, such as a blanket or cushion. Thismay cause the heated seat to overheat.Do not puncture the seat with pins, needlesor other pointed objects. This may damagethe heating element which may cause theheated seat to overheat. An overheatedseat may cause serious personal injury.
Do not do the following:
•Place heavy objects on the seat.
•Operate the heated seat if water or anyother liquid is spilled on the seat. Allowthe seat to dry thoroughly.
•Operate the heated seats unless theengine is running. Doing so can causethe battery to lose charge.
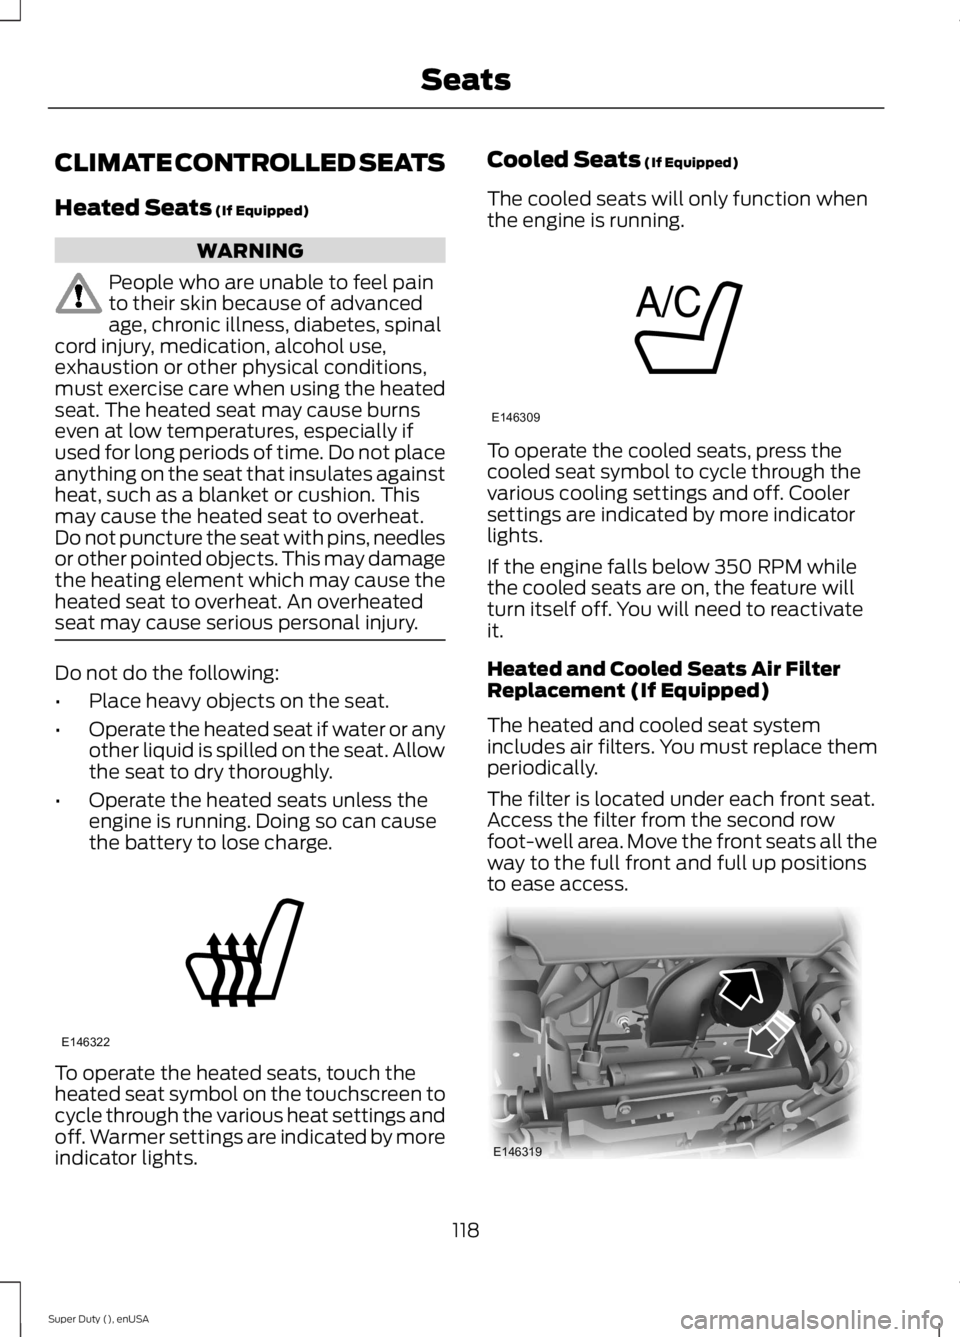
To operate the heated seats, touch theheated seat symbol on the touchscreen tocycle through the various heat settings andoff. Warmer settings are indicated by moreindicator lights.
Cooled Seats (If Equipped)
The cooled seats will only function whenthe engine is running.
To operate the cooled seats, press thecooled seat symbol to cycle through thevarious cooling settings and off. Coolersettings are indicated by more indicatorlights.
If the engine falls below 350 RPM whilethe cooled seats are on, the feature willturn itself off. You will need to reactivateit.
Heated and Cooled Seats Air FilterReplacement (If Equipped)
The heated and cooled seat systemincludes air filters. You must replace themperiodically.
The filter is located under each front seat.Access the filter from the second rowfoot-well area. Move the front seats all theway to the full front and full up positionsto ease access.
118
Super Duty (), enUSA
SeatsE146322 E146309 E146319
Page 125 of 470
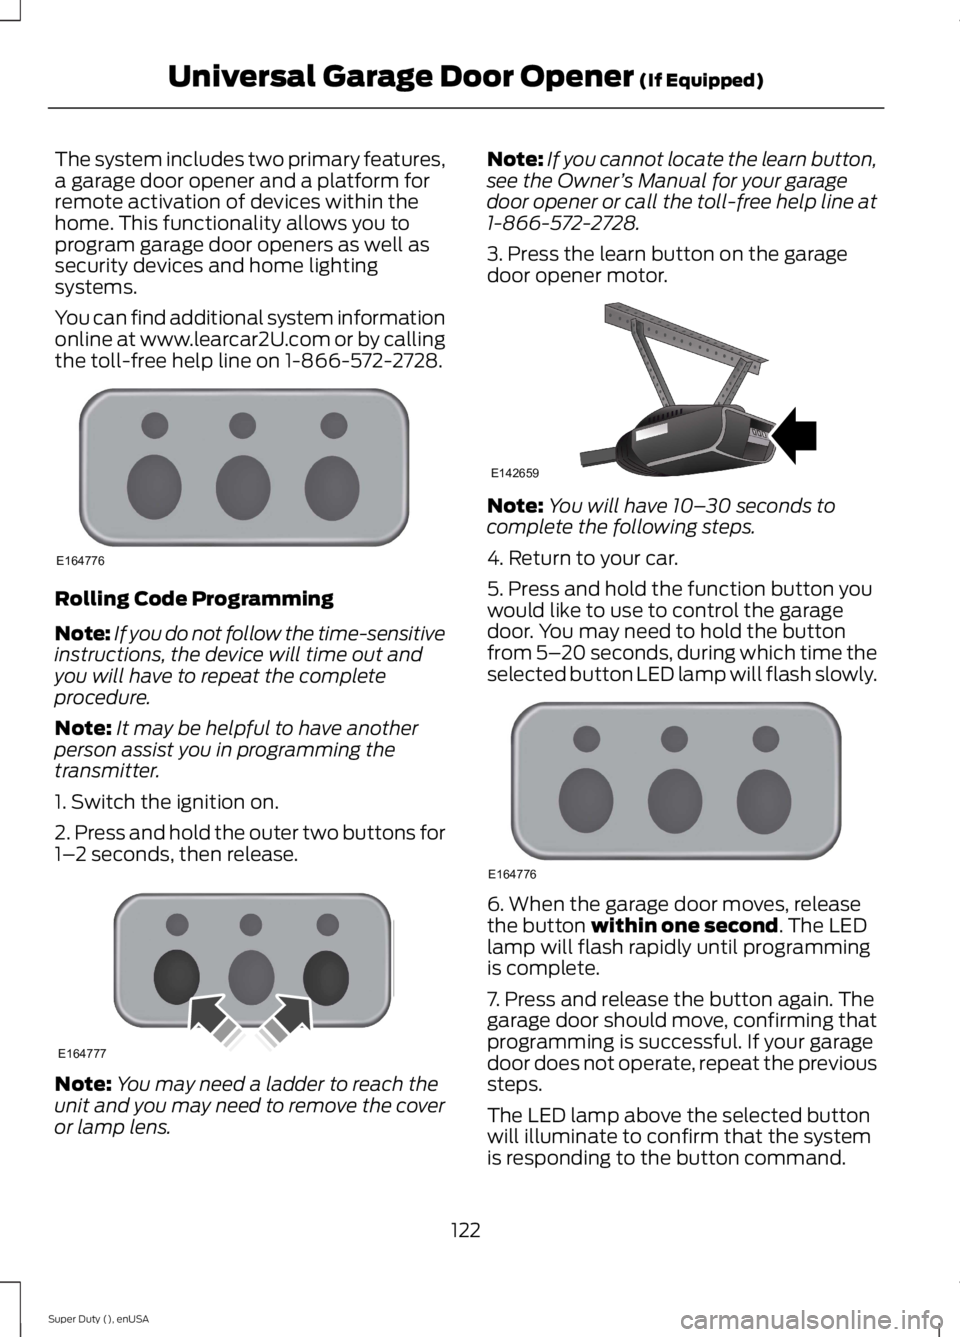
The system includes two primary features,a garage door opener and a platform forremote activation of devices within thehome. This functionality allows you toprogram garage door openers as well assecurity devices and home lightingsystems.
You can find additional system informationonline at www.learcar2U.com or by callingthe toll-free help line on 1-866-572-2728.
Rolling Code Programming
Note:If you do not follow the time-sensitiveinstructions, the device will time out andyou will have to repeat the completeprocedure.
Note:It may be helpful to have anotherperson assist you in programming thetransmitter.
1. Switch the ignition on.
2. Press and hold the outer two buttons for1–2 seconds, then release.
Note:You may need a ladder to reach theunit and you may need to remove the coveror lamp lens.
Note:If you cannot locate the learn button,see the Owner’s Manual for your garagedoor opener or call the toll-free help line at1-866-572-2728.
3. Press the learn button on the garagedoor opener motor.
Note:You will have 10–30 seconds tocomplete the following steps.
4. Return to your car.
5. Press and hold the function button youwould like to use to control the garagedoor. You may need to hold the buttonfrom 5–20 seconds, during which time theselected button LED lamp will flash slowly.
6. When the garage door moves, releasethe button within one second. The LEDlamp will flash rapidly until programmingis complete.
7. Press and release the button again. Thegarage door should move, confirming thatprogramming is successful. If your garagedoor does not operate, repeat the previoussteps.
The LED lamp above the selected buttonwill illuminate to confirm that the systemis responding to the button command.
122
Super Duty (), enUSA
Universal Garage Door Opener (If Equipped)E164776 E164777 E142659 E164776
Page 126 of 470
To program another rolling code device,repeat Steps 1 through 6, substituting adifferent function button in Step 5.
Fixed Code Programming
Note:It may be helpful to have anotherperson assist you in programming thetransmitter.
To program units with fixed code DIPswitches, you will need the garage doorhand-held transmitter, paper and a pen orpencil.
1. Switch the ignition on.
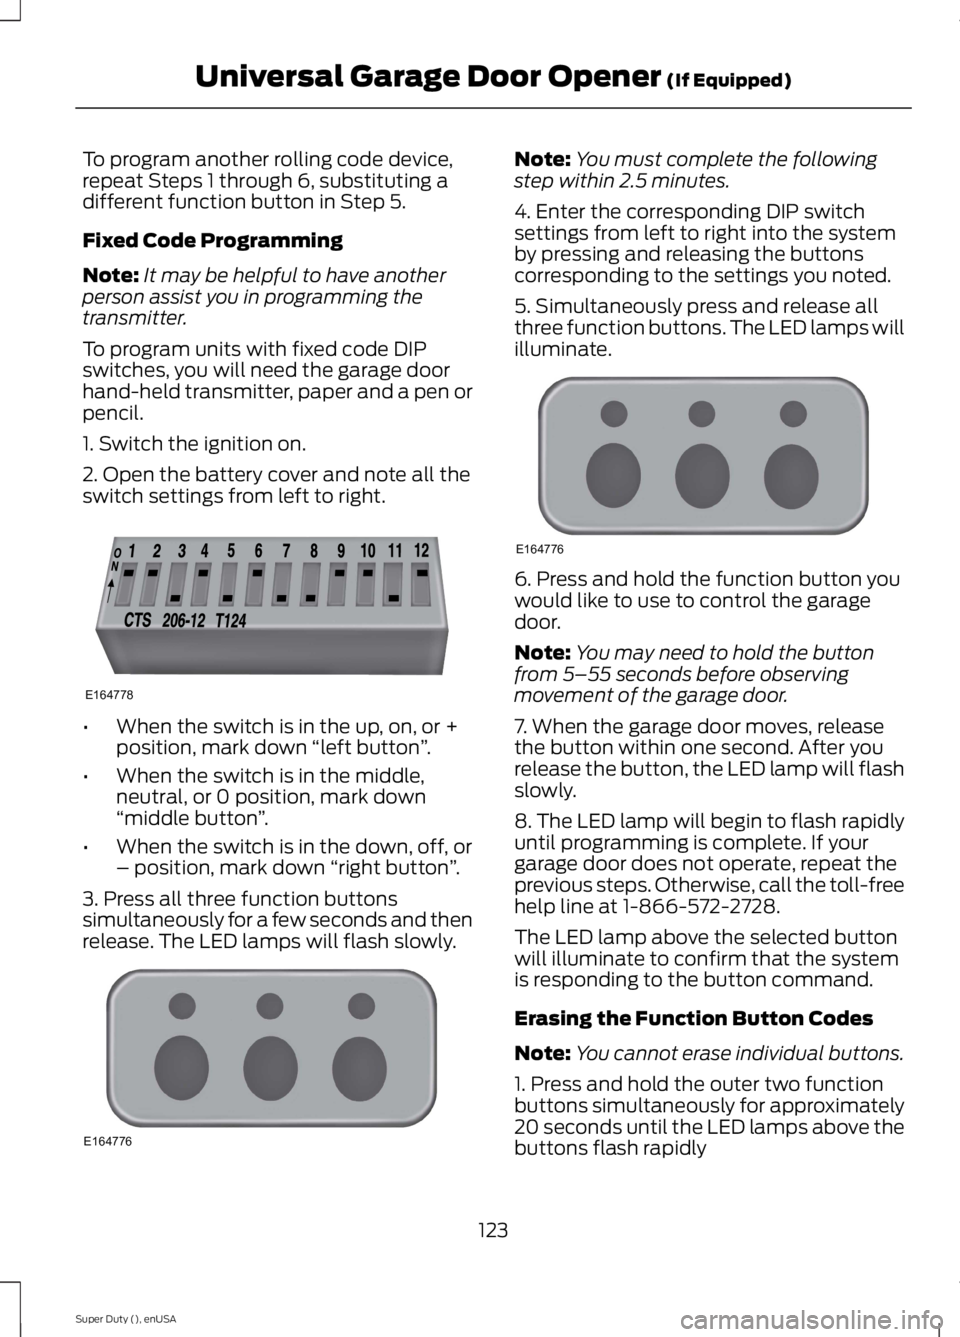
2. Open the battery cover and note all theswitch settings from left to right.
•When the switch is in the up, on, or +position, mark down “left button”.
•When the switch is in the middle,neutral, or 0 position, mark down“middle button”.
•When the switch is in the down, off, or– position, mark down “right button”.
3. Press all three function buttonssimultaneously for a few seconds and thenrelease. The LED lamps will flash slowly.
Note:You must complete the followingstep within 2.5 minutes.
4. Enter the corresponding DIP switchsettings from left to right into the systemby pressing and releasing the buttonscorresponding to the settings you noted.
5. Simultaneously press and release allthree function buttons. The LED lamps willilluminate.
6. Press and hold the function button youwould like to use to control the garagedoor.
Note:You may need to hold the buttonfrom 5–55 seconds before observingmovement of the garage door.
7. When the garage door moves, releasethe button within one second. After yourelease the button, the LED lamp will flashslowly.
8. The LED lamp will begin to flash rapidlyuntil programming is complete. If yourgarage door does not operate, repeat theprevious steps. Otherwise, call the toll-freehelp line at 1-866-572-2728.
The LED lamp above the selected buttonwill illuminate to confirm that the systemis responding to the button command.
Erasing the Function Button Codes
Note:You cannot erase individual buttons.
1. Press and hold the outer two functionbuttons simultaneously for approximately20 seconds until the LED lamps above thebuttons flash rapidly
123
Super Duty (), enUSA
Universal Garage Door Opener (If Equipped)E164778 E164776 E164776
Page 127 of 470
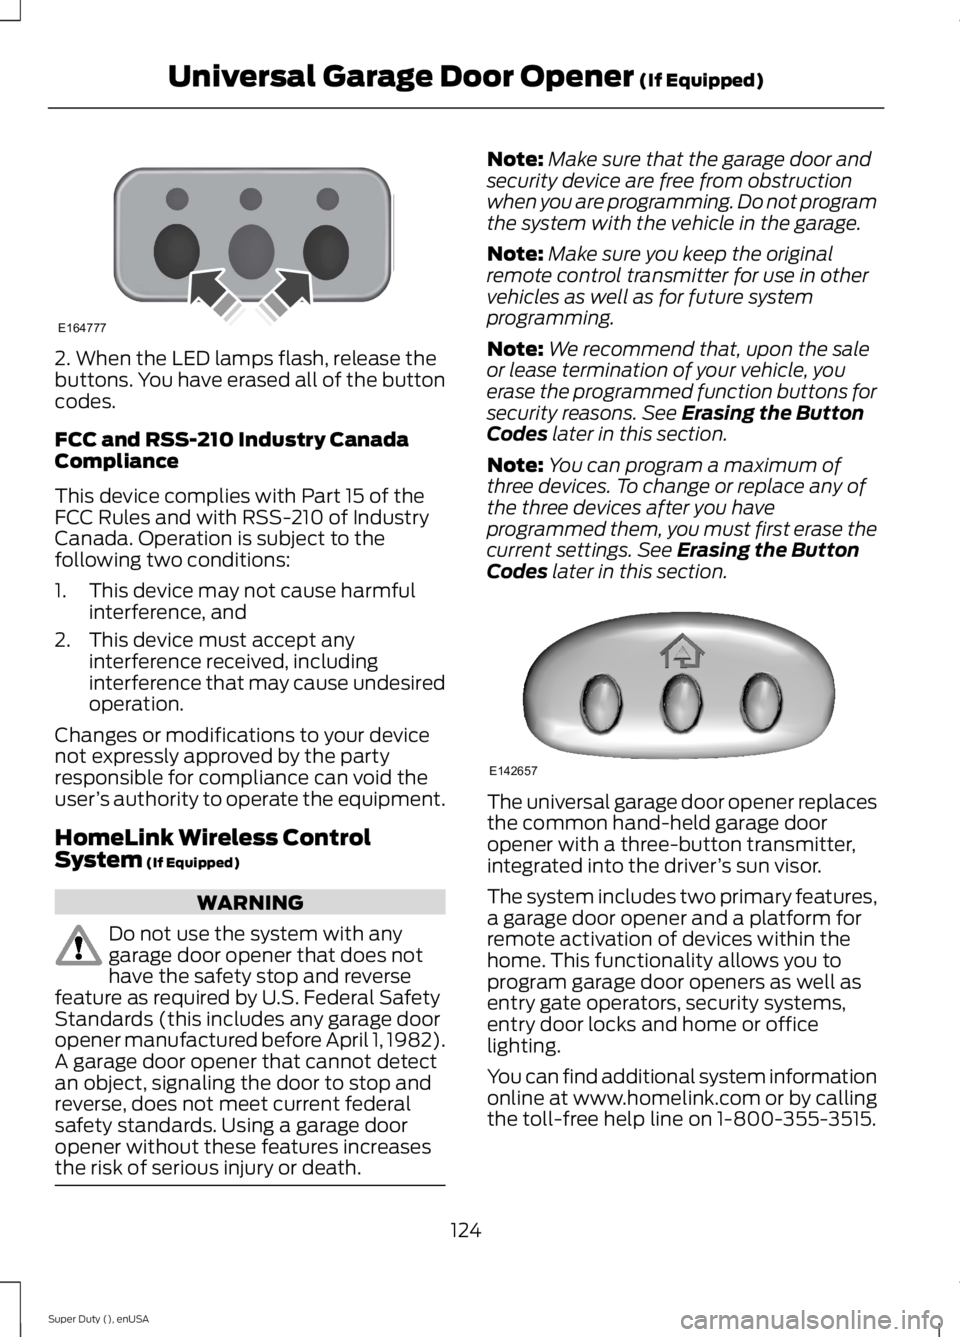
2. When the LED lamps flash, release thebuttons. You have erased all of the buttoncodes.
FCC and RSS-210 Industry CanadaCompliance
This device complies with Part 15 of theFCC Rules and with RSS-210 of IndustryCanada. Operation is subject to thefollowing two conditions:
1. This device may not cause harmfulinterference, and
2. This device must accept anyinterference received, includinginterference that may cause undesiredoperation.
Changes or modifications to your devicenot expressly approved by the partyresponsible for compliance can void theuser’s authority to operate the equipment.
HomeLink Wireless ControlSystem (If Equipped)
WARNING
Do not use the system with anygarage door opener that does nothave the safety stop and reversefeature as required by U.S. Federal SafetyStandards (this includes any garage dooropener manufactured before April 1, 1982).A garage door opener that cannot detectan object, signaling the door to stop andreverse, does not meet current federalsafety standards. Using a garage dooropener without these features increasesthe risk of serious injury or death.
Note:Make sure that the garage door andsecurity device are free from obstructionwhen you are programming. Do not programthe system with the vehicle in the garage.
Note:Make sure you keep the originalremote control transmitter for use in othervehicles as well as for future systemprogramming.
Note:We recommend that, upon the saleor lease termination of your vehicle, youerase the programmed function buttons forsecurity reasons. See Erasing the ButtonCodes later in this section.
Note:You can program a maximum ofthree devices. To change or replace any ofthe three devices after you haveprogrammed them, you must first erase thecurrent settings. See Erasing the ButtonCodes later in this section.
The universal garage door opener replacesthe common hand-held garage dooropener with a three-button transmitter,integrated into the driver’s sun visor.
The system includes two primary features,a garage door opener and a platform forremote activation of devices within thehome. This functionality allows you toprogram garage door openers as well asentry gate operators, security systems,entry door locks and home or officelighting.
You can find additional system informationonline at www.homelink.com or by callingthe toll-free help line on 1-800-355-3515.
124
Super Duty (), enUSA
Universal Garage Door Opener (If Equipped)E164777 E142657