2015 FORD F SERIES MOTORHOME AND COMMERCIAL CHASSIS key battery
[x] Cancel search: key batteryPage 23 of 144
GENERAL INFORMATION
WARNINGS
Extended idling at high enginespeeds can produce very hightemperatures in the engine andexhaust system, creating the risk of fire orother damage.
Do not park, idle or drive your vehicleon dry grass or other dry groundcover. The emission system heats upthe engine compartment and exhaustsystem, creating the risk of fire.
Do not start the engine in a closedgarage or in other enclosed areas.Exhaust fumes can be toxic. Alwaysopen the garage door before you start theengine.
If you smell exhaust fumes insideyour vehicle, have your vehiclechecked by an authorized dealerimmediately. Do not drive your vehicle ifyou smell exhaust fumes.
If you disconnect the battery, your vehiclemay exhibit some unusual drivingcharacteristics for approximately 5 miles(8 kilometers) after you reconnect it. Thisis because the engine management systemmust realign itself with the engine. You candisregard any unusual drivingcharacteristics during this period.
The powertrain control system meets allCanadian interference-causing equipmentstandard requirements regulating theimpulse electrical field or radio noise.
When you start the engine, avoid pressingthe accelerator pedal before and duringoperation. Only use the accelerator pedalwhen you have difficulty starting theengine.
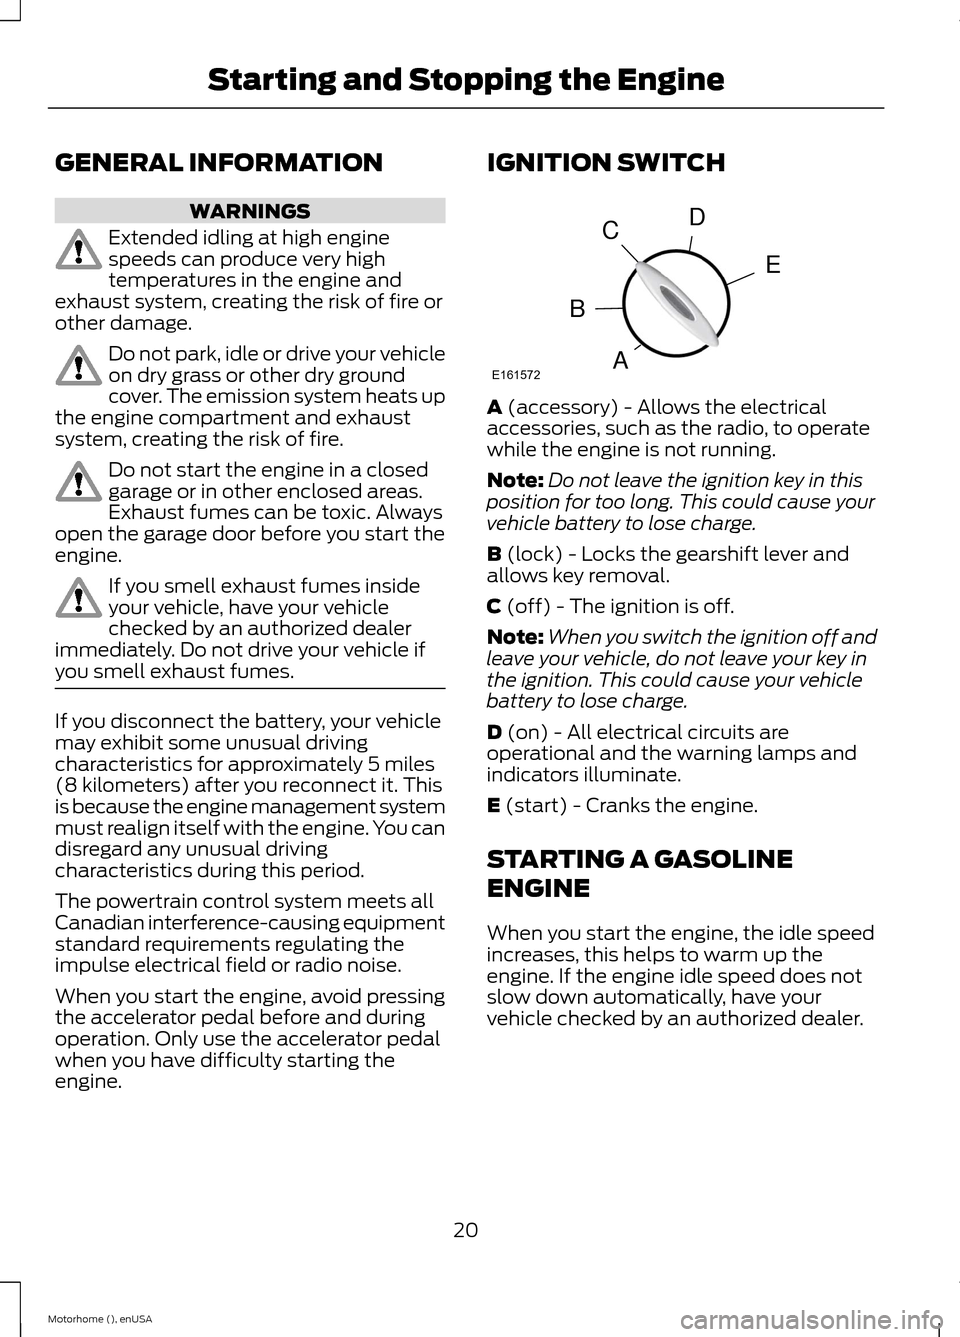
IGNITION SWITCH
A (accessory) - Allows the electricalaccessories, such as the radio, to operatewhile the engine is not running.
Note:Do not leave the ignition key in thisposition for too long. This could cause yourvehicle battery to lose charge.
B (lock) - Locks the gearshift lever andallows key removal.
C (off) - The ignition is off.
Note:When you switch the ignition off andleave your vehicle, do not leave your key inthe ignition. This could cause your vehiclebattery to lose charge.
D (on) - All electrical circuits areoperational and the warning lamps andindicators illuminate.
E (start) - Cranks the engine.
STARTING A GASOLINE
ENGINE
When you start the engine, the idle speedincreases, this helps to warm up theengine. If the engine idle speed does notslow down automatically, have yourvehicle checked by an authorized dealer.
20Motorhome (), enUSAStarting and Stopping the EngineE161572DECBA
Page 31 of 144
If the service engine soonindicator is on or the bulb doesnot work, you may need to havethe vehicle serviced. See On-BoardDiagnostics (OBD-II).
Your vehicle may not pass the I/M test ifthe service engine soon indicator is on ornot working properly (bulb is burned out),or if the OBD-II system has determinedthat some of the emission control systemshave not been properly checked. In thiscase, your vehicle is not ready for I/Mtesting.
If the vehicle’s engine or transmission hasjust been serviced, or the battery hasrecently run down or been replaced, theOBD-II system may indicate that thevehicle is not ready for I/M testing. Todetermine if the vehicle is ready for I/Mtesting, turn the ignition key to the onposition for 15 seconds without crankingthe engine. If the service engine soonindicator blinks eight times, it means thatthe vehicle is not ready for I/M testing; ifthe service engine soon indicator stays onsolid, it means that the vehicle is ready forI/M testing.
The OBD-II system monitors the emissioncontrol system during normal driving. Acomplete check may take several days. Ifthe vehicle is not ready for I/M testing, youmay need to perform the following drivingcycle consisting of mixed city and highwaydriving:
Drive on an expressway or highway for asteady 15 minutes, followed by 20 minutesof stop-and-go driving with at least four30-second idle periods.
Allow the vehicle to sit for at least eighthours without starting the engine. Then,start the engine and complete the abovedriving cycle. The engine must warm up toits normal operating temperature. Oncestarted, do not turn off the engine until theabove driving cycle is complete. If thevehicle is still not ready for I/M testing, youwill have to repeat the above driving cycle.
28Motorhome (), enUSAFuel and Refueling
Page 32 of 144
AUTOMATIC TRANSMISSION
WARNINGS
Always set the parking brake fullyand make sure the gearshift islatched in P (Park). Turn the ignitionto the off position and remove the keywhenever you leave your vehicle.
Do not apply the brake pedal andaccelerator pedal simultaneously.Applying both pedals simultaneouslyfor more than three seconds will limitengine rpm, which may result in difficultymaintaining speed in traffic and could leadto serious injury.
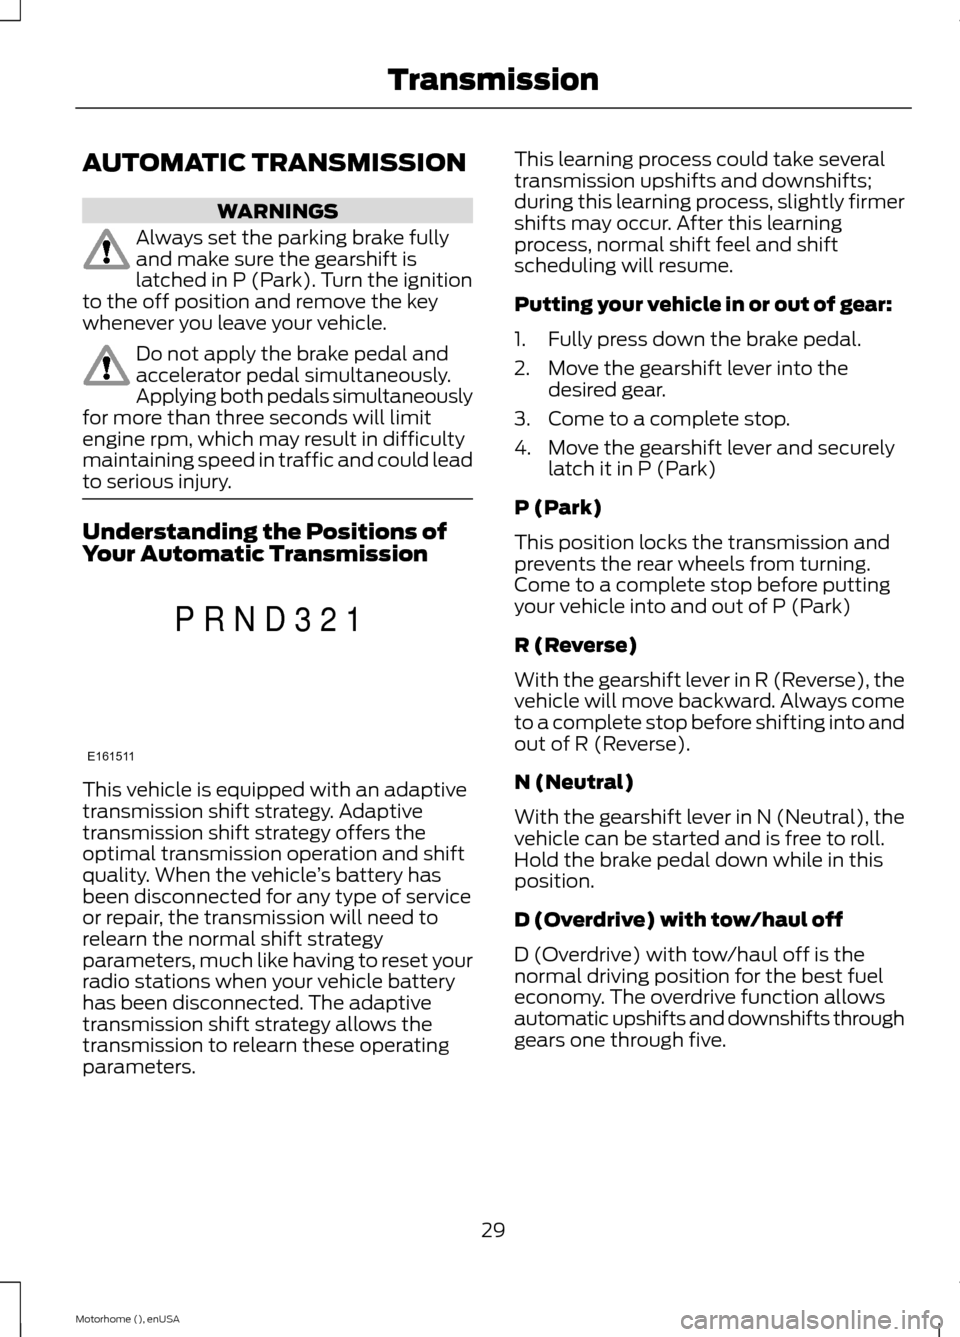
Understanding the Positions ofYour Automatic Transmission
This vehicle is equipped with an adaptivetransmission shift strategy. Adaptivetransmission shift strategy offers theoptimal transmission operation and shiftquality. When the vehicle’s battery hasbeen disconnected for any type of serviceor repair, the transmission will need torelearn the normal shift strategyparameters, much like having to reset yourradio stations when your vehicle batteryhas been disconnected. The adaptivetransmission shift strategy allows thetransmission to relearn these operatingparameters.
This learning process could take severaltransmission upshifts and downshifts;during this learning process, slightly firmershifts may occur. After this learningprocess, normal shift feel and shiftscheduling will resume.
Putting your vehicle in or out of gear:
1.Fully press down the brake pedal.
2.Move the gearshift lever into thedesired gear.
3.Come to a complete stop.
4.Move the gearshift lever and securelylatch it in P (Park)
P (Park)
This position locks the transmission andprevents the rear wheels from turning.Come to a complete stop before puttingyour vehicle into and out of P (Park)
R (Reverse)
With the gearshift lever in R (Reverse), thevehicle will move backward. Always cometo a complete stop before shifting into andout of R (Reverse).
N (Neutral)
With the gearshift lever in N (Neutral), thevehicle can be started and is free to roll.Hold the brake pedal down while in thisposition.
D (Overdrive) with tow/haul off
D (Overdrive) with tow/haul off is thenormal driving position for the best fueleconomy. The overdrive function allowsautomatic upshifts and downshifts throughgears one through five.
29Motorhome (), enUSATransmissionE161511PRND321
Page 34 of 144
1 (First)
•Provides maximum engine braking
•Allows upshifts by moving gearshiftlever
•The transmission will not downshiftinto 1 (First) at high speeds; it willdownshift to a lower gear and thenshift into 1 (First) when the vehiclereaches slower speeds.
Forced downshifts
•Allowed in D (Overdrive) with thetow/haul feature on or off
•Press the accelerator to the floor
•Allows transmission to select anappropriate gear
Brake-Shift Interlock
WARNINGS
Do not drive your vehicle until youverify that the brake lamps areworking.
If your brake lamps are not workingproperly or if you have disconnectedthe vehicle battery cables, thevehicle brake lamps and hazard flashersmay not properly warn traffic of a vehiclebreakdown or approaching danger, whichcan increase the risk of serious injury ordeath. To minimize the risk of serious injuryor death, be aware of your surroundings,use other hazard signaling devices ifavailable, and move the vehicle to a safelocation away from traffic as soon aspossible.
When doing this procedure, you willbe taking the vehicle out of parkwhich means the vehicle can rollfreely. To avoid unwanted vehiclemovement, always fully set the parkingbrake prior to doing this procedure. Usewheel chocks if appropriate.
WARNINGS
If the parking brake is fully released,but the brake warning lamp remainsilluminated, the brakes may not beworking properly. See your authorizeddealer.
Your vehicle is equipped with a brake-shiftinterlock feature that prevents thegearshift lever from being moved from P(Park) unless the brake pedal is pressed.
If you cannot move the gearshift lever outof P (Park) position with the ignition in the4 (on) position and the brake pedalpressed, a malfunction may have occurred.It is possible that a fuse has blown or thevehicle’s brake lamps are not operatingproperly. Refer to Fuses and relays in theRoadside Emergencies chapter. If the fusesand brake lamps are working properly, andthe vehicle still will not shift out of (P)Park, see your authorized dealer for service.
In an emergency, to disable themalfunctioning brake-shift interlockfeature in order to shift the vehicle from P(Park) follow these steps:
1.Apply the parking brake. Turn key tothe lock position, and then remove thekey.
2.Disconnect the negative (black)battery cable from the battery.
3.Insert the key and turn to the offposition. Shift to N (Neutral).
4.Reconnect the negative (black) batterycable to the battery.
5.Start the vehicle.
Note:See your authorized dealer as soonas possible if this procedure is used.
31Motorhome (), enUSATransmission
Page 54 of 144
ROADSIDE ASSISTANCE
Vehicles Sold in the United States:Getting Roadside Assistance
To fully assist you should you have avehicle concern, Ford Motor Companyoffers a complimentary roadsideassistance program. This program isseparate from the New Vehicle LimitedWarranty. The service is available:
•24 hours a day, seven days a week.
•For the coverage period listed on theRoadside Assistance Card included inyour Owner's Manual portfolio.
Roadside Assistance covers:
•A flat tire change with a good spare, ifprovided with the vehicle (exceptvehicles supplied with a tire inflationkit).
•Battery jump start.
•Lock-out assistance (key replacementcost is the customer's responsibility).
•Fuel delivery — independent servicecontractors, if not prohibited by state,local or municipal law, shall deliver upto 2 gal (7.6 L) of gasoline or 5 gal(18.9 L) of diesel fuel to a disabledvehicle. Roadside Assistance limits fueldelivery service to two no-chargeoccurrences within a 12-month period.
•Winch out — available within 100 ft(30.5 m) of a paved or countymaintained road, no recoveries.
•Towing — independent servicecontractors, if not prohibited by state,local or municipal law, shall tow Fordeligible vehicles to an authorized dealerwithin 35 mi (56 km) of thedisablement location or to the nearest
authorized dealer. If a memberrequests a tow to an authorized dealerthat is more than 35 mi (56 km) fromthe disablement location, the membershall be responsible for any mileagecosts in excess of 35 mi (56 km).
Roadside Assistance includes up to $200for a towed trailer if the disabled eligiblevehicle requires service at the nearestauthorized dealer. If the towing vehicle isoperational but the trailer is not, then thetrailer does not qualify for any roadsideservices.
Vehicles Sold in the United States:Using Roadside Assistance
Complete the roadside assistanceidentification card and place it in yourwallet for quick reference. This card is inthe owner's information portfolio in theglove compartment.
United States Ford vehicle customers whorequire Roadside Assistance, call1-800-241-3673.
If you need to arrange roadside assistancefor yourself, Ford Motor Companyreimburses a reasonable amount fortowing to the nearest dealership within35 mi (56 km). To obtain reimbursementinformation, United States Ford vehiclecustomers call 1-800-241-3673.Customers need to submit their originalreceipts.
Vehicles Sold in Canada: GettingRoadside Assistance
Canadian customers who require roadsideassistance, call 1-800-665-2006.
Vehicles Sold in Canada: UsingRoadside Assistance
For your convenience, you may completethe roadside assistance identification cardfound in the centerfold of your warrantyguide and retain for future reference.
51Motorhome (), enUSARoadside Emergencies
Page 55 of 144
Canadian roadside coverage and benefitsmay differ from the U.S. coverage. If yourequire more information, please refer tothe coverage section of your warrantyguide, call us in Canada at1-800-665-2006, or visit our website atwww.ford.ca.
Sykes Assistance Services Corporationadministers the Roadside Assistanceprogram. You must receive coveredservices in Canada or the continentalUnited States. Coverage extends tovehicles that use public, non-seasonal,annually traveled roadways. RoadsideAssistance coverage does not extend tovehicles involved in cross-country driving,logging, autocross and any other form ofoff-road use. Well maintained roads andsurfaces help ensure safe travel for thesupplier, and allow their representativesto perform service as per the standardoperating procedures.
In Remote Locations
If our supplier cannot take your vehicle byroad to the nearest authorized dealership,transportation by rail or water may benecessary. The program covers a tow tothe dock or rail terminal and also to thedealership at the end of the trip.
For rail or water transportation, however,contact your authorized dealer to confirmif you are eligible for additional coveragebefore you authorize or pay for the service.
Call the Ford Roadside Assistance at1-800-665-2006 for additionalinformation.
HAZARD WARNING FLASHERS
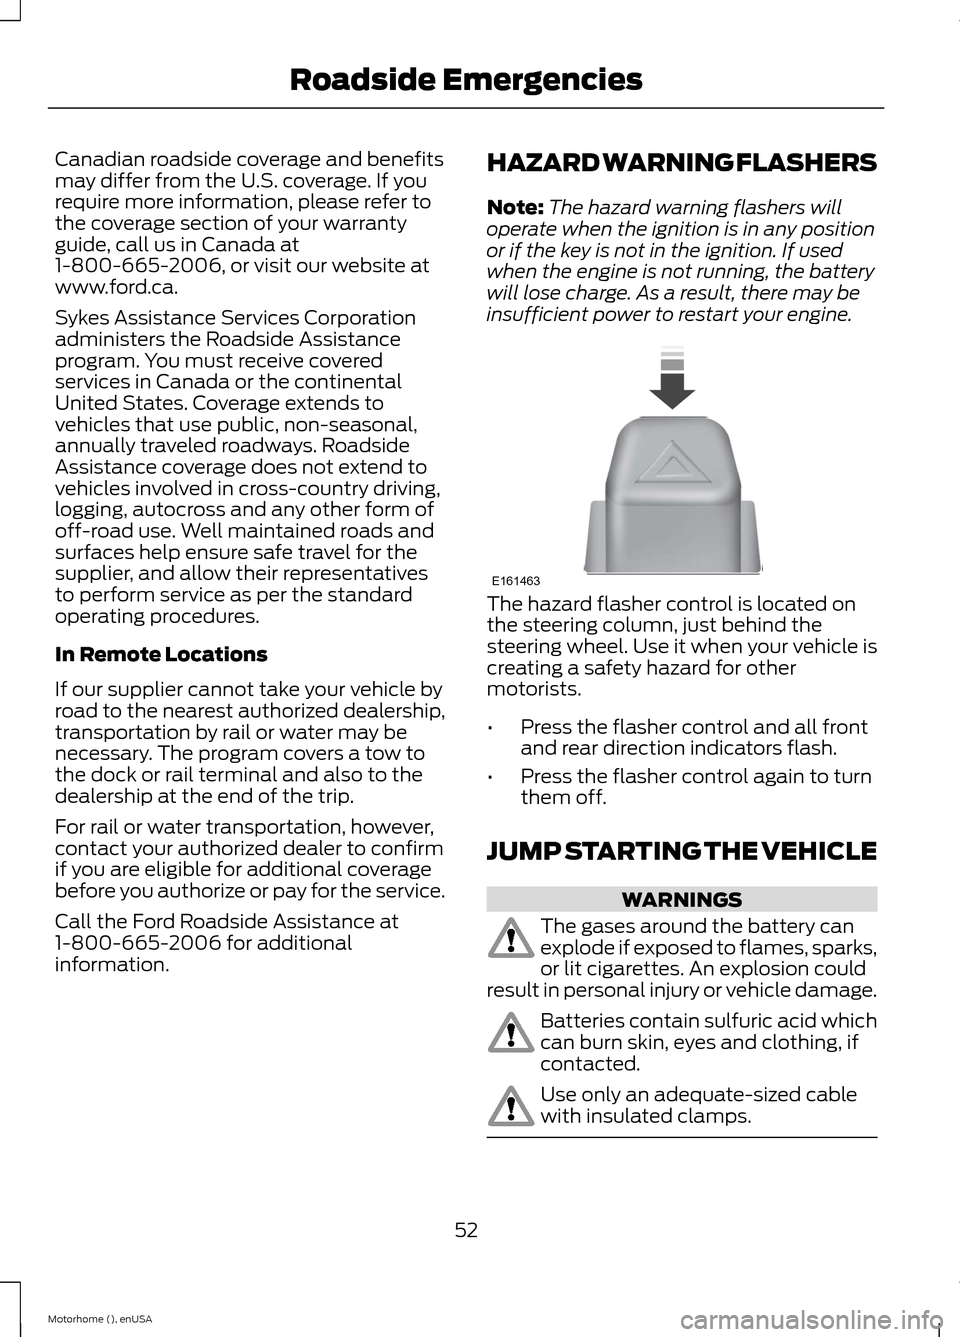
Note:The hazard warning flashers willoperate when the ignition is in any positionor if the key is not in the ignition. If usedwhen the engine is not running, the batterywill lose charge. As a result, there may beinsufficient power to restart your engine.
The hazard flasher control is located onthe steering column, just behind thesteering wheel. Use it when your vehicle iscreating a safety hazard for othermotorists.
•Press the flasher control and all frontand rear direction indicators flash.
•Press the flasher control again to turnthem off.
JUMP STARTING THE VEHICLE
WARNINGS
The gases around the battery canexplode if exposed to flames, sparks,or lit cigarettes. An explosion couldresult in personal injury or vehicle damage.
Batteries contain sulfuric acid whichcan burn skin, eyes and clothing, ifcontacted.
Use only an adequate-sized cablewith insulated clamps.
52Motorhome (), enUSARoadside EmergenciesE161463
Page 78 of 144
4.After three seconds, the Service: Oilreset in prog. message will bedisplayed.
5.After 25 seconds, the Service: Oil resetcomplete message will be displayed.
6.Release the accelerator and brakepedals, then rotate the key to the offposition.
Note:The Service: Oil reset completemessage will no longer be displayed.
ENGINE COOLANT CHECK
WARNINGS
Do not add engine coolant when theengine is hot. Steam and scaldingliquids released from a hot coolingsystem can burn you badly. Also, spillingcoolant on hot engine parts can burn you.
Do not put engine coolant in thewindshield washer fluid container. Ifsprayed on the windshield, enginecoolant could make it difficult to seethrough the windshield.
To reduce the risk of personal injury,make sure the engine is cool beforeunscrewing the coolant pressurerelief cap. The cooling system is underpressure; steam and hot liquid can comeout forcefully when you loosen the capslightly.
Do not add coolant further than theMAX mark.
When the engine is cold, check theconcentration and level of the enginecoolant at the intervals listed in thescheduled maintenance information. SeeScheduled Maintenance (page 121).
Note:Make sure that the level is betweenthe MIN and MAX marks on the coolantreservoir.
Note:Coolant expands when it is hot. Thelevel may extend beyond the MAX mark
Note:If the level is at the MIN mark, belowthe MIN mark, or empty, add coolantimmediately. See Adding Engine Coolantin this chapter.
The coolant concentration should bemaintained within 48% to 50%, whichequates to a freeze point between -30°F(-34°C) and -34°F (-37°C).
Note:For best results, coolantconcentration should be tested with arefractometer such as Robinair Coolant andBattery Refractometer 75240. We do notrecommend the use of hydrometers orcoolant test strips for measuring coolantconcentrations.
Note:Automotive fluids are notinterchangeable. Do not use engine coolant,antifreeze or windshield washer fluid outsideof its specified function and vehicle location.
Adding Engine Coolant
Note:Do not use stop leak pellets, coolingsystem sealants, or additives as they cancause damage to the engine cooling orheating systems. Your vehicle’s warrantydoes not cover this damage.
75Motorhome (), enUSAMaintenance
Page 140 of 144
A
About This Manual...........................................3Protecting the Environment................................3ABSSee: Brakes.............................................................33ABS driving hintsSee: Hints on Driving With Anti-LockBrakes..................................................................33AccessoriesSee: Replacement PartsRecommendation..............................................6Adjusting the Steering Wheel......................8Audible Warnings and Indicators..............15Fail-Safe Cooling Warning Chime...................15Headlamps On Warning Chime.......................15Key in Ignition Warning Chime..........................15Parking Brake On Warning Chime...................15Automatic Transmission.............................29Brake-Shift Interlock............................................31If Your Vehicle Gets Stuck In Mud orSnow....................................................................32Understanding the Positions of YourAutomatic Transmission..............................29Automatic Transmission FluidCheck...............................................................78Adjusting automatic transmission fluidlevels....................................................................79Automatic transmission fluid filter................79Correct fluid level..................................................78High fluid level.......................................................79Low fluid level........................................................78
B
Brake Fluid Check...........................................79Hydroboost............................................................80Hydromax...............................................................80Parking brake fluid................................................81Brakes.................................................................33General Information............................................33Breaking-In.......................................................49
C
California Proposition 65...............................5
Capacities and Specifications -6.8L..................................................................114Specifications.......................................................115Capacities and Specifications..................110Car WashSee: Cleaning the Exterior................................86Changing a Fuse.............................................70Fuses.........................................................................70Changing a Road Wheel............................106Dissimilar Spare Wheel and Tire AssemblyInformation......................................................106Tire Change Procedure.....................................107Changing the 12V Battery............................82Battery relearn.......................................................83Changing the Engine Air Filter...................84Cleaning the Alloy Wheels..........................87Cleaning the Engine......................................86Cleaning the Exterior....................................86Cleaning Plastic Exterior Parts.......................86Exterior Chrome...................................................86Stripes or Graphics (if equipped)..................86Underbody.............................................................86Coolant CheckSee: Engine Coolant Check...............................75Cruise Control....................................................8Principle of Operation.........................................35Cruise controlSee: Using Cruise Control..................................35Customer Assistance...................................55
D
Daytime Running Lamps...............................11Direction Indicators..........................................11Driving Hints.....................................................49Driving Through Water.................................50DRLSee: Daytime Running Lamps...........................11
E
Economical Driving.......................................49Emission Control System............................26On-Board Diagnostics (OBD-II)......................27Readiness for Inspection/Maintenance(I/M) Testing......................................................27
137Motorhome (), enUSAIndex