Page 163 of 596

MEMORY FUNCTION (IF EQUIPPED)
This memory control, located on the
driver door, allows automatic
positioning of the driver seat and
power mirrors to three
programmable positions. You may
also have this feature for the
steering column and power
adjustable foot pedals.
Programming a memory position
1. Switch the ignition on.
2. Adjust the memory features to your desired positions using the
associated controls.
3. Press and hold the desired pre-set button for about two seconds until
you hear a single tone.
Note:You can save up to three pre-set memory positions.
Recalling a memory position
Press and release the desired memory pre-set button to recall a saved
memory position.
Note:A pre-set memory position can only be recalled when the ignition
is off, or when the transmission is in park (P) or neutral (N) if the
ignition is on.
A pre-set memory position can also be recalled by:
•Pressing the unlock button on your intelligent access key fob if it is
linked to a pre-set position.
•Unlocking the intelligent driver door handle if a linked key fob is
present.
•Entering a personal entry code on the Securicode keypad. SeeLocks.
Note:Using a linked key fob to recall your memory position when the
ignition is off will move the seat and steering column to the Easy Entry
position (if the feature is enabled).
Note:Pressing any seat or mirror adjustment control (or any memory
button) during a memory recall cancels the operation.
Recalling memory positions with the remote control
To program the memory feature to a remote control, see theKeys and
Remote Controlchapter.
162Seats
2015 Explorer(exp)
Owners Guide gf, 2nd Printing, September 2014
USA(fus)
Page 164 of 596
Easy Entry and Exit Feature
This feature can move the seat rearward and the optional power steering
column up and forward to allow extra room to exit the vehicle.
This occurs when:
•You place the transmission in neutral (N) or park (P).
•You turn the ignition off.
The seat and steering wheel will move to their original positions when:
•You turn the ignition on.
Turn the Easy Entry/Exit feature on or off through the information
display settings menu. See theInformation Displayschapter.
HEATED SEATS (IF EQUIPPED)
WARNING:Persons who are unable to feel pain to the skin
because of advanced age, chronic illness, diabetes, spinal cord
injury, medication, alcohol use, exhaustion, or other physical conditions,
must exercise care when using the seat heater. The seat heater may
cause burns even at low temperatures, especially if used for long
periods of time. Do not place anything on the seat that insulates against
heat, such as a blanket or cushion, because this may cause the seat
heater to overheat. Do not puncture the seat with pins, needles, or
other pointed objects because this may damage the heating element
which may cause the seat heater to overheat. An overheated seat may
cause serious personal injury.
The heated seats will only function when the ignition is in the on
position.
Note:Do not do the following:
•Place heavy objects on the seat
•Operate the seat heater if water or any other liquid is spilled on the
seat. Allow the seat to dry thoroughly.
To operate the heated seats:
Press the heated seat symbol to cycle through the various
heat settings and off. Warmer settings are indicated by
more indicator lights.
Seats163
2015 Explorer(exp)
Owners Guide gf, 2nd Printing, September 2014
USA(fus)
Page 168 of 596
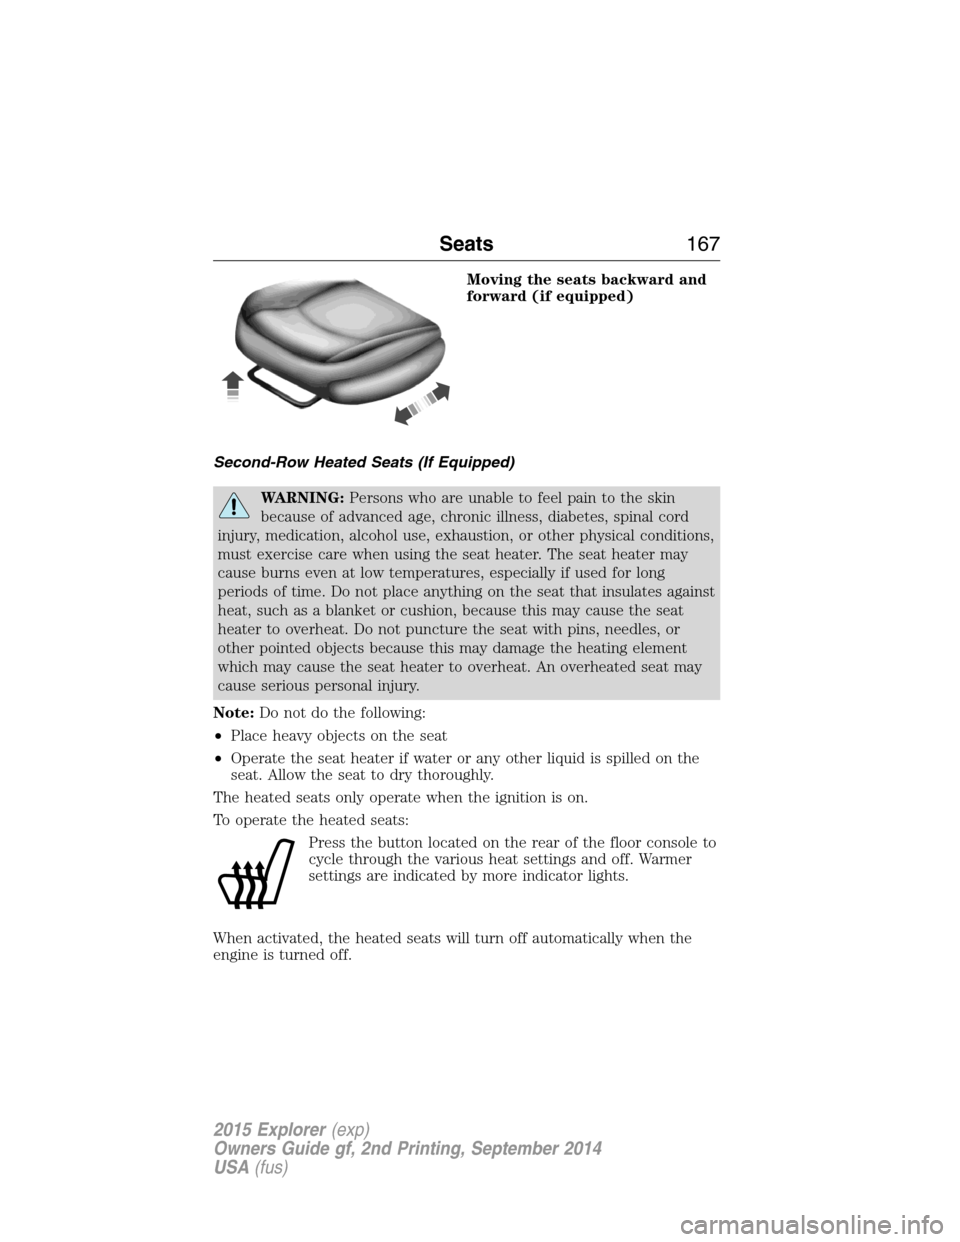
Moving the seats backward and
forward (if equipped)
Second-Row Heated Seats (If Equipped)
WARNING:Persons who are unable to feel pain to the skin
because of advanced age, chronic illness, diabetes, spinal cord
injury, medication, alcohol use, exhaustion, or other physical conditions,
must exercise care when using the seat heater. The seat heater may
cause burns even at low temperatures, especially if used for long
periods of time. Do not place anything on the seat that insulates against
heat, such as a blanket or cushion, because this may cause the seat
heater to overheat. Do not puncture the seat with pins, needles, or
other pointed objects because this may damage the heating element
which may cause the seat heater to overheat. An overheated seat may
cause serious personal injury.
Note:Do not do the following:
•Place heavy objects on the seat
•Operate the seat heater if water or any other liquid is spilled on the
seat. Allow the seat to dry thoroughly.
The heated seats only operate when the ignition is on.
To operate the heated seats:
Press the button located on the rear of the floor console to
cycle through the various heat settings and off. Warmer
settings are indicated by more indicator lights.
When activated, the heated seats will turn off automatically when the
engine is turned off.
Seats167
2015 Explorer(exp)
Owners Guide gf, 2nd Printing, September 2014
USA(fus)
Page 177 of 596
Note:In order to allow the seat to complete the stowed position, do not
place objects under the seat before stowing. Remove all objects from the
seat and stowage tub.
Note:In the unlikely event that the third-row power seat stops
prematurely or travels to an unexpected position, press the FOLD button
(C) to reset the seat and return it to a normal position.
These seats feature a power one-touch operation that allows you fold
and stow the seats.
•The power fold seats work only when the transmission is in park (P)
and the liftgate is open.
•If the ignition is off and the feature is still running, the battery saver
will turn it off after 10 minutes. Press unlock on the remote entry key
transmitter to reactivate the power seats or unlock it with the keyless
entry keypad. See theKeys and Remote Controlchapter.
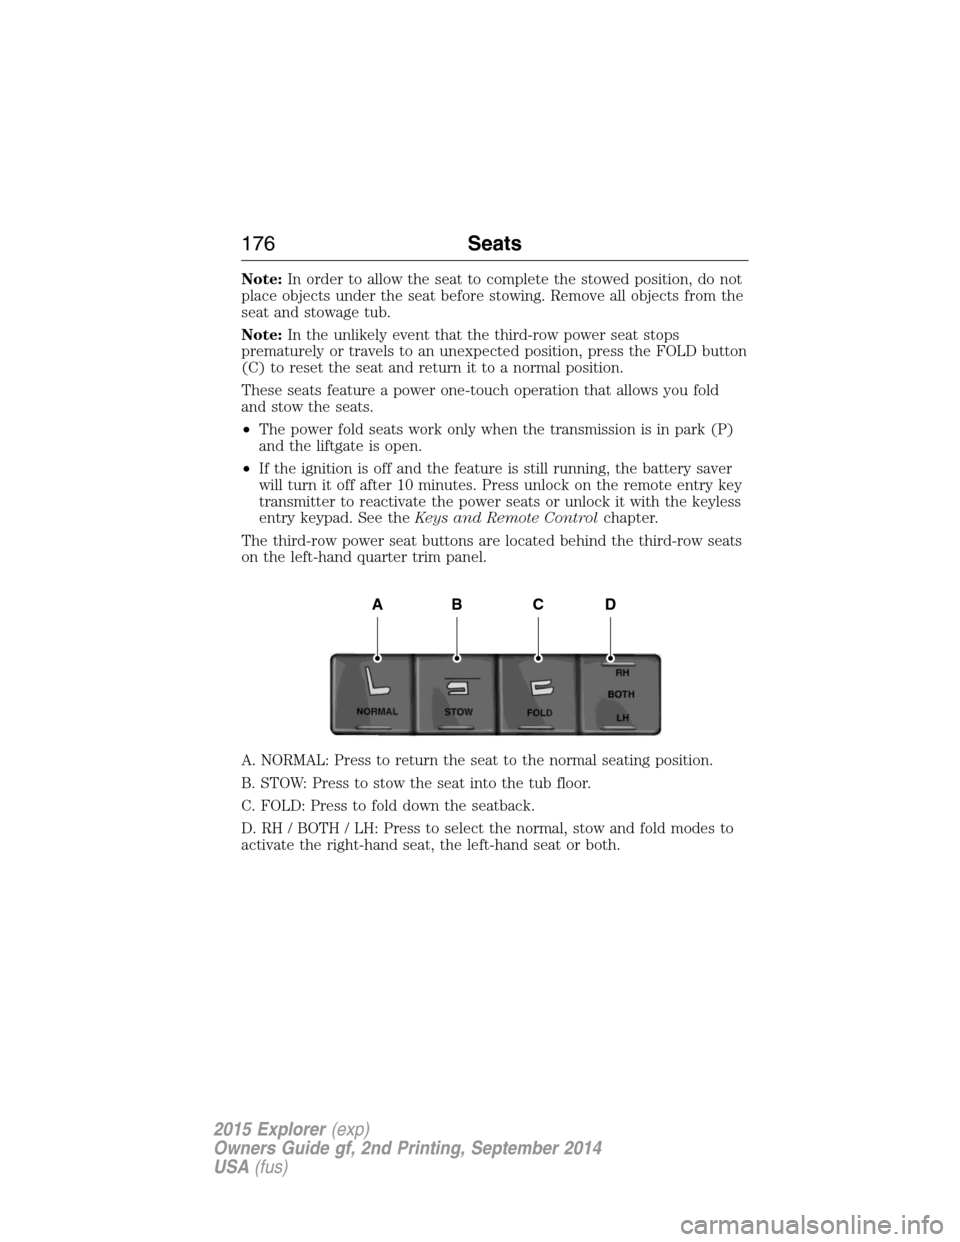
The third-row power seat buttons are located behind the third-row seats
on the left-hand quarter trim panel.
A. NORMAL: Press to return the seat to the normal seating position.
B. STOW: Press to stow the seat into the tub floor.
C. FOLD: Press to fold down the seatback.
D. RH / BOTH / LH: Press to select the normal, stow and fold modes to
activate the right-hand seat, the left-hand seat or both.
ABCD
176Seats
2015 Explorer(exp)
Owners Guide gf, 2nd Printing, September 2014
USA(fus)
Page 179 of 596
Programming
Note:Put a new battery in the hand-held transmitter. This will ensure
quicker training and accurate transmission of the radio-frequency signal.
1. With your vehicle parked outside of the garage and your key in the
ignition, turn the key so that the ignition is in the on position.
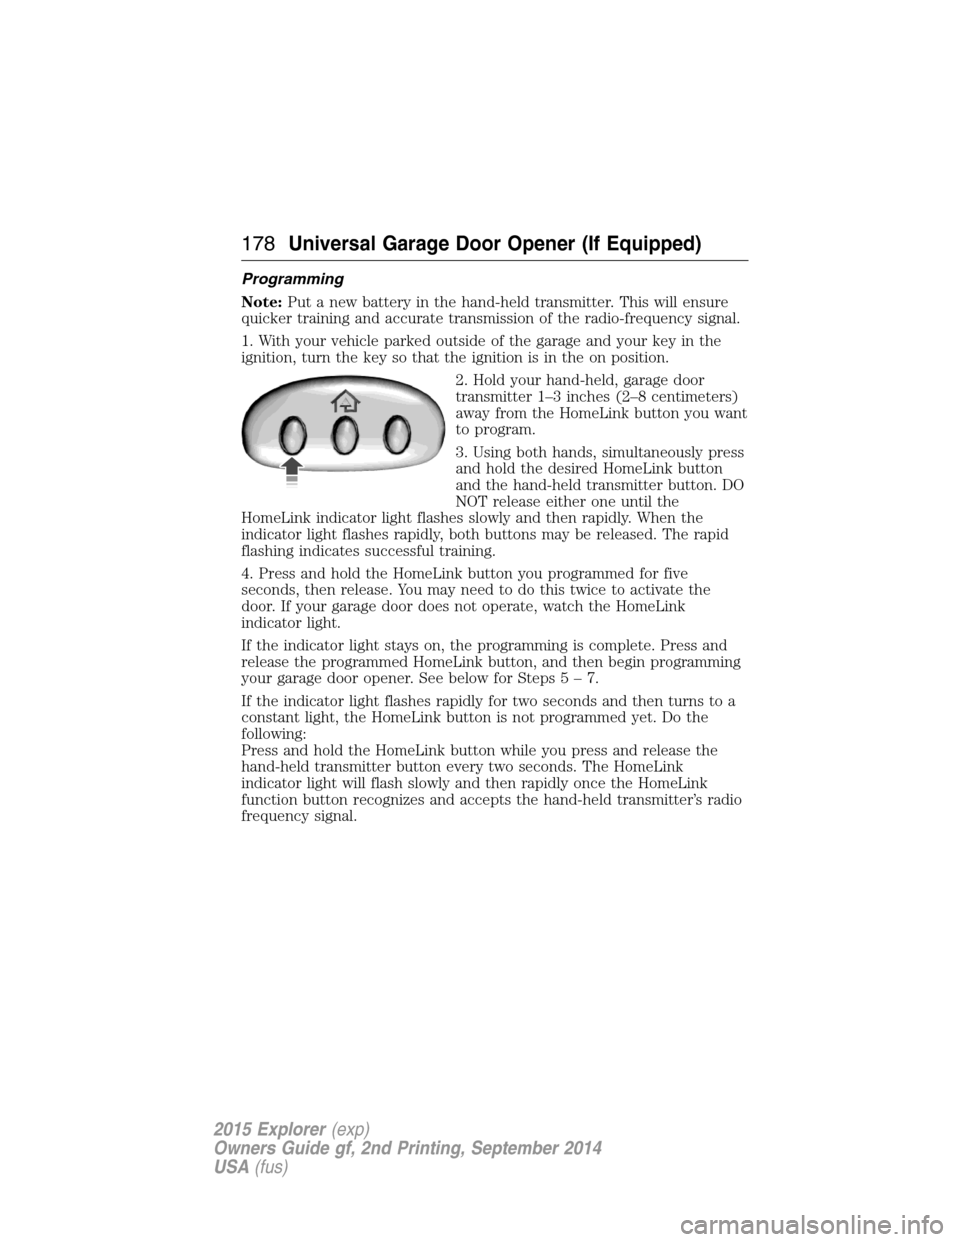
2. Hold your hand-held, garage door
transmitter 1–3 inches (2–8 centimeters)
away from the HomeLink button you want
to program.
3. Using both hands, simultaneously press
and hold the desired HomeLink button
and the hand-held transmitter button. DO
NOT release either one until the
HomeLink indicator light flashes slowly and then rapidly. When the
indicator light flashes rapidly, both buttons may be released. The rapid
flashing indicates successful training.
4. Press and hold the HomeLink button you programmed for five
seconds, then release. You may need to do this twice to activate the
door. If your garage door does not operate, watch the HomeLink
indicator light.
If the indicator light stays on, the programming is complete. Press and
release the programmed HomeLink button, and then begin programming
your garage door opener. See below for Steps5–7.
If the indicator light flashes rapidly for two seconds and then turns to a
constant light, the HomeLink button is not programmed yet. Do the
following:
Press and hold the HomeLink button while you press and release the
hand-held transmitter button every two seconds. The HomeLink
indicator light will flash slowly and then rapidly once the HomeLink
function button recognizes and accepts the hand-held transmitter’s radio
frequency signal.
178Universal Garage Door Opener (If Equipped)
2015 Explorer(exp)
Owners Guide gf, 2nd Printing, September 2014
USA(fus)
Page 184 of 596
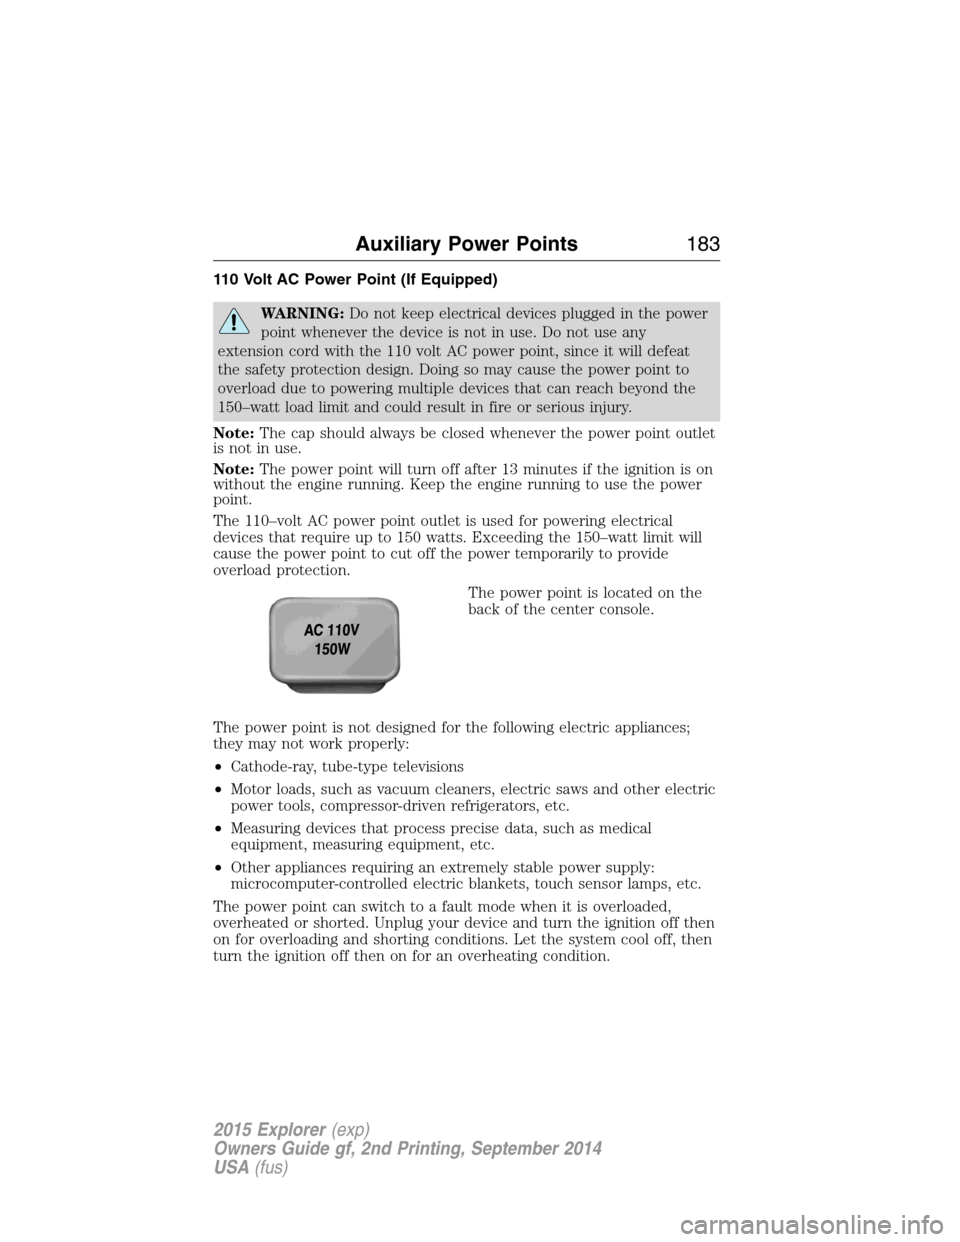
110 Volt AC Power Point (If Equipped)
WARNING:Do not keep electrical devices plugged in the power
point whenever the device is not in use. Do not use any
extension cord with the 110 volt AC power point, since it will defeat
the safety protection design. Doing so may cause the power point to
overload due to powering multiple devices that can reach beyond the
150–watt load limit and could result in fire or serious injury.
Note:The cap should always be closed whenever the power point outlet
is not in use.
Note:The power point will turn off after 13 minutes if the ignition is on
without the engine running. Keep the engine running to use the power
point.
The 110–volt AC power point outlet is used for powering electrical
devices that require up to 150 watts. Exceeding the 150–watt limit will
cause the power point to cut off the power temporarily to provide
overload protection.
The power point is located on the
back of the center console.
The power point is not designed for the following electric appliances;
they may not work properly:
•Cathode-ray, tube-type televisions
•Motor loads, such as vacuum cleaners, electric saws and other electric
power tools, compressor-driven refrigerators, etc.
•Measuring devices that process precise data, such as medical
equipment, measuring equipment, etc.
•Other appliances requiring an extremely stable power supply:
microcomputer-controlled electric blankets, touch sensor lamps, etc.
The power point can switch to a fault mode when it is overloaded,
overheated or shorted. Unplug your device and turn the ignition off then
on for overloading and shorting conditions. Let the system cool off, then
turn the ignition off then on for an overheating condition.
Auxiliary Power Points183
2015 Explorer(exp)
Owners Guide gf, 2nd Printing, September 2014
USA(fus)
Page 185 of 596
The power point can provide power whenever the ignition is on and the
indicator light is on. The indicator light is located in the top left corner
of the power point.
When the indicator light is:
•on — power point is ready to supply power
•off — power point power supply is off; ignition is not on
•blinking — power point is in fault mode
184Auxiliary Power Points
2015 Explorer(exp)
Owners Guide gf, 2nd Printing, September 2014
USA(fus)
Page 189 of 596
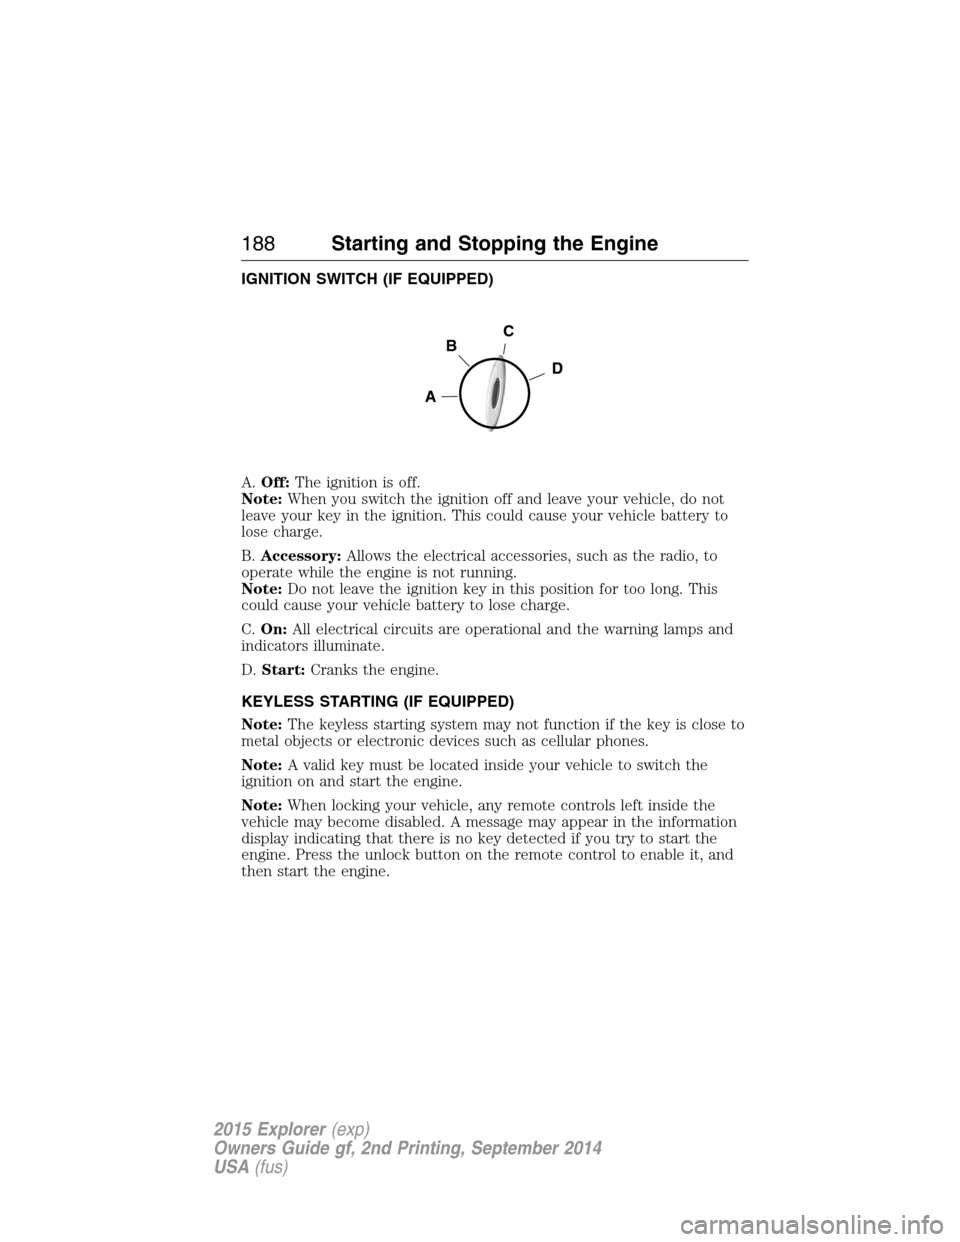
IGNITION SWITCH (IF EQUIPPED)
A.Off:The ignition is off.
Note:When you switch the ignition off and leave your vehicle, do not
leave your key in the ignition. This could cause your vehicle battery to
lose charge.
B.Accessory:Allows the electrical accessories, such as the radio, to
operate while the engine is not running.
Note:Do not leave the ignition key in this position for too long. This
could cause your vehicle battery to lose charge.
C.On:All electrical circuits are operational and the warning lamps and
indicators illuminate.
D.Start:Cranks the engine.
KEYLESS STARTING (IF EQUIPPED)
Note:The keyless starting system may not function if the key is close to
metal objects or electronic devices such as cellular phones.
Note:A valid key must be located inside your vehicle to switch the
ignition on and start the engine.
Note:When locking your vehicle, any remote controls left inside the
vehicle may become disabled. A message may appear in the information
display indicating that there is no key detected if you try to start the
engine. Press the unlock button on the remote control to enable it, and
then start the engine.
C
D
B
A
188Starting and Stopping the Engine
2015 Explorer(exp)
Owners Guide gf, 2nd Printing, September 2014
USA(fus)