2015 FORD EXPLORER tow
[x] Cancel search: towPage 175 of 596
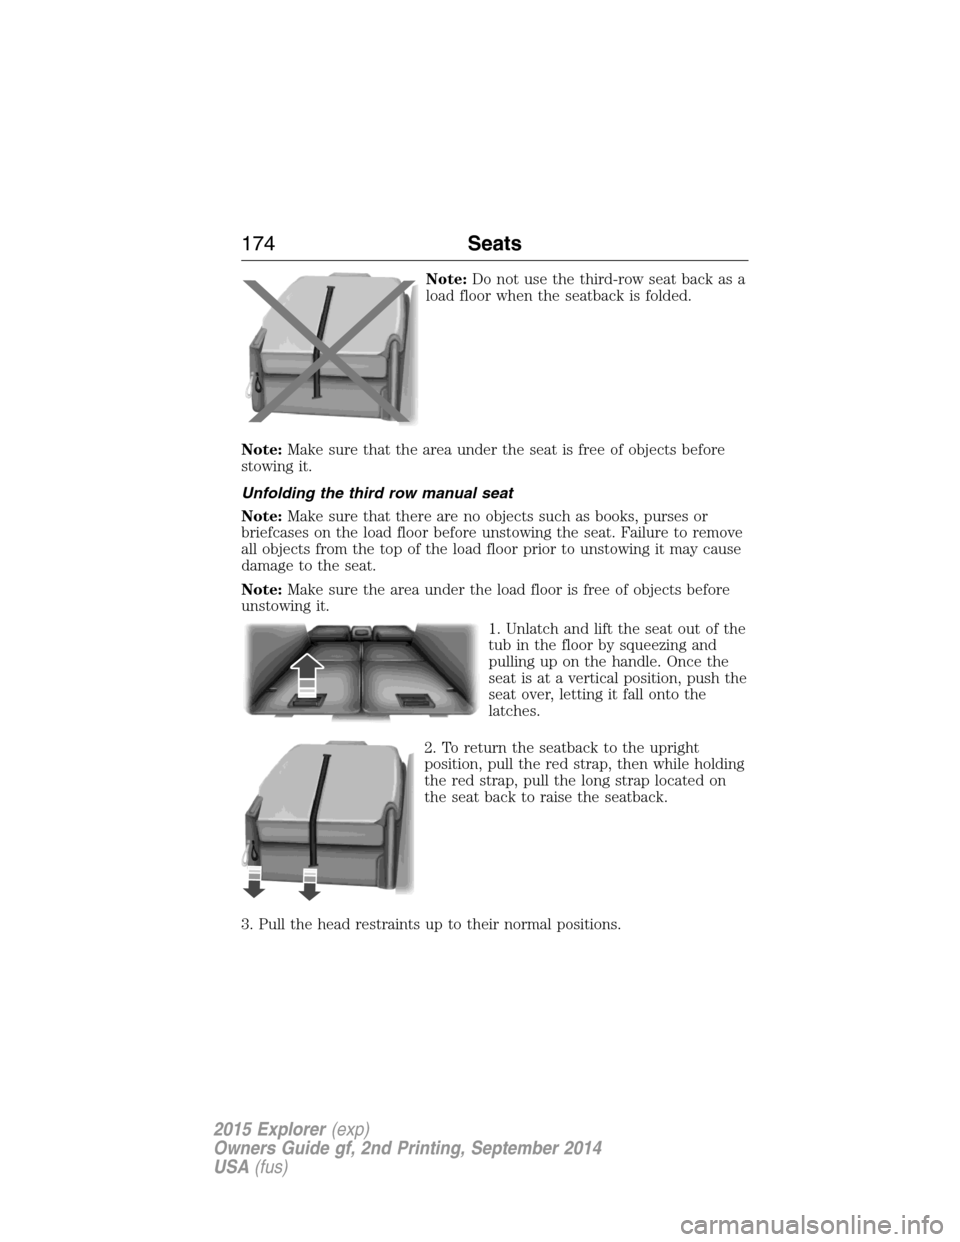
Note:Do not use the third-row seat back as a
load floor when the seatback is folded.
Note:Make sure that the area under the seat is free of objects before
stowing it.
Unfolding the third row manual seat
Note:Make sure that there are no objects such as books, purses or
briefcases on the load floor before unstowing the seat. Failure to remove
all objects from the top of the load floor prior to unstowing it may cause
damage to the seat.
Note:Make sure the area under the load floor is free of objects before
unstowing it.
1. Unlatch and lift the seat out of the
tub in the floor by squeezing and
pulling up on the handle. Once the
seat is at a vertical position, push the
seat over, letting it fall onto the
latches.
2. To return the seatback to the upright
position, pull the red strap, then while holding
the red strap, pull the long strap located on
the seat back to raise the seatback.
3. Pull the head restraints up to their normal positions.
174Seats
2015 Explorer(exp)
Owners Guide gf, 2nd Printing, September 2014
USA(fus)
Page 176 of 596
WARNING:Make sure seat is latched to vehicle floor by pushing
and pulling on the seat. If not latched, the seat may cause injury
during a sudden stop.
WARNING:Before returning the seatback to its original position,
make sure that cargo or any objects are not trapped behind the
seatback. After returning the seat back to its original position, pull on
the seatback to make sure that it has fully latched. An unlatched seat
may become dangerous in the event of a sudden stop or crash.
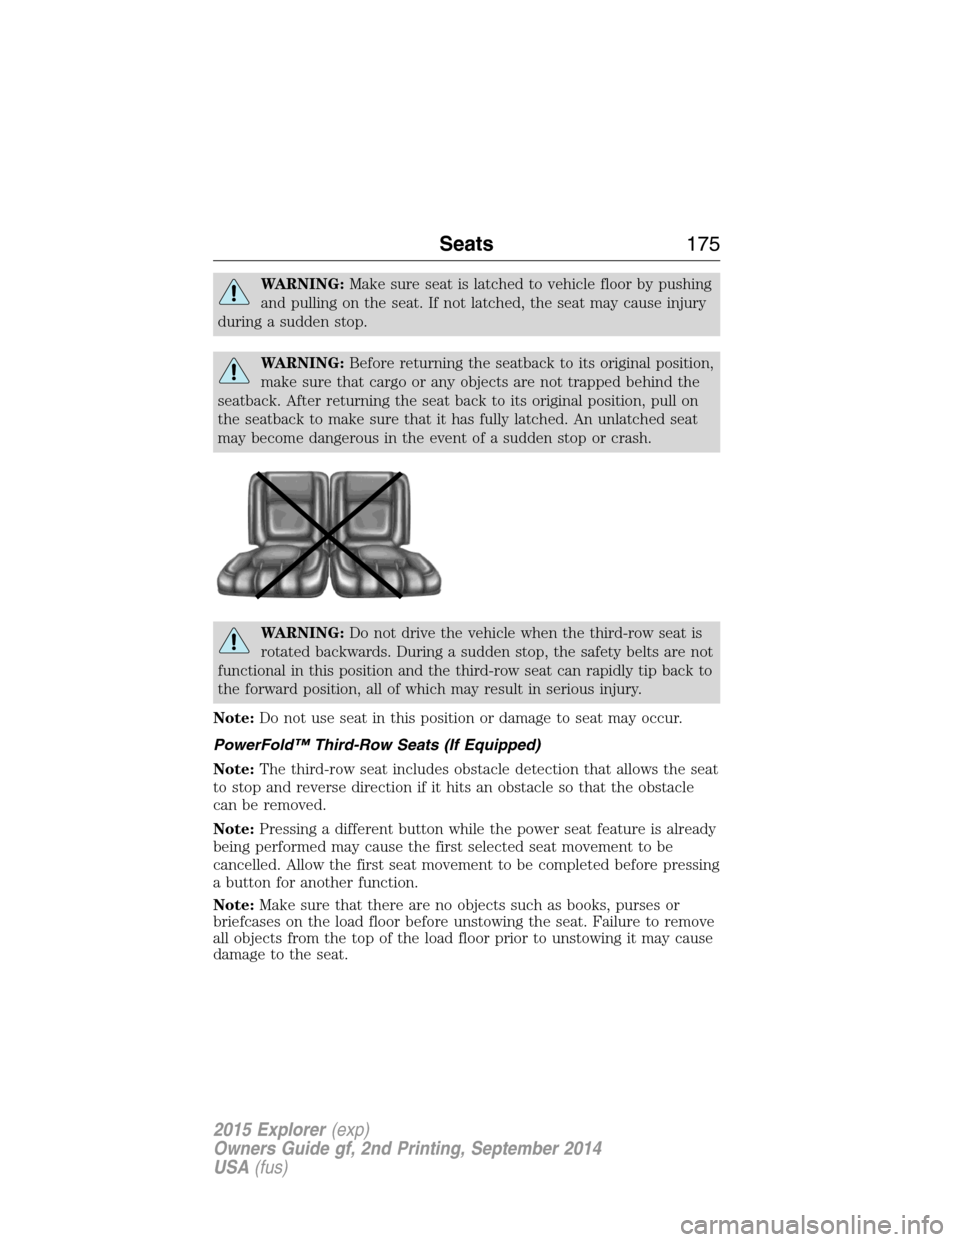
WARNING:Do not drive the vehicle when the third-row seat is
rotated backwards. During a sudden stop, the safety belts are not
functional in this position and the third-row seat can rapidly tip back to
the forward position, all of which may result in serious injury.
Note:Do not use seat in this position or damage to seat may occur.
PowerFold™ Third-Row Seats (If Equipped)
Note:The third-row seat includes obstacle detection that allows the seat
to stop and reverse direction if it hits an obstacle so that the obstacle
can be removed.
Note:Pressing a different button while the power seat feature is already
being performed may cause the first selected seat movement to be
cancelled. Allow the first seat movement to be completed before pressing
a button for another function.
Note:Make sure that there are no objects such as books, purses or
briefcases on the load floor before unstowing the seat. Failure to remove
all objects from the top of the load floor prior to unstowing it may cause
damage to the seat.
Seats175
2015 Explorer(exp)
Owners Guide gf, 2nd Printing, September 2014
USA(fus)
Page 177 of 596
Note:In order to allow the seat to complete the stowed position, do not
place objects under the seat before stowing. Remove all objects from the
seat and stowage tub.
Note:In the unlikely event that the third-row power seat stops
prematurely or travels to an unexpected position, press the FOLD button
(C) to reset the seat and return it to a normal position.
These seats feature a power one-touch operation that allows you fold
and stow the seats.
•The power fold seats work only when the transmission is in park (P)
and the liftgate is open.
•If the ignition is off and the feature is still running, the battery saver
will turn it off after 10 minutes. Press unlock on the remote entry key
transmitter to reactivate the power seats or unlock it with the keyless
entry keypad. See theKeys and Remote Controlchapter.
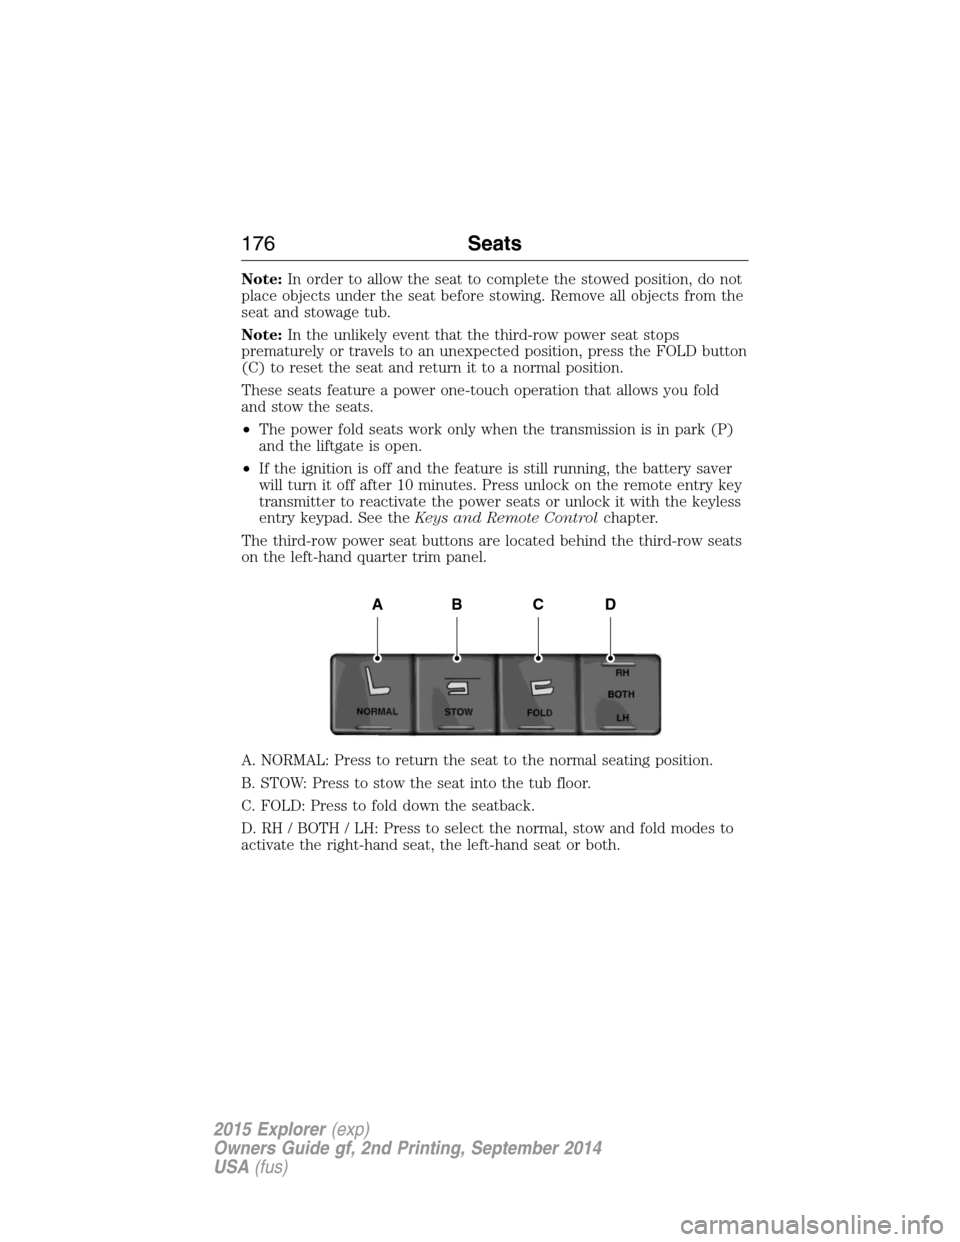
The third-row power seat buttons are located behind the third-row seats
on the left-hand quarter trim panel.
A. NORMAL: Press to return the seat to the normal seating position.
B. STOW: Press to stow the seat into the tub floor.
C. FOLD: Press to fold down the seatback.
D. RH / BOTH / LH: Press to select the normal, stow and fold modes to
activate the right-hand seat, the left-hand seat or both.
ABCD
176Seats
2015 Explorer(exp)
Owners Guide gf, 2nd Printing, September 2014
USA(fus)
Page 194 of 596
We recommend that you do the following for safe and correct operation:
•Use a 16-gauge outdoor extension cord that is product certified by
Underwriter’s Laboratory or Canadian Standards Association. This
extension cord must be suitable for use outdoors, in cold
temperatures, and be clearly markedSuitable for Use with Outdoor
Appliances.Never use an indoor extension cord outdoors; it could
result in an electric shock or become a fire hazard.
•Use as short an extension cord as possible.
•Do not use multiple extension cords.
•Make sure that when in operation, the extension cord plug and the
heater cord plug connections are free and clear of water. This could
cause an electric shock or fire.
•Make sure your vehicle is parked in a clean area, clear of
combustibles.
•Make sure the heater, heater cord and extension cord are firmly
connected.
•Check for heat anywhere in the electrical hookup once the system has
been operating for approximately 30 minutes.
•Make sure the system is unplugged and properly stowed before driving
your vehicle. Make sure the protective cover seals the prongs of the
block heater cord plug when not in use.
•Keep plug terminals clean and free of dirt and corrosion.
•Make sure the heater system is checked for proper operation before
winter.
Using the Engine Block Heater
Make sure the receptacle terminals are clean and dry before use. To
clean them, use a dry cloth.
The heater uses 0.4 to 1.0 kilowatt-hours of energy per hour of use. The
system does not have a thermostat. It achieves maximum temperature
after approximately three hours of operation. Using the heater longer
than three hours does not improve system performance and
unnecessarily uses electricity.
Starting and Stopping the Engine193
2015 Explorer(exp)
Owners Guide gf, 2nd Printing, September 2014
USA(fus)
Page 197 of 596
Choosing the Right Fuel With a Flex Fuel Vehicle (If Equipped)
Use only UNLEADED gasoline or UNLEADED gasoline blended with a
maximum of 85% ethanol (E-85) in your Flex Fuel Vehicle (FFV). If
your vehicle is flex fuel capable, it will have a yellow bezel placed over
the fuel fill inlet
Do not use:
•fuels containing more than 85% ethanol or E-100 fuel
•fuels containing methanol
•fuels containing metallic based additives, including manganese-based
compounds
•fuels containing the octane booster additive, methylcyclopentadienyl
manganese tricarbonyl (MMT)
•leaded-fuel (The use of leaded fuel is prohibited by law)
Note:Use of any fuel other than recommended fuel can cause
powertrain damage, impair the emission control system or cause loss of
vehicle performance. Any damage to a vehicle that is caused by the use
of fuel not recommended will not be covered under warranty.
Octane recommendations
3.5L V6 engine:
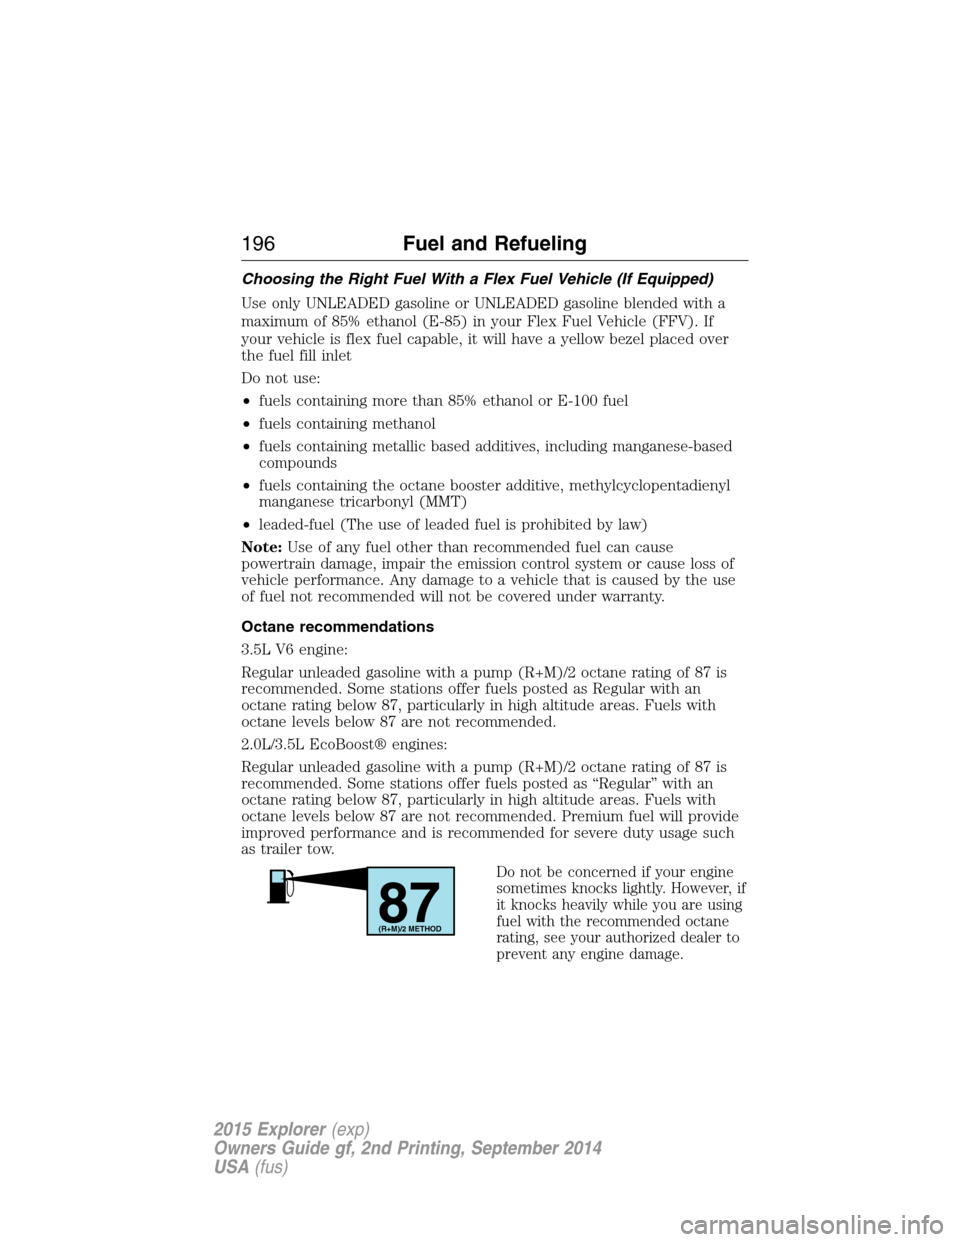
Regular unleaded gasoline with a pump (R+M)/2 octane rating of 87 is
recommended. Some stations offer fuels posted as Regular with an
octane rating below 87, particularly in high altitude areas. Fuels with
octane levels below 87 are not recommended.
2.0L/3.5L EcoBoost® engines:
Regular unleaded gasoline with a pump (R+M)/2 octane rating of 87 is
recommended. Some stations offer fuels posted as “Regular” with an
octane rating below 87, particularly in high altitude areas. Fuels with
octane levels below 87 are not recommended. Premium fuel will provide
improved performance and is recommended for severe duty usage such
as trailer tow.
Do not be concerned if your engine
sometimes knocks lightly. However, if
it knocks heavily while you are using
fuel with the recommended octane
rating, see your authorized dealer to
prevent any engine damage.
87(R+M)/2 METHOD
196Fuel and Refueling
2015 Explorer(exp)
Owners Guide gf, 2nd Printing, September 2014
USA(fus)
Page 206 of 596
AUTOMATIC TRANSMISSION
WARNING:Always set the parking brake fully and make sure
the gearshift is latched inP(Park). Turn the ignition to the off
position and remove the key whenever you leave your vehicle.
WARNING:Do not use the tow feature when driving in icy or
slippery conditions as the increased engine braking can cause the
rear wheels to slide and the vehicle to swing around with the possible
loss of vehicle control.
Your vehicle has been designed to improve fuel economy by reducing
fuel usage while coasting or decelerating. When you take your foot off
the accelerator pedal and the vehicle begins to slow down, the torque
converter clutch locks up and aggressively shuts off fuel flow to the
engine while decelerating. This fuel economy benefit may be perceived
as a light to medium braking sensation when removing your foot from
the accelerator pedal.
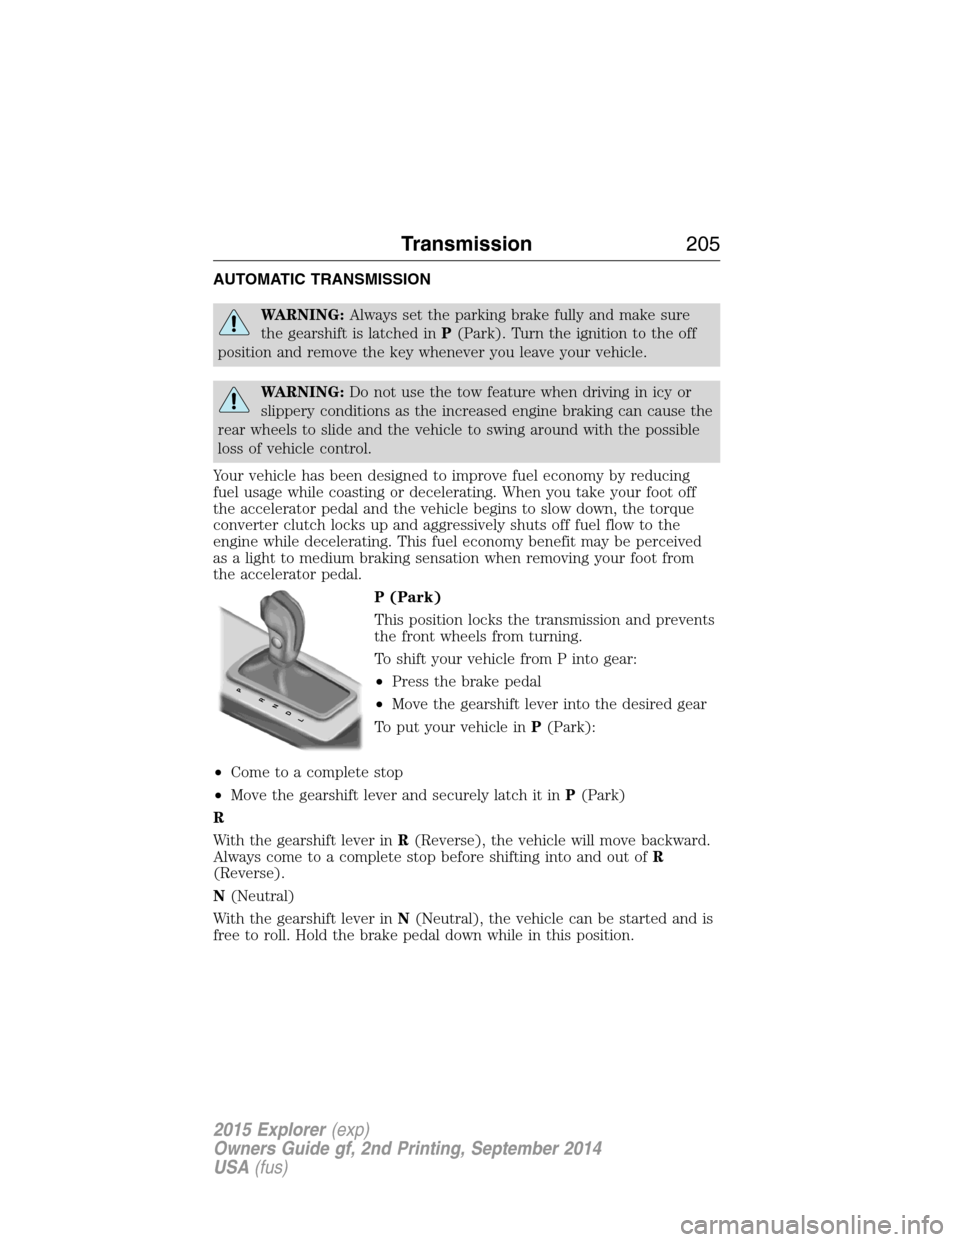
P (Park)
This position locks the transmission and prevents
the front wheels from turning.
To shift your vehicle from P into gear:
•Press the brake pedal
•Move the gearshift lever into the desired gear
To put your vehicle inP(Park):
•Come to a complete stop
•Move the gearshift lever and securely latch it inP(Park)
R
With the gearshift lever inR(Reverse), the vehicle will move backward.
Always come to a complete stop before shifting into and out ofR
(Reverse).
N(Neutral)
With the gearshift lever inN(Neutral), the vehicle can be started and is
free to roll. Hold the brake pedal down while in this position.
PRNDL
Transmission205
2015 Explorer(exp)
Owners Guide gf, 2nd Printing, September 2014
USA(fus)
Page 207 of 596
D (Drive) with Overdrive
The normal driving position for the best fuel economy. Transmission
operates in gears one through six.
The automatic transmission shift strategy has the ability to detect hilly
terrain or mountainous areas and will provide a limited amount of grade
assist features automatically. Refer toD(Drive) with Grade assist or
SelectShift for more information.
D (Drive) with Tow on
Press theTOWswitch located on the instrument panel by the headlamp
control to activate tow. TheTOW/HAULmessage will illuminate in the
instrument cluster.
The tow feature improves transmission operation when towing a trailer or a
heavy load. All transmission gear ranges are available when using tow.
The tow feature delays upshifts to reduce frequency of transmission
shifting. Tow also provides engine braking in all forward gears when the
transmission is in theD(Overdrive) position. This engine braking will
slow the vehicle and assist the driver in controlling the vehicle when
descending a grade. Depending on driving conditions and load
conditions, the transmission may downshift, slow the vehicle and control
the vehicle speed when descending a hill, without the accelerator pedal
being pressed. The amount of downshift braking provided will vary based
upon the amount the brake pedal is depressed.
Press theTOWbutton to deactivate the tow feature and return to
normal driving mode. The tow light will no longer be illuminated.
When you shut-off and restart the engine, the transmission will
automatically return to normalD(Overdrive) mode (tow off).
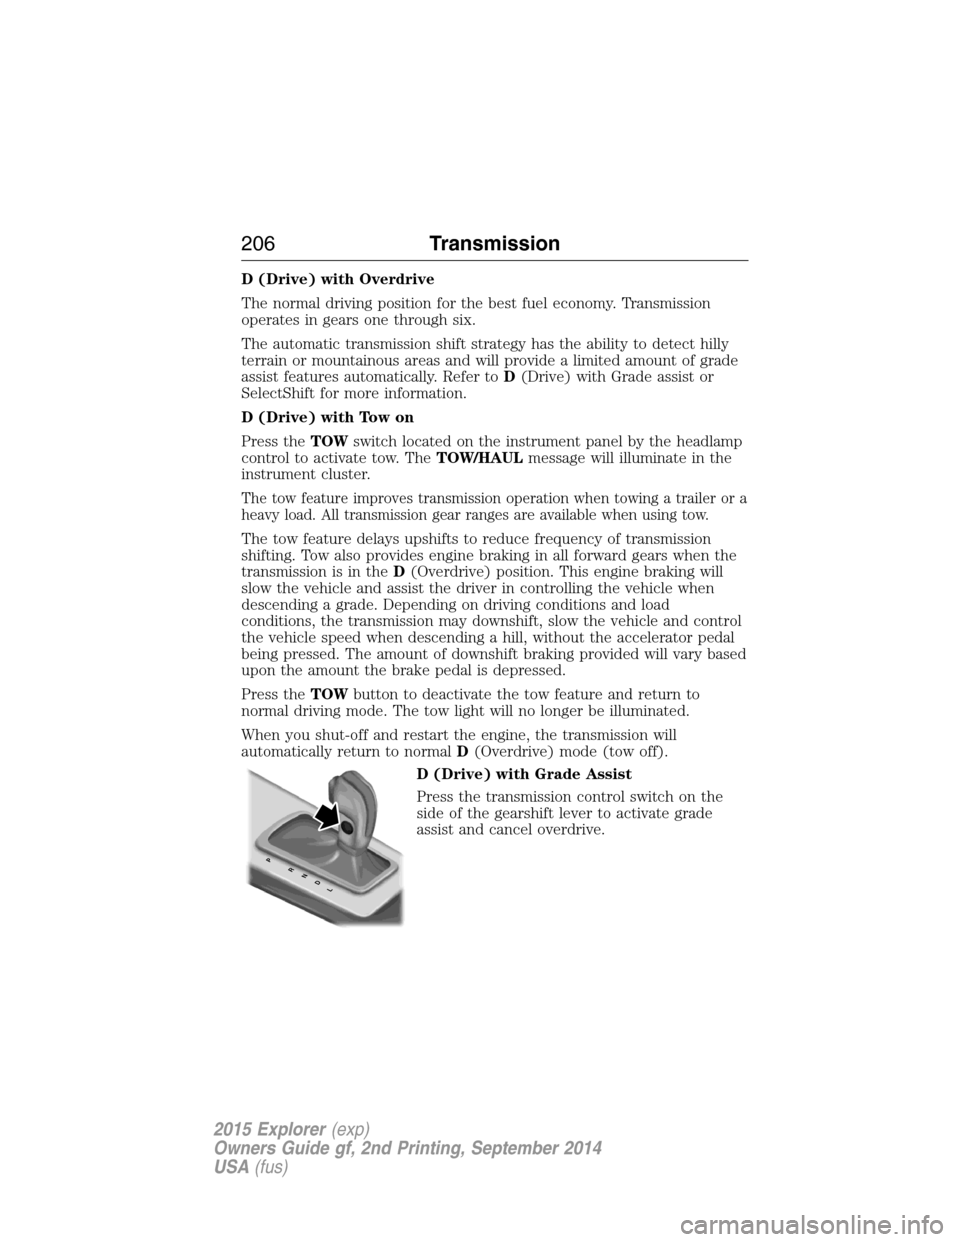
D (Drive) with Grade Assist
Press the transmission control switch on the
side of the gearshift lever to activate grade
assist and cancel overdrive.
PRNDL
206Transmission
2015 Explorer(exp)
Owners Guide gf, 2nd Printing, September 2014
USA(fus)
Page 220 of 596
GENERAL INFORMATION
Note:Occasional brake noise is normal. If a metal-to-metal, continuous
grinding or continuous squeal sound is present, the brake linings may be
worn out. Have them inspected by an authorized dealer. If your vehicle
has continuous vibration or shudder in the steering wheel while braking,
have your vehicle inspected by an authorized dealer.
Note:Brake dust may accumulate on the wheels, even under normal
driving conditions. Some dust is inevitable as the brakes wear and does
not contribute to brake noise. See theVehicle Carechapter for wheel
cleaning instructions.
See theInstrument Clusterchapter for information on the
brake system warning light.
Wet brakes result in reduced braking efficiency. Gently press the brake
pedal a few times when driving from a car wash or standing water to dry
the brakes.
Brake Over Accelerator
In the event the accelerator pedal becomes stuck or entrapped, apply
steady and firm pressure to the brake pedal to slow your vehicle and
reduce engine power. If you experience this condition, apply the brakes
and bring your vehicle to a safe stop. Turn the engine off, shift to park
(P) and apply the parking brake. Inspect the accelerator pedal and the
area around it for any items or debris that may be obstructing its
movement. If none are found and the condition persists, have your
vehicle towed to the nearest authorized dealer.
Brake Assist
Brake assist detects when you brake heavily by measuring the rate at
which you press the brake pedal. It provides maximum braking efficiency
as long as you press the pedal. Brake assist can reduce stopping
distances in critical situations.
Brakes219
2015 Explorer(exp)
Owners Guide gf, 2nd Printing, September 2014
USA(fus)