Page 97 of 596
WINDSHIELD WIPERS
Note:Fully defrost the windshield in icy conditions before turning on
the windshield wipers.
Note:Make sure the windshield wipers are switched off before entering
a car wash.
Note:
Clean the windshield and wiper blades if they begin to leave streaks
or smears. If that does not resolve the issue, install new wiper blades.
Note:Do not operate the wipers on a dry windshield. This may scratch
the glass, damage the wiper blades or cause the wiper motor to burn out.
Always use the windshield washers before wiping a dry windshield.
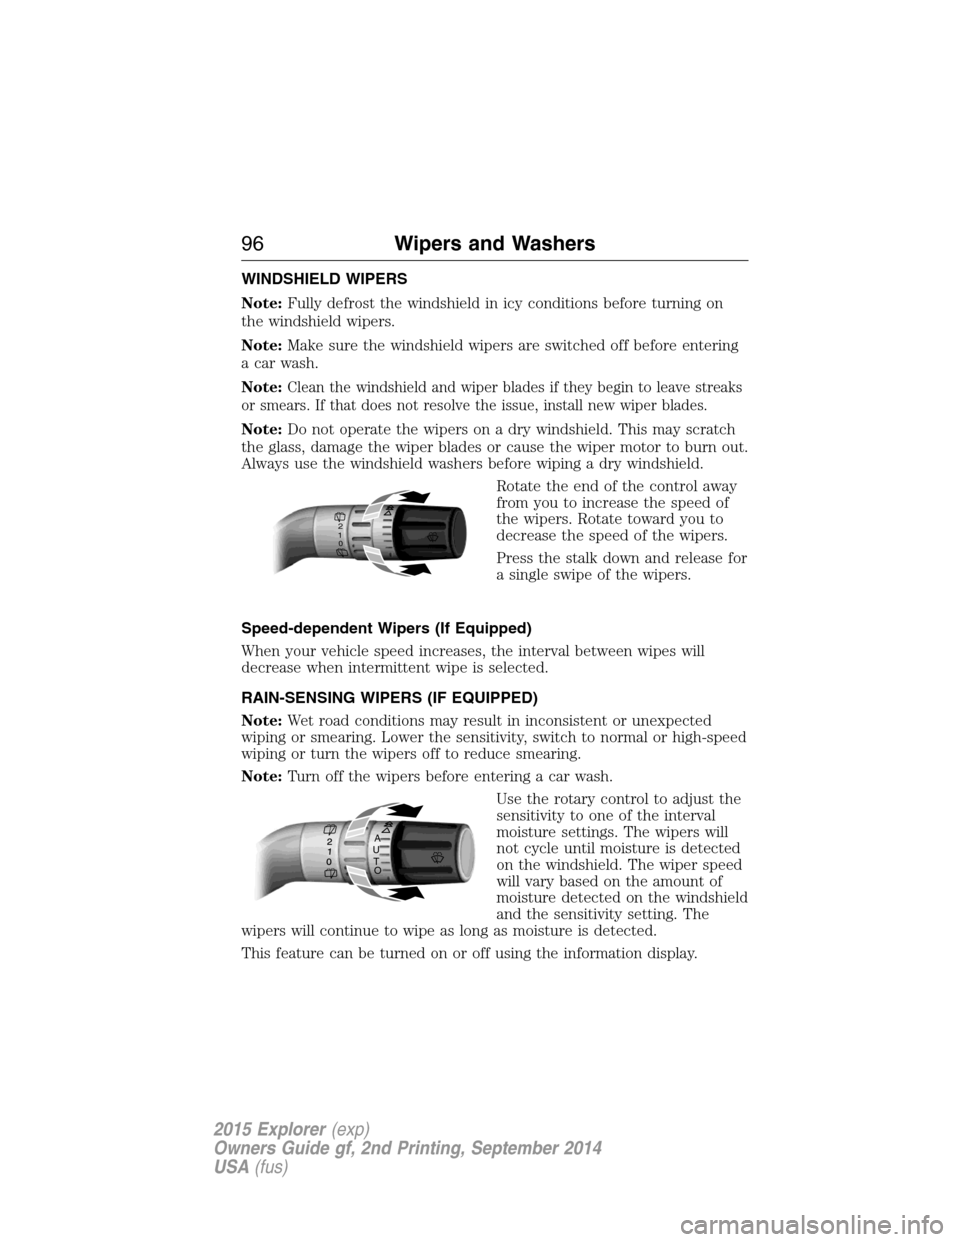
Rotate the end of the control away
from you to increase the speed of
the wipers. Rotate toward you to
decrease the speed of the wipers.
Press the stalk down and release for
a single swipe of the wipers.
Speed-dependent Wipers (If Equipped)
When your vehicle speed increases, the interval between wipes will
decrease when intermittent wipe is selected.
RAIN-SENSING WIPERS (IF EQUIPPED)
Note:Wet road conditions may result in inconsistent or unexpected
wiping or smearing. Lower the sensitivity, switch to normal or high-speed
wiping or turn the wipers off to reduce smearing.
Note:Turn off the wipers before entering a car wash.
Use the rotary control to adjust the
sensitivity to one of the interval
moisture settings. The wipers will
not cycle until moisture is detected
on the windshield. The wiper speed
will vary based on the amount of
moisture detected on the windshield
and the sensitivity setting. The
wipers will continue to wipe as long as moisture is detected.
This feature can be turned on or off using the information display.
2
1
0
A
U
T
O
96Wipers and Washers
2015 Explorer(exp)
Owners Guide gf, 2nd Printing, September 2014
USA(fus)
Page 99 of 596
LIGHTING CONTROL
A. Off
B. Parking lamps, instrument panel
lamps, license plate lamps and tail
lamps
C. Headlamps
High Beams
Push the lever forward to switch the
high beams on.
Push the lever forward again or pull
the lever toward you to switch the
high beams off.
Headlamp Flasher
•Pull toward you slightly to activate
and release to deactivate.
98Lighting
2015 Explorer(exp)
Owners Guide gf, 2nd Printing, September 2014
USA(fus)
Page 100 of 596
AUTOLAMPS
WARNING:The daytime running lamps system does not activate
the tail lamps and may not provide adequate lighting during low
visibility driving conditions. Also, the autolamps switch position may not
activate the headlamps in all low visibility conditions, such as daytime
fog. Always ensure that your headlamps are switched to auto or on, as
appropriate, during all low visibility conditions. Failure to do so may
result in a collision.
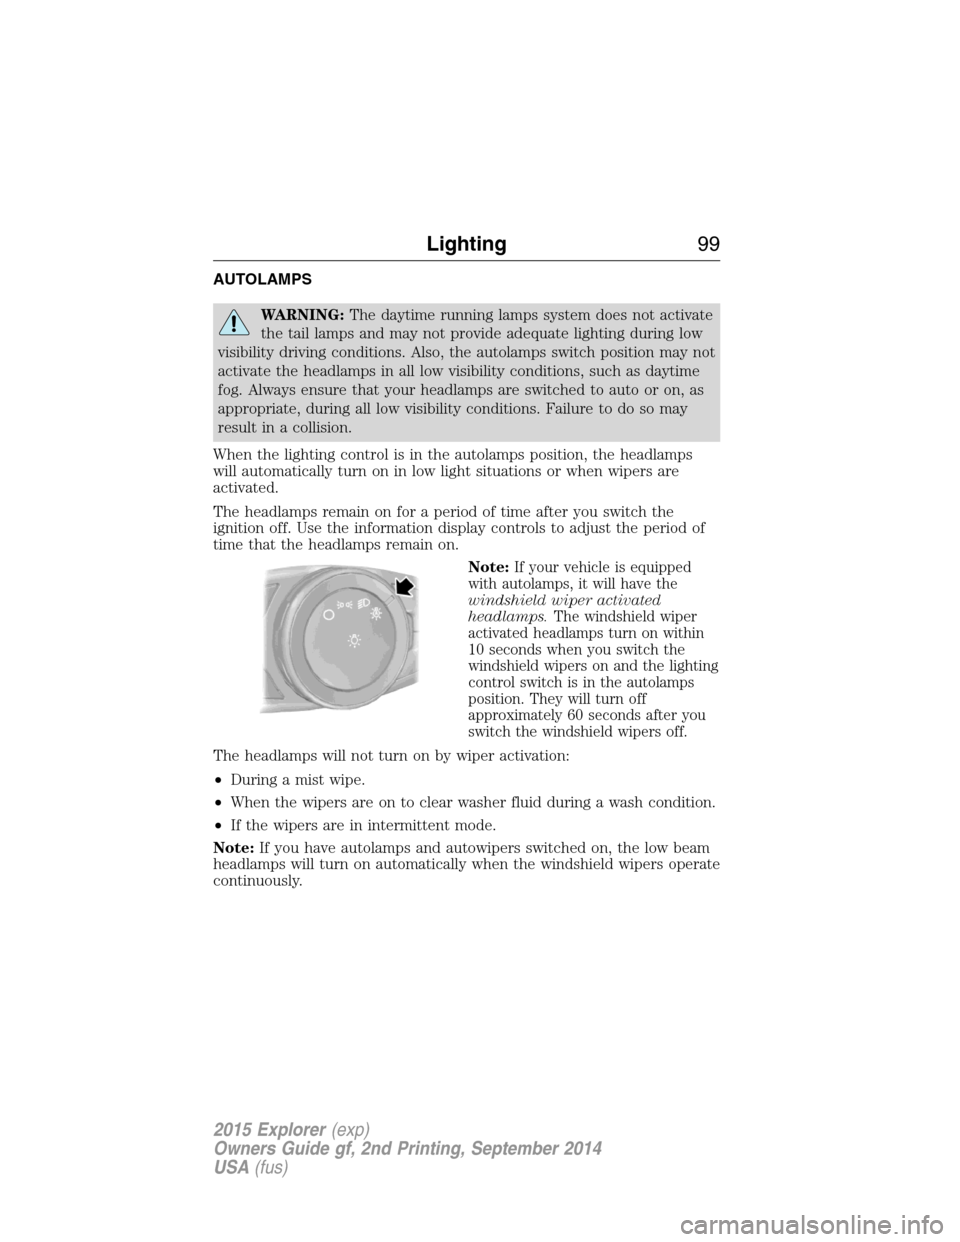
When the lighting control is in the autolamps position, the headlamps
will automatically turn on in low light situations or when wipers are
activated.
The headlamps remain on for a period of time after you switch the
ignition off. Use the information display controls to adjust the period of
time that the headlamps remain on.
Note:
If your vehicle is equipped
with autolamps, it will have the
windshield wiper activated
headlamps.The windshield wiper
activated headlamps turn on within
10 seconds when you switch the
windshield wipers on and the lighting
control switch is in the autolamps
position. They will turn off
approximately 60 seconds after you
switch the windshield wipers off.
The headlamps will not turn on by wiper activation:
•During a mist wipe.
•When the wipers are on to clear washer fluid during a wash condition.
•If the wipers are in intermittent mode.
Note:If you have autolamps and autowipers switched on, the low beam
headlamps will turn on automatically when the windshield wipers operate
continuously.
Lighting99
2015 Explorer(exp)
Owners Guide gf, 2nd Printing, September 2014
USA(fus)
Page 110 of 596
EXTERIOR MIRRORS
Power Exterior Mirrors
WARNING:Do not adjust the mirror while your vehicle is in
motion.
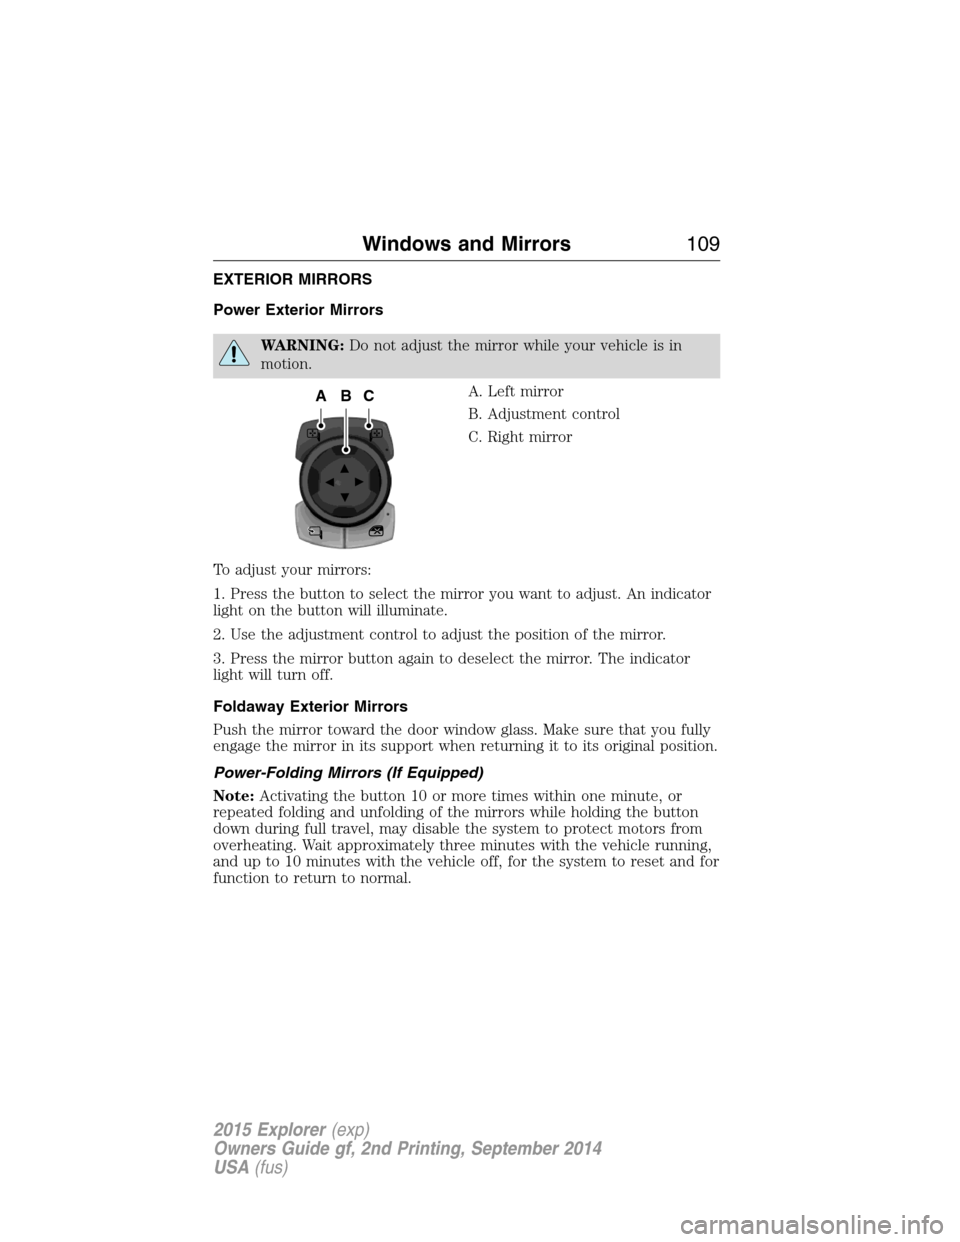
A. Left mirror
B. Adjustment control
C. Right mirror
To adjust your mirrors:
1. Press the button to select the mirror you want to adjust. An indicator
light on the button will illuminate.
2. Use the adjustment control to adjust the position of the mirror.
3. Press the mirror button again to deselect the mirror. The indicator
light will turn off.
Foldaway Exterior Mirrors
Push the mirror toward the door window glass. Make sure that you fully
engage the mirror in its support when returning it to its original position.
Power-Folding Mirrors (If Equipped)
Note:Activating the button 10 or more times within one minute, or
repeated folding and unfolding of the mirrors while holding the button
down during full travel, may disable the system to protect motors from
overheating. Wait approximately three minutes with the vehicle running,
and up to 10 minutes with the vehicle off, for the system to reset and for
function to return to normal.
ACB
Windows and Mirrors109
2015 Explorer(exp)
Owners Guide gf, 2nd Printing, September 2014
USA(fus)
Page 111 of 596
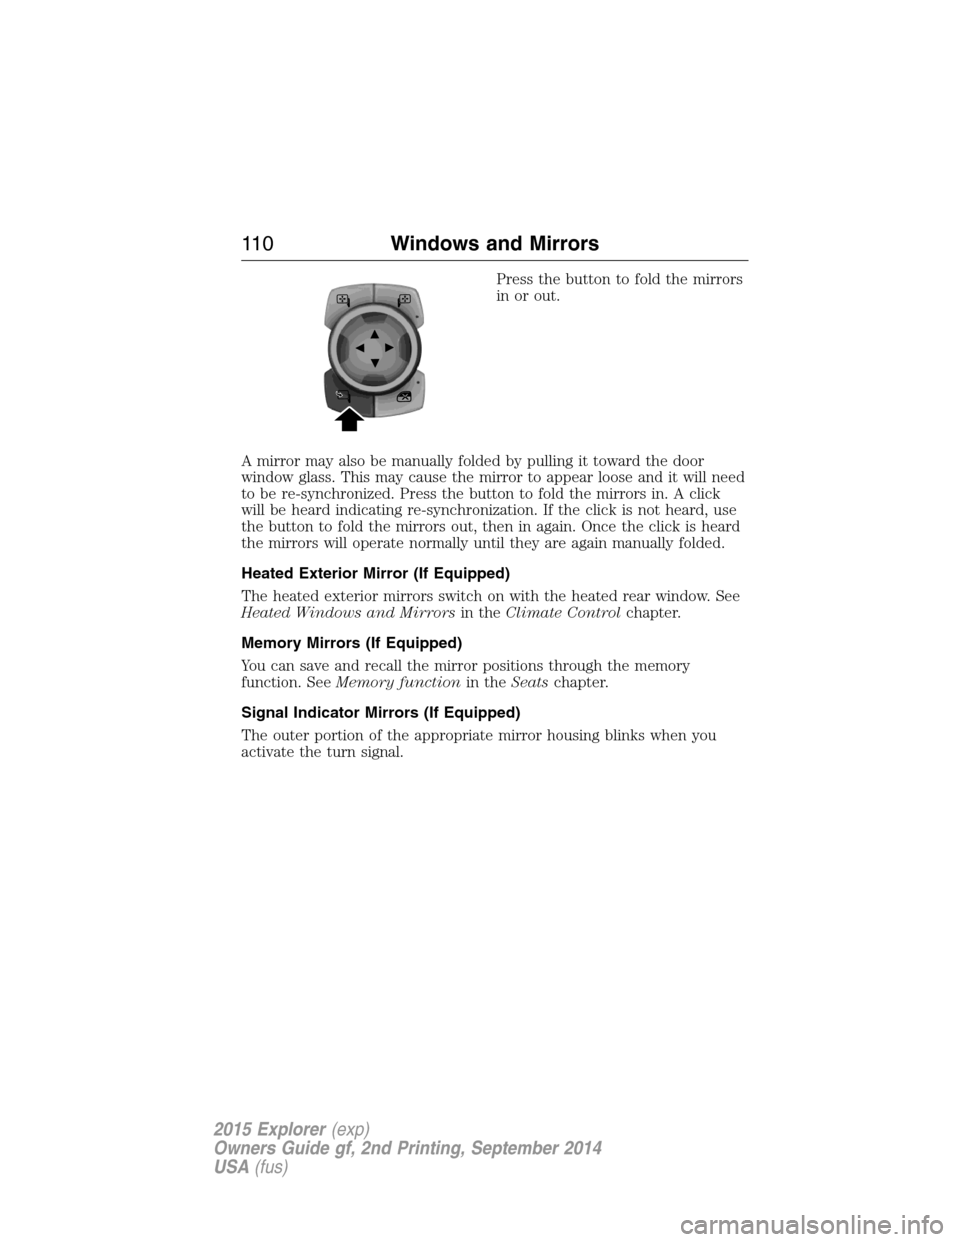
Press the button to fold the mirrors
in or out.
A mirror may also be manually folded by pulling it toward the door
window glass. This may cause the mirror to appear loose and it will need
to be re-synchronized. Press the button to fold the mirrors in. A click
will be heard indicating re-synchronization. If the click is not heard, use
the button to fold the mirrors out, then in again. Once the click is heard
the mirrors will operate normally until they are again manually folded.
Heated Exterior Mirror (If Equipped)
The heated exterior mirrors switch on with the heated rear window. See
Heated Windows and Mirrorsin theClimate Controlchapter.
Memory Mirrors (If Equipped)
You can save and recall the mirror positions through the memory
function. SeeMemory functionin theSeatschapter.
Signal Indicator Mirrors (If Equipped)
The outer portion of the appropriate mirror housing blinks when you
activate the turn signal.
11 0Windows and Mirrors
2015 Explorer(exp)
Owners Guide gf, 2nd Printing, September 2014
USA(fus)
Page 113 of 596
INTERIOR MIRROR
WARNING:Do not adjust the mirror when your vehicle is
moving.
Note:Do not clean the housing or glass of any mirror with harsh
abrasives, fuel or other petroleum or ammonia based cleaning products.
You can adjust the interior mirror to your preference. Some mirrors also
have a second pivot point. This lets you move the mirror head up or
down and from side to side.
Pull the tab below the mirror toward you to reduce glare at night.
Auto-Dimming Mirror (If Equipped)
Note:Do not block the sensors on the front and back of the mirror.
Mirror performance may be affected. A rear center passenger or raised
rear center head restraint may also block light from reaching the sensor.
The mirror will dim automatically to reduce glare when bright lights are
detected from behind your vehicle. It will automatically return to normal
reflection when you select reverse gear to make sure you have a clear
view when backing up.
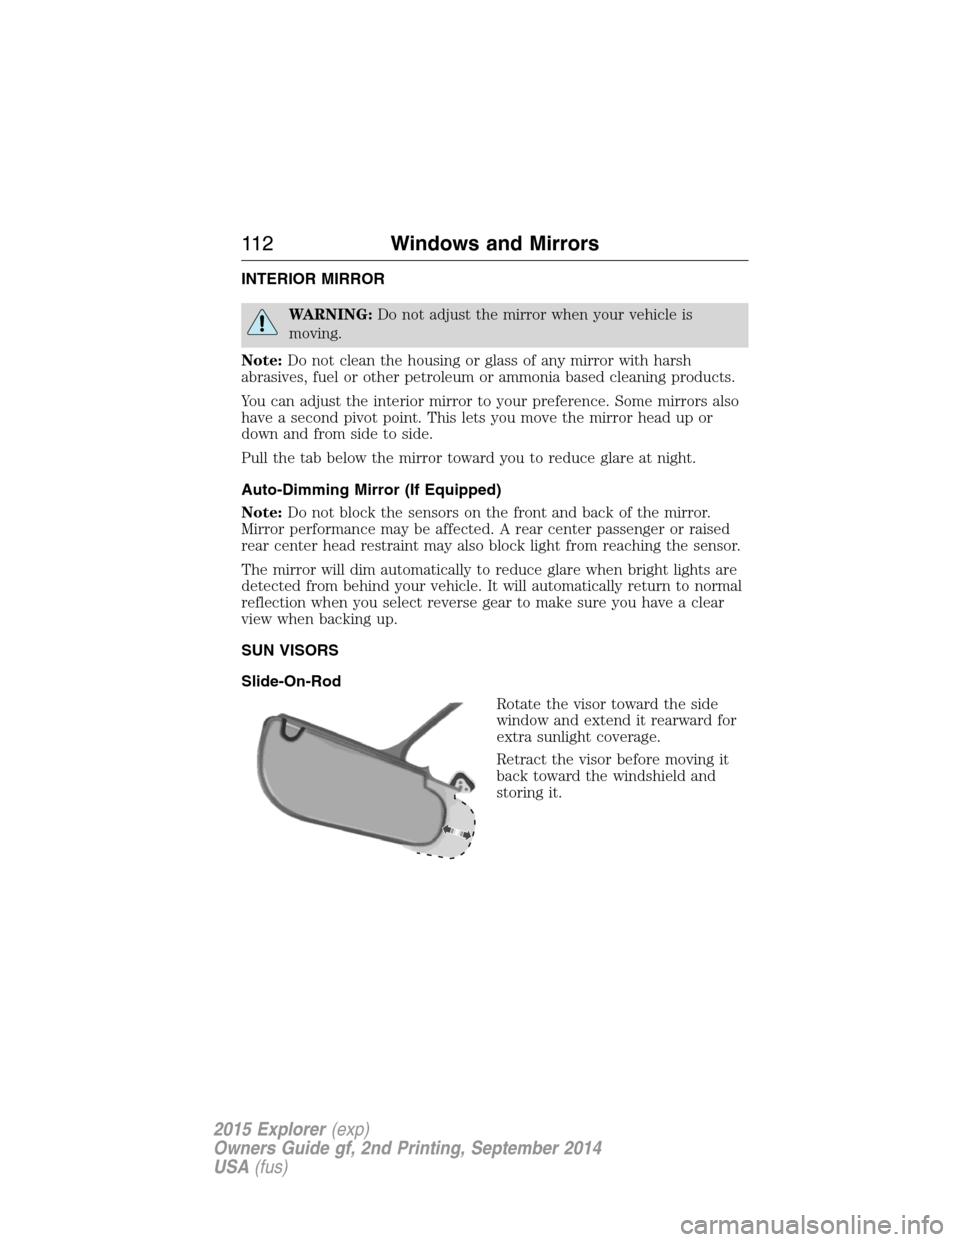
SUN VISORS
Slide-On-Rod
Rotate the visor toward the side
window and extend it rearward for
extra sunlight coverage.
Retract the visor before moving it
back toward the windshield and
storing it.
11 2Windows and Mirrors
2015 Explorer(exp)
Owners Guide gf, 2nd Printing, September 2014
USA(fus)
Page 116 of 596
GAUGES
Type 1
Cluster shown in standard measure – metric clusters similar.
A. Tachometer
B. Information display. SeeInformation displaysfor more information.
C. Speedometer
D. Fuel gauge
Fuel Gauge
Note:The fuel gauge may vary slightly when your vehicle is moving or
on a gradient.
Switch the ignition on. The fuel gauge will indicate approximately how
much fuel is left in the fuel tank. The arrow adjacent to the fuel pump
symbol indicates on which side of your vehicle the fuel filler door is
located.
The needle should move toward F when you refuel your vehicle. If the
needle points to E after adding fuel, this indicates your vehicle needs
service soon.
After refueling some variability in needle position is normal:
•It may take a short time for the needle to reach F after leaving the gas
station. This is normal and depends upon the slope of pavement at the
gas station.
ABC
D
Instrument Cluster11 5
2015 Explorer(exp)
Owners Guide gf, 2nd Printing, September 2014
USA(fus)
Page 117 of 596
•The fuel amount dispensed into the tank is a little less or more than
the gauge indicated. This is normal and depends upon the slope of
pavement at the gas station.
•If the gas station nozzle shuts off before the tank is full, try a different
gas pump nozzle.
Low Fuel Reminder
A low fuel reminder triggers when the fuel gauge needle is at 1/16th.
Driving type (fuel
economy conditions)Fuel gauge position Distance-to-empty
Highway driving 1/16th 35 miles to 80 miles
(56 km to 129 km)
Severe duty driving
(trailer towing,
extended idle)1/16th 35 miles (56km)
Type 2
Cluster shown in standard measure – metric clusters similar.
A. Left information display. SeeInformation displaysfor more
information.
B. Speedometer
C. Right information display. SeeMyFord Touch®for more information.
ABC
11 6Instrument Cluster
2015 Explorer(exp)
Owners Guide gf, 2nd Printing, September 2014
USA(fus)