2015 FORD EXPLORER lights
[x] Cancel search: lightsPage 113 of 596
INTERIOR MIRROR
WARNING:Do not adjust the mirror when your vehicle is
moving.
Note:Do not clean the housing or glass of any mirror with harsh
abrasives, fuel or other petroleum or ammonia based cleaning products.
You can adjust the interior mirror to your preference. Some mirrors also
have a second pivot point. This lets you move the mirror head up or
down and from side to side.
Pull the tab below the mirror toward you to reduce glare at night.
Auto-Dimming Mirror (If Equipped)
Note:Do not block the sensors on the front and back of the mirror.
Mirror performance may be affected. A rear center passenger or raised
rear center head restraint may also block light from reaching the sensor.
The mirror will dim automatically to reduce glare when bright lights are
detected from behind your vehicle. It will automatically return to normal
reflection when you select reverse gear to make sure you have a clear
view when backing up.
SUN VISORS
Slide-On-Rod
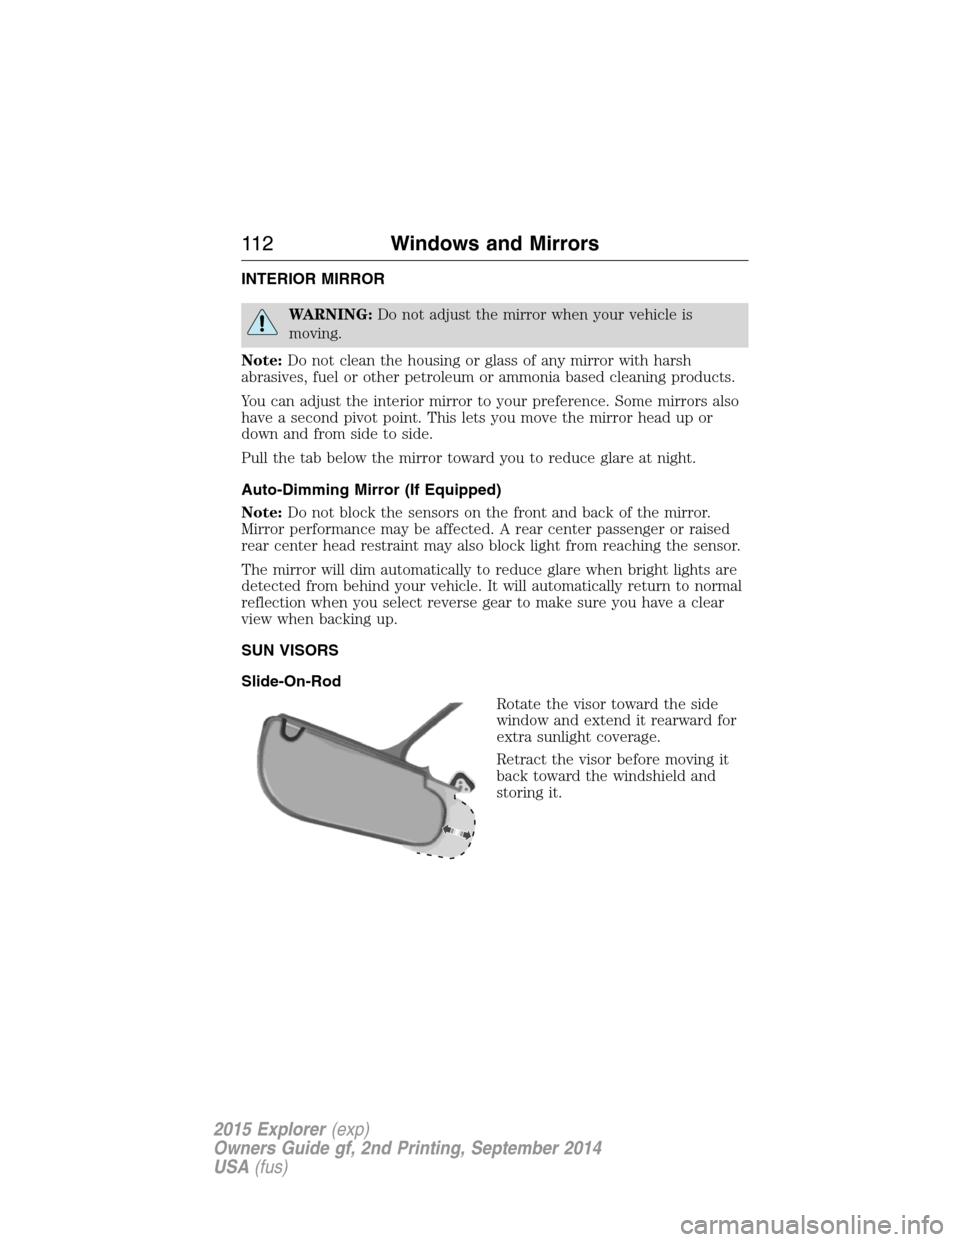
Rotate the visor toward the side
window and extend it rearward for
extra sunlight coverage.
Retract the visor before moving it
back toward the windshield and
storing it.
11 2Windows and Mirrors
2015 Explorer(exp)
Owners Guide gf, 2nd Printing, September 2014
USA(fus)
Page 118 of 596
WARNING LAMPS AND INDICATORS
There are indicators that can alert you to a vehicle condition that may
become serious enough to cause expensive repairs. Many lights will
illuminate when you start your vehicle to make sure they work. If any
light remains on after starting the vehicle, refer to the respective system
warning light for additional information.
Note:Some warning indicators are reconfigurable telltales (RTT). These
indicators appear in the information display and function the same as a
warning light, but do not display on startup.
Adaptive cruise control (RTT) (if equipped)
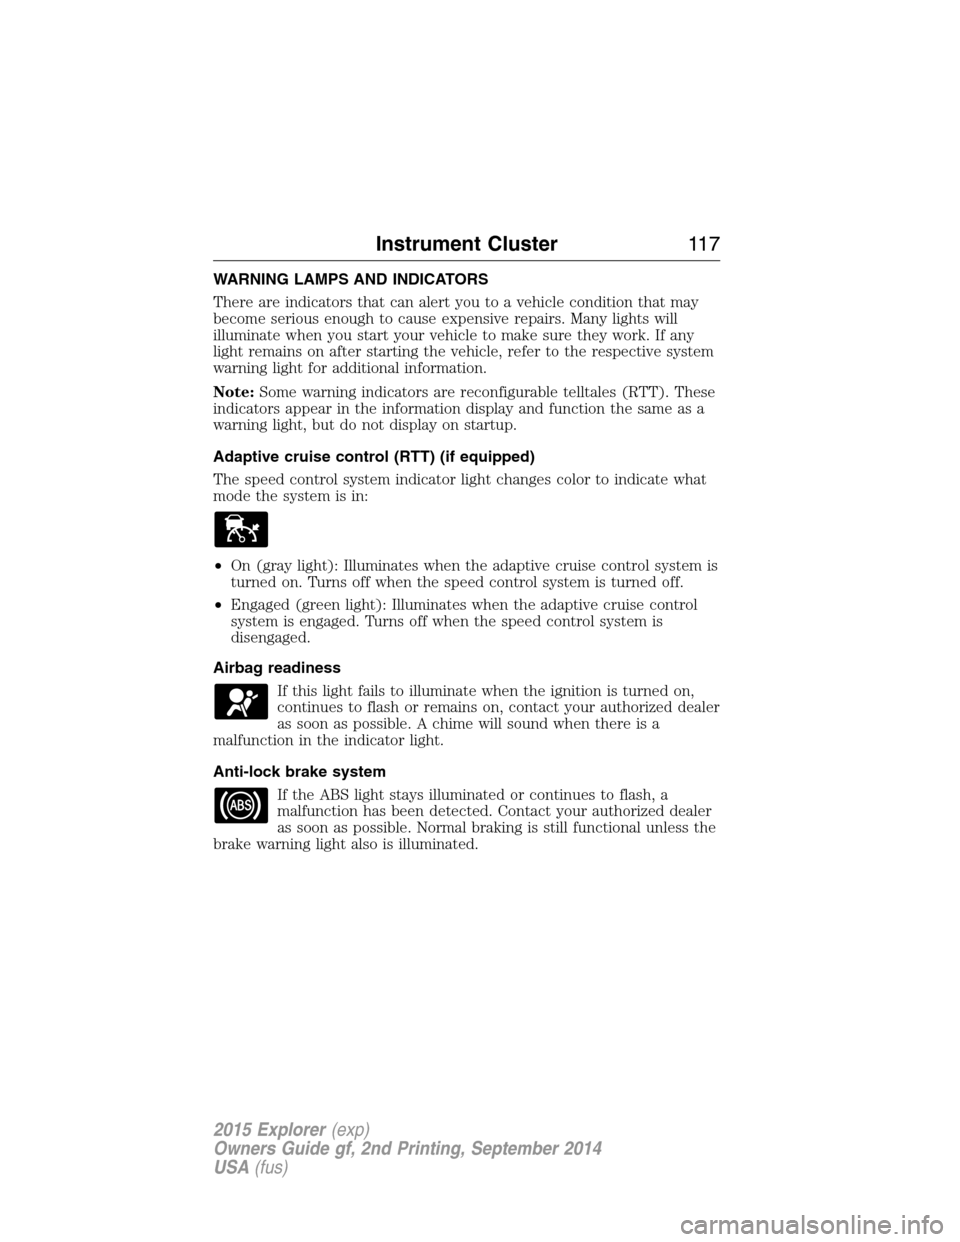
The speed control system indicator light changes color to indicate what
mode the system is in:
•On (gray light): Illuminates when the adaptive cruise control system is
turned on. Turns off when the speed control system is turned off.
•Engaged (green light): Illuminates when the adaptive cruise control
system is engaged. Turns off when the speed control system is
disengaged.
Airbag readiness
If this light fails to illuminate when the ignition is turned on,
continues to flash or remains on, contact your authorized dealer
as soon as possible. A chime will sound when there is a
malfunction in the indicator light.
Anti-lock brake system
If the ABS light stays illuminated or continues to flash, a
malfunction has been detected. Contact your authorized dealer
as soon as possible. Normal braking is still functional unless the
brake warning light also is illuminated.
Instrument Cluster11 7
2015 Explorer(exp)
Owners Guide gf, 2nd Printing, September 2014
USA(fus)
Page 120 of 596
Fog lamps
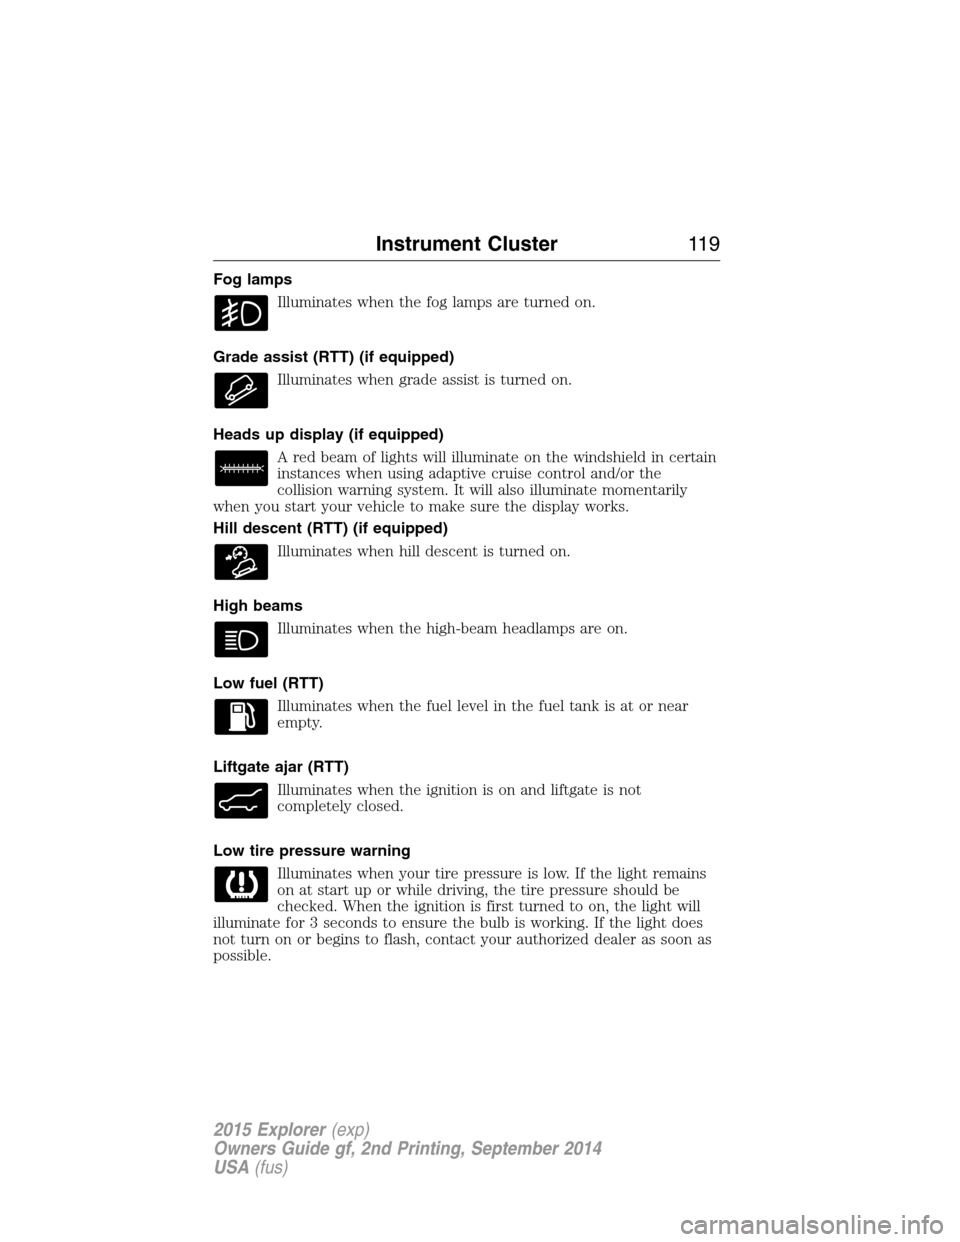
Illuminates when the fog lamps are turned on.
Grade assist (RTT) (if equipped)
Illuminates when grade assist is turned on.
Heads up display (if equipped)
A red beam of lights will illuminate on the windshield in certain
instances when using adaptive cruise control and/or the
collision warning system. It will also illuminate momentarily
when you start your vehicle to make sure the display works.
Hill descent (RTT) (if equipped)
Illuminates when hill descent is turned on.
High beams
Illuminates when the high-beam headlamps are on.
Low fuel (RTT)
Illuminates when the fuel level in the fuel tank is at or near
empty.
Liftgate ajar (RTT)
Illuminates when the ignition is on and liftgate is not
completely closed.
Low tire pressure warning
Illuminates when your tire pressure is low. If the light remains
on at start up or while driving, the tire pressure should be
checked. When the ignition is first turned to on, the light will
illuminate for 3 seconds to ensure the bulb is working. If the light does
not turn on or begins to flash, contact your authorized dealer as soon as
possible.
Instrument Cluster11 9
2015 Explorer(exp)
Owners Guide gf, 2nd Printing, September 2014
USA(fus)
Page 164 of 596
Easy Entry and Exit Feature
This feature can move the seat rearward and the optional power steering
column up and forward to allow extra room to exit the vehicle.
This occurs when:
•You place the transmission in neutral (N) or park (P).
•You turn the ignition off.
The seat and steering wheel will move to their original positions when:
•You turn the ignition on.
Turn the Easy Entry/Exit feature on or off through the information
display settings menu. See theInformation Displayschapter.
HEATED SEATS (IF EQUIPPED)
WARNING:Persons who are unable to feel pain to the skin
because of advanced age, chronic illness, diabetes, spinal cord
injury, medication, alcohol use, exhaustion, or other physical conditions,
must exercise care when using the seat heater. The seat heater may
cause burns even at low temperatures, especially if used for long
periods of time. Do not place anything on the seat that insulates against
heat, such as a blanket or cushion, because this may cause the seat
heater to overheat. Do not puncture the seat with pins, needles, or
other pointed objects because this may damage the heating element
which may cause the seat heater to overheat. An overheated seat may
cause serious personal injury.
The heated seats will only function when the ignition is in the on
position.
Note:Do not do the following:
•Place heavy objects on the seat
•Operate the seat heater if water or any other liquid is spilled on the
seat. Allow the seat to dry thoroughly.
To operate the heated seats:
Press the heated seat symbol to cycle through the various
heat settings and off. Warmer settings are indicated by
more indicator lights.
Seats163
2015 Explorer(exp)
Owners Guide gf, 2nd Printing, September 2014
USA(fus)
Page 165 of 596
CLIMATE CONTROLLED SEATS (IF EQUIPPED)
Heated Seats
WARNING:Persons who are unable to feel pain to the skin because
of advanced age, chronic illness, diabetes, spinal cord injury,
medication, alcohol use, exhaustion, or other physical conditions, must
exercise care when using the seat heater. The seat heater may cause burns
even at low temperatures, especially if used for long periods of time. Do
not place anything on the seat that insulates against heat, such as a blanket
or cushion, because this may cause the seat heater to overheat. Do not
puncture the seat with pins, needles, or other pointed objects because this
may damage the heating element which may cause the seat heater to
overheat. An overheated seat may cause serious personal injury.
The heated seats will only function when the engine is running.
Note:Do not do the following:
•Place heavy objects on the seat
•Operate the seat heater if water or any other liquid is spilled on the
seat. Allow the seat to dry thoroughly.
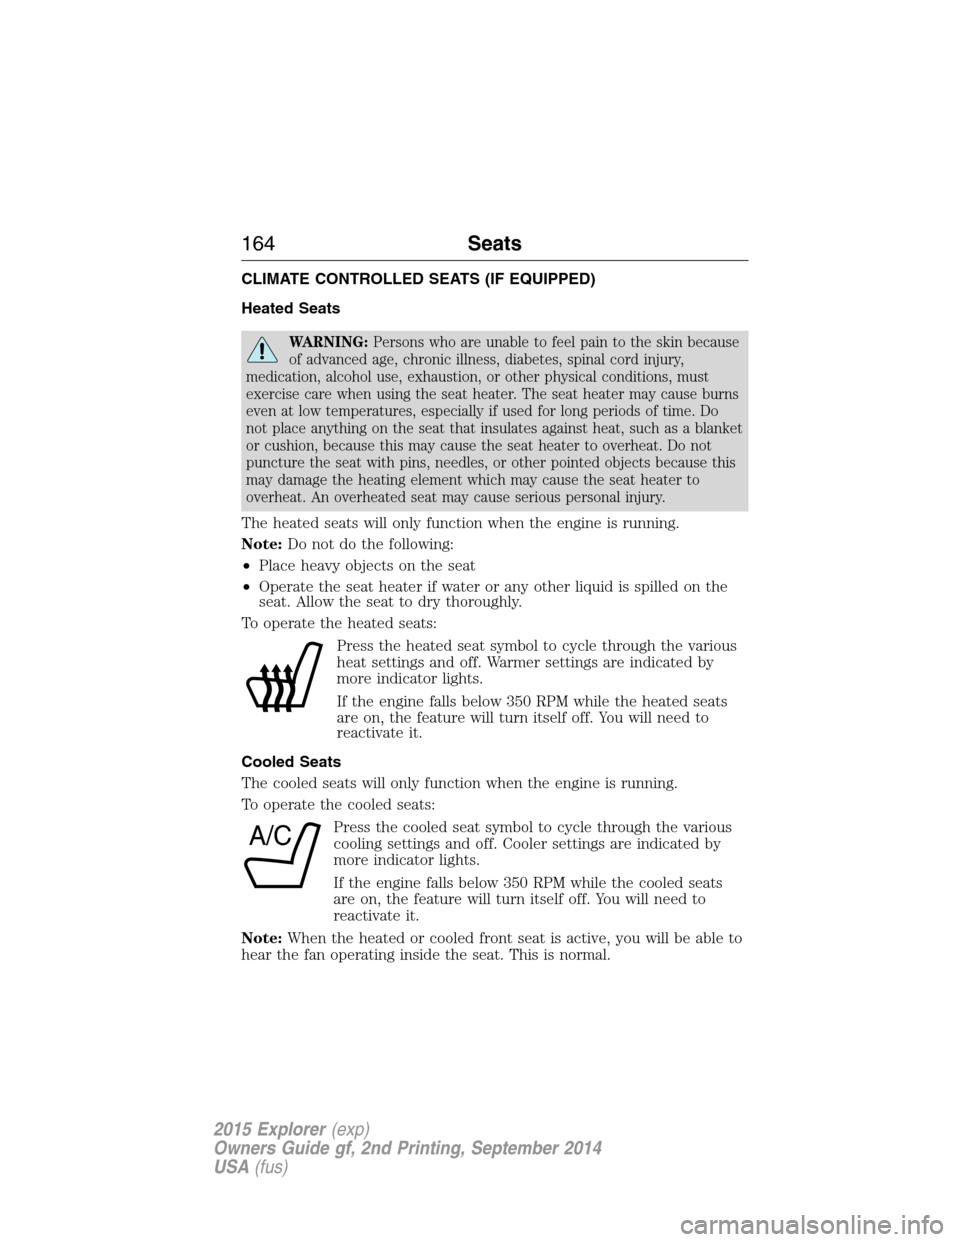
To operate the heated seats:
Press the heated seat symbol to cycle through the various
heat settings and off. Warmer settings are indicated by
more indicator lights.
If the engine falls below 350 RPM while the heated seats
are on, the feature will turn itself off. You will need to
reactivate it.
Cooled Seats
The cooled seats will only function when the engine is running.
To operate the cooled seats:
Press the cooled seat symbol to cycle through the various
cooling settings and off. Cooler settings are indicated by
more indicator lights.
If the engine falls below 350 RPM while the cooled seats
are on, the feature will turn itself off. You will need to
reactivate it.
Note:When the heated or cooled front seat is active, you will be able to
hear the fan operating inside the seat. This is normal.
A/C
164Seats
2015 Explorer(exp)
Owners Guide gf, 2nd Printing, September 2014
USA(fus)
Page 168 of 596
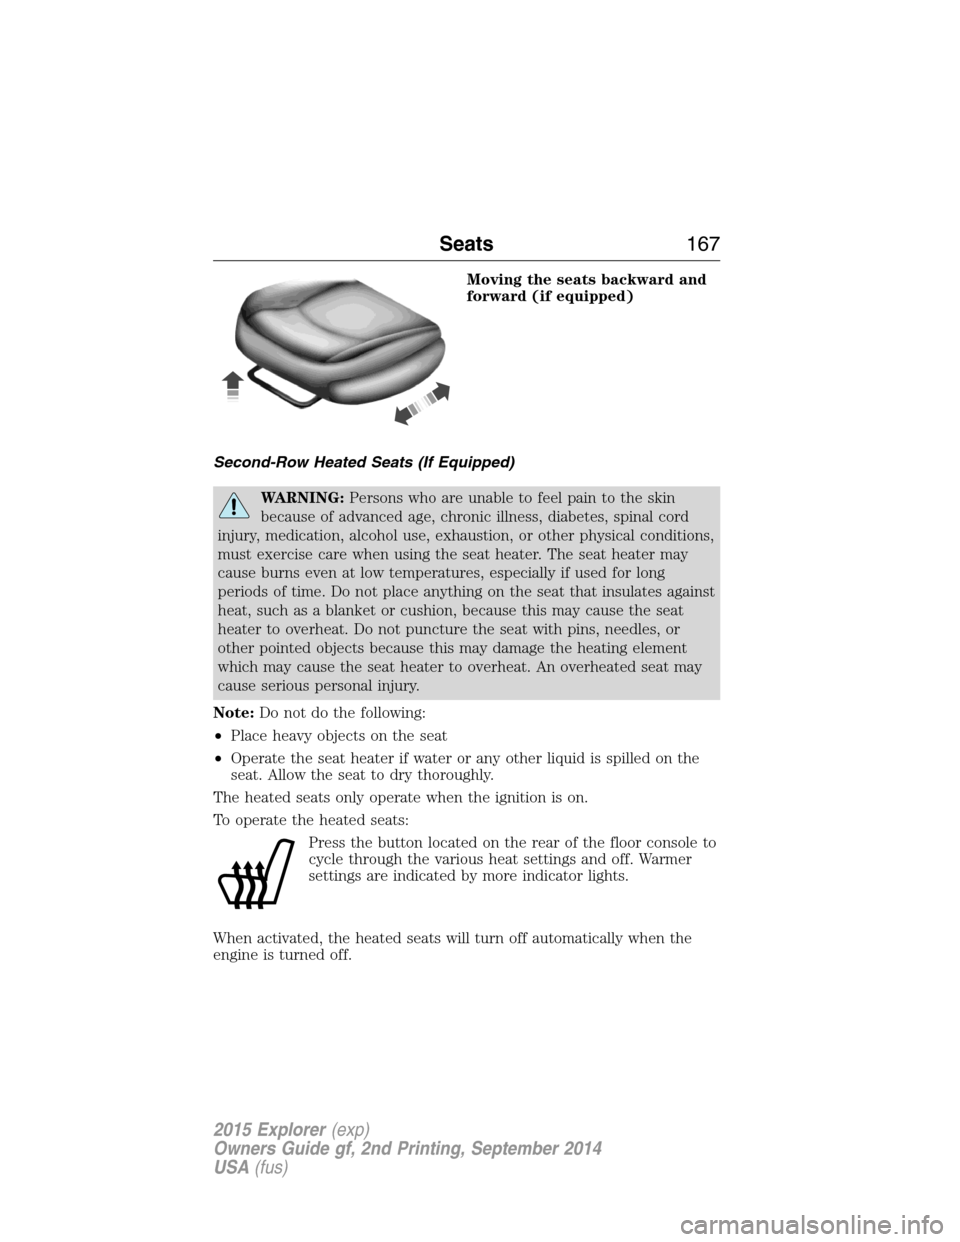
Moving the seats backward and
forward (if equipped)
Second-Row Heated Seats (If Equipped)
WARNING:Persons who are unable to feel pain to the skin
because of advanced age, chronic illness, diabetes, spinal cord
injury, medication, alcohol use, exhaustion, or other physical conditions,
must exercise care when using the seat heater. The seat heater may
cause burns even at low temperatures, especially if used for long
periods of time. Do not place anything on the seat that insulates against
heat, such as a blanket or cushion, because this may cause the seat
heater to overheat. Do not puncture the seat with pins, needles, or
other pointed objects because this may damage the heating element
which may cause the seat heater to overheat. An overheated seat may
cause serious personal injury.
Note:Do not do the following:
•Place heavy objects on the seat
•Operate the seat heater if water or any other liquid is spilled on the
seat. Allow the seat to dry thoroughly.
The heated seats only operate when the ignition is on.
To operate the heated seats:
Press the button located on the rear of the floor console to
cycle through the various heat settings and off. Warmer
settings are indicated by more indicator lights.
When activated, the heated seats will turn off automatically when the
engine is turned off.
Seats167
2015 Explorer(exp)
Owners Guide gf, 2nd Printing, September 2014
USA(fus)
Page 180 of 596
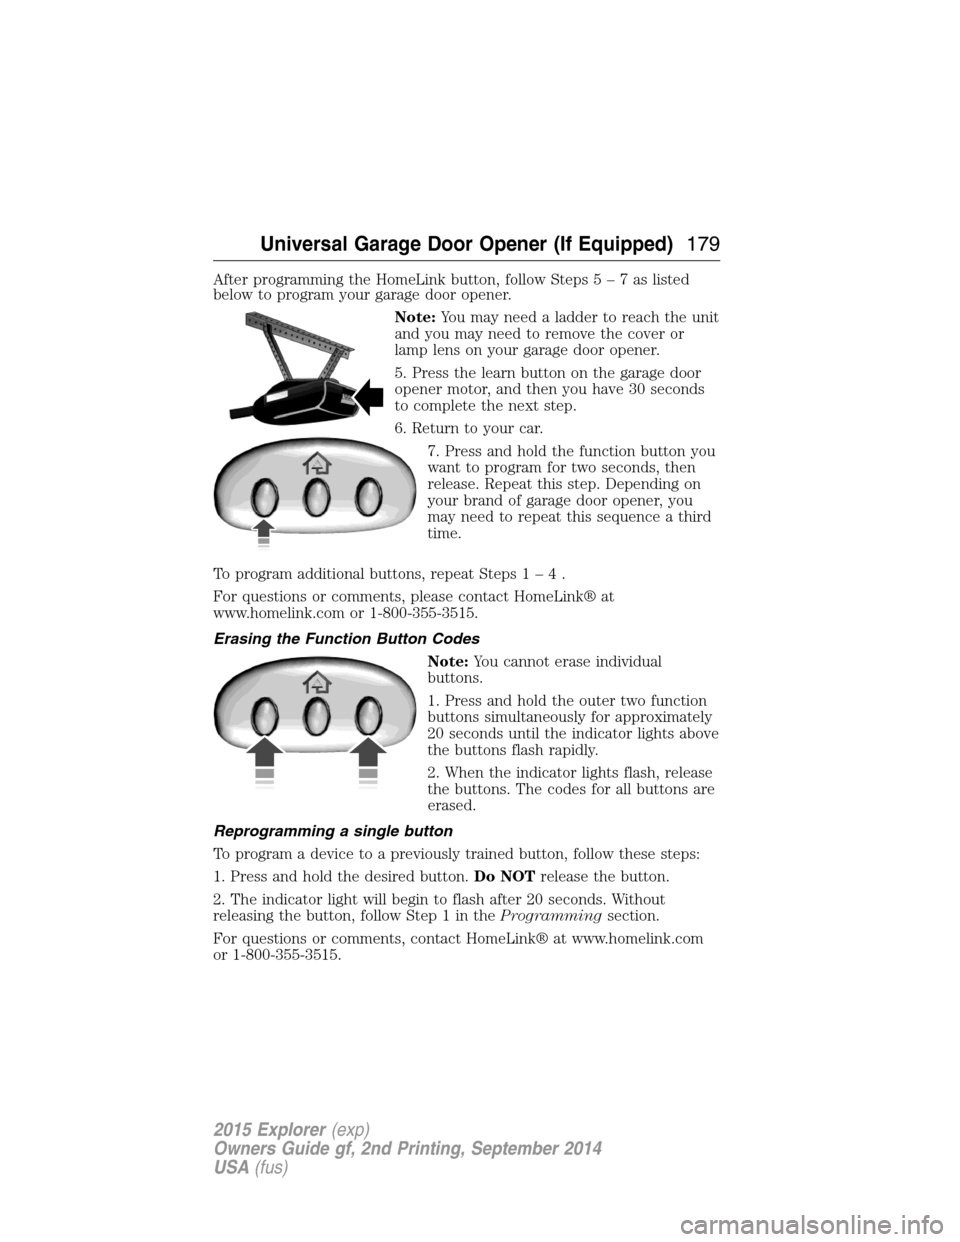
After programming the HomeLink button, follow Steps5–7aslisted
below to program your garage door opener.
Note:You may need a ladder to reach the unit
and you may need to remove the cover or
lamp lens on your garage door opener.
5. Press the learn button on the garage door
opener motor, and then you have 30 seconds
to complete the next step.
6. Return to your car.
7. Press and hold the function button you
want to program for two seconds, then
release. Repeat this step. Depending on
your brand of garage door opener, you
may need to repeat this sequence a third
time.
To program additional buttons, repeat Steps1–4.
For questions or comments, please contact HomeLink® at
www.homelink.com or 1-800-355-3515.
Erasing the Function Button Codes
Note:You cannot erase individual
buttons.
1. Press and hold the outer two function
buttons simultaneously for approximately
20 seconds until the indicator lights above
the buttons flash rapidly.
2. When the indicator lights flash, release
the buttons. The codes for all buttons are
erased.
Reprogramming a single button
To program a device to a previously trained button, follow these steps:
1. Press and hold the desired button.Do NOTrelease the button.
2. The indicator light will begin to flash after 20 seconds. Without
releasing the button, follow Step 1 in theProgrammingsection.
For questions or comments, contact HomeLink® at www.homelink.com
or 1-800-355-3515.
Universal Garage Door Opener (If Equipped)179
2015 Explorer(exp)
Owners Guide gf, 2nd Printing, September 2014
USA(fus)
Page 182 of 596
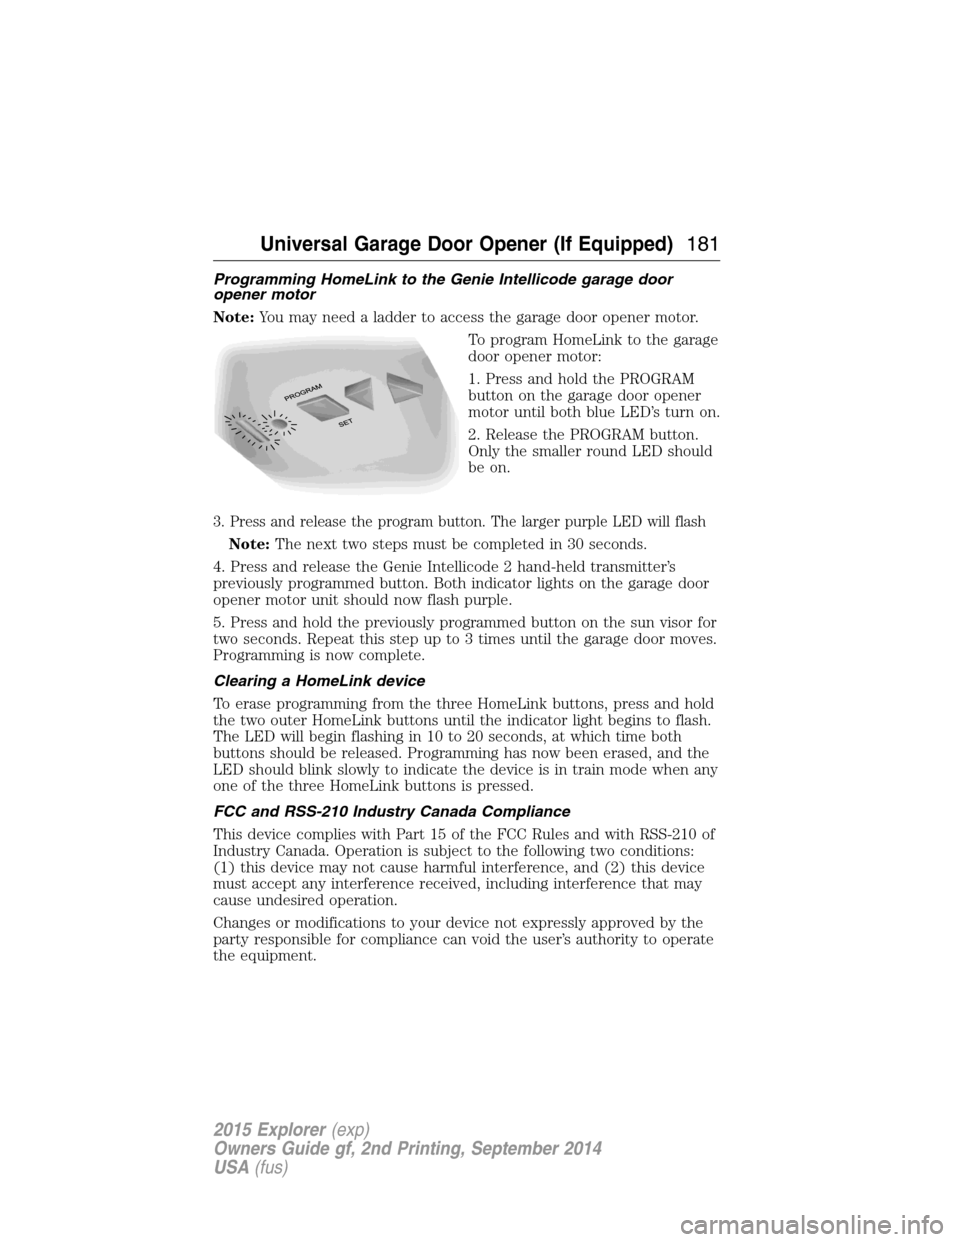
Programming HomeLink to the Genie Intellicode garage door
opener motor
Note:You may need a ladder to access the garage door opener motor.
To program HomeLink to the garage
door opener motor:
1. Press and hold the PROGRAM
button on the garage door opener
motor until both blue LED’s turn on.
2. Release the PROGRAM button.
Only the smaller round LED should
be on.
3. Press and release the program button. The larger purple LED will flash
Note:The next two steps must be completed in 30 seconds.
4. Press and release the Genie Intellicode 2 hand-held transmitter’s
previously programmed button. Both indicator lights on the garage door
opener motor unit should now flash purple.
5. Press and hold the previously programmed button on the sun visor for
two seconds. Repeat this step up to 3 times until the garage door moves.
Programming is now complete.
Clearing a HomeLink device
To erase programming from the three HomeLink buttons, press and hold
the two outer HomeLink buttons until the indicator light begins to flash.
The LED will begin flashing in 10 to 20 seconds, at which time both
buttons should be released. Programming has now been erased, and the
LED should blink slowly to indicate the device is in train mode when any
one of the three HomeLink buttons is pressed.
FCC and RSS-210 Industry Canada Compliance
This device complies with Part 15 of the FCC Rules and with RSS-210 of
Industry Canada. Operation is subject to the following two conditions:
(1) this device may not cause harmful interference, and (2) this device
must accept any interference received, including interference that may
cause undesired operation.
Changes or modifications to your device not expressly approved by the
party responsible for compliance can void the user’s authority to operate
the equipment.
Universal Garage Door Opener (If Equipped)181
2015 Explorer(exp)
Owners Guide gf, 2nd Printing, September 2014
USA(fus)