Page 22 of 596

WARNING:Never place, or allow a child to place, the shoulder
belt under a child’s arm or behind the back because it reduces
the protection for the upper part of the body and may increase the risk
of injury or death in a crash.
WARNING:To avoid risk of injury, do not leave children or pets
unattended in your vehicle.
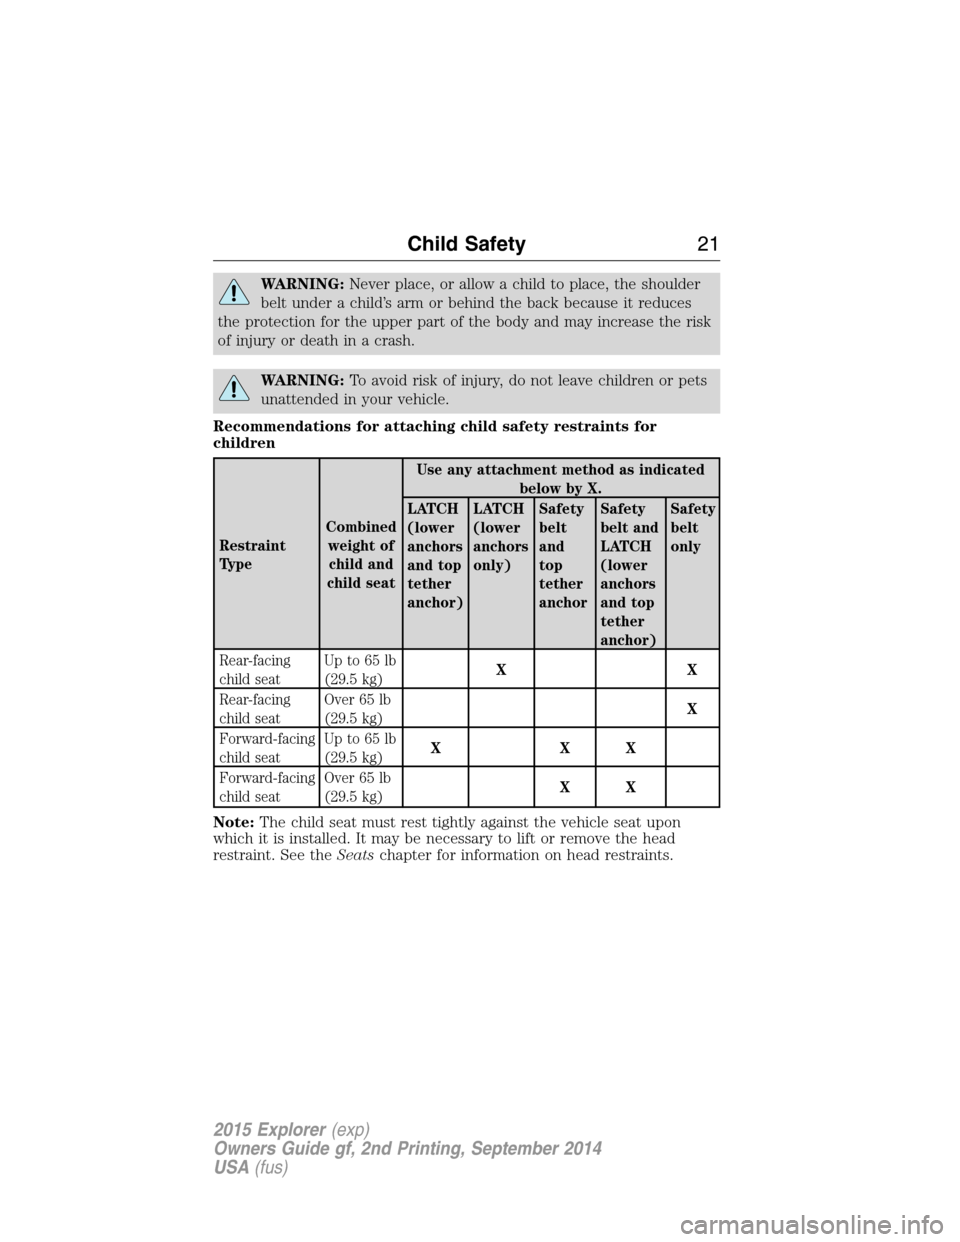
Recommendations for attaching child safety restraints for
children
Restraint
Ty p eCombined
weight of
child and
child seatUse any attachment method as indicated
below by X.
LATCH
(lower
anchors
and top
tether
anchor)LATCH
(lower
anchors
only)Safety
belt
and
top
tether
anchorSafety
belt and
LATCH
(lower
anchors
and top
tether
anchor)Safety
belt
only
Rear-facing
child seatUp to 65 lb
(29.5 kg)XX
Rear-facing
child seatOver 65 lb
(29.5 kg)X
Forward-facing
child seatUp to 65 lb
(29.5 kg)XXX
Forward-facing
child seatOver 65 lb
(29.5 kg)XX
Note:The child seat must rest tightly against the vehicle seat upon
which it is installed. It may be necessary to lift or remove the head
restraint. See theSeatschapter for information on head restraints.
Child Safety21
2015 Explorer(exp)
Owners Guide gf, 2nd Printing, September 2014
USA(fus)
Page 24 of 596
Types of Booster Seats
•Backless booster seats
If your backless booster seat has a removable shield, remove the shield.
If a vehicle seating position has a low seatback or no head restraint, a
backless booster seat may place your child’s head (as measured at the
tops of the ears) above the top of the seat. In this case, move the
backless booster to another seating position with a higher seatback or
head restraint and lap and shoulder belts, or consider using a high back
booster seat.
•High back booster seats
If, with a backless booster seat, you cannot find a seating position that
adequately supports your child’s head, a high back booster seat would be
a better choice.
Child Safety23
2015 Explorer(exp)
Owners Guide gf, 2nd Printing, September 2014
USA(fus)
Page 27 of 596

•Keep the buckle release button pointing up and away from the safety
seat, with the tongue between the child seat and the release button,
to prevent accidental unbuckling.
•Place the vehicle seat upon which the child seat will be installed in
the upright position.
•For second-row seating positions, the recliner may be adjusted slightly
to improve child seat fit. If needed, the head restraints may be
removed.
•For third-row seating positions, the head restraints may be stowed to
improve child seat fit. See theSeatschapter for information on folding
the head restraints.
•Put the safety belt in the automatic locking mode. See Step 5 below.
This vehicle does not require the use of a locking clip.
Perform the following steps when installing the child seat with
combination lap and shoulder belts:
Note:Although the child seat illustrated is a forward-facing child seat,
the steps are the same for installing a rear-facing child seat.
Note:The lock-off device on some child restraints may not
accommodate the shoulder portion of the inflatable safety belt. Follow all
instructions provided by the manufacturer of the child restraint
regarding the necessary and proper use of the lock-off device. In some
instances these devices have been provided only for use in vehicles with
safety belt systems that would otherwise require a locking clip.
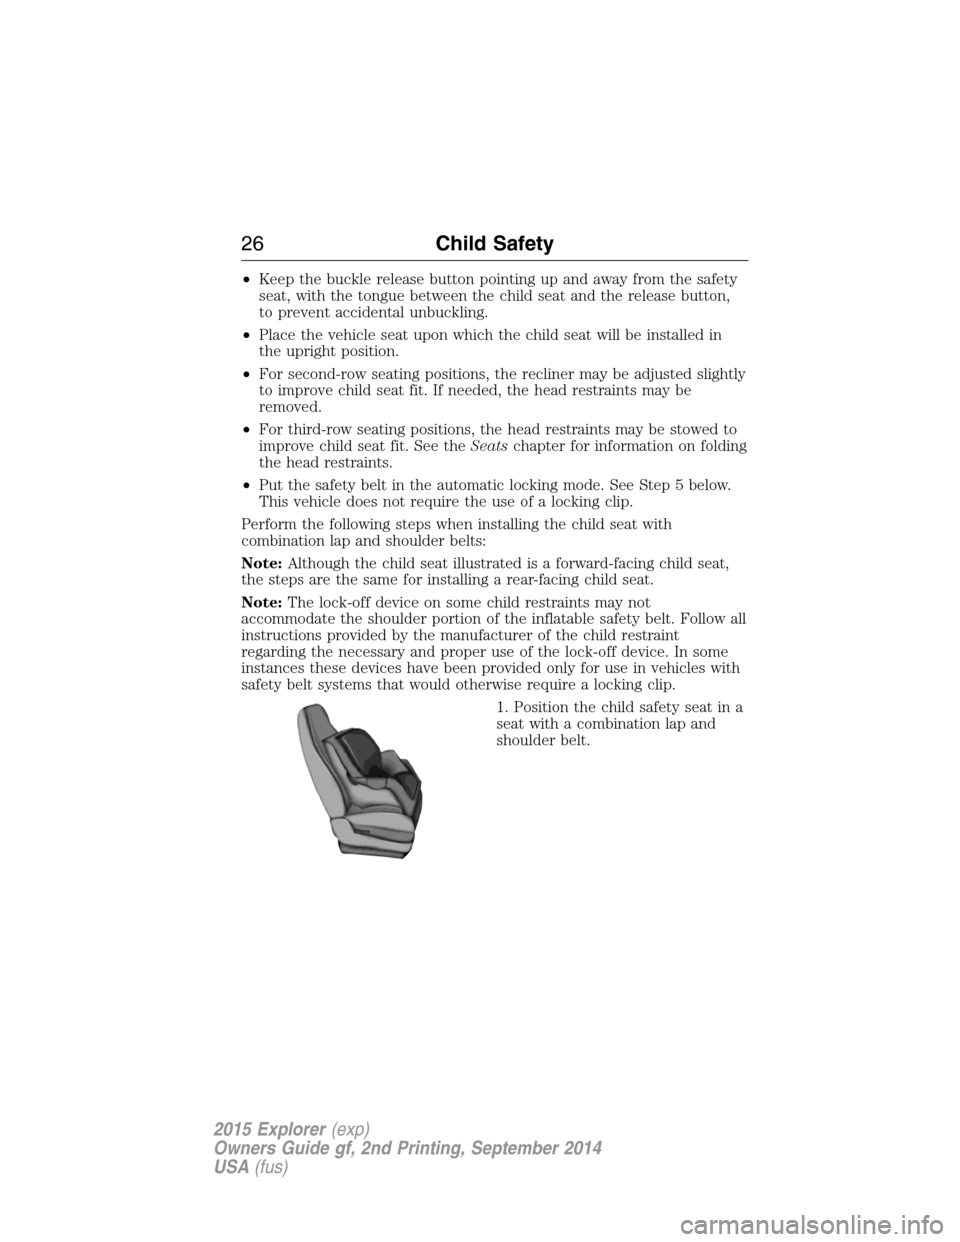
1. Position the child safety seat in a
seat with a combination lap and
shoulder belt.
26Child Safety
2015 Explorer(exp)
Owners Guide gf, 2nd Printing, September 2014
USA(fus)
Page 35 of 596

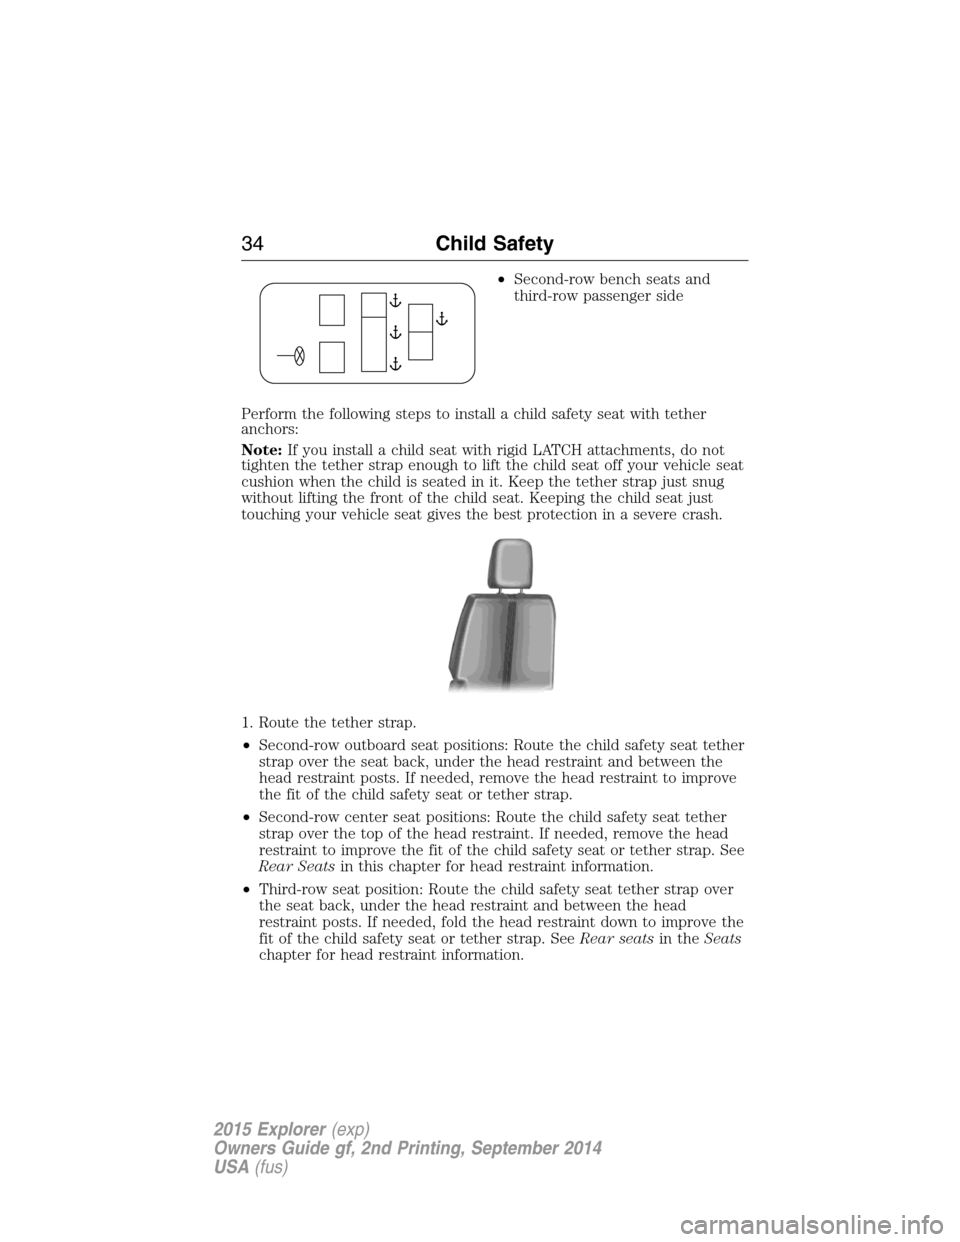
•Second-row bench seats and
third-row passenger side
Perform the following steps to install a child safety seat with tether
anchors:
Note:If you install a child seat with rigid LATCH attachments, do not
tighten the tether strap enough to lift the child seat off your vehicle seat
cushion when the child is seated in it. Keep the tether strap just snug
without lifting the front of the child seat. Keeping the child seat just
touching your vehicle seat gives the best protection in a severe crash.
1. Route the tether strap.
•Second-row outboard seat positions: Route the child safety seat tether
strap over the seat back, under the head restraint and between the
head restraint posts. If needed, remove the head restraint to improve
the fit of the child safety seat or tether strap.
•Second-row center seat positions: Route the child safety seat tether
strap over the top of the head restraint. If needed, remove the head
restraint to improve the fit of the child safety seat or tether strap. See
Rear Seatsin this chapter for head restraint information.
•Third-row seat position: Route the child safety seat tether strap over
the seat back, under the head restraint and between the head
restraint posts. If needed, fold the head restraint down to improve the
fit of the child safety seat or tether strap. SeeRear seatsin theSeats
chapter for head restraint information.
34Child Safety
2015 Explorer(exp)
Owners Guide gf, 2nd Printing, September 2014
USA(fus)
Page 151 of 596

GENERAL OPERATING TIPS
General Hints
Note:Prolonged use of recirculated air may cause the windows to fog
up.
Note:You may feel a small amount of air from the footwell air vents
regardless of the air distribution setting.
Note:To reduce humidity build-up inside your vehicle, do not drive with
the system switched off or with recirculated air always switched on.
Note:Do not place objects under the front seats as this may interfere
with the airflow to the rear seats.
Note:Remove any snow, ice or leaves from the air intake area at the
base of the windshield.
Note:To improve the time to reach comfort in hot weather, drive with
the windows slightly open for 2-3 minutes after start-up or until your
vehicle airs out.
Manual Climate Control
Note:To reduce fogging of the windshield during humid weather, adjust
the air distribution control to the windshield air vents position.
Automatic Climate Control
Note:Adjusting the settings when your vehicle interior is extremely hot
or cold is not necessary. The system automatically adjusts to heat or cool
the cabin to your selected temperature as quickly as possible. For the
system to function efficiently, the instrument panel and side air vents
should be fully open.
Note:If you selectAUTOduring cold outside temperatures, the system
directs airflow to the windshield and side window vents. In addition, the
fan may run at a slower speed until the engine warms up.
Note:If you selectAUTOduring hot outside temperatures, or when the
inside of the vehicle is hot, the system automatically uses recirculated air
to maximize interior cooling. When the interior reaches the selected
temperature, the system automatically switches to using outside air.
150Climate Control
2015 Explorer(exp)
Owners Guide gf, 2nd Printing, September 2014
USA(fus)
Page 158 of 596
To adjust the head restraint, do the following:
Front seat head restraints
Second-row center seat head
restraint (if equipped)
The head restraints consist of:
A. Energy absorbing head restraint.
B. Steel stems.
C. Guide sleeve adjust and release button.
D. Guide sleeve unlock and remove button.
•Raise: Pull up on the head restraint (A).
•Lower: Press and hold the guide sleeve adjust and release button (C)
and push down on the head restraint (A).
•Remove: Pull up the head restraint until it reaches the highest
adjustment position and then press and hold both the adjust and
release button (C) and the unlock and remove button (D), then pull
up on the head restraint.
•Reinstall: Align the steel stems into the guide sleeves and push the
head restraint down until it locks.
D
B
A
B
C
Seats157
2015 Explorer(exp)
Owners Guide gf, 2nd Printing, September 2014
USA(fus)
Page 159 of 596
Second-row outboard seat head
restraints
The head restraints consist of:
A. Energy absorbing head restraint.
B. Steel stems.
C. Guide sleeve unlock and remove buttons.
D. Fold strap.
•Fold: Pull the fold strap (D). Pull it back up to reset.
•Remove: Fold the head restraint. Press and hold both of the unlock
and remove buttons (C), then pull up on the head restraint.
•Reinstall: Align the steel stems into the guide sleeves and push the
head restraint down until it locks.
Third-row head restraints
The head restraints consist of:
A. Energy absorbing head restraint.
B. Steel stems.
C. Fold strap.
Fold: Pull the fold strap (C). Pull it back up to reset.
Note:Press the stow or fold button on the power folding seats to
automatically fold the head restraint.
C
B
AD
158Seats
2015 Explorer(exp)
Owners Guide gf, 2nd Printing, September 2014
USA(fus)
Page 166 of 596
Climate Controlled Seat Air Filter Replacement (If Equipped)
The climate controlled seat system includes air filters. You must replace
them periodically. See thescheduled maintenance information.
Locate the filters under each front seat and access them from the
second-row foot-well area. Move the front seats all the way forward and
to the full up positions to ease access.
To remove an air filter:
1. Turn the vehicle off.
2. Push up on the outside rigid edge
of the filter and rotate
counterclockwise once the tabs are
released, then remove the filter.
To install a filter:
1. First, position the filter in its
housing making sure that the far
forward end is all the way up in the
housing.
2. Push in on the center of the
outside edge of the filter and rotate
up into the housing until it clips
into position.
Seats165
2015 Explorer(exp)
Owners Guide gf, 2nd Printing, September 2014
USA(fus)