Page 9 of 596

Wheels and Tires 351
Tirecare ...........................................353
Using snow chains....................................370
Tire Pressure Monitoring System (TPMS)...................371
Changing a road wheel.................................375
Technical specifications.................................382
Wheel lug nut torque..................................382
Capacities and Specifications 384
Engine specifications..................................384
Part numbers........................................391
Vehicle identification number............................392
Vehicle certification label...............................393
Transmission code designation............................393
Accessories 394
Accessories.........................................394
Extended Service Plan 396
Audio System 399
MyFord™ system.....................................401
Satellite radio information...............................412
Auxiliary input jack...................................414
USB port...........................................416
SYNC® 417
Pairing your phone for the first time.......................422
911 Assist™.........................................436
Vehicle Health Report..................................439
8Table of Contents
2015 Explorer(exp)
Owners Guide gf, 2nd Printing, September 2014
USA(fus)
Page 206 of 596

AUTOMATIC TRANSMISSION
WARNING:Always set the parking brake fully and make sure
the gearshift is latched inP(Park). Turn the ignition to the off
position and remove the key whenever you leave your vehicle.
WARNING:Do not use the tow feature when driving in icy or
slippery conditions as the increased engine braking can cause the
rear wheels to slide and the vehicle to swing around with the possible
loss of vehicle control.
Your vehicle has been designed to improve fuel economy by reducing
fuel usage while coasting or decelerating. When you take your foot off
the accelerator pedal and the vehicle begins to slow down, the torque
converter clutch locks up and aggressively shuts off fuel flow to the
engine while decelerating. This fuel economy benefit may be perceived
as a light to medium braking sensation when removing your foot from
the accelerator pedal.
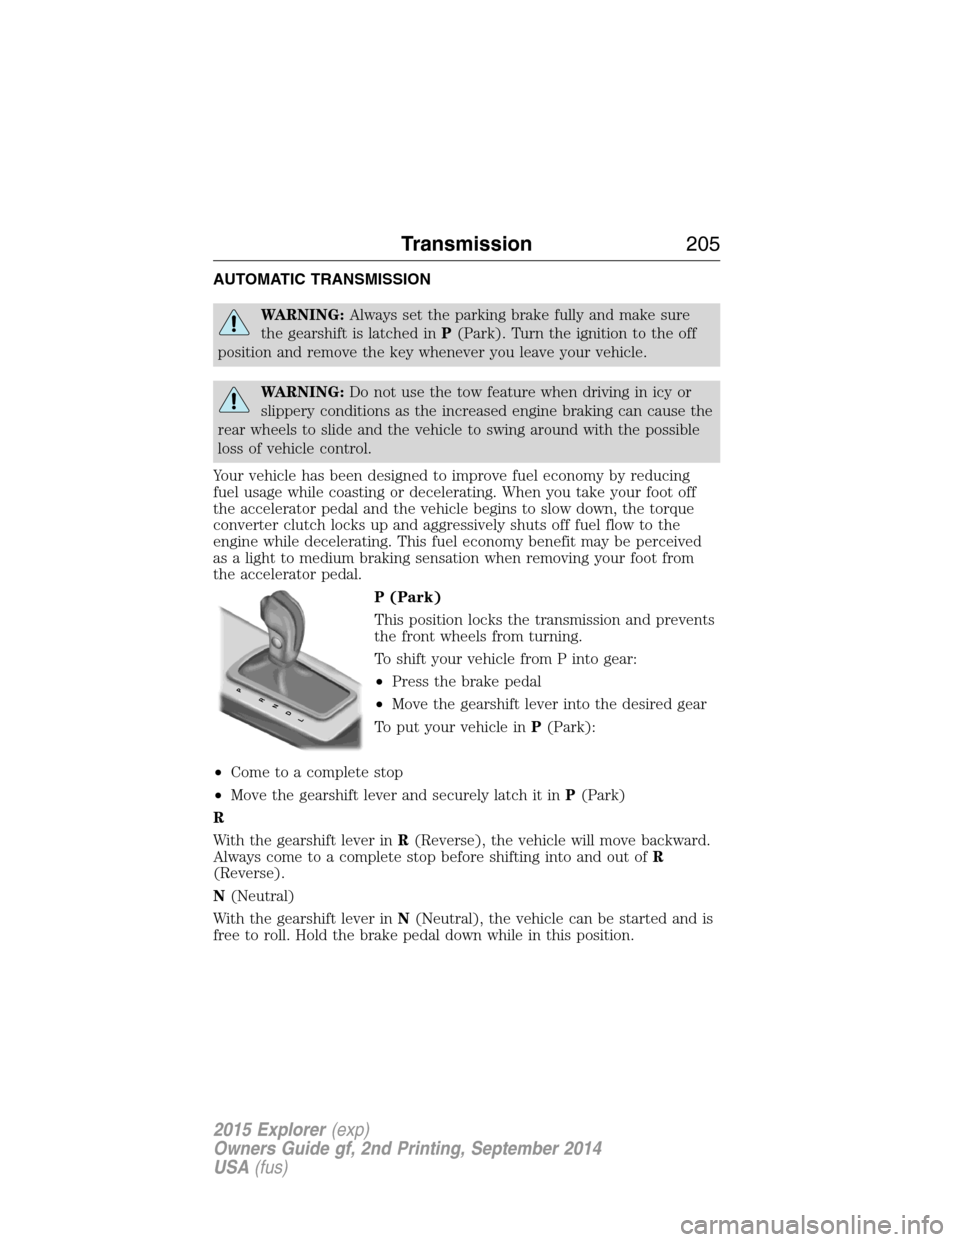
P (Park)
This position locks the transmission and prevents
the front wheels from turning.
To shift your vehicle from P into gear:
•Press the brake pedal
•Move the gearshift lever into the desired gear
To put your vehicle inP(Park):
•Come to a complete stop
•Move the gearshift lever and securely latch it inP(Park)
R
With the gearshift lever inR(Reverse), the vehicle will move backward.
Always come to a complete stop before shifting into and out ofR
(Reverse).
N(Neutral)
With the gearshift lever inN(Neutral), the vehicle can be started and is
free to roll. Hold the brake pedal down while in this position.
PRNDL
Transmission205
2015 Explorer(exp)
Owners Guide gf, 2nd Printing, September 2014
USA(fus)
Page 252 of 596
Mode:This setting allows you to enable one of the system features.
Alert only – Provides a steering
wheel vibration when the system
detects an unintended lane
departure.
Aid only – Provides an assistance
steering torque input toward the
lane center when the system
detects an unintended lane
departure.
Alert + Aid – Provides an assistance
steering torque input toward the
lane center. If your vehicle
continues drifting out of the lane,
the system provides a steering
wheel vibration.
A. Alert
B. Aid
Note:The alert and aid diagrams are meant to illustrate general zone
coverage. They are not intended to provide the exact zone parameters.
Intensity:This setting affects the intensity of the steering wheel
vibration used for the alert mode. This setting does not impact the aid
mode.
•Low
•Medium
•High
A
B
A
B
Driving Aids251
2015 Explorer(exp)
Owners Guide gf, 2nd Printing, September 2014
USA(fus)
Page 381 of 596
4. Small arrow-shaped marks on the sills show the location of the jacking
points.
5. Remove the lug nuts with the lug wrench.
6. Replace the flat tire with the spare tire, making sure the valve stem is
facing outward. Reinstall the lug nuts until the wheel is snug against the
hub. Do not fully tighten the lug nuts until the wheel has been lowered.
7. Lower the wheel by turning the jack handle counterclockwise.
8. Remove the jack and fully tighten the lug
nuts in the order shown. SeeWheel Lug
Nut Torque Specificationslater in this
chapter for the proper lug nut torque
specification.
380Wheels and Tires
2015 Explorer(exp)
Owners Guide gf, 2nd Printing, September 2014
USA(fus)
Page 383 of 596

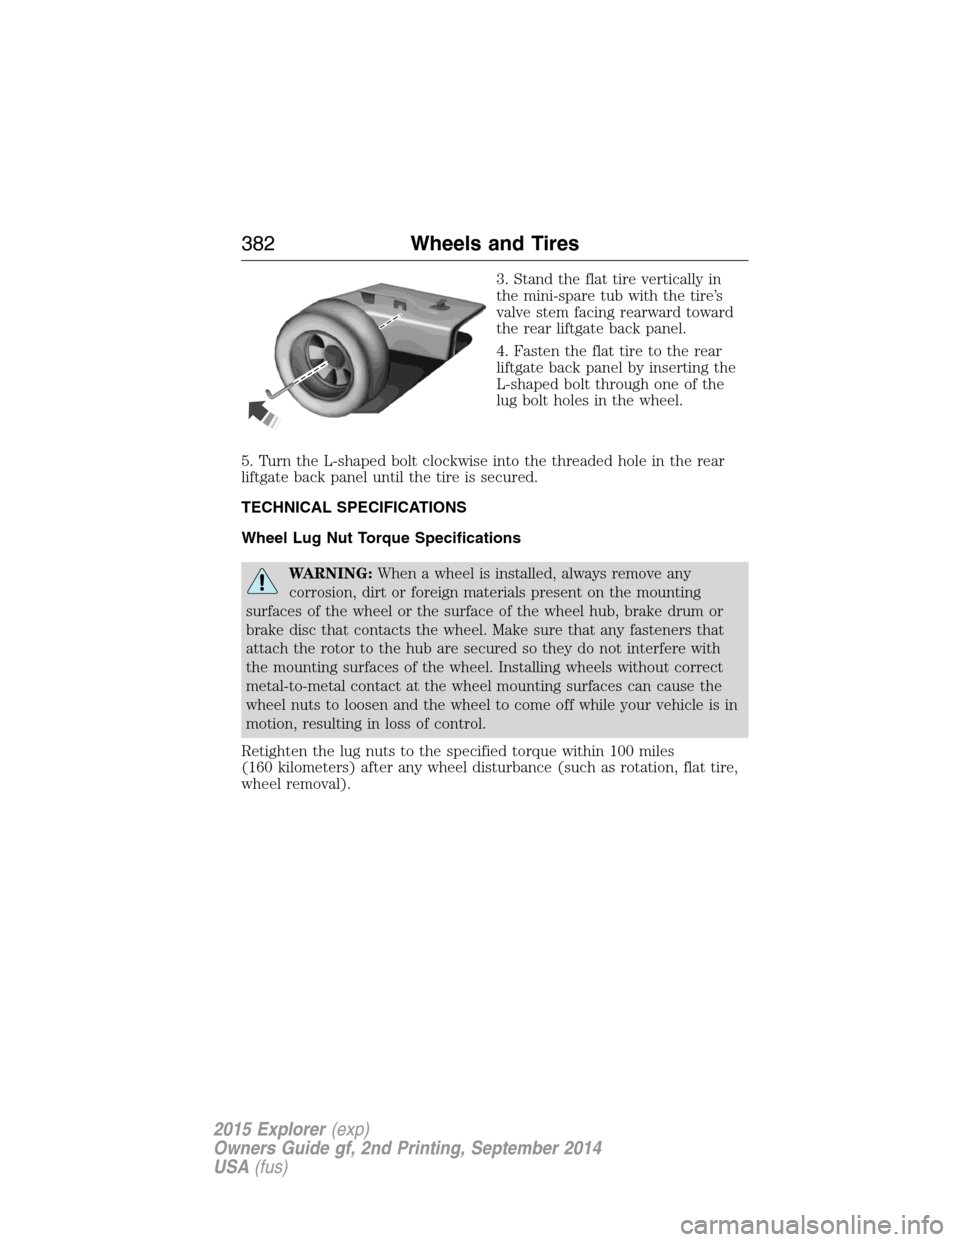
3. Stand the flat tire vertically in
the mini-spare tub with the tire’s
valve stem facing rearward toward
the rear liftgate back panel.
4. Fasten the flat tire to the rear
liftgate back panel by inserting the
L-shaped bolt through one of the
lug bolt holes in the wheel.
5. Turn the L-shaped bolt clockwise into the threaded hole in the rear
liftgate back panel until the tire is secured.
TECHNICAL SPECIFICATIONS
Wheel Lug Nut Torque Specifications
WARNING:When a wheel is installed, always remove any
corrosion, dirt or foreign materials present on the mounting
surfaces of the wheel or the surface of the wheel hub, brake drum or
brake disc that contacts the wheel. Make sure that any fasteners that
attach the rotor to the hub are secured so they do not interfere with
the mounting surfaces of the wheel. Installing wheels without correct
metal-to-metal contact at the wheel mounting surfaces can cause the
wheel nuts to loosen and the wheel to come off while your vehicle is in
motion, resulting in loss of control.
Retighten the lug nuts to the specified torque within 100 miles
(160 kilometers) after any wheel disturbance (such as rotation, flat tire,
wheel removal).
382Wheels and Tires
2015 Explorer(exp)
Owners Guide gf, 2nd Printing, September 2014
USA(fus)
Page 384 of 596
Lug nut socket
size/Bolt sizeWheel lug nut torque*
ft-lb N•m
1�2x 20 100 135
* Torque specifications are for nut and bolt threads free of dirt and
rust. Use only Ford recommended replacement fasteners.
Note:Inspect the wheel pilot hole
and mounting surface prior to
installation. Remove any visible
corrosion or loose particles.
Wheels and Tires383
2015 Explorer(exp)
Owners Guide gf, 2nd Printing, September 2014
USA(fus)