Page 7 of 564

Maintenance 290
General information...................................290
Opening and closing the hood............................291
Under hood overview..................................292
Engine oil dipstick....................................293
Engine oil check......................................293
Engine coolant check..................................294
Automatic transmission fluid check........................298
Brake fluid check.....................................299
Fuel filter...........................................299
Washer fluid check....................................300
Battery ............................................300
Checking the wiper blades..............................301
Changing the wiper blades..............................302
Air filter(s).........................................303
Adjusting the headlamps................................306
Changing a bulb......................................307
Removing a headlamp..................................308
Vehicle Care 313
Cleaning products.....................................313
Cleaning the exterior..................................313
Waxing.............................................315
Repairing minor paint damage............................315
Cleaning the engine...................................315
Cleaning the windows and wiper blades.....................316
Cleaning the interior...................................317
Cleaning the instrument panel and instrument cluster lens.......318
Cleaning the alloy wheels...............................320
Vehicle storage.......................................321
6Table of Contents
2015 Expedition(exd)
Owners Guide gf, 1st Printing, July 2014
USA(fus)
Page 11 of 564
SYMBOL GLOSSARY
These are some of the symbols you may see on your vehicle.
Symbol Description Symbol Description Symbol Description
Safety alertSee Owner’s
ManualAnti-lock
braking
system
Avoid
smoking,
flames, or
sparksBatteryBattery acid
Brake fluid –
non
petroleum
baseBrake systemCabin air
filter
Check fuel
capChild Safety
Door Lock
and UnlockChild seat
lower anchor
Child seat
tether anchorCruise
controlDo not open
when hot
Engine air
filterEngine
coolantEngine
coolant
temperature
Engine oilExplosive gasFan warning
Fasten safety
beltFront airbagFront fog
lamps
Fuel pump
resetFuse
compartmentHazard
warning
flasher
Heated rear
windowInterior
luggage
compartment
releaseJack
10Introduction
2015 Expedition(exd)
Owners Guide gf, 1st Printing, July 2014
USA(fus)
Page 158 of 564

Cooled Seats
The cooled seats will only function when the engine is running.
To operate the cooled seats:
Press the cooled seat symbol to cycle through the various
cooling settings and off. Cooler settings are indicated by
more indicator lights.
If the engine falls below 350 RPM while the cooled seats are
on, the feature will turn itself off. You will need to reactivate it.
Climate Controlled Seats Air Filter Replacement (If Equipped)
The climate controlled seat system includes air filters. You must replace
them periodically. Seescheduled maintenance informationfor more
information.
There is a filter located under each front seat. You can access the filter
from the second row seat. Move the front seats all the way forward and
up to ease access.
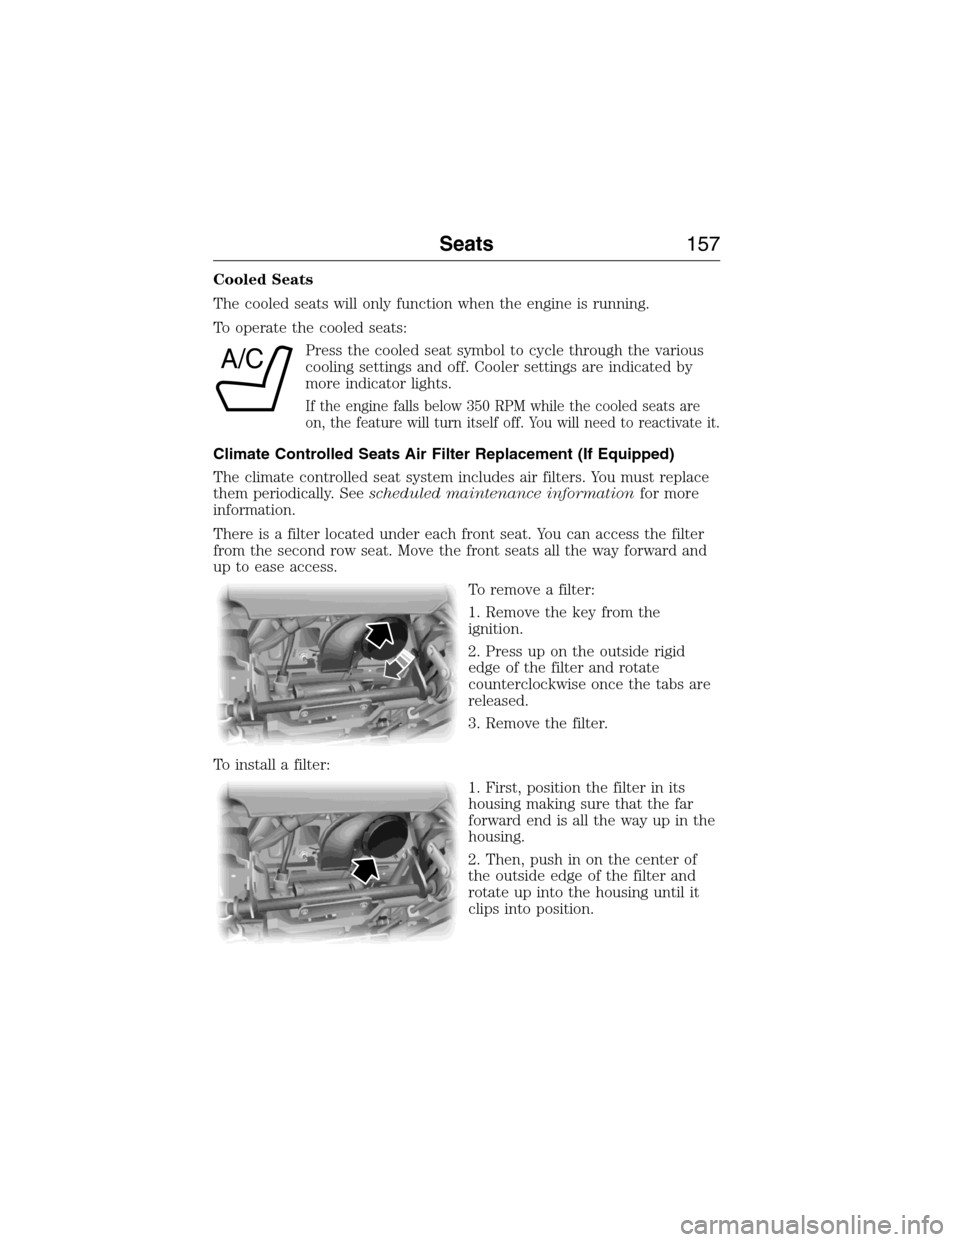
To remove a filter:
1. Remove the key from the
ignition.
2. Press up on the outside rigid
edge of the filter and rotate
counterclockwise once the tabs are
released.
3. Remove the filter.
To install a filter:
1. First, position the filter in its
housing making sure that the far
forward end is all the way up in the
housing.
2. Then, push in on the center of
the outside edge of the filter and
rotate up into the housing until it
clips into position.
A/C
Seats157
2015 Expedition(exd)
Owners Guide gf, 1st Printing, July 2014
USA(fus)
Page 267 of 564

•Add particular accessories to your vehicle (e.g.; bug deflectors,
rollbars or light bars, running boards, ski racks).
•Drive with the wheels out of alignment.
DRIVING THROUGH WATER
WARNING:Do not drive through flowing or deep water as you
may lose control of your vehicle.
Note:Driving through standing water can cause vehicle damage.
Note:Engine damage can occur if water enters the air filter.
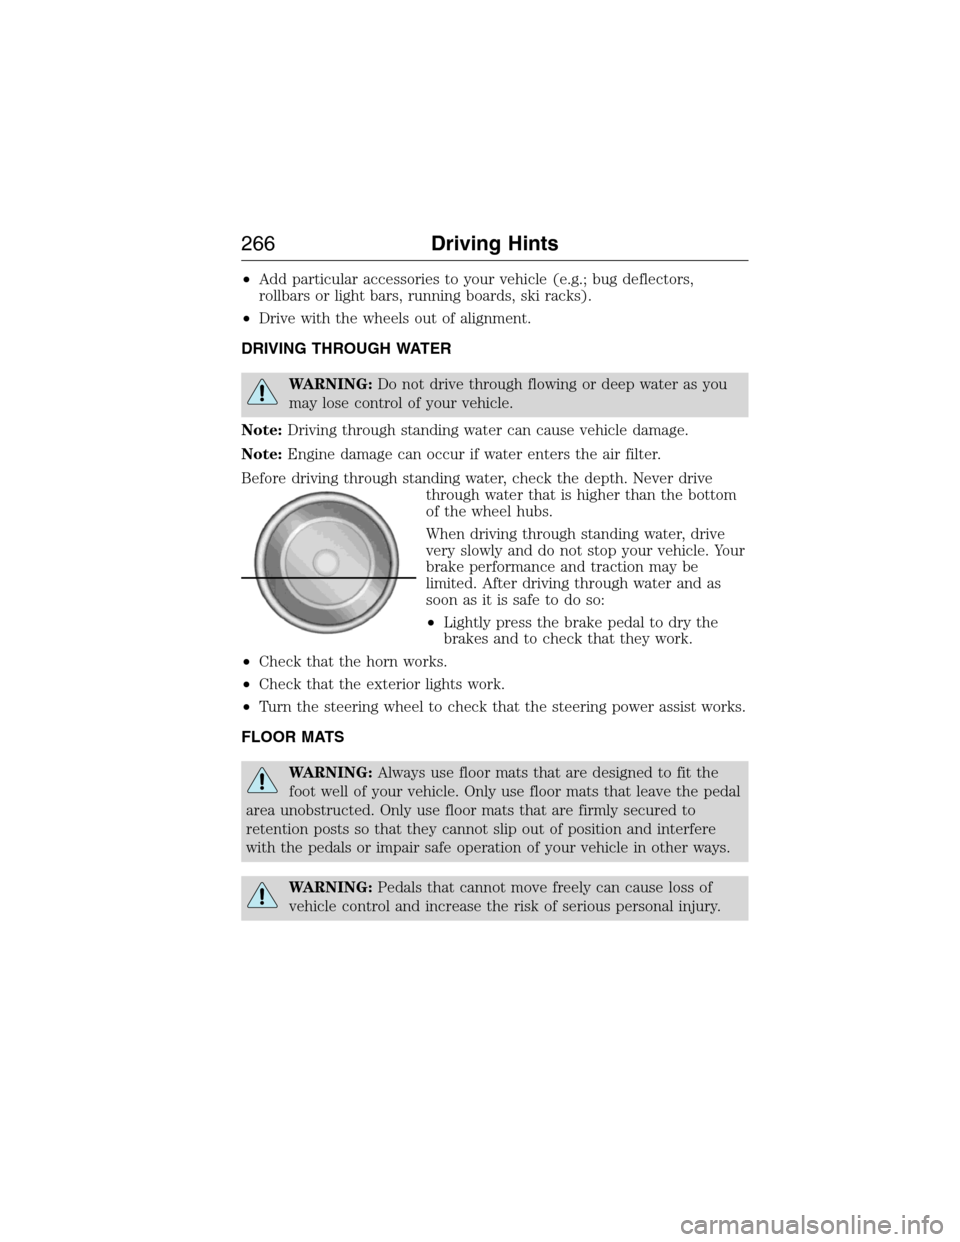
Before driving through standing water, check the depth. Never drive
through water that is higher than the bottom
of the wheel hubs.
When driving through standing water, drive
very slowly and do not stop your vehicle. Your
brake performance and traction may be
limited. After driving through water and as
soon as it is safe to do so:
•Lightly press the brake pedal to dry the
brakes and to check that they work.
•Check that the horn works.
•Check that the exterior lights work.
•Turn the steering wheel to check that the steering power assist works.
FLOOR MATS
WARNING:Always use floor mats that are designed to fit the
foot well of your vehicle. Only use floor mats that leave the pedal
area unobstructed. Only use floor mats that are firmly secured to
retention posts so that they cannot slip out of position and interfere
with the pedals or impair safe operation of your vehicle in other ways.
WARNING:Pedals that cannot move freely can cause loss of
vehicle control and increase the risk of serious personal injury.
266Driving Hints
2015 Expedition(exd)
Owners Guide gf, 1st Printing, July 2014
USA(fus)
Page 293 of 564
UNDER HOOD OVERVIEW
3.5L V6 EcoBoost® engine
A. Windshield washer fluid reservoir
B. Battery
C. Engine oil filler cap
D. Engine oil dipstick
E. Brake fluid reservoir
F. Engine coolant reservoir
G. Air filter assembly
H. Power distribution box
292Maintenance
2015 Expedition(exd)
Owners Guide gf, 1st Printing, July 2014
USA(fus)
Page 300 of 564

Do not use supplemental transmission fluid additives, treatments or
cleaning agents. The use of these materials may affect transmission
operation and result in damage to internal transmission components.
BRAKE FLUID CHECK
Fluid levels between the MIN and MAX lines are within the normal
operating range; there is no need to add fluid. If the fluid levels are
outside of the normal operating range, the performance of the system
could be compromised; seek service from your authorized dealer
immediately.
POWER STEERING FLUID CHECK
Your vehicle is equipped with an electric power steering (EPS) system.
There is no fluid reservoir to check or fill. For additional information on
the electric power steering (EPS) system, Refer toDriving Aids.
FUEL FILTER
Your vehicle is equipped with a lifetime fuel filter that is integrated with
the fuel tank. Regular maintenance or replacement is not needed.
WASHER FLUID CHECK
WARNING:If you operate your vehicle in temperatures below
40°F (5°C), use washer fluid with antifreeze protection. Failure
to use washer fluid with antifreeze protection in cold weather could
result in impaired windshield vision and increase the risk of injury or
accident.
Add fluid to fill the reservoir if the level is low. Only use a washer fluid
that meets Ford specifications. See the technical specifications chart in
theCapacities and Specificationschapter.
Note:The front and rear washer systems are supplied from the same
reservoir.
State or local regulations on volatile organic compounds may restrict the
use of methanol, a common windshield washer antifreeze additive.
Washer fluids containing non-methanol antifreeze agents should be used
only if they provide cold weather protection without damaging the
vehicle’s paint finish, wiper blades or washer system.
Maintenance299
2015 Expedition(exd)
Owners Guide gf, 1st Printing, July 2014
USA(fus)
Page 304 of 564

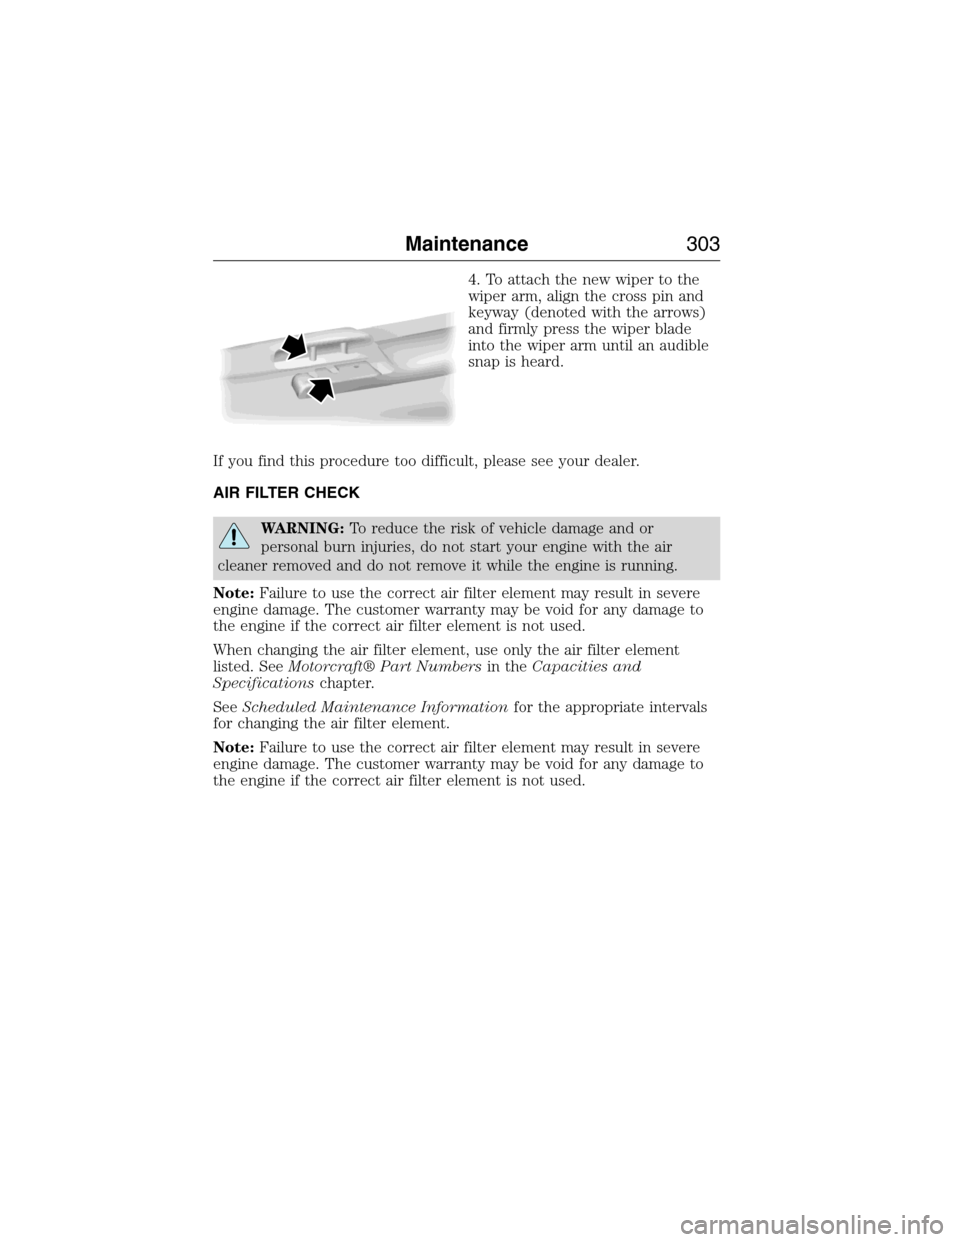
4. To attach the new wiper to the
wiper arm, align the cross pin and
keyway (denoted with the arrows)
and firmly press the wiper blade
into the wiper arm until an audible
snap is heard.
If you find this procedure too difficult, please see your dealer.
AIR FILTER CHECK
WARNING:To reduce the risk of vehicle damage and or
personal burn injuries, do not start your engine with the air
cleaner removed and do not remove it while the engine is running.
Note:Failure to use the correct air filter element may result in severe
engine damage. The customer warranty may be void for any damage to
the engine if the correct air filter element is not used.
When changing the air filter element, use only the air filter element
listed. SeeMotorcraft® Part Numbersin theCapacities and
Specificationschapter.
SeeScheduled Maintenance Informationfor the appropriate intervals
for changing the air filter element.
Note:Failure to use the correct air filter element may result in severe
engine damage. The customer warranty may be void for any damage to
the engine if the correct air filter element is not used.
Maintenance303
2015 Expedition(exd)
Owners Guide gf, 1st Printing, July 2014
USA(fus)
Page 305 of 564
Changing the Air Filter Element
1. Locate the mass air flow sensor
electrical connector on the air
outlet tube. This connector will
need to be unplugged.
2. Unlock the locking clip on the
connector (connector shown from
below for clarity), then squeeze and
pull the connector off of the air
outlet tube.
3. Clean the area around the air
tube to air cover connection to
prevent debris from entering the
system and then loosen the bolt on
the air tube clamp so the clamp is
no longer snug to the air tube. It is
not necessary to completely remove
the clamp.
4. Pull the air tube off from the air
cleaner housing.
304Maintenance
2015 Expedition(exd)
Owners Guide gf, 1st Printing, July 2014
USA(fus)