Page 81 of 564

Replacement Keys
Note:Your vehicle may come with two integrated keyhead transmitters.
The integrated keyhead transmitter functions as a programmed ignition
key that operates all the locks and starts the vehicle, as well as a remote
control.
If your programmed transmitters or standard SecuriLock coded keys are
lost or stolen and you do not have an extra coded key, you will need to
have your vehicle towed to an authorized dealer. The key codes need to
be erased from your vehicle and new coded keys will need to be
programmed.
Store an extra programmed key away from the vehicle in a safe place to
help prevent any inconveniences. See an authorized dealer to purchase
additional spare or replacement keys.
Programming a Spare Key
Note:A maximum of eight coded keys can be programmed to your
vehicle. Only four of these eight can be integrated keyhead transmitters.
You can program your own integrated keyhead transmitters or standard
SecuriLock coded keys to your vehicle. This procedure will program both
the engine immobilizer key code and the remote entry portion of the
remote control to your vehicle.
Only use integrated keyhead transmitters or standard SecuriLock keys.
You must have two previously programmed coded keys and the new
unprogrammed key readily accessible. See your authorized dealer to have
the spare key programmed if two previously programmed coded keys are
not available.
Read and understand the entire procedure before you begin.
1. Insert the first previously programmed coded key into the ignition.
2. Turn the ignition from off to on. Keep the ignition on for at least three
seconds, but no more than 10 seconds.
3. Turn the ignition off and remove the first coded key from the ignition.
4. After three seconds but within 10 seconds of turning the ignition off,
insert the second previously coded key into the ignition.
5. Turn the ignition from off to on. Keep the ignition on for at least three
seconds, but no more than 10 seconds.
80Security
2015 Expedition(exd)
Owners Guide gf, 1st Printing, July 2014
USA(fus)
Page 82 of 564

6. Turn the ignition off and remove the second previously programmed
coded key from the ignition.
7. After three seconds but within 20 seconds of turning the ignition off
and removing the previously programmed coded key, insert the new
unprogrammed key into the ignition.
8. Turn the ignition from off to on. Keep the ignition on for at least six
seconds.
9. Remove the newly programmed coded key from the ignition.
The key will start the vehicle’s engine and will operate the remote entry
system (if the new key is an integrated keyhead transmitter) if it has
been successfully programmed. The theft indicator light will illuminate
for three seconds and then go out to indicate successful programming.
If the key was not successfully programmed, the theft indicator light may
flash on and off. Wait 20 seconds and repeat Steps 1 through 8. Take
your vehicle to your authorized dealer to have the new key programmed
if you are still unsuccessful.
Wait 20 seconds and then repeat this procedure from Step 1 to program
an additional key.
Intelligent Access Key (if equipped)
Your intelligent access key functions as a programmed key that operates
the driver door lock and activates intelligent access with the push button
start system, or the remote start system. If your programmed intelligent
access transmitters are lost or stolen, and you do not have an extra
coded key, you will need to have your vehicle towed to an authorized
dealer. Your dealer will erase the key codes from your vehicle and
program new coded keys. Store an extra programmed key away from the
vehicle in a safe place to help prevent any inconvenience. See your
authorized dealer to purchase additional spare or replacement keys.
Programming a Spare Intelligent Access Key
See an authorized dealer to have additional keys programmed to your
vehicle.
Security81
2015 Expedition(exd)
Owners Guide gf, 1st Printing, July 2014
USA(fus)
Page 83 of 564

ANTI-THEFT ALARM
The system will warn you of unauthorized entry to your vehicle.
The turn signal lamps will flash and the horn will sound when:
•any door or the hood is opened without using the key or the remote
control
•the ignition is turned on with an invalid key.
Take all keys and remote controls to your authorized dealer if there is
any potential alarm problem with your vehicle.
Arming the Alarm
The system is ready to arm whenever the ignition is off. Lock the vehicle
to arm the alarm.
The turn signal lamps will flash once after locking the vehicle to indicate
the alarm is in the pre-armed mode and will become fully armed in
20 seconds.
Disarming the Alarm
To disarm the alarm, do any of the following:
•Press the power door unlock button within the 20-second pre-armed
mode.
•Press the unlock button on the remote control.
•Unlock the doors with the keyless entry pad.
•Turn the ignition on with a valid key.
•Press the panic button on the remote control. The alarm system will
still be armed, but this shuts off the horn and turn lamps when the
alarm is sounding.
Note:If the driver’s door is unlocked with a key, a chime will sound
when you open the door. You will have 12 seconds to disarm the alarm
using any of the actions above, otherwise the alarm will trigger.
82Security
2015 Expedition(exd)
Owners Guide gf, 1st Printing, July 2014
USA(fus)
Page 84 of 564
ADJUSTING THE STEERING WHEEL
WARNING:Do not adjust the steering wheel when your vehicle
is moving.
Note:Make sure that you are sitting in the correct position. Refer to
Sitting in the Correct Positionin theSeatschapter.
Manual Adjust Steering Wheel (If Equipped)
1. Unlock the steering wheel.
Note:The telescopic adjustment is
an optional feature.
2. Adjust the steering wheel to the
desired position.
3. Lock the steering wheel.
Steering Wheel83
2015 Expedition(exd)
Owners Guide gf, 1st Printing, July 2014
USA(fus)
Page 99 of 564
Window Lock
A. Unlock
B. Lock
Press the control to lock or unlock the rear and front passenger window
controls.
Accessory Delay
You can use the window switches for several minutes after you switch
the ignition off, or until you open either front door.
EXTERIOR MIRRORS
Power Exterior Mirrors
WARNING:Do not adjust the mirror while your vehicle is in
motion.
A. Left mirror
B. Off
C. Right mirror
To adjust your mirrors:
1. Select the mirror you want to adjust.
2. Move the control in the direction you want to tilt the mirror.
3. Return the control to the center position to lock mirrors in place.
Foldaway Exterior Mirrors
Push the mirror toward the door window glass. Make sure that you fully
engage the mirror in its support when returning it to its original position.
AB
B
AC
98Windows and Mirrors
2015 Expedition(exd)
Owners Guide gf, 1st Printing, July 2014
USA(fus)
Page 101 of 564

Auto-Dimming Feature (If Equipped)
The driver’s side exterior mirror will automatically dim when the interior
auto-dimming mirror is activated.
Signal Indicator Mirrors (If Equipped)
The rear-facing portion of the appropriate mirror housing will blink when
the turn signal is activated.
Blind Spot Information System (BLIS®) with Cross Traffic Alert
(CTA) (If Equipped)
Refer toBlind Spot Information System (BLIS®) with Cross Traffic
Alert (CTA)in theDriving Aidschapter.
INTERIOR MIRROR
WARNING:Do not adjust the mirror when your vehicle is
moving.
Note:Do not clean the housing or glass of any mirror with harsh
abrasives, fuel or other petroleum or ammonia based cleaning products.
You can adjust the interior mirror to your preference. Some mirrors also
have a second pivot point. This lets you move the mirror head up or
down and from side to side.
Auto-Dimming Mirror
Note:Do not block the sensors on the front and back of the mirror.
Mirror performance may be affected. A rear center passenger or raised
rear center head restraint may also block light from reaching the sensor.
The mirror will dim automatically to reduce glare when bright lights are
detected from behind your vehicle. It will automatically return to normal
reflection when you select reverse gear to make sure you have a clear
view when backing up.
100Windows and Mirrors
2015 Expedition(exd)
Owners Guide gf, 1st Printing, July 2014
USA(fus)
Page 108 of 564

WARNING LAMPS AND INDICATORS
The following warning lamps and indicators will alert you to a vehicle
condition that may become serious. Some lamps will illuminate when you
start your vehicle to make sure they work. If any lamps remain on after
starting your vehicle, refer to the respective system warning lamp for
further information.
Note:Some warning indicators appear in the information display and
function the same as a warning lamp but do not display when you start
your vehicle.
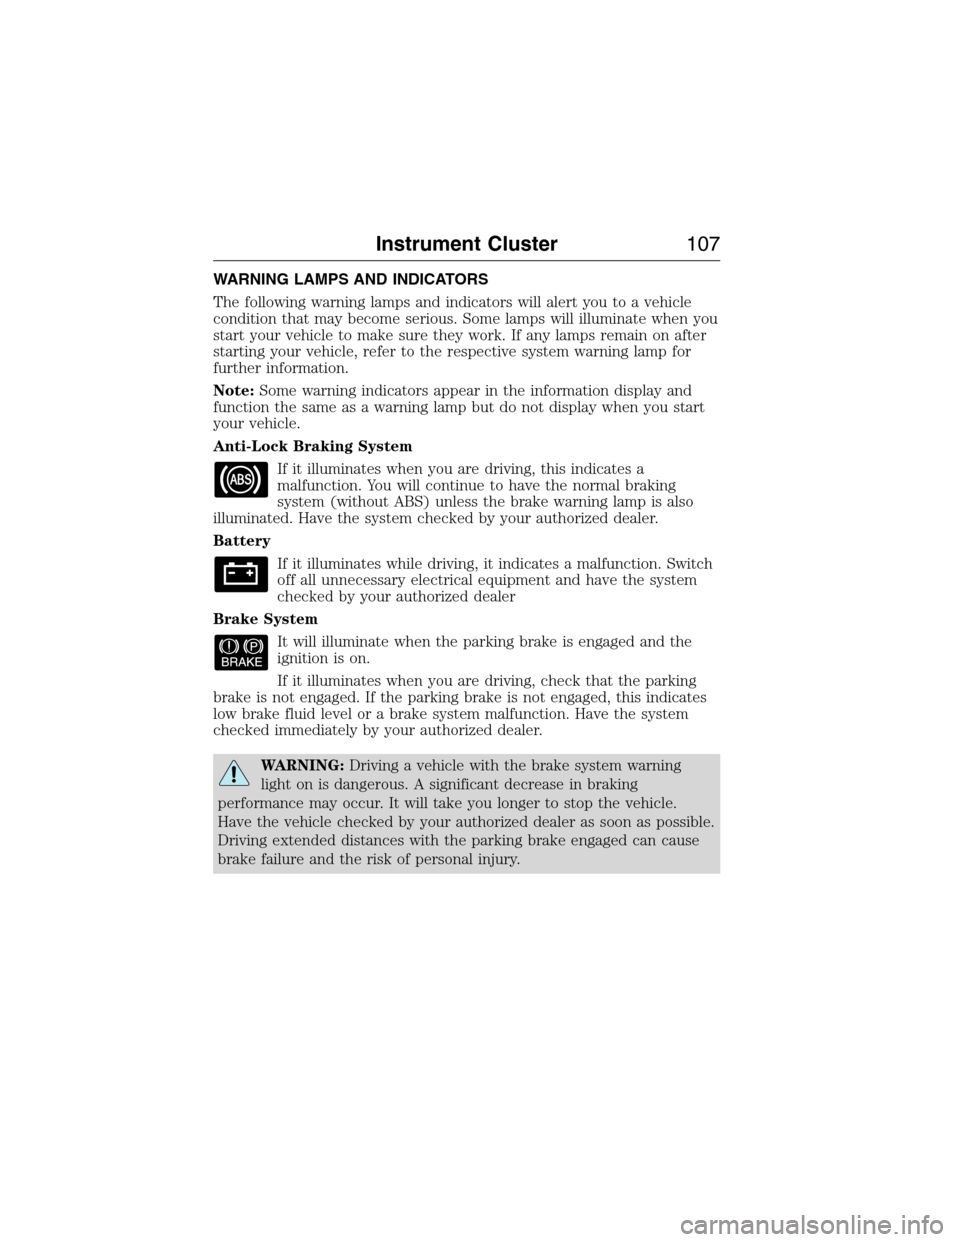
Anti-Lock Braking System
If it illuminates when you are driving, this indicates a
malfunction. You will continue to have the normal braking
system (without ABS) unless the brake warning lamp is also
illuminated. Have the system checked by your authorized dealer.
Battery
If it illuminates while driving, it indicates a malfunction. Switch
off all unnecessary electrical equipment and have the system
checked by your authorized dealer
Brake System
It will illuminate when the parking brake is engaged and the
ignition is on.
If it illuminates when you are driving, check that the parking
brake is not engaged. If the parking brake is not engaged, this indicates
low brake fluid level or a brake system malfunction. Have the system
checked immediately by your authorized dealer.
WARNING:Driving a vehicle with the brake system warning
light on is dangerous. A significant decrease in braking
performance may occur. It will take you longer to stop the vehicle.
Have the vehicle checked by your authorized dealer as soon as possible.
Driving extended distances with the parking brake engaged can cause
brake failure and the risk of personal injury.
Instrument Cluster107
2015 Expedition(exd)
Owners Guide gf, 1st Printing, July 2014
USA(fus)
Page 115 of 564
Driver Assist
In this mode, you can configure different driver setting choices.
Note:Some items are optional and may not appear.
Driver Assist
DTE CalculationNormal history used or Towing history
used
Engine Hours Engine Hours XXXXX
Engine Idle Hours Engine Idle Hours XXXXX
Settings
In this mode, you can configure different driver setting choices.
Note:Some items are optional and may not appear.
Settings
VehicleTrlr Sway Control - check enabled or uncheck
disabled
Trilr Brake Mode Elect., Surge, None
Elect. over Hydraulic
Lighting Autolamp
DelaySelect time
interval
LocksAutolock - check enabled or
uncheck disabled
Autounlock - check enabled
or uncheck disabled
Remote
UnlockAll Doors or
Driver
Oil Life RestSet to XXX% — Hold OK to
Reset
Power Liftgate Enable or Disable switch
Wipers Courtesy Wipe
11 4Information Displays
2015 Expedition(exd)
Owners Guide gf, 1st Printing, July 2014
USA(fus)