2015 DODGE JOURNEY reset
[x] Cancel search: resetPage 27 of 140

HEAD RESTRAINTS
Head restraints are designed to reduce the risk of injury by restricting head movement in
the event of a rear impact. Head restraints should be adjusted so that the top of the head
restraint is located above the top of your ear.
WARNING!
The head restraints for all occupants must be properly adjusted prior to operating the
vehicle or occupying a seat. Head restraints should never be adjusted while the vehicle
is in motion. Driving a vehicle with the head restraints improperly adjusted or removed
could cause serious injury or death in the event of a collision.
Active Head Restraints (AHR) — Front Seats
Active Head Restraints are passive, deployable components, and vehicles with this
equipment can not be readily identified by any markings, only through visual inspection
of the head restraint. The head restraint will be split in two halves, with the front half being
soft foam and trim, the back half being decorative plastic.
When AHRs deploy during a rear impact, the front half of the head restraint extends
forward to minimize the gap between the back of the occupant’s head and the AHR. This
system is designed to help prevent or reduce the extent of injuries to the driver and front
passenger in certain types of rear impacts. Refer to “Occupant Restraints” in “Things To
Know Before Starting” in the Owner's Manual on the DVD for further information.
To r a i s e t h e h e a d r e s t r a i n t , p u l l u p w a r d o n t h e h e a d r e s t r a i n t . To l o w e r t h e h e a d r e s t r a i n t ,
press the push button, located at the base of the head restraint, and push downward on
the head restraint.
For comfort, the Active Head Restraints can be tilted forward and backward. To tilt the
head restraint closer to the back of your head, pull forward on the bottom of the head
restraint. Push rearward on the bottom of the head restraint to move the head restraint
away from your head.
NOTE:
•Theheadrestraintsshouldonlyberemovedbyqualifiedtechnicians,forservice
purposes only. If either of the head restraints require removal, see your authorized
dealer.
•IntheeventofdeploymentofanActiveHeadRestraint,referto“OccupantRestraints/
Supplemental Active Head Restraints (AHR)/Resetting Active Head Restraints (AHR)”
in “Things To Know Before Starting” in the Owner's Manual on the DVD for further
information.
GETTING STARTED
25
Page 52 of 140

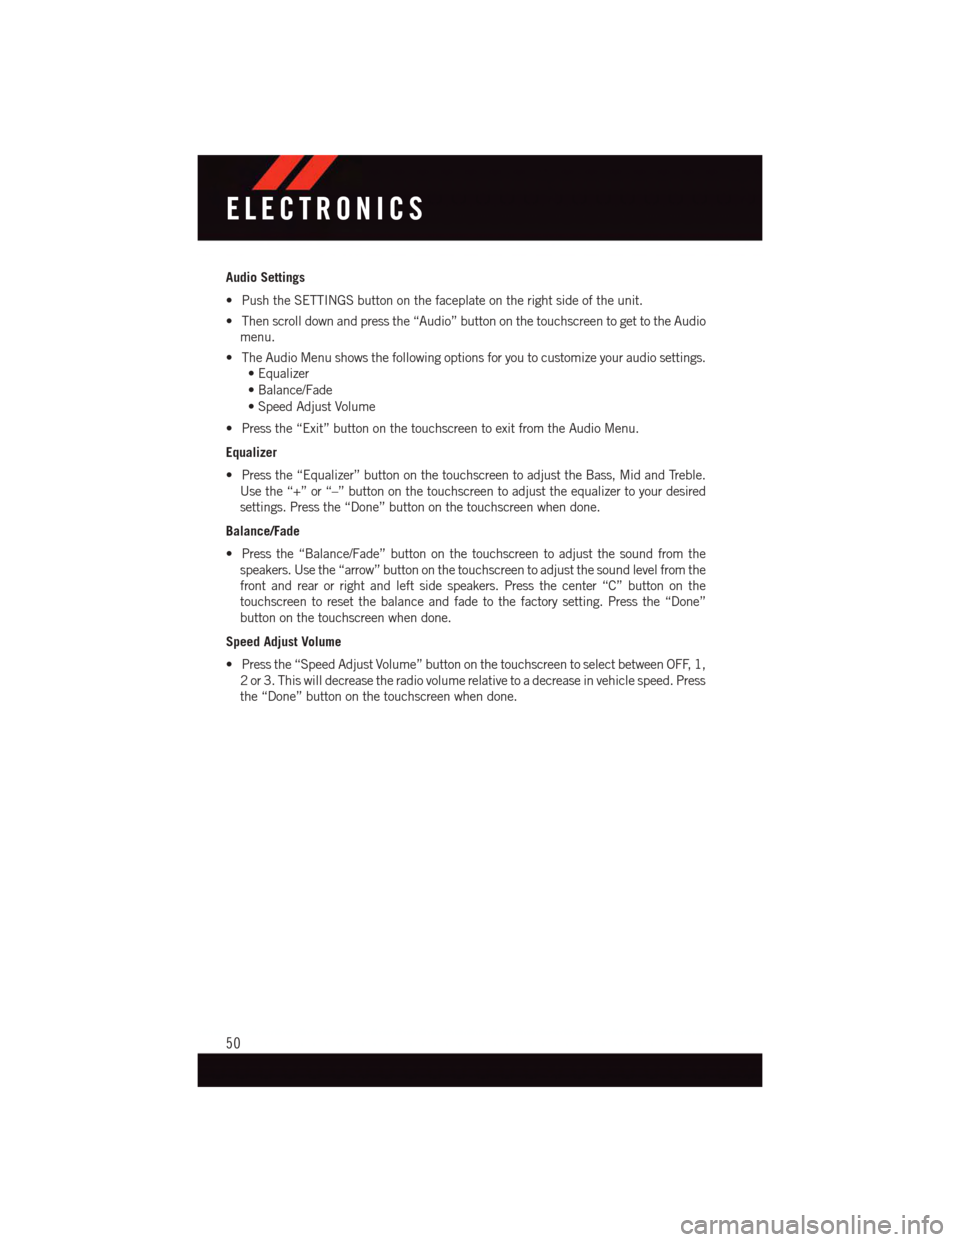
Audio Settings
•PushtheSETTINGSbuttononthefaceplateontherightsideoftheunit.
•Thenscrolldownandpressthe“Audio”buttononthetouchscreentogettotheAudio
menu.
•TheAudioMenushowsthefollowingoptionsforyoutocustomizeyouraudiosettings.
•Equalizer
•Balance/Fade
•SpeedAdjustVolume
•Pressthe“Exit”buttononthetouchscreentoexitfromtheAudioMenu.
Equalizer
•Pressthe“Equalizer”buttononthetouchscreentoadjusttheBass,MidandTreble.
Use the “+” or “–” button on the touchscreen to adjust the equalizer to your desired
settings. Press the “Done” button on the touchscreen when done.
Balance/Fade
•Pressthe“Balance/Fade”buttononthetouchscreentoadjustthesoundfromthe
speakers. Use the “arrow” button on the touchscreen to adjust the sound level from the
front and rear or right and left side speakers. Press the center “C” button on the
touchscreen to reset the balance and fade to the factory setting. Press the “Done”
button on the touchscreen when done.
Speed Adjust Volume
•Pressthe“SpeedAdjustVolume”buttononthetouchscreentoselectbetweenOFF,1,
2or3.Thiswilldecreasetheradiovolumerelativetoadecreaseinvehiclespeed.Press
the “Done” button on the touchscreen when done.
ELECTRONICS
50
Page 53 of 140

Uconnect® 8.4 & 8.4N AT A GLANCE
Displaying The Time
•Ifthetimeisnotcurrentlydisplayedontheradioorplayermainpage,pressthe“More”
button on the touchscreen and then press the “Settings” button on the touchscreen. In
the Settings list, press the “Clock” button on the touchscreen, then press the check box
next to Show Time in Status Bar.
Uconnect® 8.4N
1—STATUSBAR2—SmallNavigationMap(8.4N)3—MoreSettingsButton4—Uconnect®Phone Button5—GarminNavigationButton(8.4N)
6—ClimateControlButton7—ControlsButton8—PlayerButton9—RadioButton
ELECTRONICS
51
Page 55 of 140

RADIO
Models 4.3 & 4.3S
1—RadioStationPresets5—AudioSettings2—ViewAllPresets6—DirectTuneRadioStation3—SeekUp7—RadioBand4—Channel/StationInformation 8—SeekDown
ELECTRONICS
53
Page 56 of 140

•ToaccesstheRadiomode,pushtheRADIObuttonontheupperleftsideofthe
faceplate (4.3 & 4.3S) or the “Radio” button on the touchscreen at the lower left of the
screen (8.4 & 8.4N).
•Unlessotherwisenoted,theinformationprovidedontheoperationandfunctionalityof
the radios in this section is common to all Uconnect®radios.
Selecting Radio Stations
•Pressthe“Radioband”buttononthetouchscreentocyclethroughAM,FMorSAT
(4.3 & 4.3S) or the desired radio band (AM, FM or SAT) button on the touchscreen (8.4
&8.4N).SiriusXMSatelliteRadioisnotavailableonthe4.3.
Seek Up/Seek Down
•Pressthe“Seekarrow”buttonsonthetouchscreenforlessthantwosecondstoseek
through radio stations.
•Pressandholdeither“Seekarrow”buttononthetouchscreenformorethantwo
seconds to bypass stations without stopping. The radio will stop at the next listenable
station once the arrow button on the touchscreen is released.
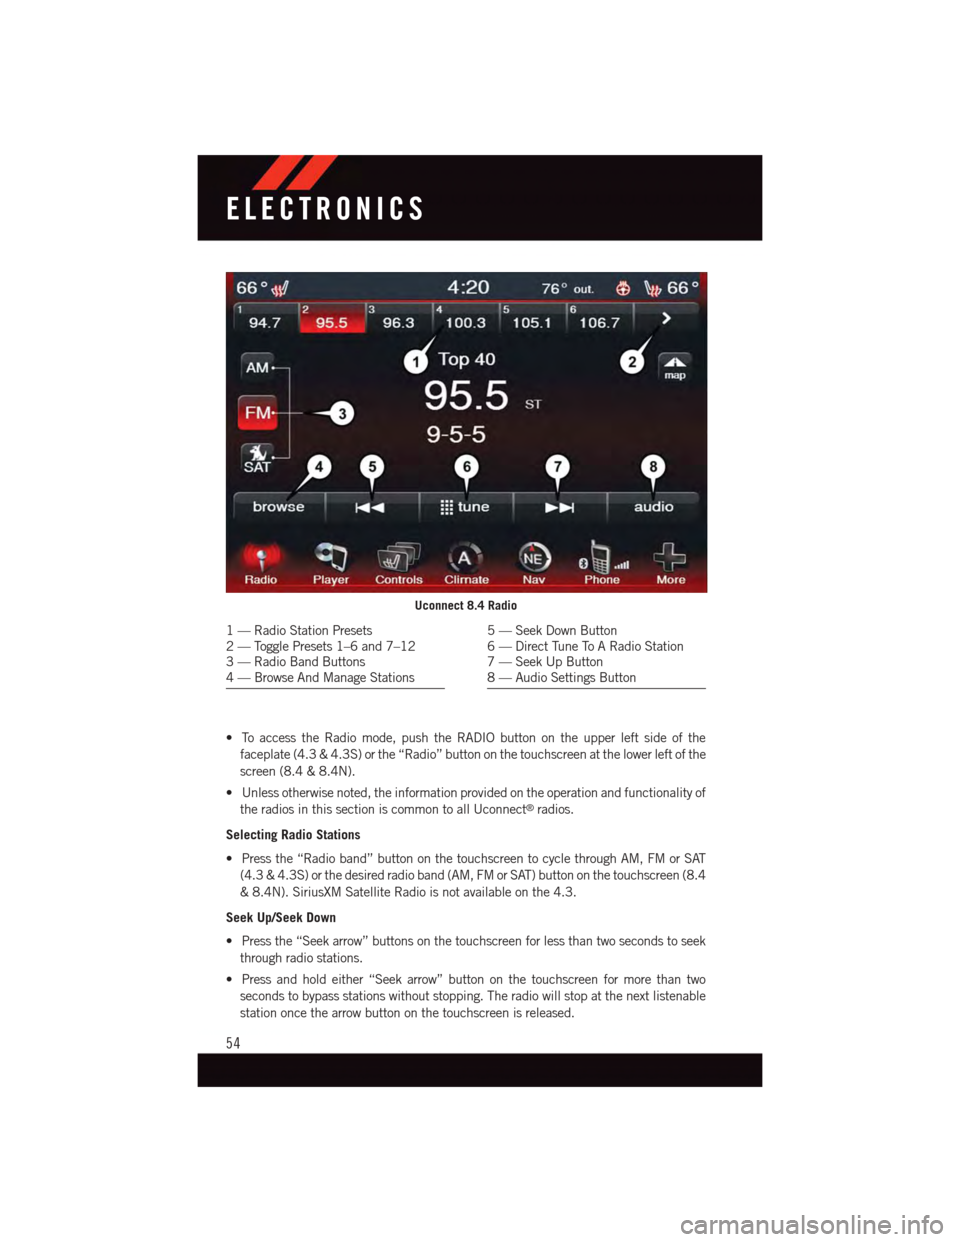
Uconnect 8.4 Radio
1—RadioStationPresets2—TogglePresets1–6and7–123—RadioBandButtons4—BrowseAndManageStations
5—SeekDownButton6—DirectTuneToARadioStation7—SeekUpButton8—AudioSettingsButton
ELECTRONICS
54
Page 57 of 140

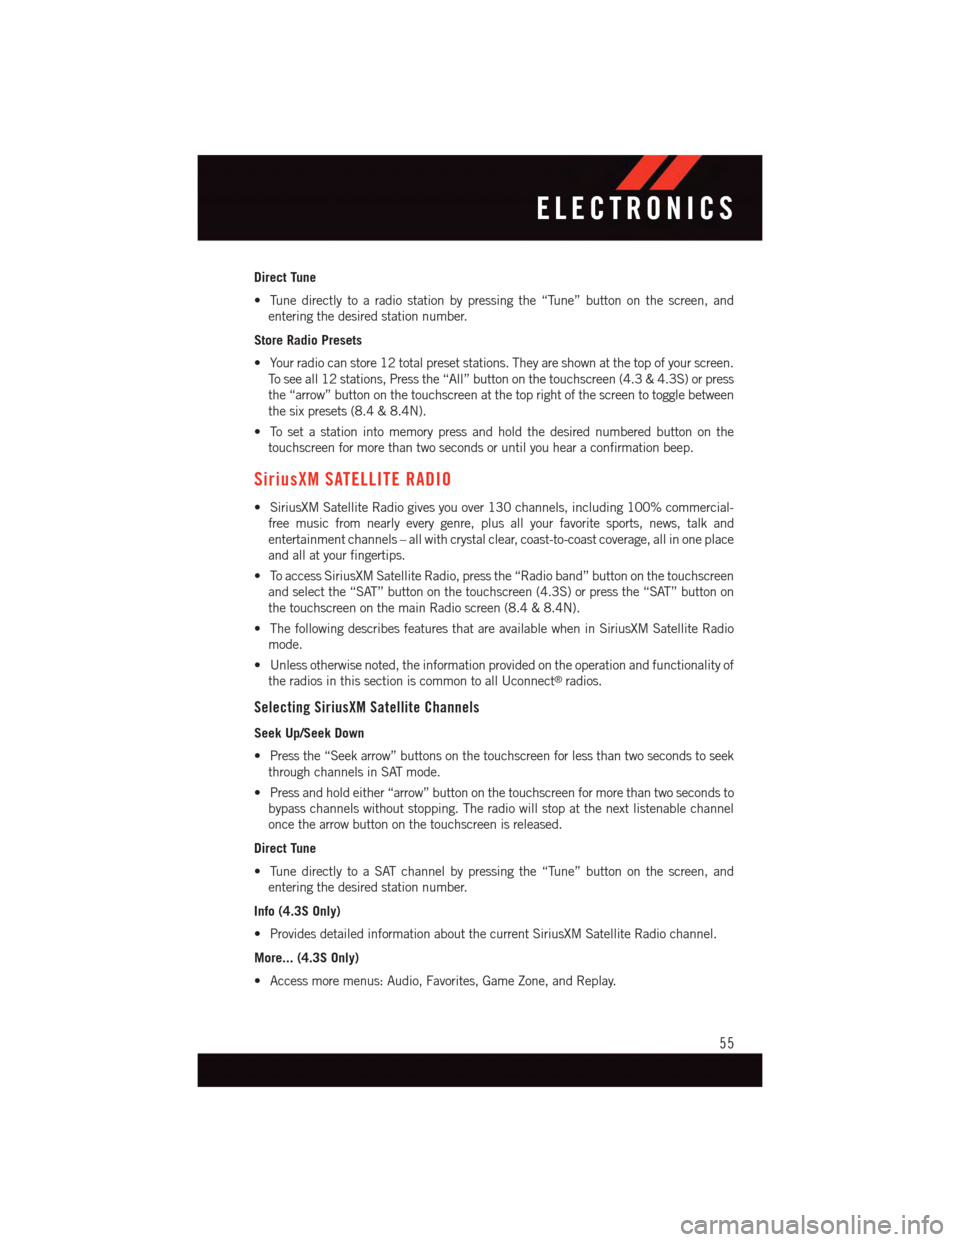
Direct Tune
•Tunedirectlytoaradiostationbypressingthe“Tune”buttononthescreen,and
entering the desired station number.
Store Radio Presets
•Yourradiocanstore12totalpresetstations.Theyareshownatthetopofyourscreen.
To s e e a l l 1 2 s t a t i o n s , P r e s s t h e “ A l l ” b u t t o n o n t h e t o u c h s c r e e n ( 4 . 3 & 4 . 3 S ) o r p r e s s
the “arrow” button on the touchscreen at the top right of the screen to toggle between
the six presets (8.4 & 8.4N).
•Tosetastationintomemorypressandholdthedesirednumberedbuttononthe
touchscreen for more than two seconds or until you hear a confirmation beep.
SiriusXM SATELLITE RADIO
•SiriusXMSatelliteRadiogivesyouover130channels,including100%commercial-
free music from nearly every genre, plus all your favorite sports, news, talk and
entertainment channels – all with crystal clear, coast-to-coast coverage, all in one place
and all at your fingertips.
•ToaccessSiriusXMSatelliteRadio,pressthe“Radioband”buttononthetouchscreen
and select the “SAT” button on the touchscreen (4.3S) or press the “SAT” button on
the touchscreen on the main Radio screen (8.4 & 8.4N).
•ThefollowingdescribesfeaturesthatareavailablewheninSiriusXMSatelliteRadio
mode.
•Unlessotherwisenoted,theinformationprovidedontheoperationandfunctionalityof
the radios in this section is common to all Uconnect®radios.
Selecting SiriusXM Satellite Channels
Seek Up/Seek Down
•Pressthe“Seekarrow”buttonsonthetouchscreenforlessthantwosecondstoseek
through channels in SAT mode.
•Pressandholdeither“arrow”buttononthetouchscreenformorethantwosecondsto
bypass channels without stopping. The radio will stop at the next listenable channel
once the arrow button on the touchscreen is released.
Direct Tune
•TunedirectlytoaSATchannelbypressingthe“Tune”buttononthescreen,and
entering the desired station number.
Info (4.3S Only)
•ProvidesdetailedinformationaboutthecurrentSiriusXMSatelliteRadiochannel.
More... (4.3S Only)
•Accessmoremenus:Audio,Favorites,GameZone,andReplay.
ELECTRONICS
55
Page 58 of 140

Traffic & Weather (U.S. Residents/8.4 & 8.4N Only)
•AutomaticallytellsyouwhenTraffic&Weatherforafavoritecityisavailable,andgives
you the option to switch to that channel. Select Traffic & Weather then press “Jump” to
activate the feature. After listening to Traffic and Weather, press “Jump” again to return
to the previous channel.
Fav (8.4 & 8.4N Only)
•Activatesthefavoritesmenu.Youcanaddupto50favoriteartistsorsongs.Justpress
“Add Fav Artist” or “Add Fav Song” while the song is playing. You will then be alerted
any time one of these songs, or works by these artists, is playing on other SiriusXM
Satellite Radio channels.
SiriusXM Parental Controls
•Youcanskiporhidecertainchannelsfromviewifyoudonotwantaccesstothem.Push
the SETTINGS button on the faceplate (4.3S) or press the “More” button on the
touchscreen, then the “Settings” button on the touchscreen (8.4 & 8.4N), next press
the “SiriusXM Satellite Radio Setup” button on the touchscreen, then select “Channel
Skip.” Press the channel(s) to be skipped (4.3S) or press the box, check-mark, next to
the channel you want skipped (8.4 & 8.4N). They will not show up in normal usage.
•SiriusXMSatelliteRadioalsoofferstheoptiontopermanentlyblockselectedchannels.
Call 1-888-539-7474 and request the Family Package.
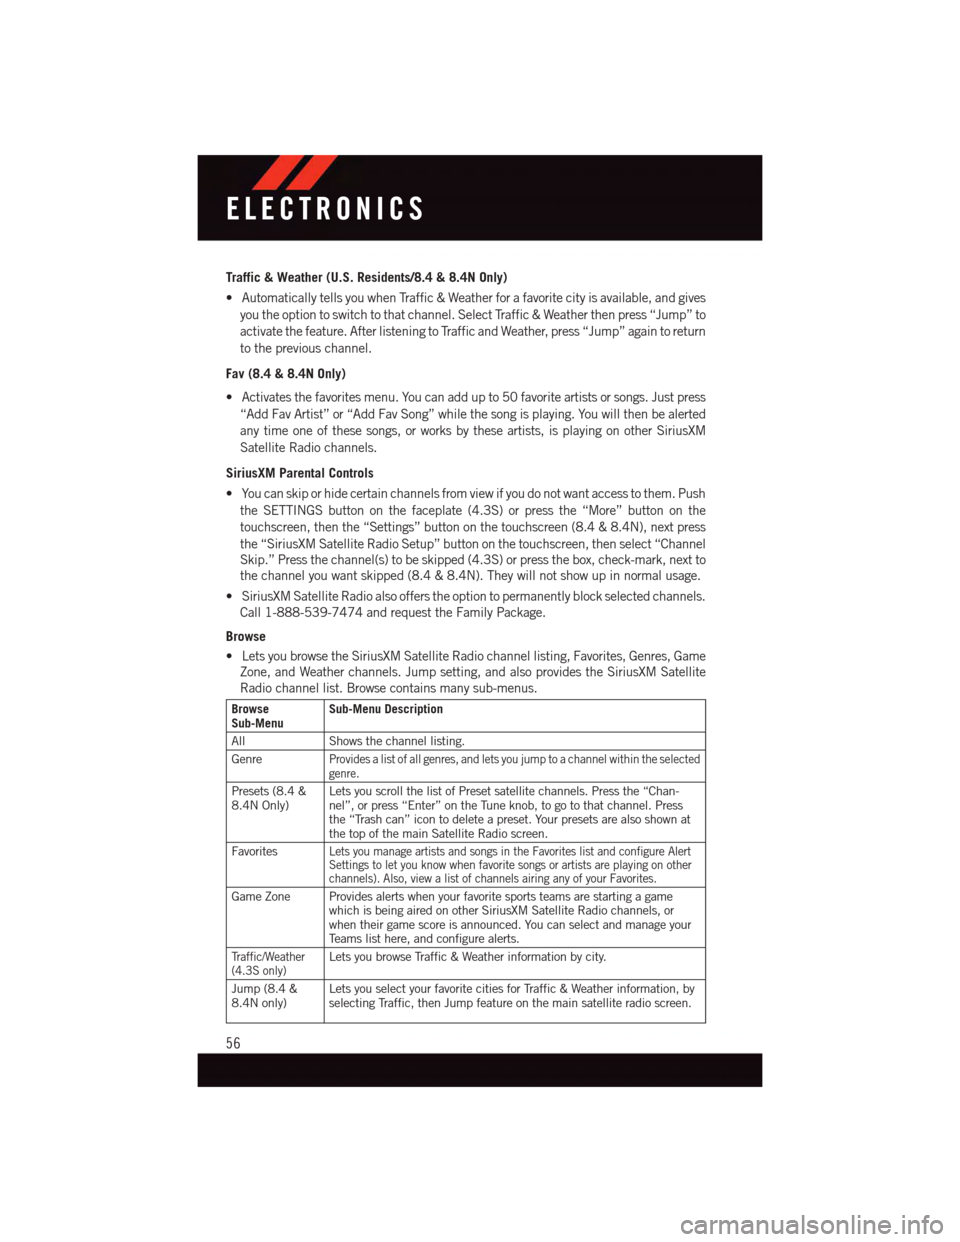
Browse
•LetsyoubrowsetheSiriusXMSatelliteRadiochannellisting,Favorites,Genres,Game
Zone, and Weather channels. Jump setting, and also provides the SiriusXM Satellite
Radio channel list. Browse contains many sub-menus.
BrowseSub-MenuSub-Menu Description
All Shows the channel listing.
GenreProvides a list of all genres, and lets you jump to a channel within the selectedgenre.
Presets (8.4 &8.4N Only)Lets you scroll the list of Preset satellite channels. Press the “Chan-nel”, or press “Enter” on the Tune knob, to go to that channel. Pressthe “Trash can” icon to delete a preset. Your presets are also shown atthe top of the main Satellite Radio screen.
FavoritesLets you manage artists and songs in the Favorites list and configure AlertSettings to let you know when favorite songs or artists are playing on otherchannels). Also, view a list of channels airing any of your Favorites.
Game Zone Provides alerts when your favorite sports teams are starting a gamewhich is being aired on other SiriusXM Satellite Radio channels, orwhen their game score is announced. You can select and manage yourTe a m s l i s t h e r e , a n d c o n f i g u r e a l e r t s .
Tr a f f i c / W e a t h e r(4.3S only)Lets you browse Traffic & Weather information by city.
Jump (8.4 &8.4N only)Lets you select your favorite cities for Traffic & Weather information, byselecting Traffic, then Jump feature on the main satellite radio screen.
ELECTRONICS
56
Page 75 of 140

Changing The Volume
•StartadialoguebypressingtheVoiceCommandbutton,thensayacommand
(for example, “help”).
•UsetheradioON/OFFVOLUMErotaryknobtoadjustthevolumetoacomfortablelevel
while the Voice Command system is speaking. The volume setting for Voice Command
is different than the audio system.
•Refertothe“UnderstandTheFeaturesOfYourVehicle”sectionofyourvehicle's
Owner's Manual on the DVD for further details.
Common Voice Commands (Examples)
Switch Modes“FM”“Satellite” “AM”“Change Source to iPod”“Change Source to SD Card”
Radio (FM, AM)“95.5”“95.5 FM”“Go to preset 5”
Player“Play Album 'Greatest Hits”“Play Artist 'Scott Joplin” “Play Genre 'Rock”“Play Song 'Maple Leaf Rag”
SiriusXM Satellite Radio“39”“Foxxhole”
SiriusXM Travel Link“Show fuel prices”“Show movie listings”“Show current weather”“Show extended weather”“Show Travel Link favorites”“Show NFL headlines”“Show NBA rankings”“Show NFL schedules”“Show NBA scores”
Navigation“Navigate to (Address)”“Navigate to (Point of Interest)”
NOTE:
For the shortened SiriusXM Satellite Radio mode commands to be recognized you must
be in that mode. For example, if you are in SiriusXM Satellite Radio mode you can say
“39,” but if you are not in SiriusXM mode, you would need to say “Tune to Satellite
Channel 39.”
ELECTRONICS
73