2015 DODGE DART oil pressure
[x] Cancel search: oil pressurePage 488 of 664

These indicators are molded into the bottom of the tread
grooves. They will appear as bands when the tread depth
becomes 1/16” (2 mm). When the tread is worn to the
tread wear indicators, the tire should be replaced. Refer
to “Replacement Tires” in this section for further infor-
mation.
Life Of Tire
The service life of a tire is dependent upon varying
factors including, but not limited to:
•Driving style
•Tire pressure - Improper cold tire inflation pressures
can cause uneven wear patterns to develop across the
tire tread. These abnormal wear patterns will reduce
tread life, resulting in the need for earlier tire replace-
ment.
•Distance driven
•Performance tires, tires with a speed rating of V or
higher, and summer tires typically have a reduced
tread life. Rotation of these tires per the vehicle main-
tenance schedule is highly recommended.
WARNING!
Tires and the spare tire should be replaced after six
years, regardless of the remaining tread. Failure to
follow this warning can result in sudden tire failure.
You could lose control and have a collision resulting
in serious injury or death.
Keep dismounted tires in a cool, dry place with as little
exposure to light as possible. Protect tires from contact
with oil, grease, and gasoline.
486 STARTING AND OPERATING
Page 530 of 664

CAUTION!
Driving with a hot cooling system could damage
your vehicle. If the temperature gauge reads “H,”
pull over and stop the vehicle. Idle the vehicle with
the air conditioner turned off until the pointer drops
back into the normal range. If the pointer remains on
the “H,” turn the engine off immediately and call for
service.
WARNING!
You or others can be badly burned by hot engine
coolant (antifreeze) or steam from your radiator. If
you see or hear steam coming from under the hood,
do not open the hood until the radiator has had time
to cool. Never try to open a cooling system pressure
cap when the radiator or coolant bottle is hot.
WHEEL AND TIRE TORQUE SPECIFICATIONS
Proper lug nut/bolt torque is very important to ensure
that the wheel is properly mounted to the vehicle. Any
time a wheel has been removed and reinstalled on the
vehicle the lug nuts/bolts should be torqued using a
properly calibrated torque wrench.
Torque Specifications
Lug Nut/Bolt Torque **Lug Nut/
Bolt Size
Lug Nut/
Bolt
Socket
Size
100 Ft-Lbs (135 N·m) M12 x 1.25 19 mm
**Use only Chrysler recommended lug nuts/bolts and
clean or remove any dirt or oil before tightening.
Inspect the wheel mounting surface prior to mounting
the tire and remove any corrosion or loose particles.
528 WHAT TO DO IN EMERGENCIES
Page 540 of 664

3. Uncoil the Air Pump Hose (7) (black in color) and
screw the fitting at the end of hose (7) onto the valve
stem.
4. Check the pressure in the tire by reading the Pressure
Gauge (3).
If tire pressure is less than 19 psi (1.3 Bar):
The tire is too badly damaged. Do not attempt to drive
the vehicle further. Call for assistance.
If the tire pressure is 19 psi (1.3 Bar) or higher:
1. Press the Power Button (4) to turn on Tire Service Kit
and inflate the tire to the pressure indicated on the tire
and loading information label on the driver-side door
opening.
NOTE:If the tire becomes over-inflated, press the Defla-
tion Button to reduce the tire pressure to the recom-
mended inflation pressure before continuing.
2. Disconnect the Tire Service Kit from the valve stem,
reinstall the cap on the valve stem and unplug from 12
Volt outlet.
3. Place the Tire Service Kit in its proper storage area in
the vehicle.
4. Have the tire inspected and repaired or replaced at the
earliest opportunity at an authorized dealer or tire
service center.
5. Remove the Speed Limit sticker from the instrument
panel after the tire has been repaired.
6. Replace the Sealant Bottle (1) and Sealant Hose (6)
assembly at your authorized dealer as soon as pos-
sible. Refer to (F) “Sealant Bottle and Hose Replace-
ment”.
NOTE:When having the tire serviced, advise the autho-
rized dealer or service center that the tire has been sealed
using the Tire Service Kit.
538 WHAT TO DO IN EMERGENCIES
Page 575 of 664

CAUTION!(Continued)
pressure and an increase in oil temperature. This
could damage your engine. Also, be sure the oil fill
cap is replaced and tightened after adding oil.
Change Engine Oil
The oil change indicator system will remind you that it is
time to take your vehicle in for scheduled maintenance.
Refer to the “Maintenance Schedule” for further informa-
tion.
NOTE: Under no circumstances should oil change in-
tervals exceed 10,000 miles (16,000 km) or twelve
months, whichever occurs first.
Engine Oil Selection — 1.4L Turbo Engine
For best performance and maximum protection for all
engines under all types of operating conditions, the
manufacturer recommends engine oils that are API Cer-
tified Grade SN or better and meet the requirements of
Chrysler Material Standard MS-12991.
Engine Oil Selection — 2.0L And 2.4L Engine
For best performance and maximum protection for all
engines under all types of operating conditions, the
manufacturer recommends engine oils that are API Cer-
tified Grade SN or better and meet the requirements of
Chrysler Material Standard MS-6395.
Engine Oil Viscosity (SAE Grade) — 1.4L Turbo
Engine
MOPAR® SAE 5W-40 synthetic engine oil or equivalent
Pennzoil® or Shell Helix® is recommended for all oper-
ating temperatures. This engine oil improves low tem-
perature starting and vehicle fuel economy. Your engine
oil filler cap also states the recommended engine oil
viscosity grade for your engine.
7
MAINTAINING YOUR VEHICLE 573
Page 578 of 664

Tires
Checking For Tire Wear
Once a month, check the tire inflation pressures and look
for unusual wear or damage. Rotate at the first sign of
irregular wear, even if it occurs before the oil indicator
system turns on.
Maintenance-Free Battery
Your vehicle is equipped with a maintenance-free battery.
You will never have to add water, nor is periodic main-
tenance required.
WARNING!
•Battery fluid is a corrosive acid solution and can
burn or even blind you. Do not allow battery fluid
to contact your eyes, skin, or clothing. Do not lean
over a battery when attaching clamps. If acid
splashes in eyes or on skin, flush the area imme-
diately with large amounts of water. Refer to
“Jump-Starting Procedures” in “What To Do In
Emergencies” for further information.
•Battery gas is flammable and explosive. Keep
flame or sparks away from the battery. Do not use
a booster battery or any other booster source with
an output greater than 12 Volts. Do not allow cable
clamps to touch each other.
•Battery posts, terminals, and related accessories
contain lead and lead compounds. Wash hands
after handling.
(Continued)
576 MAINTAINING YOUR VEHICLE
Page 625 of 664

Check the tire inflation pressures and look for unusual
wear or damage.
Check the fluid levels of the coolant reservoir, and brake
master cylinder as needed.
Check function of all interior and exterior lights.
Required Maintenance
Refer to the Maintenance Schedules on the following
pages for required maintenance.
At Every Oil Change Interval As Indicated By Oil
Change Indicator System:
•Change engine oil and filter.
•Rotate the tires.Rotate at the first sign of irregu-
lar wear, even if it occurs before the oil indicator
system turns on.
At Every Oil Change Interval As Indicated By Oil
Change Indicator System:
•Inspect battery and clean and tighten terminals as
required.
•Inspect brake pads, shoes, rotors, drums, hoses
and park brake.
•Inspect engine cooling system protection and
hoses.
•Inspect exhaust system.
•Inspect engine air cleaner if using in dusty or
off-road conditions.
8
MAINTENANCE
SCHEDULES
MAINTENANCE SCHEDULES 623
Page 644 of 664

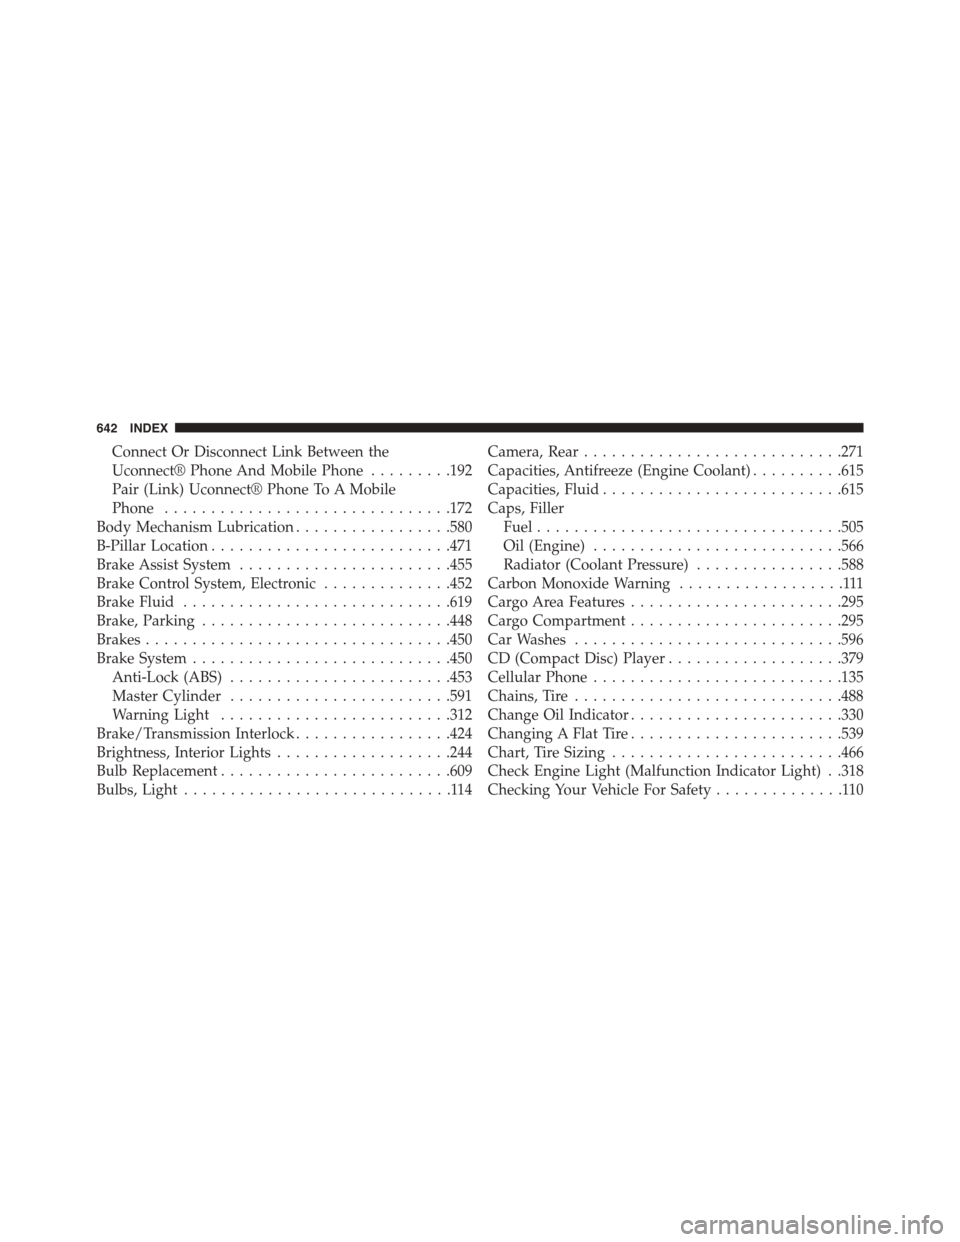
Connect Or Disconnect Link Between the
Uconnect® Phone And Mobile Phone.........192
Pair (Link) Uconnect® Phone To A Mobile
Phone...............................172
Body Mechanism Lubrication.................580
B-Pillar Location..........................471
Brake Assist System.......................455
Brake Control System, Electronic..............452
Brake Fluid.............................619
Brake, Parking...........................448
Brakes.................................450
Brake System............................450
Anti-Lock (ABS)........................453
Master Cylinder........................591
Warning Light.........................312
Brake/Transmission Interlock.................424
Brightness, Interior Lights...................244
Bulb Replacement.........................609
Bulbs, Light.............................114
Camera, Rear............................271
Capacities, Antifreeze (Engine Coolant)..........615
Capacities, Fluid..........................615
Caps, Filler
Fuel.................................505
Oil (Engine)...........................566
Radiator (Coolant Pressure)................588
Carbon Monoxide Warning..................111
Cargo Area Features.......................295
Cargo Compartment.......................295
Car Washes.............................596
CD (Compact Disc) Player...................379
Cellular Phone...........................135
Chains, Tire.............................488
Change Oil Indicator.......................330
Changing A Flat Tire.......................539
Chart, Tire Sizing.........................466
Check Engine Light (Malfunction Indicator Light) . .318
Checking Your Vehicle For Safety..............110
642 INDEX
Page 652 of 664

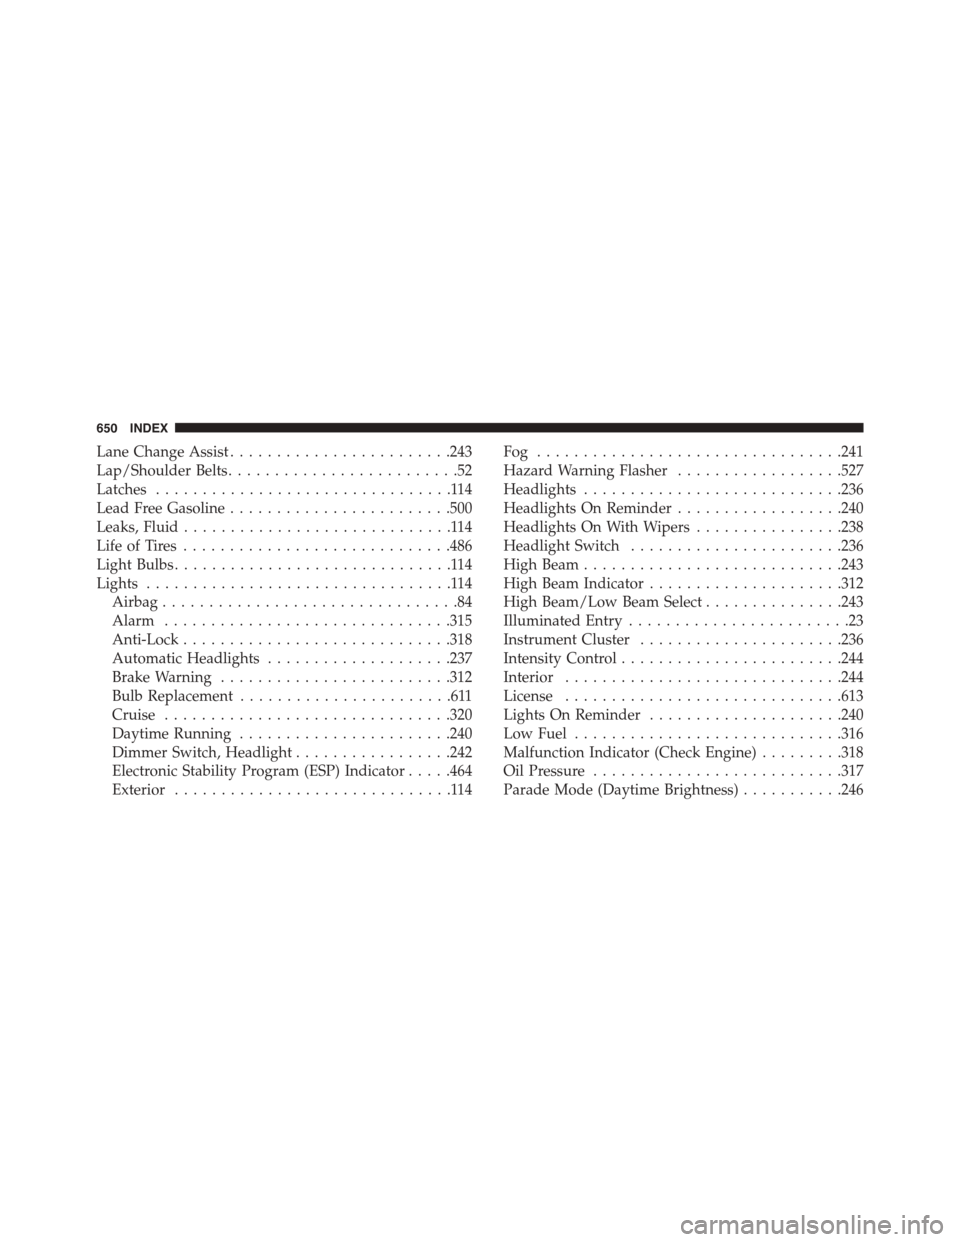
Lane Change Assist........................243
Lap/Shoulder Belts.........................52
Latches................................114
Lead Free Gasoline........................500
Leaks, Fluid.............................114
Life of Tires.............................486
Light Bulbs..............................114
Lights.................................114
Airbag................................84
Alarm...............................315
Anti-Lock.............................318
Automatic Headlights....................237
Brake Warning.........................312
Bulb Replacement.......................611
Cruise...............................320
Daytime Running.......................240
Dimmer Switch, Headlight.................242
Electronic Stability Program (ESP) Indicator.....464
Exterior..............................114
Fog . . . . . . . . . . . . . . . . . . . . . . . . . . . . . . . ..241
Hazard Warning Flasher..................527
Headlights............................236
Headlights On Reminder..................240
Headlights On With Wipers................238
Headlight Switch.......................236
High Beam............................243
High Beam Indicator.....................312
High Beam/Low Beam Select...............243
Illuminated Entry........................23
Instrument Cluster......................236
Intensity Control........................244
Interior..............................244
License..............................613
Lights On Reminder.....................240
Low Fuel.............................316
Malfunction Indicator (Check Engine).........318
Oil Pressure...........................317
Parade Mode (Daytime Brightness)...........246
650 INDEX