Page 148 of 638

WARNING!
•Be certain that the seatback is securely locked into
position. If the seatback is not securely locked into
position, the seat will not provide the proper sta-
bility for child seats and/or passengers. An improp-
erly latched seat could cause serious injury.
•The cargo area in the rear of the vehicle (with the
rear seatbacks in the locked-up or folded down
position) should not be used as a play area by
children when the vehicle is in motion. They could
be seriously injured in a collision. Children should
be seated and using the proper restraint system.
DRIVER MEMORY SEAT — IF EQUIPPED
This feature allows the driver to store up to two different
memory profiles for easy recall through a memory
switch. Each memory profile contains desired position
settings for the driver seat, side mirrors, adjustable
pedals (if equipped), and power tilt and telescopic steer-
ing column (if equipped) and a set of desired radio
station presets. Your Remote Keyless Entry (RKE) trans-
mitter can also be programmed to recall the same posi-
tions when the UNLOCK button is pushed.
NOTE:If your vehicle is equipped with two RKE trans-
mitters, one RKE transmitter can be linked to memory
position 1 and the other transmitter can be linked to
memory position 2.
146 UNDERSTANDING THE FEATURES OF YOUR VEHICLE
Page 149 of 638
The memory seat switch is located on the driver ’s door
trim panel. The switch consists of three buttons: The (S)
button, which is used to activate the memory save
function and the (1) and (2) buttons which are used to
recall either of two pre-programmed memory profiles.
Programming The Memory Feature
NOTE:Saving a new memory profile will erase an
existing profile from memory.
To create a new memory profile, perform the following:
1. Place the vehicles ignition to the ON/RUN position.
2. Adjust all memory profile settings to desired prefer-
ences (i.e., seat, side mirror, adjustable pedals [if
equipped], power tilt and telescopic steering column
[if equipped], and radio station presets).
3. Push and release the SET (S) button on the memory
switch.
4. Within five seconds, push and release the MEMORY
button 1 or 2. The Drivers Information Display (DID)
will display which memory position has been set.
Memory Seat Switches
3
UNDERSTANDING THE FEATURES OF YOUR VEHICLE 147
Page 164 of 638
With the parking lights or headlights on, rotating the left
dimmer control upward will increase the brightness of
the instrument panel lights and lighted cupholders (if
equipped).
Dome Light Position
Rotate the left dimmer control completely upward to the
second detent to turn on the interior lights. The interior
lights will remain on when the dimmer control is in this
position.
Interior Light Defeat (OFF)
Rotate the left dimmer control to the extreme bottom
“OFF” position. The interior lights will remain off when
the doors are open.
Parade Mode (Daytime Brightness Feature)
Rotate the instrument panel dimmer control upward to
the first detent. This feature brightens all text displays
such as the odometer, Driver Information Display (DID),
and radio when the position lights or headlights are on.Instrument Panel Dimmer
162 UNDERSTANDING THE FEATURES OF YOUR VEHICLE
Page 204 of 638

General Information
This vehicle has systems that operate on radio frequency
that comply with Part 15 of the Federal Communications
Commission (FCC) rules and with Industry Canada
Standards RSS- GEN/210/220/310.
Operation is subject to the following two conditions:
1. The device may not cause harmful interference.
2. The device must accept any interference received,
including interference that may cause undesired op-
eration of the device.
Changes or modifications to any of these systems by
other than an authorized service facility could void
authorization to use this equipment.
Normal (Fixed Speed) Electronic Speed Control
Mode
In addition to Adaptive Cruise Control mode, a Normal
(Fixed Speed) Electronic Speed Control mode is available
for cruising at fixed speeds. The Normal (Fixed Speed)
Electronic Speed Control mode is designed to maintain a
set cruising speed without requiring the driver to operate
the accelerator. Electronic Speed Control can only be
operated if the vehicle speed is above 20 mph (32 km/h).
To change between the different control modes, push the
ADAPTIVE CRUISE CONTROL (ACC) ON/OFF button
which turns the ACC and the NORMAL (Fixed Speed)
ELECTRONIC SPEED CONTROL OFF. Pushing of the
NORMAL (Fixed Speed) ELECTRONIC SPEED CON-
TROL ON/OFF button will result in turning ON (chang-
ing to) the Normal (Fixed Speed) Electronic Speed Con-
trol mode.
202 UNDERSTANDING THE FEATURES OF YOUR VEHICLE
Page 225 of 638
WARNING ALERTS
Arc — Left
Rear
None None None None None 2nd Flash-
ing
1st Flashing
Arc — Cen-
ter Rear
None 6th Solid 5th Solid 4th Solid 3rd Flash-
ing
2nd Flash-
ing
1st Flashing
Arc —
Right Rear
None None None None None 2nd Flash-
ing
1st Flashing
Radio Vol-
ume Re-
duced
NoYes Yes Yes Yes YesYes
3
UNDERSTANDING THE FEATURES OF YOUR VEHICLE 223
Page 228 of 638

ParkSense® System Usage Precautions
NOTE:
•Ensure that the rear bumper is free of snow, ice, mud,
dirt and debris to keep the ParkSense® system oper-
ating properly.
•Jackhammers, large trucks, and other vibrations could
affect the performance of ParkSense® or render the
system temporarily unavailable.
•When you turn ParkSense® off in DRIVE, the instru-
ment cluster will display#PARKSENSE OFF#for five
seconds. Furthermore, once you turn ParkSense® off,
it remains off until you turn it on again, even if you
cycle the ignition.
•When you move the shift lever to the REVERSE position
and ParkSense® is turned off, the Driver Information
Display (DID) will display “PARKSENSE OFF” message
for as long as the vehicle is in REVERSE.
•ParkSense® will reduce the volume of the radio when
it is sounding an audio tone.
•Clean the ParkSense® sensors regularly, taking care
not to scratch or damage them. The sensors must not
be covered with ice, snow, slush, mud, dirt or debris.
Failure to do so can result in the system not working
properly. The ParkSense® system might not detect an
obstacle behind the fascia/bumper, or it could provide
a false indication that an obstacle is behind the fascia/
bumper.
•Ensure the ParkSense® system is OFF if objects such as
bicycle carriers, trailer hitches, etc., are placed within
12 inches 30 (cm) from the rear fascia/bumper. Failure
to do so can result in the system misinterpreting a
close object as a sensor problem, causing the
“PARKSENSE UNAVAILABLE SERVICE REQUIRED”
message to be displayed in the Driver Information
Display (DID).
226 UNDERSTANDING THE FEATURES OF YOUR VEHICLE
Page 235 of 638

NOTE:HomeLink® is disabled when the Vehicle Secu-
rity Alarm is active.
Before You Begin Programming HomeLink®
Be sure that your vehicle is parked outside of the garage
before you begin programming.
For more efficient programming and accurate transmis-
sion of the radio-frequency signal it is recommended that
a new battery be placed in the hand-held transmitter of
the device that is being programmed to the HomeLink®
system.
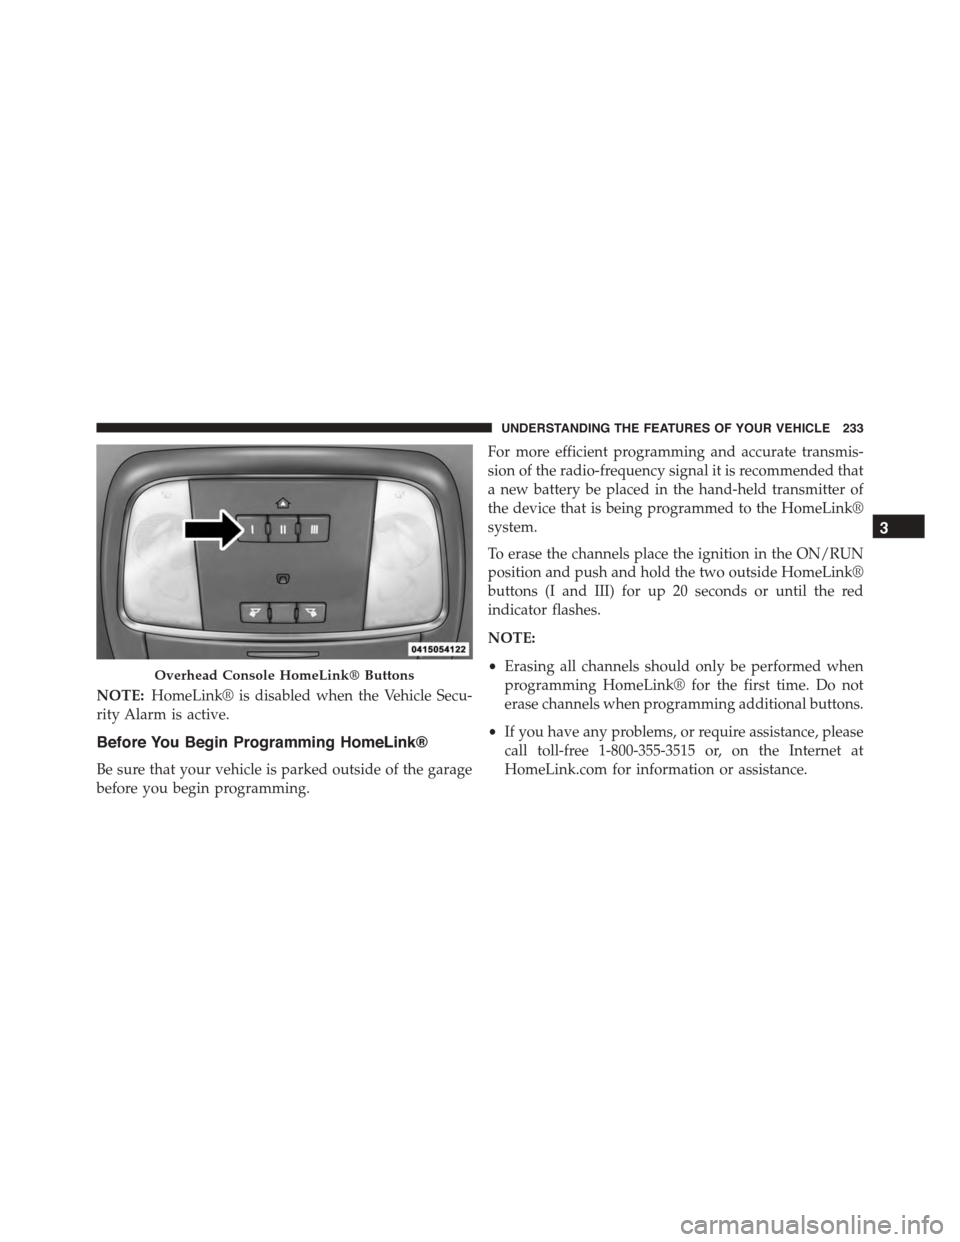
To erase the channels place the ignition in the ON/RUN
position and push and hold the two outside HomeLink®
buttons (I and III) for up 20 seconds or until the red
indicator flashes.
NOTE:
•Erasing all channels should only be performed when
programming HomeLink® for the first time. Do not
erase channels when programming additional buttons.
•If you have any problems, or require assistance, please
call toll-free 1-800-355-3515 or, on the Internet at
HomeLink.com for information or assistance.
Overhead Console HomeLink® Buttons
3
UNDERSTANDING THE FEATURES OF YOUR VEHICLE 233
Page 239 of 638

•To program the two remaining HomeLink® buttons,
repeat each step for each remaining button. DO NOT
erase the channels.
Reprogramming A Single HomeLink® Button
(Non-Rolling Code)
To reprogram a channel that has been previously trained,
follow these steps:
1. Cycle the ignition to the ON/RUN position.
2. Push and hold the desired HomeLink® button until
the indicator light begins to flash after 20 seconds.Do
not release the button.
3.Without releasing the buttonproceed with “Program-
ming A Non-Rolling Code” step 2 and follow all
remaining steps.
Canadian/Gate Operator Programming
For programming transmitters in Canada/United States
that require the transmitter signals to “time-out” after
several seconds of transmission.
Canadian radio frequency laws require transmitter sig-
nals to time-out (or quit) after several seconds of trans-
mission – which may not be long enough for HomeLink®
to pick up the signal during programming. Similar to this
Canadian law, some U.S. gate operators are designed to
time-out in the same manner.
It may be helpful to unplug the device during the cycling
process to prevent possible overheating of the garage
door or gate motor.
1. Cycle the ignition to the ON/RUN position.
3
UNDERSTANDING THE FEATURES OF YOUR VEHICLE 237