2015 DODGE CHARGER low oil pressure
[x] Cancel search: low oil pressurePage 272 of 638

The gauge pointer will likely indicate a higher tempera-
ture when driving in hot weather, up mountain grades,
or when towing a trailer. It should not be allowed to
exceed the upper limits of the normal operating range.
CAUTION!
Driving with a hot engine cooling system could
damage your vehicle. If the temperature gauge reads
“H,” pull over and stop the vehicle. Idle the vehicle
with the air conditioner turned off until the pointer
drops back into the normal range. If the pointer
remains on the “H,” and you hear a chime, turn the
engine OFF immediately and call for service.
WARNING!
A hot engine cooling system is dangerous. You or
others could be badly burned by steam or boiling
coolant. You may want to call a service center if your
vehicle overheats. If you decide to look under the
hood yourself, refer to “Maintaining Your Vehicle”
and follow the warnings under the Cooling System
Pressure Cap paragraph.
16. Seat Belt Reminder Light
This light will turn on for four to eight seconds as
a bulb check when the ignition is first placed in
ON/RUN position. A chime will sound if the
driver’s seat belt is unbuckled during the bulb check. The
Seat Belt Warning Light will flash or remain on continu-
ously if the driver’s seat belt remains unbuckled after the
270 UNDERSTANDING YOUR INSTRUMENT PANEL
Page 281 of 638
NOTE:
•Even if power steering assistance is no longer opera-
tional, it is still possible to steer the vehicle. Under
these conditions there will be a substantial increase in
steering effort, especially at very low vehicle speeds
and during parking maneuvers.
•If the condition persists, see your authorized dealer for
service.
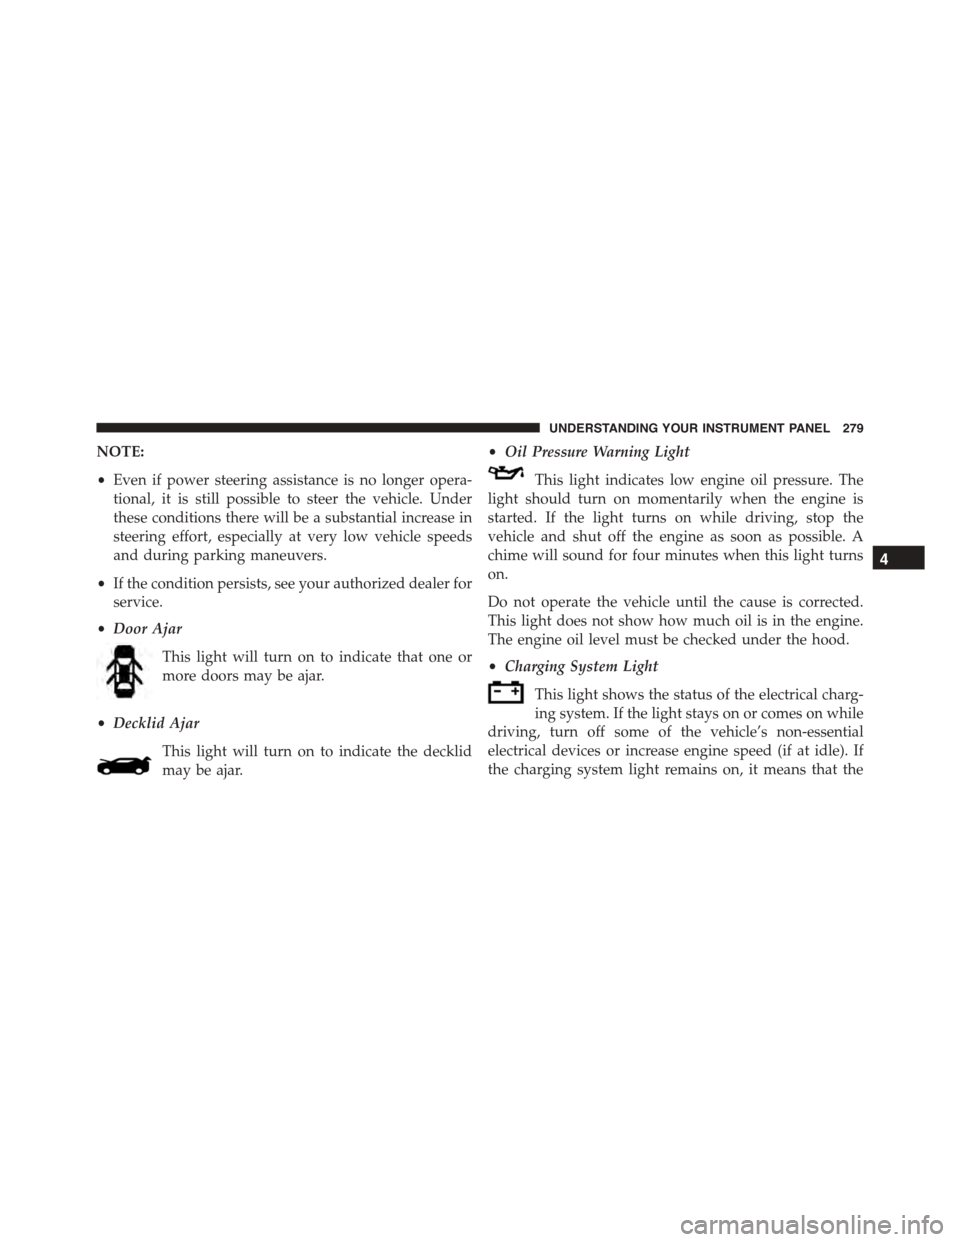
•Door Ajar
This light will turn on to indicate that one or
more doors may be ajar.
•Decklid Ajar
This light will turn on to indicate the decklid
may be ajar.
•Oil Pressure Warning Light
This light indicates low engine oil pressure. The
light should turn on momentarily when the engine is
started. If the light turns on while driving, stop the
vehicle and shut off the engine as soon as possible. A
chime will sound for four minutes when this light turns
on.
Do not operate the vehicle until the cause is corrected.
This light does not show how much oil is in the engine.
The engine oil level must be checked under the hood.
•Charging System Light
This light shows the status of the electrical charg-
ing system. If the light stays on or comes on while
driving, turn off some of the vehicle’s non-essential
electrical devices or increase engine speed (if at idle). If
the charging system light remains on, it means that the
4
UNDERSTANDING YOUR INSTRUMENT PANEL 279
Page 284 of 638

DID Selectable Menu Items
Push and release the UP or DOWN arrow buttons until
the desired Selectable Menu item is displayed in the DID.
Follow the Menu or submenu prompts as desired.
Speedometer
Push and release the UP or DOWN arrow button until
the Speedometer menu is displayed in the DID. Push and
release the OK button to toggle units (km/h or mph) of
digital speedometer.
Vehicle Info
Push and release the UP or DOWN arrow button until the
Vehicle Info menu is displayed in the DID. Push and release
the RIGHT arrow button to enter the submenus items of
Vehicle Info. Follow the directional prompts to access or
reset any of the following Vehicle Info submenu items:
Tire Pressure Monitor
Coolant Temp
Trans Temp
Oil Temp
Oil Pressure
Oil Life
Battery Voltage
AWD Status — If Equipped
Air Intake Temp — If Equipped
Engine Torque — If Equipped
Engine Power — If Equipped
Air-Fuel Ratio— If Equipped
Boost — If Equipped
Intercooler Water Temp — If Equipped
Engine Hours Idle Hours — If Equipped
282 UNDERSTANDING YOUR INSTRUMENT PANEL
Page 337 of 638

Gauges 1When selected, this screen displays the following values:
•Coolant Temperature
Shows the actual coolant temperature.
•Oil Pressure
Shows the actual oil pressure.
•Oil Temperature
Shows the actual oil temperature.
Performance Pages — Gauges 1
4
UNDERSTANDING YOUR INSTRUMENT PANEL 335
Page 341 of 638
•Instantaneous Horsepower/Kilowatts
Shows the instantaneous horsepower.
•Instantaneous Torque
Shows the instantaneous torque.
•Oil Pressure
Shows the actual engine oil pressure.
•Gear (Automatic Transmission Only)
Shows the current (or pending) operating gear of the
vehicle.
Performance Control — If Equipped
Your vehicle is equipped with a Performance Control
feature which allows for coordinating the operation of
various vehicle systems depending upon the type of
driving behavior desired. The Performance Control fea-
ture is controlled through the Uconnect® radio and may
be accessed by performing any of the following:
•Pushing the Super Track Pack button on the instru-
ment panel switch bank.
•Selecting “Performance Control” from the “Apps”
menu.
•Selecting “Performance Control” from within the Per-
formance Pages menu.
You will be able to enable, disable, and customize the
functionality of the Launch Control and Drive Mode
Set-Up features within Performance Control.
Descriptions of these features are provided below. To
access information about the functionality of these fea-
tures through the Uconnect® system, press the “Info”
button on the touchscreen.
4
UNDERSTANDING YOUR INSTRUMENT PANEL 339
Page 456 of 638
These indicators are molded into the bottom of the tread
grooves. They will appear as bands when the tread depth
becomes a 1/16 of an inch (2 mm). When the tread is
worn to the tread wear indicators, the tire should be
replaced. Refer to “Replacement Tires” in this section for
further information.
Life Of Tire
The service life of a tire is dependent upon varying
factors including, but not limited to:
•Driving style.
•Tire pressure - Improper cold tire inflation pressures
can cause uneven wear patterns to develop across the
tire tread. These abnormal wear patterns will reduce
tread life, resulting in the need for earlier tire replace-
ment.
•Distance driven.
•Performance tires, tires with a speed rating of V or
higher, and summer tires typically have a reduced
tread life. Rotation of these tires per the vehicle main-
tenance schedule is highly recommended.
WARNING!
Tires and the spare tire should be replaced after six
years, regardless of the remaining tread. Failure to
follow this warning can result in sudden tire failure.
You could lose control and have a collision resulting
in serious injury or death.
Keep dismounted tires in a cool, dry place with as little
exposure to light as possible. Protect tires from contact
with oil, grease, and gasoline.
Replacement Tires
The tires on your new vehicle provide a balance of many
characteristics. They should be inspected regularly for
454 STARTING AND OPERATING
Page 517 of 638
WARNING!
Tire Service Kit is not a permanent flat tire repair.
Have the tire inspected and repaired or replaced after
using Tire Service Kit. Do not exceed 55 mph (90
km/h) until the tire is repaired or replaced. Failure to
follow this warning can result in injuries that are
serious or fatal to you, your passengers, and others
around you.
(E) After Driving:
Pull over to a safe location. Refer to “Whenever You Stop
to Use Tire Service Kit” before continuing.
1. Push in the Mode Select Knob (5) and turn to the Air
Mode position.
2. Uncoil the power plug and insert the plug into the
vehicle’s 12 Volt power outlet.
3. Uncoil the Air Pump Hose (7) (black in color) and
screw the fitting at the end of hose (7) onto the valve
stem.
4. Check the pressure in the tire by reading the Pressure
Gauge (3).
If tire pressure is less than 19 psi (1.3 Bar):
The tire is too badly damaged. Do not attempt to drive
the vehicle further. Call for assistance.
If the tire pressure is 19 psi (1.3 Bar) or higher:
1. Push the Power Button (4) to turn on Tire Service Kit
and inflate the tire to the pressure indicated on the tire
and loading information label on the driver-side door
opening.
NOTE:If the tire becomes over-inflated, push the Defla-
tion Button to reduce the tire pressure to the recom-
mended inflation pressure before continuing.
6
WHAT TO DO IN EMERGENCIES 515
Page 599 of 638
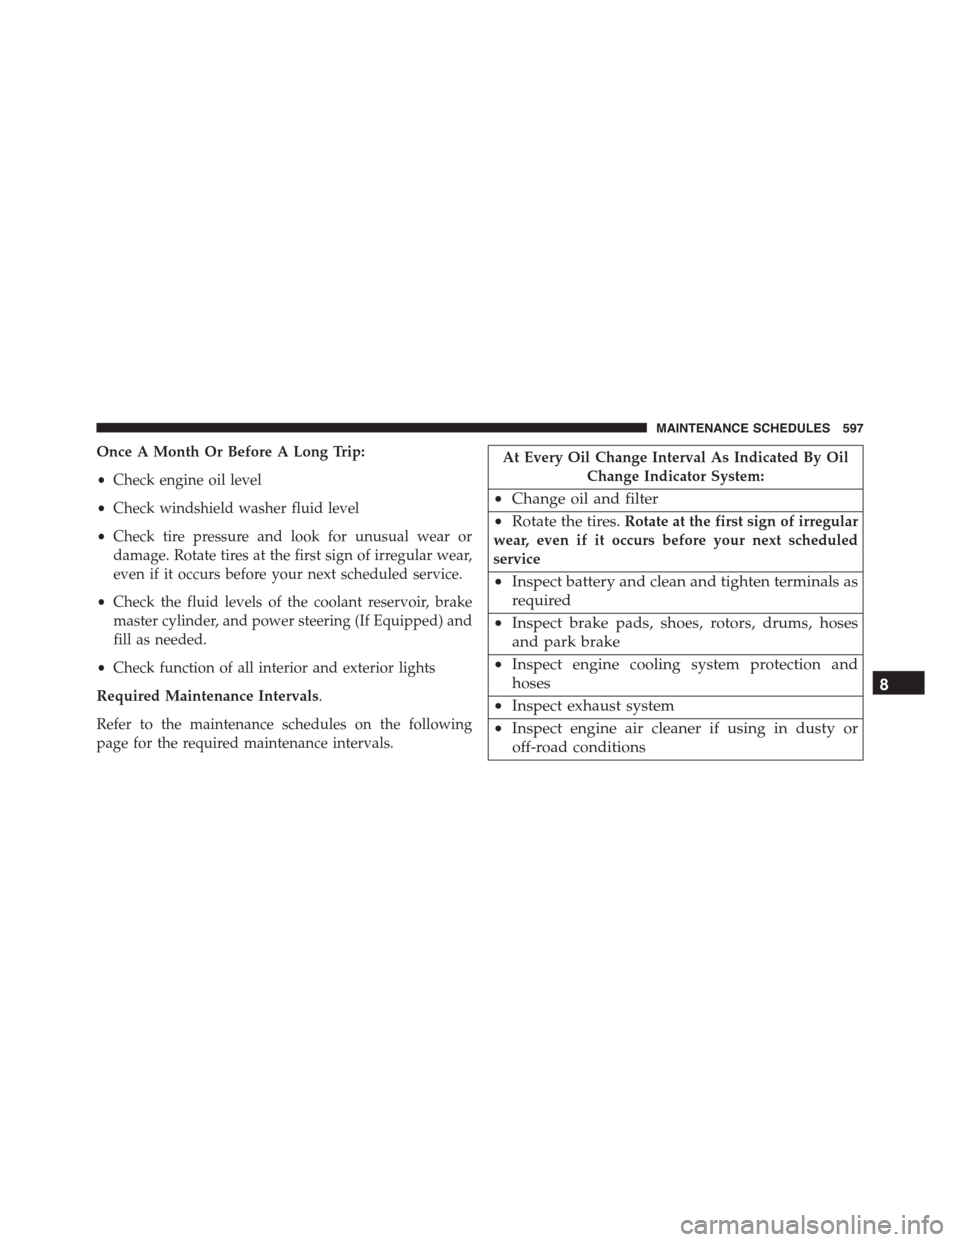
Once A Month Or Before A Long Trip:
•Check engine oil level
•Check windshield washer fluid level
•Check tire pressure and look for unusual wear or
damage. Rotate tires at the first sign of irregular wear,
even if it occurs before your next scheduled service.
•Check the fluid levels of the coolant reservoir, brake
master cylinder, and power steering (If Equipped) and
fill as needed.
•Check function of all interior and exterior lights
Required Maintenance Intervals.
Refer to the maintenance schedules on the following
page for the required maintenance intervals.
At Every Oil Change Interval As Indicated By Oil
Change Indicator System:
•Change oil and filter
•Rotate the tires.Rotate at the first sign of irregular
wear, even if it occurs before your next scheduled
service
•Inspect battery and clean and tighten terminals as
required
•Inspect brake pads, shoes, rotors, drums, hoses
and park brake
•Inspect engine cooling system protection and
hoses
•Inspect exhaust system
•Inspect engine air cleaner if using in dusty or
off-road conditions
8
MAINTENANCE SCHEDULES 597