2015 DODGE CHALLENGER change wheel
[x] Cancel search: change wheelPage 45 of 220

This setting provides less reaction time than the “Far” setting, which allows for a more
dynamic driving experience.
More dynamic or aggressive drivers that want to avoid frequent warnings may prefer this
setting.
Refer to the Owner's Manual on the DVD for further details.
WARNING!
Forward Collision Warning (FCW) is not intended to avoid a collision on its own, nor can
FCW detect every type of potential collision. The driver has the responsibility to avoid
acollisionbycontrollingthevehicleviabrakingandsteering.Failuretofollowthis
warning could lead to serious injury or death.
PARKSENSE® REAR PARK ASSIST
The four ParkSense®sensors, located in the rear fascia/bumper, monitor the area behind
the vehicle that is within the sensors’ field of view.
The sensors can detect obstacles from approximately 12 in (30 cm) up to 79 in (200 cm)
from the rear bumper while the vehicle is in REVERSE, a warning will display in the Driver
Information Display (DID) only when (Sound and Display is selected from the Uconnect®
System). As the vehicle moves closer to the obstacle, the (DID) will show fewer arcs and
the sound tone will change from slow, to fast, to continuous.
Refer to your Owner's Manual on the DVD for further details.
AUTOSTICK
AutoStick is a driver-interactive transmission feature providing manual shift control,
giving you more control of the vehicle. AutoStick allows you to maximize engine braking,
eliminate undesirable upshifts and downshifts, and improve overall vehicle performance.
This system can also provide you with more control during passing, city driving, cold
slippery conditions, mountain driving, trailer towing, and many other situations.
Operation
When the shift lever is in the DRIVE (D) position, the transmission will operate automatically,
shifting between the eight available gears. To activate AutoStick, move the shift lever into the
MANUAL (M) position (beside the DRIVE position). The current transmission gear will be
displayed in the instrument cluster, along with a highlighted "M" (Manual) indication. When
the shift lever is in the MANUAL (M) position, tap the shift lever forward (-) (or tap the (-) shift
paddle on the steering wheel, if equipped) to downshift the transmission to the next lower
gear, or tap the lever rearward (+) (or tap the (+) shift paddle, if equipped) to command an
upshift.
OPERATING YOUR VEHICLE
43
Page 89 of 220

Replay
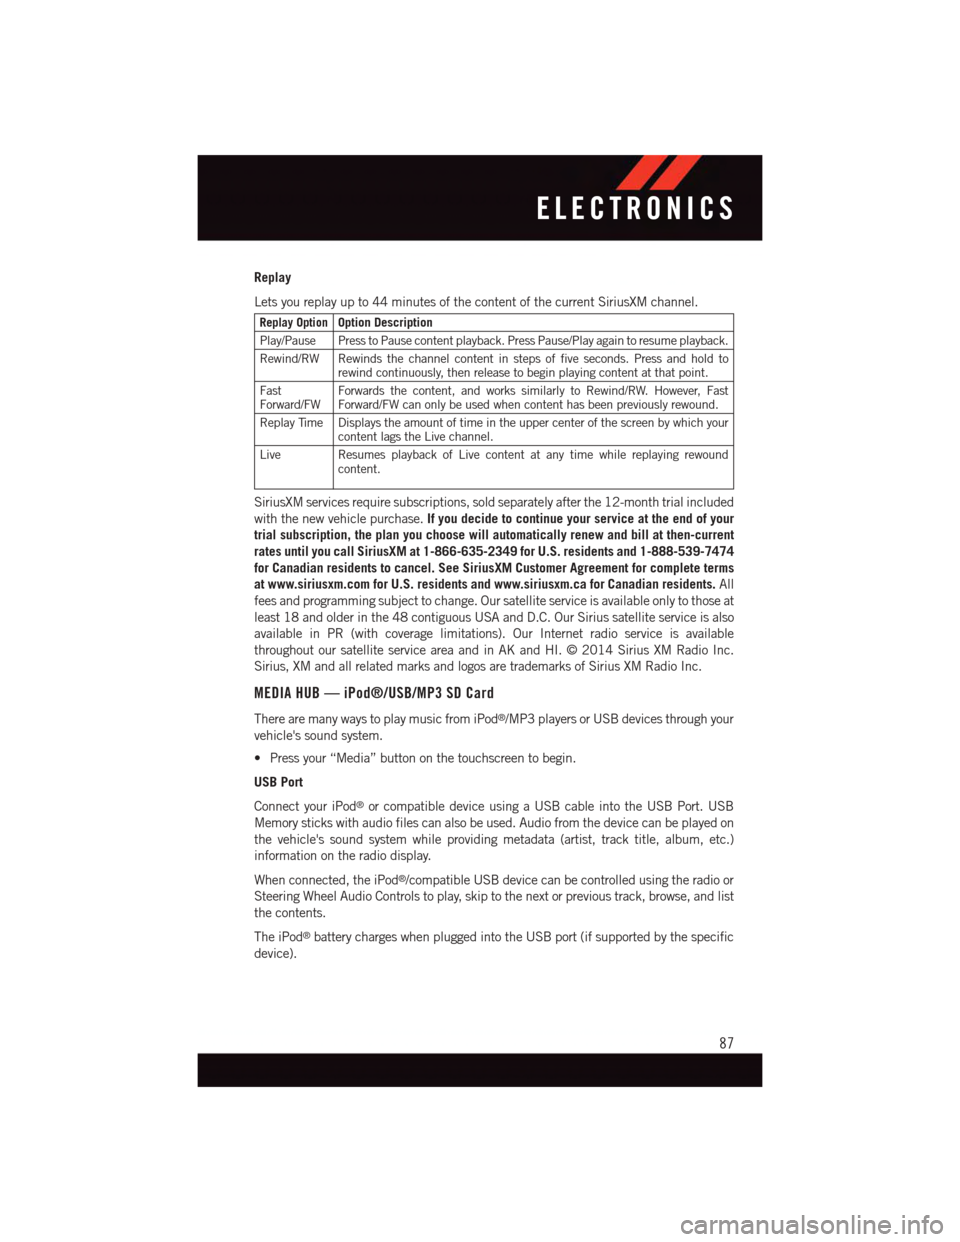
Lets you replay up to 44 minutes of the content of the current SiriusXM channel.
Replay OptionOption Description
Play/Pause Press to Pause content playback. Press Pause/Play again to resume playback.
Rewind/RW Rewinds the channel content in steps of five seconds. Press and hold torewind continuously, then release to begin playing content at that point.
FastForward/FWForwards the content, and works similarly to Rewind/RW. However, FastForward/FW can only be used when content has been previously rewound.
Replay Time Displays the amount of time in the upper center of the screen by which yourcontent lags the Live channel.
Live Resumes playback of Live content at any time while replaying rewoundcontent.
SiriusXM services require subscriptions, sold separately after the 12-month trial included
with the new vehicle purchase.If you decide to continue your service at the end of your
trial subscription, the plan you choose will automatically renew and bill at then-current
rates until you call SiriusXM at 1-866-635-2349 for U.S. residents and 1-888-539-7474
for Canadian residents to cancel. See SiriusXM Customer Agreement for complete terms
at www.siriusxm.com for U.S. residents and www.siriusxm.ca for Canadian residents.All
fees and programming subject to change. Our satellite service is available only to those at
least 18 and older in the 48 contiguous USA and D.C. Our Sirius satellite service is also
available in PR (with coverage limitations). Our Internet radio service is available
throughout our satellite service area and in AK and HI. © 2014 Sirius XM Radio Inc.
Sirius, XM and all related marks and logos are trademarks of Sirius XM Radio Inc.
MEDIA HUB — iPod®/USB/MP3 SD Card
There are many ways to play music from iPod®/MP3 players or USB devices through your
vehicle's sound system.
•Pressyour“Media”buttononthetouchscreentobegin.
USB Port
Connect your iPod®or compatible device using a USB cable into the USB Port. USB
Memory sticks with audio files can also be used. Audio from the device can be played on
the vehicle's sound system while providing metadata (artist, track title, album, etc.)
information on the radio display.
When connected, the iPod®/compatible USB device can be controlled using the radio or
Steering Wheel Audio Controls to play, skip to the next or previous track, browse, and list
the contents.
The iPod®battery charges when plugged into the USB port (if supported by the specific
device).
ELECTRONICS
87
Page 121 of 220

Replay
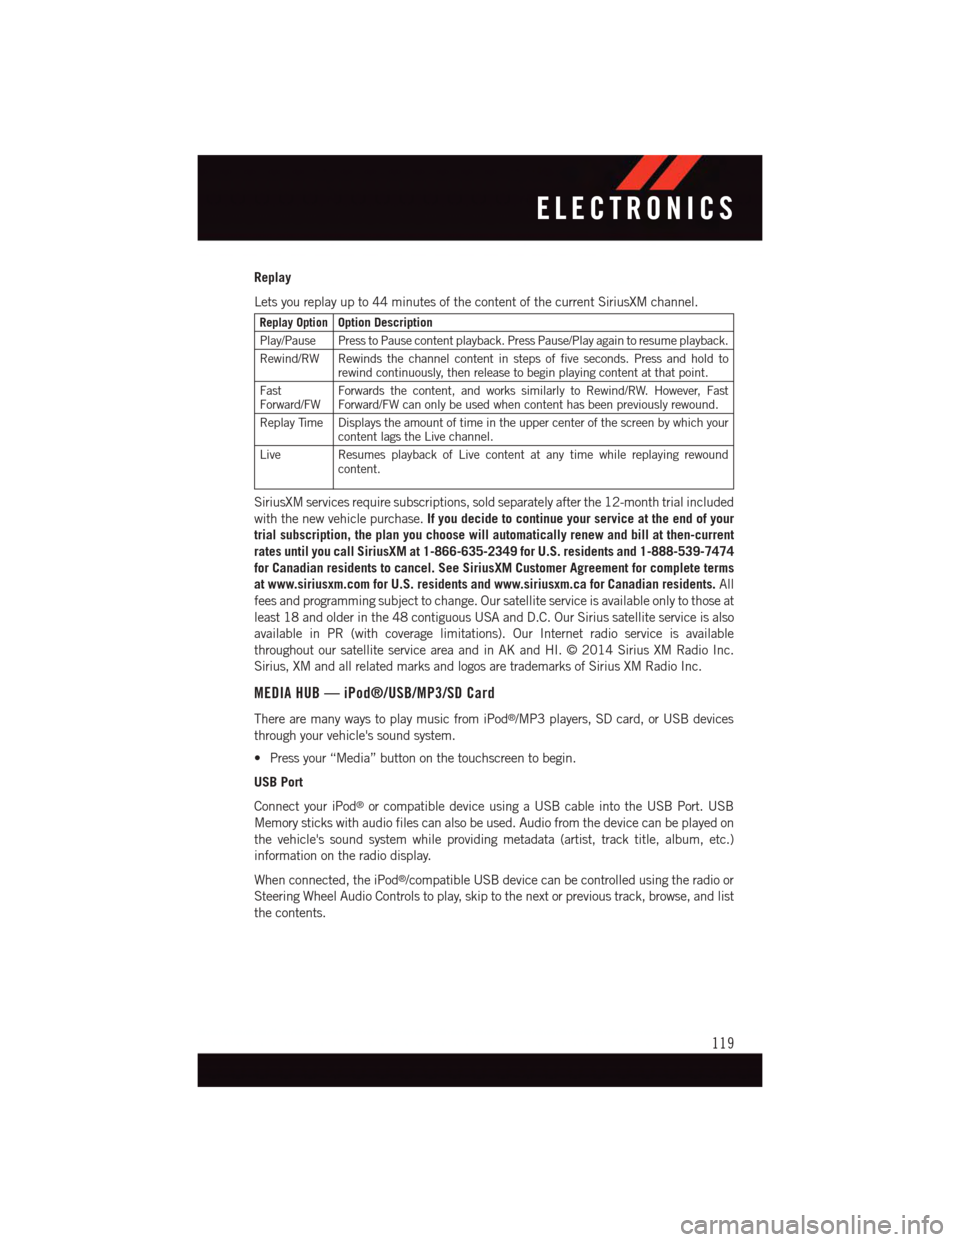
Lets you replay up to 44 minutes of the content of the current SiriusXM channel.
Replay OptionOption Description
Play/Pause Press to Pause content playback. Press Pause/Play again to resume playback.
Rewind/RW Rewinds the channel content in steps of five seconds. Press and hold torewind continuously, then release to begin playing content at that point.
FastForward/FWForwards the content, and works similarly to Rewind/RW. However, FastForward/FW can only be used when content has been previously rewound.
Replay Time Displays the amount of time in the upper center of the screen by which yourcontent lags the Live channel.
Live Resumes playback of Live content at any time while replaying rewoundcontent.
SiriusXM services require subscriptions, sold separately after the 12-month trial included
with the new vehicle purchase.If you decide to continue your service at the end of your
trial subscription, the plan you choose will automatically renew and bill at then-current
rates until you call SiriusXM at 1-866-635-2349 for U.S. residents and 1-888-539-7474
for Canadian residents to cancel. See SiriusXM Customer Agreement for complete terms
at www.siriusxm.com for U.S. residents and www.siriusxm.ca for Canadian residents.All
fees and programming subject to change. Our satellite service is available only to those at
least 18 and older in the 48 contiguous USA and D.C. Our Sirius satellite service is also
available in PR (with coverage limitations). Our Internet radio service is available
throughout our satellite service area and in AK and HI. © 2014 Sirius XM Radio Inc.
Sirius, XM and all related marks and logos are trademarks of Sirius XM Radio Inc.
MEDIA HUB — iPod®/USB/MP3/SD Card
There are many ways to play music from iPod®/MP3 players, SD card, or USB devices
through your vehicle's sound system.
•Pressyour“Media”buttononthetouchscreentobegin.
USB Port
Connect your iPod®or compatible device using a USB cable into the USB Port. USB
Memory sticks with audio files can also be used. Audio from the device can be played on
the vehicle's sound system while providing metadata (artist, track title, album, etc.)
information on the radio display.
When connected, the iPod®/compatible USB device can be controlled using the radio or
Steering Wheel Audio Controls to play, skip to the next or previous track, browse, and list
the contents.
ELECTRONICS
119
Page 132 of 220

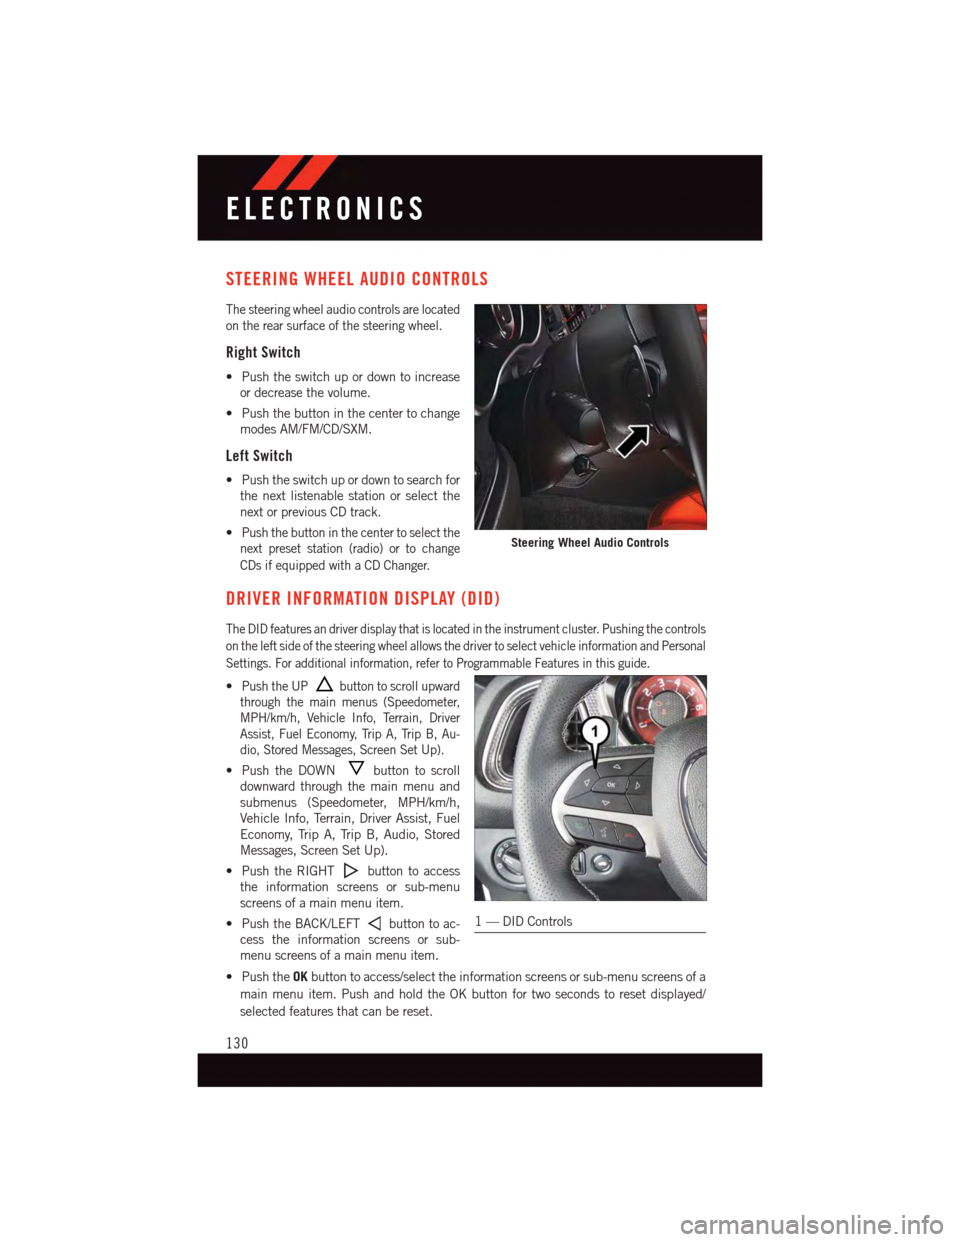
STEERING WHEEL AUDIO CONTROLS
The steering wheel audio controls are located
on the rear surface of the steering wheel.
Right Switch
•Pushtheswitchupordowntoincrease
or decrease the volume.
•Pushthebuttoninthecentertochange
modes AM/FM/CD/SXM.
Left Switch
•Pushtheswitchupordowntosearchfor
the next listenable station or select the
next or previous CD track.
•Push the button in the center to select the
next preset station (radio) or to change
CDs if equipped with a CD Changer.
DRIVER INFORMATION DISPLAY (DID)
The DID features an driver display that is located in the instrument cluster. Pushing the controls
on the left side of the steering wheel allows the driver to select vehicle information and Personal
Settings. For additional information, refer to Programmable Features in this guide.
•Push the UPbutton to scroll upward
through the main menus (Speedometer,
MPH/km/h, Vehicle Info, Terrain, Driver
Assist, Fuel Economy, Trip A, Trip B, Au-
dio, Stored Messages, Screen Set Up).
•PushtheDOWNbutton to scroll
downward through the main menu and
submenus (Speedometer, MPH/km/h,
Vehicle Info, Terrain, Driver Assist, Fuel
Economy, Trip A, Trip B, Audio, Stored
Messages, Screen Set Up).
•PushtheRIGHTbutton to access
the information screens or sub-menu
screens of a main menu item.
•PushtheBACK/LEFTbutton to ac-
cess the information screens or sub-
menu screens of a main menu item.
•PushtheOKbutton to access/select the information screens or sub-menu screens of a
main menu item. Push and hold the OK button for two seconds to reset displayed/
selected features that can be reset.
Steering Wheel Audio Controls
1—DIDControls
ELECTRONICS
130
Page 148 of 220

IF THE LIGHT STARTS FLASHING INDICATING A LOW TIRE PRESSURE, ADJUST THE AIR
PRESSURE IN THE LOW TIRE TO THE AIR PRESSURE SHOWN ON THE VEHICLE PLACARD OR
TIRE INFLATION PRESSURE LABEL LOCATED ON THE DRIVER'S DOOR.
NOTE:
AFTER INFLATION, THE VEHICLE MAY NEED TO BE DRIVEN FOR 20 MINUTES
BEFORE THE FLASHING LIGHT WILL TURN OFF.
Please note that the TPMS is not a substitute for proper tire maintenance, and it is the
driver’s responsibility to maintain correct tire pressure, even if under-inflation has not
reached the level to trigger illumination of the TPMS low tire pressure telltale.
Yo u r v e h i c l e h a s a l s o b e e n e q u i p p e d w i t h a T P M S m a l f u n c t i o n i n d i c a t o r t o i n d i c a t e w h e n
the system is not operating properly. The TPMS malfunction indicator is combined with
the low tire pressure telltale.
When the system detects a malfunction, the telltale will flash for approximately one
minute and then remain continuously illuminated. This sequence will continue upon
subsequent vehicle start-ups as long as the malfunction exists. When the malfunction
indicator is illuminated, the system may not be able to detect or signal low tire pressure
as intended. TPMS malfunctions may occur for a variety of reasons, including the
installation of replacement or alternate tires or wheels on the vehicle that prevent the
TPMS from functioning properly. Always check the TPMS malfunction telltale after
replacing one or more tires or wheels on your vehicle to ensure that the replacement or
alternate tires and wheels allow the TPMS to continue to function properly.
NOTE:
Ti r e p r e s s u r e s c h a n g e b y a p p r o x i m a t e l y 1 p s i ( 7 k P a ) p e r 1 2 ° F ( 7 ° C ) o f a i r t e m p e r a t u r e
change. Keep this in mind when checking tire pressure inside a garage, especially in the
Winter. Example: If garage temperature is 68°F (20°C) and the outside temperature is
32°F (0°C), then the cold tire inflation pressure should be increased by 3 psi (21 kPa),
which equals 1 psi (7 kPa) for every 12°F (7°C) for this outside temperature condition.
CAUTION!
The TPMS has been optimized for the original equipment tires and wheels. TPMS
pressures and warning have been established for the tire size equipped on your vehicle.
Undesirable system operation or sensor damage may result when using replacement
equipment that is not of the same size, type, and/or style. Aftermarket wheels can
cause sensor damage. Do not use tire sealant from a can, or balance beads if your
vehicle is equipped with a TPMS, as damage to the sensors may result.
WHAT TO DO IN EMERGENCIES
146
Page 159 of 220

CAUTION!
Do not attempt to raise the vehicle by jacking on locations other than those indicated
in the Jacking Instructions for this vehicle.
WARNING!
•Donotattempttochangeatireonthesideofthevehicleclosetomovingtraffic.
Pull far enough off the road to avoid the danger of being hit when operating the jack
or changing the wheel.
•Beingunderajacked-upvehicleisdangerous.Thevehiclecouldslipoffthejack
and fall on you. You could be crushed. Never put any part of your body under a
vehicle that is on a jack.
•Neverstartorruntheenginewhilethevehicleisonajack.Ifyouneedtogetunder
araisedvehicle,takeittoaservicecenterwhereitcanberaisedonalift.
•Thejackisdesignedtobeusedasatoolforchangingtiresonly.Thejackshouldnot
be used to lift the vehicle for service purposes. The vehicle should be jacked on a
firm level surface only. Avoid ice or slippery areas.
•Aloosetireorjackthrownforwardinacollisionorhardstopcouldendangertheoccupants
of the vehicle. Always stow the jack parts and the spare tire in the places provided.
•Carefullyfollowthesetirechangingwarningstohelppreventpersonalinjuryor
damage to your vehicle:
•Alwaysparkonafirm,levelsurfaceasfarfromtheedgeoftheroadwayaspossible
before raising the vehicle.
•TurnontheHazardWarningflasher.
•Blockthewheeldiagonallyoppositethewheeltoberaised.
•SettheparkingbrakefirmlyandsetanautomatictransmissioninPARK;amanual
transmission in REVERSE.
•Donotletanyonesitinthevehiclewhenitisonajack.
•Donotgetunderthevehiclewhenitisonajack.
•Only use the jack in the positions indicated and for lifting this vehicle during a tire change.
•Ifworkingonorneararoadway,beextremelycarefulofmotortraffic.
•Raising the vehicle higher than necessary can make the vehicle less stable. It could slip
off the jack and hurt someone near it. Raise the vehicle only enough to remove the tire.
•Toavoidtheriskofforcingthevehicleoffthejack,donotfullytightenthewheel
nuts until the vehicle has been lowered. Failure to follow this warning may result in
personal injury.
•Aloosetireorjackthrownforwardinacollisionorhardstopcouldendangertheoccupants
of the vehicle. Always stow the jack parts and the spare tire in the places provided.
•Thelimited-usesparetiresareforemergencyuseonly.Installationofthislimited-use spare tire affects vehicle handling. With this tire, do not drive more than60 mph (100 km/h). Keep inflated to the cold tire inflation pressure listed on eitheryour tire placard or limited-use spare tire and wheel assembly. Replace (or repair)the original tire at the first opportunity and reinstall it on your vehicle. Failure to doso could result in loss of vehicle control.
WHAT TO DO IN EMERGENCIES
157
Page 165 of 220

WARNING!
•Donotattempttosealatireonthesideofthevehicleclosesttotraffic.Pullfar
enough off the road to avoid the danger of being hit when using the Tire Service Kit.•DonotusetheTireServiceKitordrivethevehicleunderthefollowingcircum-
stances:
•Ifthepunctureinthetiretreadisapproximately1/4”.(6mm)orlarger.
•Ifthetirehasanysidewalldamage.
•Ifthetirehasanydamagefromdrivingwithextremelylowtirepressure.
•Ifthetirehasanydamagefromdrivingonaflattire.
•Ifthewheelhasanydamage.
•Ifyouareunsureoftheconditionofthetireorthewheel.
•KeeptheTireServiceKitawayfromopenflamesorheatsource.
•AlooseTireServiceKitthrownforwardinacollisionorhardstopcouldendangerthe
occupants of the vehicle. Always stow the Tire Service Kit in the place provided.
Failure to follow these warnings can result in injuries that are serious or fatal to you,
your passengers, and others around you.
•TakecarenottoallowthecontentsoftheTireServiceKittocomeincontactwith
hair, eyes, or clothing. The Tire Service Kit is harmful if inhaled, swallowed, or
absorbed through the skin. It causes skin, eye, and respiratory irritation. Flush
immediately with plenty of water if there is any contact with eyes or skin. Change
clothing as soon as possible, if there is any contact with clothing.
•TheTireServiceKitSealantsolutioncontainslatex.Incaseofanallergicreaction
or rash, consult a physician immediately. Keep the Tire Service Kit out of reach of
children. If swallowed, rinse mouth immediately with plenty of water and drink
plenty of water. Do not induce vomiting! Consult a physician immediately.
•TheTireServiceKitisnotapermanentflattirerepair.Havethetireinspectedand
repaired or replaced after using the Tire Service Kit. Do not exceed 55 mph
(88 km/h) until the tire is repaired or replaced. Failure to follow this warning can
result in injuries that are serious or fatal to you, your passengers, and others around
you.
WHAT TO DO IN EMERGENCIES
163
Page 196 of 220

Miles:
6,000
12,000
18,000
24,000
30,000
36,000
42,000
48,000
54,000
60,000
66,000
72,000
78,000
84,000
90,000
96,000
102,000
108,000
114,000
120,000
126,000
132,000
138,000
144,000
150,000
Or Months: 6 12 18 24 30 36 42 48 54 60 66 72 78 84 90 96 102 108 114 120 126 132 138 144 150Or Kilometers:
10,000
20,000
30,000
40,000
50,000
60,000
70,000
80,000
90,000
100,000
110,000
120,000
130,000
140,000
150,000
160,000
170,000
180,000
190,000
200,000
210,000
220,000
230,000
240,000
250,000
Inspect the ex-haust system.
XXXX X X X X
XXX
Adjust the park-ing brake onvehiclesequipped withfour wheel discbrakes.
XX X X X
Change themanual trans-mission fluid (ifequipped).
XX X
Inspect themanual trans-mission fluid (ifequipped), addas necessary.
XX X
Change the rearaxle fluid if us-ing your vehiclefor any of thefollowing: police,taxi, fleet or fre-quent trailertowing.
XX X
Inspect the rearaxle fluid.
XX X X X X X X
MAINTAINING YOUR VEHICLE
194