Page 225 of 726
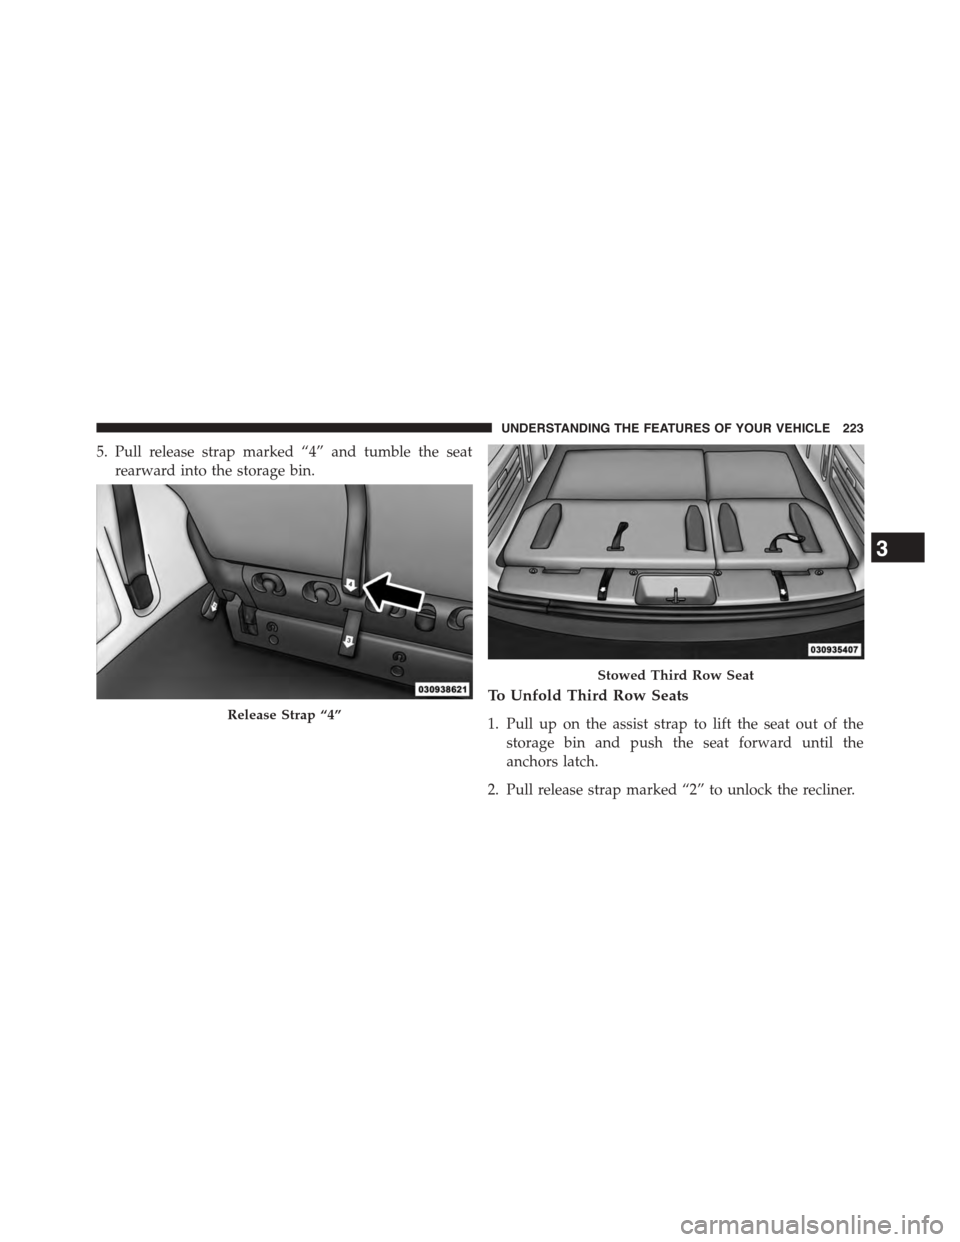
5. Pull release strap marked “4” and tumble the seat
rearward into the storage bin.
To Unfold Third Row Seats
1. Pull up on the assist strap to lift the seat out of the
storage bin and push the seat forward until the
anchors latch.
2. Pull release strap marked “2” to unlock the recliner.
Release Strap “4”
Stowed Third Row Seat
3
UNDERSTANDING THE FEATURES OF YOUR VEHICLE 223
Page 300 of 726
Coat Hooks
Coat hooks are located along the headliner for the second
and third row seating positions. The coat hook load limit
is 10 lbs (4.5 kg). Exceeding the recommended load limit
can cause the coat hooks to break or disengage from the
vehicle.
Cargo Area Storage
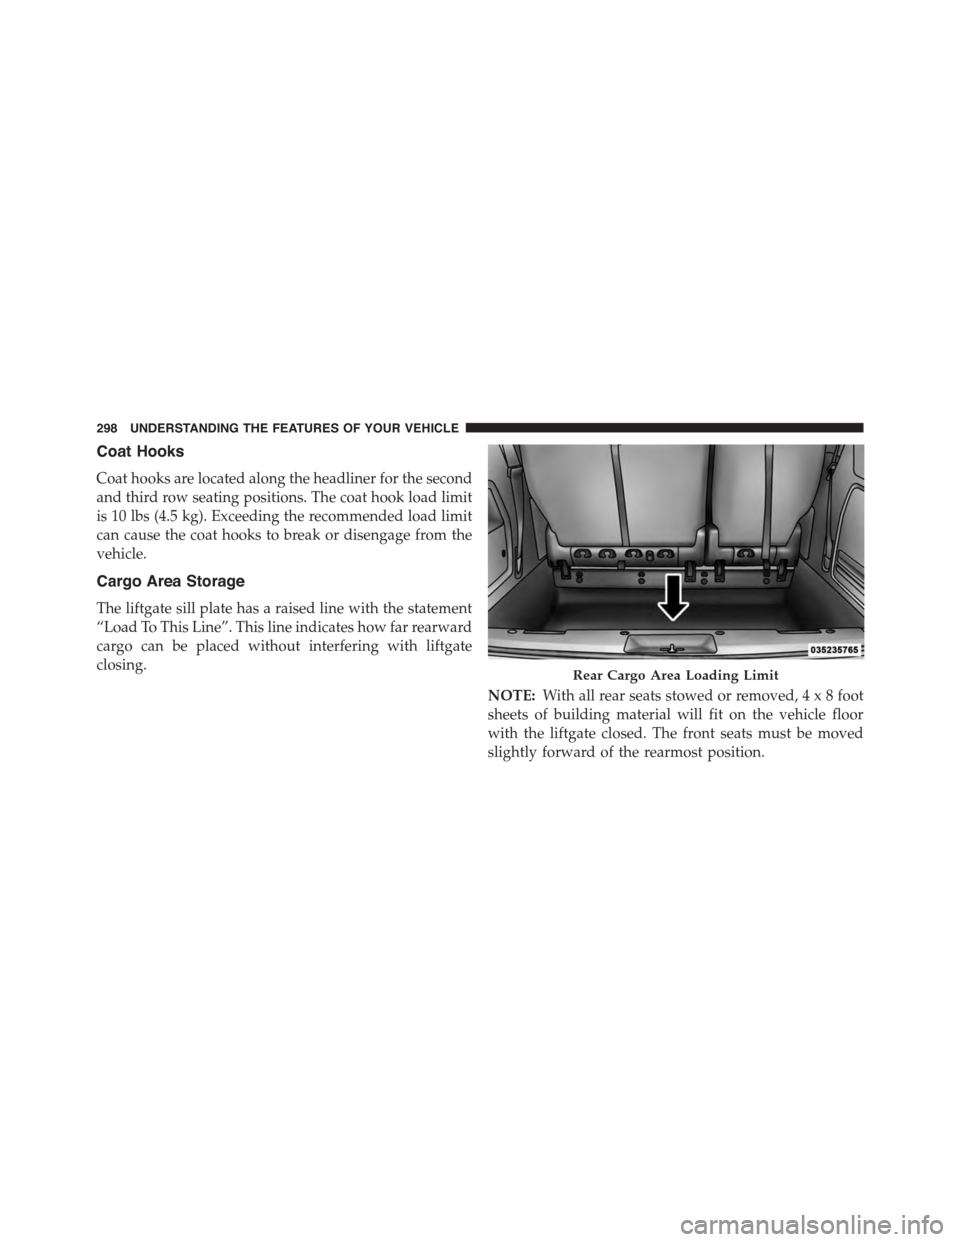
The liftgate sill plate has a raised line with the statement
“Load To This Line”. This line indicates how far rearward
cargo can be placed without interfering with liftgate
closing.
NOTE:With all rear seats stowed or removed,4x8foot
sheets of building material will fit on the vehicle floor
with the liftgate closed. The front seats must be moved
slightly forward of the rearmost position.
Rear Cargo Area Loading Limit
298 UNDERSTANDING THE FEATURES OF YOUR VEHICLE
Page 309 of 726
LOAD LEVELING SYSTEM — IF EQUIPPED
The automatic load leveling system will provide a level-
riding vehicle under most passenger and cargo loading
conditions.
A hydraulic pump contained within the shock absorbers
raises the rear of the vehicle to the correct height. It takes
approximately 1 mile (1.6 km) of driving for the leveling
to complete depending on road surface conditions.
If the leveled vehicle is not moved for approximately 15
hours, the leveling system will bleed itself down. The
vehicle must be driven to reset the system.
ROOF LUGGAGE RACK — IF EQUIPPED
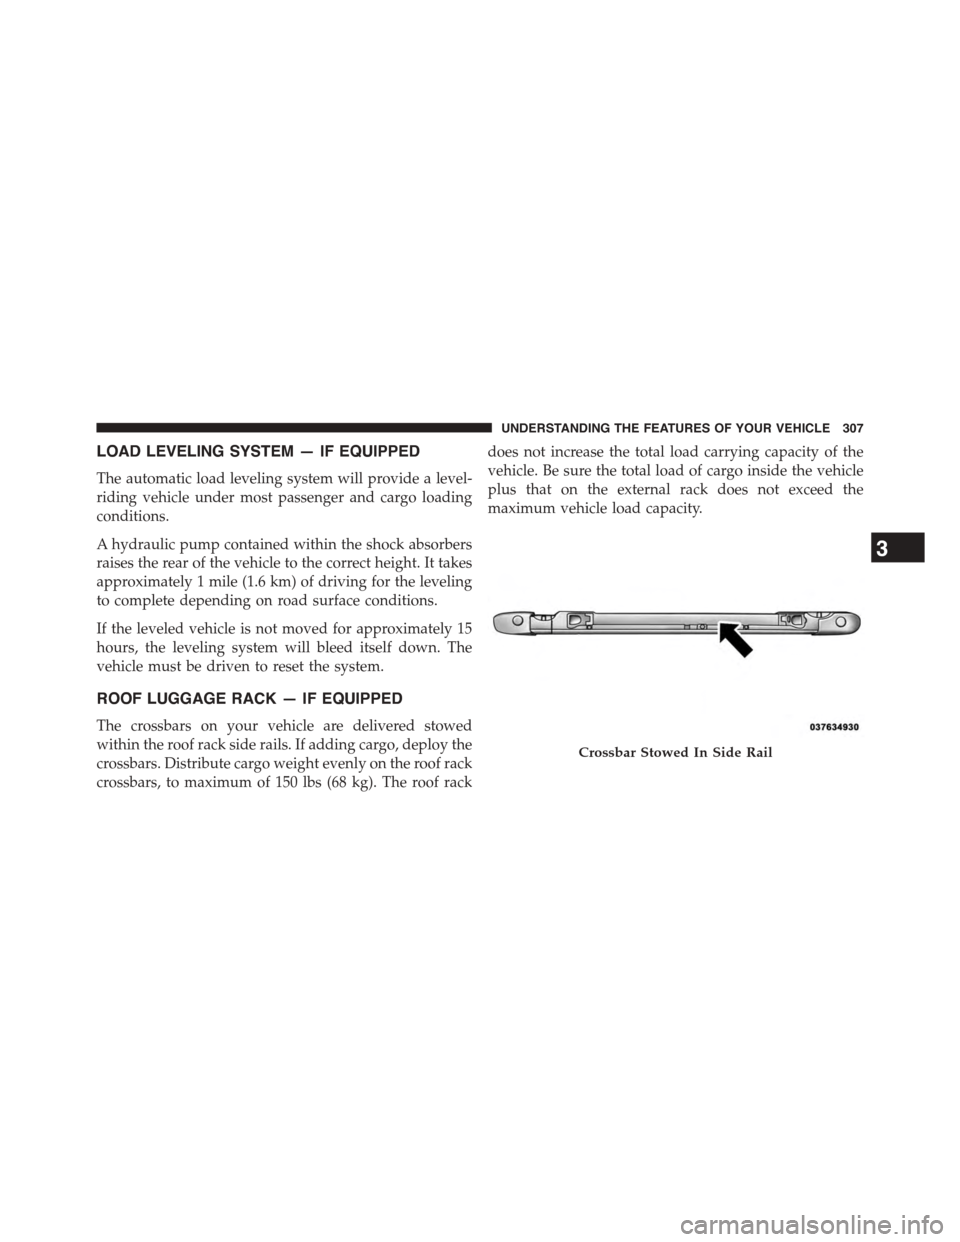
The crossbars on your vehicle are delivered stowed
within the roof rack side rails. If adding cargo, deploy the
crossbars. Distribute cargo weight evenly on the roof rack
crossbars, to maximum of 150 lbs (68 kg). The roof rack
does not increase the total load carrying capacity of the
vehicle. Be sure the total load of cargo inside the vehicle
plus that on the external rack does not exceed the
maximum vehicle load capacity.
Crossbar Stowed In Side Rail
3
UNDERSTANDING THE FEATURES OF YOUR VEHICLE 307
Page 310 of 726
The crossbars and side rails are designed to carry weight
on vehicles equipped with a luggage rack. The load must
not exceed 150 lbs (68 kg), and should be uniformly
distributed over the luggage rack crossbars.
NOTE:
•Crossbars are error-proofed and cannot be deployed or
stowed in the incorrect positions.
•To help control wind noise, stow the crossbars in the
side rails when they are not in use.
Deploying The Crossbars
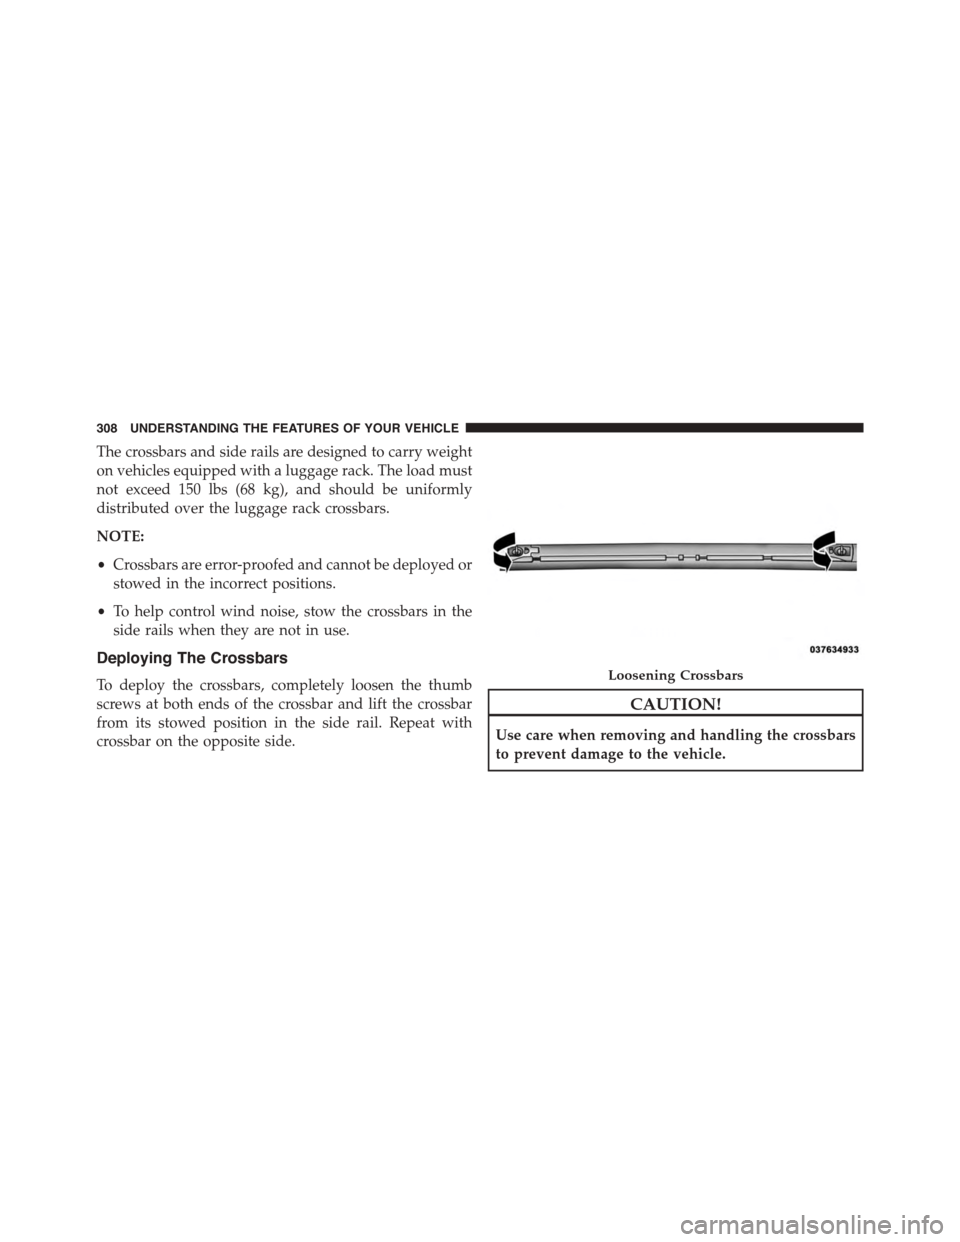
To deploy the crossbars, completely loosen the thumb
screws at both ends of the crossbar and lift the crossbar
from its stowed position in the side rail. Repeat with
crossbar on the opposite side.
CAUTION!
Use care when removing and handling the crossbars
to prevent damage to the vehicle.
Loosening Crossbars
308 UNDERSTANDING THE FEATURES OF YOUR VEHICLE
Page 311 of 726
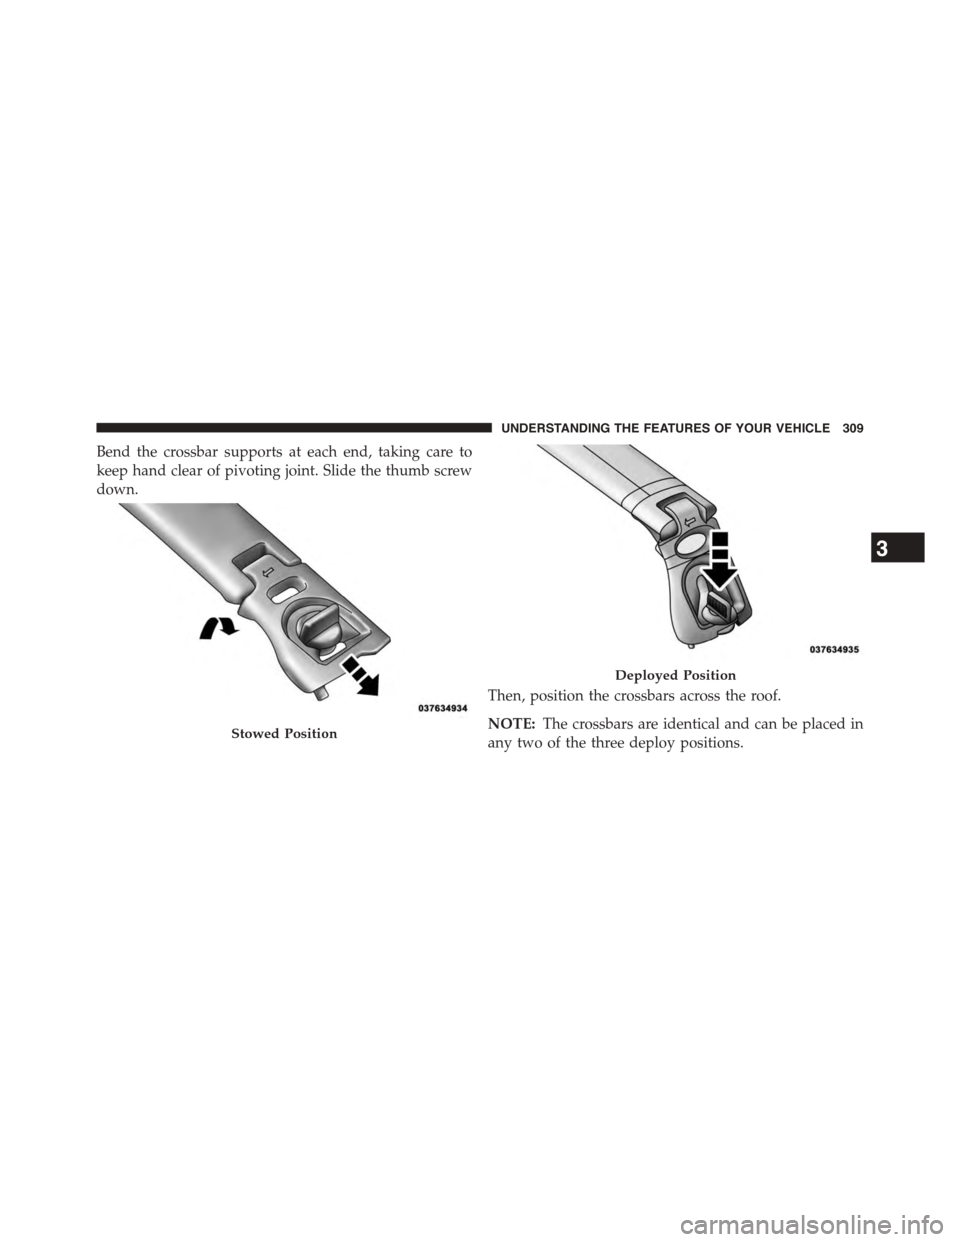
Bend the crossbar supports at each end, taking care to
keep hand clear of pivoting joint. Slide the thumb screw
down.
Then, position the crossbars across the roof.
NOTE:The crossbars are identical and can be placed in
any two of the three deploy positions.Stowed Position
Deployed Position
3
UNDERSTANDING THE FEATURES OF YOUR VEHICLE 309
Page 313 of 726
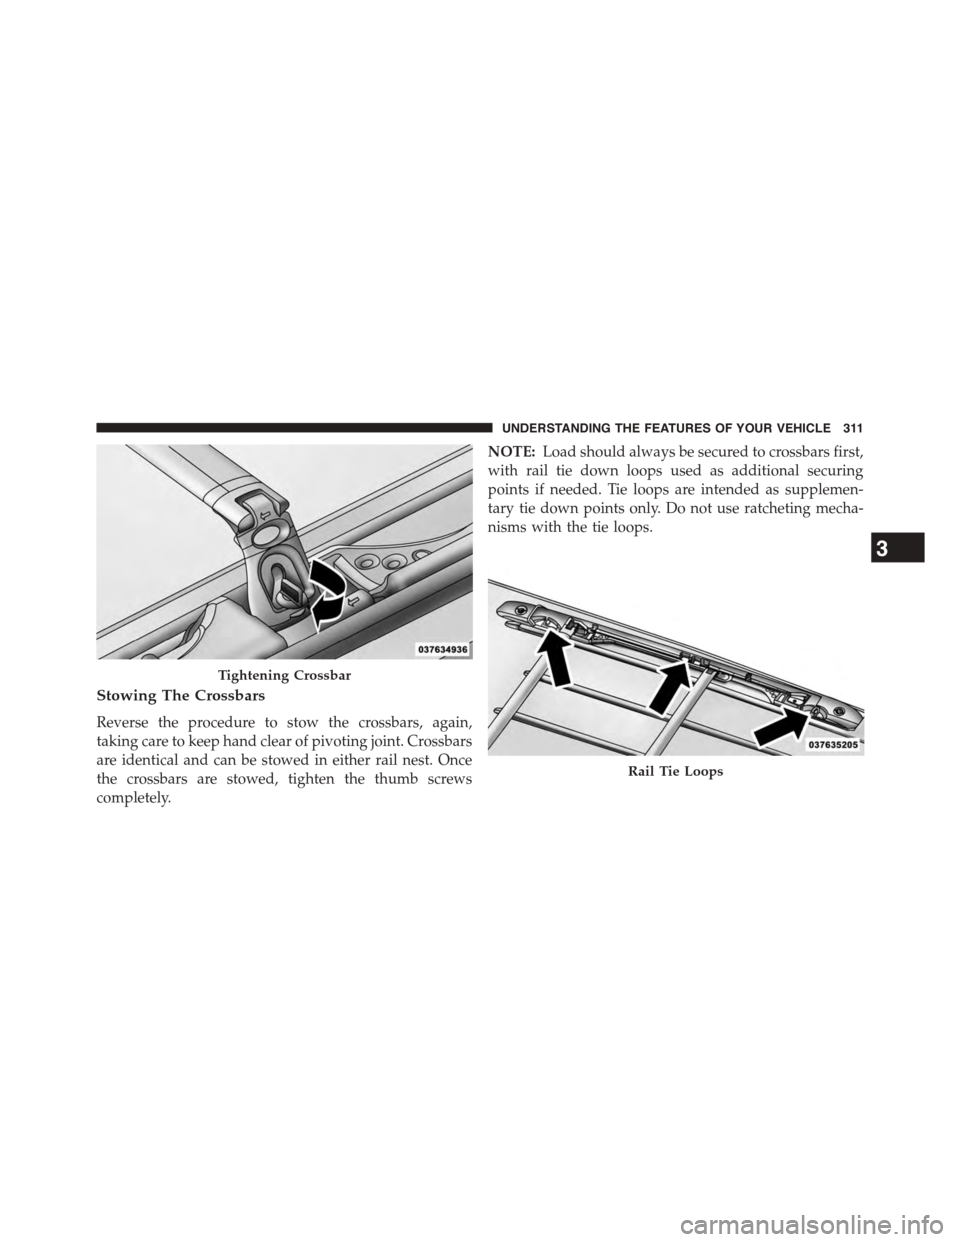
Stowing The Crossbars
Reverse the procedure to stow the crossbars, again,
taking care to keep hand clear of pivoting joint. Crossbars
are identical and can be stowed in either rail nest. Once
the crossbars are stowed, tighten the thumb screws
completely.
NOTE:Load should always be secured to crossbars first,
with rail tie down loops used as additional securing
points if needed. Tie loops are intended as supplemen-
tary tie down points only. Do not use ratcheting mecha-
nisms with the tie loops.
Tightening Crossbar
Rail Tie Loops
3
UNDERSTANDING THE FEATURES OF YOUR VEHICLE 311
Page 566 of 726
Overloading
The load carrying components (axle, springs, tires,
wheels, etc.) of your vehicle will provide satisfactory
service as long as you do not exceed the GVWR and the
front and rear GAWR.
The best way to figure out the total weight of your
vehicle is to weigh it when it is fully loaded and ready for
operation. Weigh it on a commercial scale to ensure that
it is not over the GVWR.
Figure out the weight on the front and rear of the vehicle
separately. It is important that you distribute the load
evenly over the front and rear axles.
Overloading can cause potential safety hazards and
shorten useful service life. Heavier axles or suspension
components do not necessarily increase the vehicle’s
GVWR.
Loading
To load your vehicle properly, first figure out its empty
weight, axle-by-axle and side-by-side. Store heavier items
down low and be sure you distribute their weight as
evenly as possible. Stow all loose items securely before
driving. If weighing the loaded vehicle shows that you
have exceeded either GAWR, but the total load is within
the specified GVWR, you must redistribute the weight.
Improper weight distribution can have an adverse effect
on the way your vehicle steers and handles and the way
the brakes operate.
NOTE:Refer to the “Vehicle Certification Label” affixed
to the rear of the driver’s door for your vehicle’s GVWR
and GAWRs.
564 STARTING AND OPERATING
Page 584 of 726
CAUTION!
Driving with a hot cooling system could damage
your vehicle. If temperature gauge reads “H”, pull
over and stop the vehicle. Idle the vehicle with the air
conditioner turned off until the pointer drops back
into the normal range. If the pointer remains on the
“H”, turn the engine off immediately, and call for
service.
WARNING!
You or others can be badly burned by hot engine
coolant (antifreeze) or steam from your radiator. If
you see or hear steam coming from under the hood,
do not open the hood until the radiator has had time
to cool. Never try to open a cooling system pressure
cap when the radiator or coolant bottle is hot.
TIRE SERVICE KIT — IF EQUIPPED
Small punctures up to¼” (6 mm) in the tire tread can be
sealed with Tire Service Kit. Foreign objects (e.g., screws
or nails) should not be removed from the tire. Tire Service
Kit can be used in outside temperatures down to approxi-
mately -4°F (-20°C).
This kit will provide a temporary tire seal, allowing you
to drive your vehicle up to 100 miles (160 km) with a
maximum speed of 55 mph (90 km/h).
Tire Service Kit Storage
The Tire Service Kit is stowed behind the rear left side
trim panel in the rear cargo area.
582 WHAT TO DO IN EMERGENCIES