2015 CHRYSLER 200 door lock
[x] Cancel search: door lockPage 69 of 220
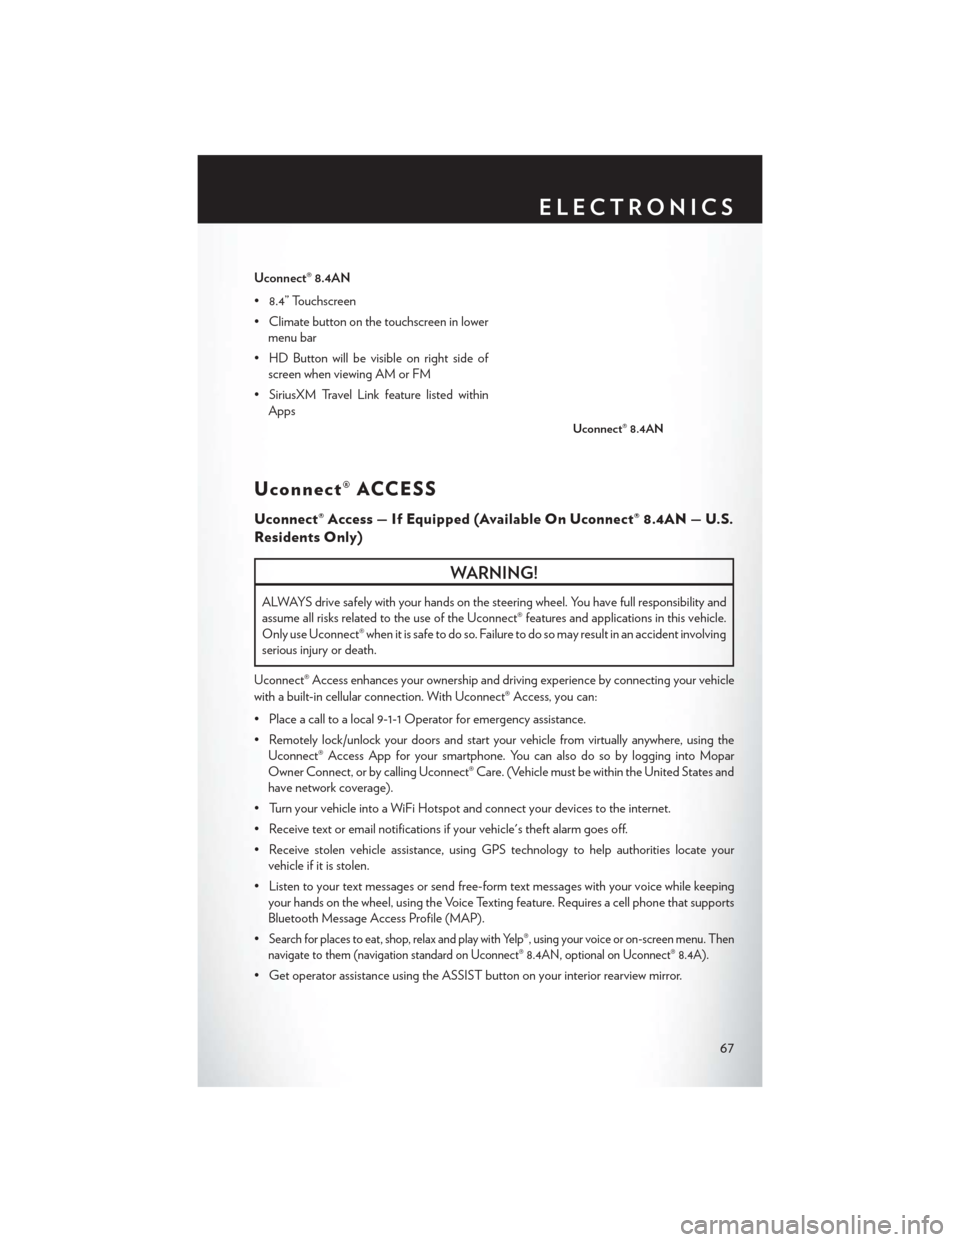
Uconnect® 8.4AN
• 8.4” Touchscreen
• Climate button on the touchscreen in lowermenu bar
• HD Button will be visible on right side of screen when viewing AM or FM
• SiriusXM Travel Link feature listed within Apps
Uconnect® ACCESS
Uconnect® Access — If Equipped (Available On Uconnect® 8.4AN — U.S.
Residents Only)
WARNING!
ALWAYS drive safely with your hands on the steering wheel. You have full responsibility and
assume all risks related to the use of the Uconnect® features and applications in this vehicle.
Only use Uconnect® when it is safe to do so. Failure to do so may result in an accident involving
serious injury or death.
Uconnect® Access enhances your ownership and driving experience by connecting your vehicle
with a built-in cellular connection. With Uconnect® Access, you can:
• Place a call to a local 9-1-1 Operator for emergency assistance.
• Remotely lock/unlock your doors and start your vehicle from virtually anywhere, using the Uconnect® Access App for your smartphone. You can also do so by logging into Mopar
Owner Connect, or by calling Uconnect® Care. (Vehicle must be within the United States and
have network coverage).
• Turn your vehicle into a WiFi Hotspot and connect your devices to the internet.
• Receive text or email notifications if your vehicle's theft alarm goes off.
• Receive stolen vehicle assistance, using GPS technology to help authorities locate your vehicle if it is stolen.
• Listen to your text messages or send free-form text messages with your voice while keeping your hands on the wheel, using the Voice Texting feature. Requires a cell phone that supports
Bluetooth Message Access Profile (MAP).
•
Search for places to eat, shop, relax and play with Yelp®, using your voice or on-screen menu. Then
navigate to them (navigation standard on Uconnect® 8.4AN, optional on Uconnect® 8.4A).
• Get operator assistance using the ASSIST button on your interior rearview mirror.
Uconnect® 8.4AN
ELECTRONICS
67
Page 71 of 220
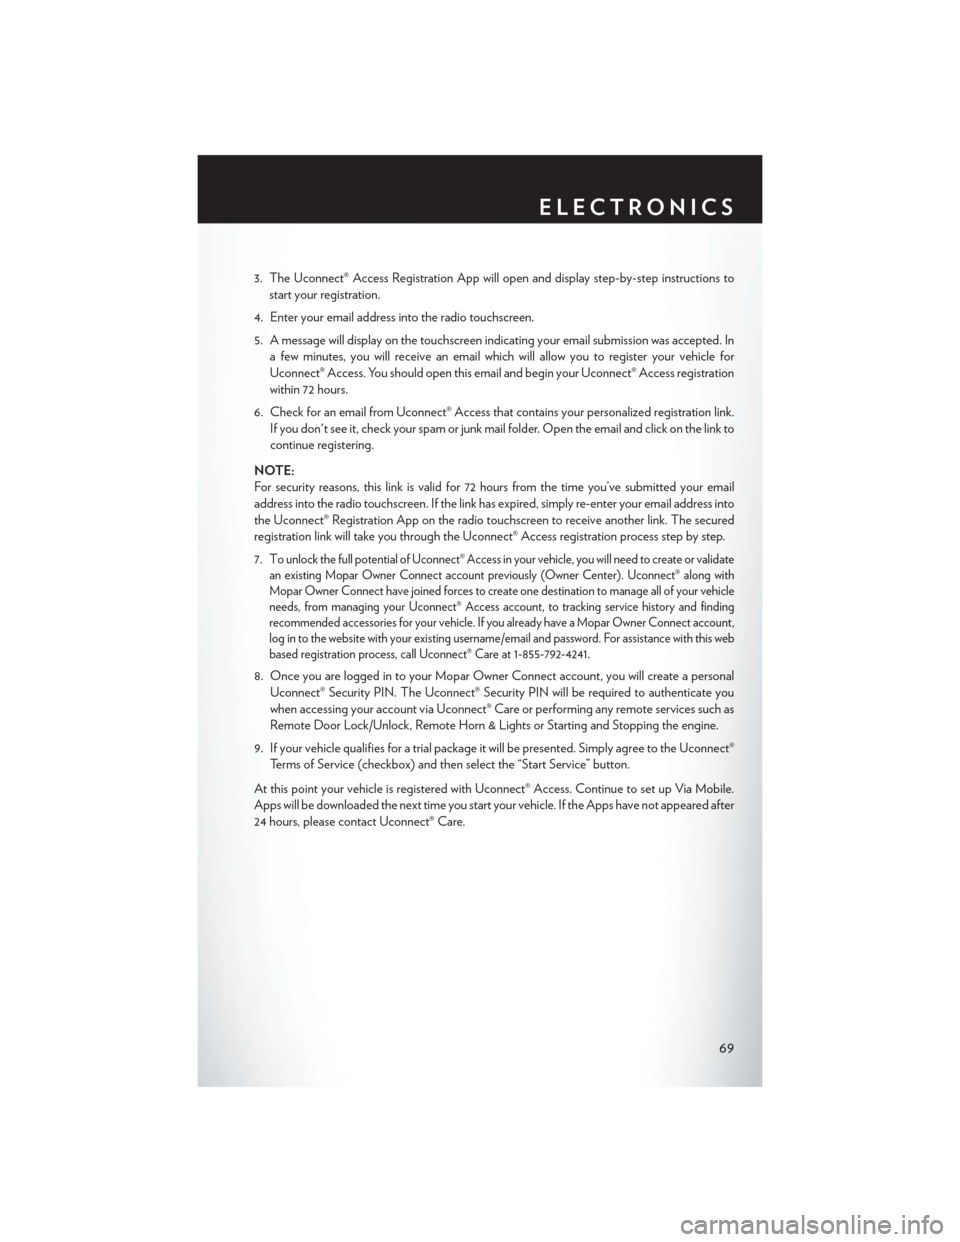
3. The Uconnect® Access Registration App will open and display step-by-step instructions tostart your registration.
4. Enter your email address into the radio touchscreen.
5. A message will display on the touchscreen indicating your email submission was accepted. In a few minutes, you will receive an email which will allow you to register your vehicle for
Uconnect® Access. You should open this email and begin your Uconnect® Access registration
within 72 hours.
6. Check for an email from Uconnect® Access that contains your personalized registration link. If you don't see it, check your spam or junk mail folder. Open the email and click on the link to
continue registering.
NOTE:
For security reasons, this link is valid for 72 hours from the time you’ve submitted your email
address into the radio touchscreen. If the link has expired, simply re-enter your email address into
the Uconnect® Registration App on the radio touchscreen to receive another link. The secured
registration link will take you through the Uconnect® Access registration process step by step.
7. T
o unlock the full potential of Uconnect® Access in your vehicle, you will need to create or validate
an existing Mopar Owner Connect account previously (Owner Center). Uconnect® along with
Mopar Owner Connect have joined forces to create one destination to manage all of your vehicle
needs, from managing your Uconnect® Access account, to tracking service history and finding
recommended accessories for your vehicle. If you already have a Mopar Owner Connect account,
log in to the website with your existing username/email and password. For assistance with this web
based registration process, call Uconnect® Care at 1-855-792-4241.
8. Once you are logged in to your Mopar Owner Connect account, you will create a personal
Uconnect® Security PIN. The Uconnect® Security PIN will be required to authenticate you
when accessing your account via Uconnect® Care or performing any remote services such as
Remote Door Lock/Unlock, Remote Horn & Lights or Starting and Stopping the engine.
9. If your vehicle qualifies for a trial package it will be presented. Simply agree to the Uconnect® Terms of Service (checkbox) and then select the “Start Service” button.
At this point your vehicle is registered with Uconnect® Access. Continue to set up Via Mobile.
Apps will be downloaded the next time you start your vehicle. If the Apps have not appeared after
24 hours, please contact Uconnect® Care.
ELECTRONICS
69
Page 72 of 220
Download The Uconnect® Access App
The Uconnect® Access smartphone app allows you to remotely lock or unlock your doors, start
your engine (if equipped) and activate your horn and lights from virtually anywhere. The
smartphone app also features Via Mobile (if equipped) which uses your smartphone’s data plan
to access your personal Pandora®, iHeartRadio, Slacker Radio and Aha™ by HARMAN accounts
and control them using your vehicle touchscreen.
The Uconnect® Access app is only compatible with select iPhone® and Android smartphones.
Visit UconnectPhone.com or call 1-877-855-8400 to confirm that your smartphone is compatible
with Uconnect®. Once you’ve confirmed your smartphone is compatible, Android and iPhone®
users should visit their respective app store and search for “Uconnect Access” to download the
app.
Set Up Your Via Mobile Profile — If Equipped
Setting up your Via Mobile profile means entering your login information for each App so that
they can work in your vehicle. Complete your Via Mobile Profile online during registration of your
Uconnect® Access system. Access this pageby logging into your Mopar Owner Connect
account (moparownerconnect.com), going to Edit Profile, then Via Mobile Profile.
If you already have an account with these Apps, scroll down and press “Link” to enter your
information. If you do not have an account, you can create a new one.
Aha™ by HARMAN (www.aharadio.com)
• Enter your email address and password for Aha™, or create a new Aha™ account.
• You can link your Facebook, Twitter or Slacker accounts on the Aha™ website.
iHeartRadio (www.iHeartRadio.com)
• Enter your email address and password for iHeartRadio, or create a new iHeartRadio account.
• Select “Activate” to continue,
• Select “Close” to complete activation.
Pandora® (www.pandora.com)
• Enter your Pandora® username/email address and password, then click “Save.”
• Create a new Pandora® account.
Slacker Radio (www.slacker.com)
• Enter your Slacker username/email address and password, then click “Save.”
• Create a new Slacker Radio account.
Invite family and friends to use the Via Mobile Apps in your vehicle by setting up their own Via
Mobile profile.
ELECTRONICS
70
Page 79 of 220

Uconnect® Access Remote Features
If you own a compatible iPhone® or Android® powered device, the Uconnect® Access App allows
you to remotely lock or unlock your doors, start your engine or activate your horn and lights from
virtually anywhere (Vehicle must be within the United States and have network coverage). You
can download the App from Mopar Owner Connect or from the App Store (iPhone) or Google
Play store. Visit UconnectPhone.com to determine if your device is compatible. For Uconnect®
Phone customer support and to determine if your device is compatible.
U.S. residents - visit UconnectPhone.com or call 1-877-855-8400
Remote Start— This feature provides the ability to start the engine on your vehicle, without the
keys and from virtually any distance. You can send a request to your vehicle in one of two ways:
1. Using the Uconnect® Access App from a compatible smartphone.
2. From the Mopar Owner Connect website.
• After 15 minutes if you have not entered your vehicle with the key, the engine will shut offautomatically.
• You can also send a command to turn-off an engine that has been remote started.
• This remote function requires your vehicle to be equipped with a factory-installed Remote Start system. To utilize this feature after the Uconnect® Access App is downloaded, login
with your user name and password.
NOTE:
Your four digit Uconnect® Security PIN is required to confirm the request. •
You can set-up notifications for your account to receive an email or text (SMS) message every
time a command is sent. Login to Mopar Owner Connect (
moparownerconnect.com) and
click on Edit Profile to manage Uconnect® Notifications.
Remote Door Lock/Unlock — This feature provides the ability to lock or unlock the door on
your vehicle, without the keys and from virtually any distance. You can send a request to your
vehicle in one of three ways:
1. Using the Uconnect® Access App from a compatible smartphone.
2. From the Mopar Owner Connect website.
3. By contacting the Uconnect® Care on the phone.
To use this feature after the Uconnect® Access App is downloaded, login using your user name
and password. You will need your four digit Uconnect® Security PIN to confirm the request. Press
the “closed lock” icon on your Uconnect® Access App to lock the doors, and press the “open
Lock” icon to unlock the driver’s door.
You can set-up notifications for your account to receive an email or text (SMS) message every
time a command is sent. Login to Mopar Owner Connect (moparownerconnect.com) and click
on Edit Profile to manage Uconnect® Notifications.
ELECTRONICS
77
Page 124 of 220

Uconnect® Access — If Equipped (8.4A/8.4AN)
An included trial and/or subscription is required to take advantage of the Uconnect® Access
services in the next section of this guide. To register with Uconnect® Access, press the “Apps”
button on the 8.4-inch touchscreen to get started. Detailed registration instructions can be found
on the next page.
*Uconnect® Access is available only on equipped vehicles purchased within the continental
United States, Alaska and Hawaii. Services can only be used where coverage is available; see
coverage map for details.
CALL9119-1-1 CallTheft Alarm Notification
Remote Door Lock/UnlockStolen Vehicle Assistance
Remote Vehicle Start**Yelp® Search
Remote Horn and Lights
Text
Voice Texting
Roadside Assistance CallWi-Fi Hotspot***
**If vehicle is equipped.
***Extra charges apply.
ELECTRONICS
122
Page 150 of 220
PROGRAMMABLE FEATURES
Uconnect® Customer Programmable Features
The Uconnect® system allows you to access Customer Programmable feature settings such as
Display, Clock, Safety/Assistance, Lights, Doors & Locks, Auto-On Comfort & Remote Start,
Engine Off Operation, Compass Settings, Audio, Trailer Brake, Phone/Bluetooth®, Suspension
and SiriusXM Setup and System Information through buttons on the touchscreen.
• Push the “Controls” button located near the bottom of the touchscreen, then push the“Settings” button on the touchscreen to access the Settings screen. When making a selection,
scroll up or down until the preferred setting is highlighted, then press and release the preferred
setting until a check-mark appears next to the setting, showing that setting has been selected.
The following feature settings are available:
• Display • Voice
• Units • Doors & Locks
• Safety/Assistance • Engine Off Options
• Auto-On Comfort & Remote Start • Audio
• Phone/Bluetooth® • SiriusXM Setup
• Lights • System Information
• Clock • Compass
Refer to “Uconnect Settings/Customer Programmable Features” found within “Understanding
Your Instrument Panel” located in your Owner's Manual on the DVD for further information.
UNIVERSAL GARAGE DOOR OPENER
(HomeLink®)
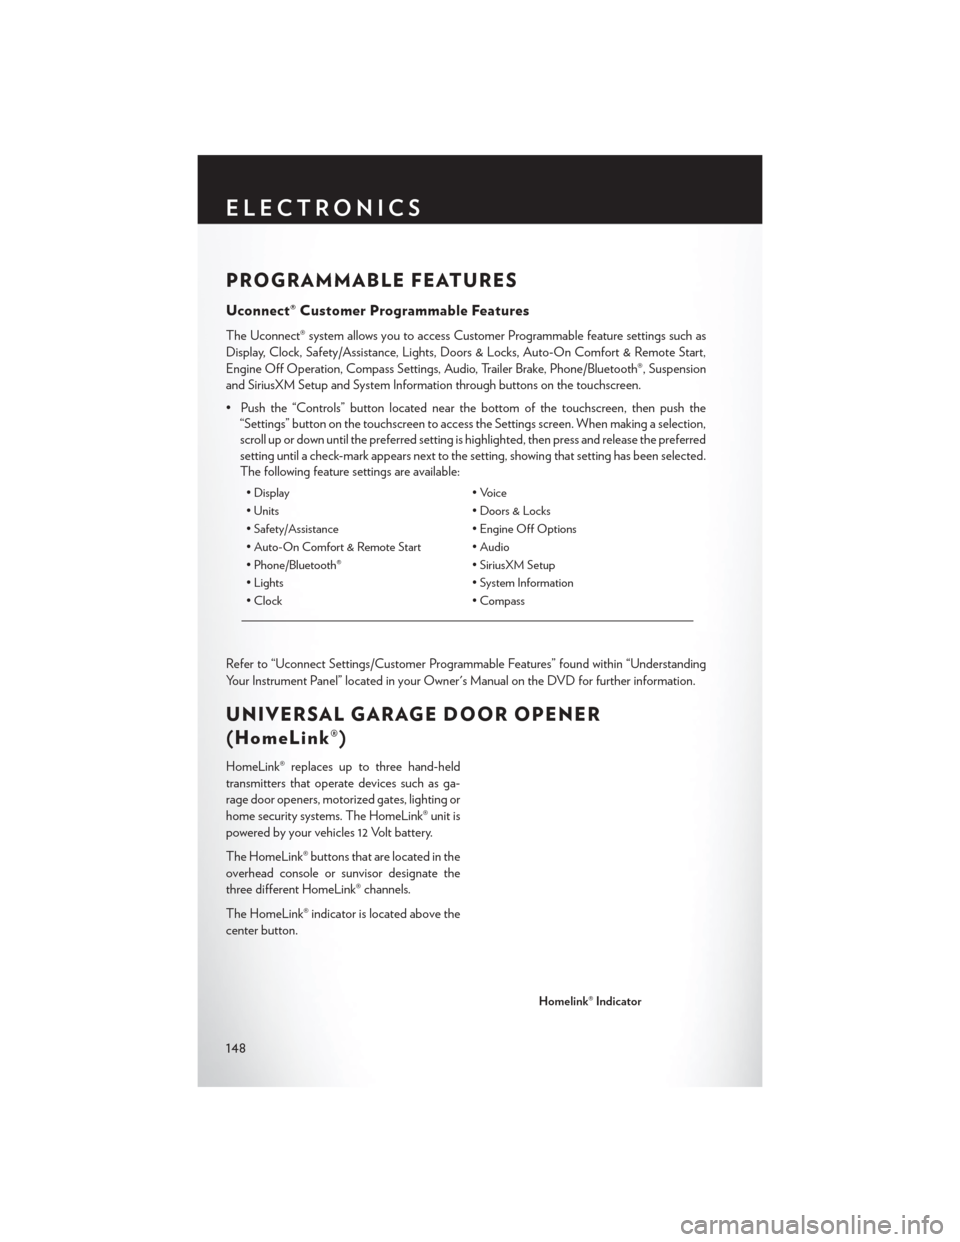
HomeLink® replaces up to three hand-held
transmitters that operate devices such as ga-
rage door openers, motorized gates, lighting or
home security systems. The HomeLink® unit is
powered by your vehicles 12 Volt battery.
The HomeLink® buttons that are located in the
overhead console or sunvisor designate the
three different HomeLink® channels.
The HomeLink® indicator is located above the
center button.
Homelink® Indicator
ELECTRONICS
148
Page 152 of 220
NOTE:
If the device does not activate, push the button a third time (for two seconds) to complete the
training.
7. To program the remaining two HomeLink® buttons, repeat each step for each remainingbutton. DO NOT erase the channels.
Programming A Non-Rolling Code
NOTE:
For programming Garage Door Openers manufactured before 1995.
1. Turn the ignition switch to the ON/RUN position.
2. Place the hand-held transmitter 1 to 3 inches (3 to 8 cm) away from the HomeLink® button you wish to program while keeping the HomeLink® indicator light in view.
3. Push and hold the HomeLink® button you want to program while you push and hold the hand-held transmitter button.
4. Continue to hold both buttons and observe the indicator light. The HomeLink® indicator will flash slowly and then rapidly after HomeLink® has received the frequency signal from the
hand-held transmitter. Release both buttons after the indicator light changes from slow to
rapid.
5. Push and hold the programmed HomeLink® button and observe the indicator light. If the indicator light stays on constantly, programming is complete and the garage door (or device)
should activate when the HomeLink® button is pushed.
6. To program the two remaining HomeLink® buttons, repeat each step for each remaining button. DO NOT erase the channels.
Using HomeLink®
To operate, push and release the programmed HomeLink® button. Activation will now occur for the
programmed device (i.e., garage door opener, gate operator, security system, entry door lock,
home/office lighting, etc.,). The hand-held transmitter of the device may also be used at any time.
WARNING!
•Your motorized door or gate will open and close while you are programming the universal
transceiver. Do not program the transceiver if people or pets are in the path of the door or gate.
• Do not run your vehicle in a closed garage or confined area while programming the transceiver. Exhaust gas from your vehicle contains Carbon Monoxide (CO) which is
odorless and colorless. Carbon Monoxide is poisonous when inhaled and can cause you
and others to be severely injured or killed.
ELECTRONICS
150
Page 168 of 220

(E) After Driving:
Pull over to a safe location. Refer to “Whenever You Stop to Use Tire Service Kit” before
continuing.
1. Turn the Mode Select Knob (5) to the Air Mode position.
2. Uncoil the Air Pump Hose (7) (black in color) and screw the fitting at the end of hose (7) ontothe valve stem.
3. Uncoil the power plug and insert the plug into the vehicles 12 Volt power outlet.
4. Check the pressure in the tire by reading the Pressure Gauge (3).
If tire pressure is less than 19 psi (1.3 Bar), the tire is too badly damaged. Do not attempt to
drive the vehicle further. Call for assistance.
If the tire pressure is 19 psi (1.3 Bar) or higher:
1. Press the Power Button (4) to turn on Tire Service Kit and inflate the tire to the pressure indicated on the tire and loading information label on the driver-side door opening.
2. Disconnect the Tire Service Kit from the valve stem, reinstall the cap on the valve stem and unplug from 12 Volt outlet.
3. Place the Tire Service Kit in its proper storage area in the vehicle.
4. Have the tire inspected and repaired or replaced at the earliest opportunity at an authorized dealer or tire service center.
5. Remove the Speed Limit sticker from the instrument panel after the tire has been repaired.
6. Replace the Sealant Bottle (1) and Sealant Hose (6) assembly at your authorized dealer as soon as possible. Refer to “(F) Sealant Bottle and Hose Replacement.”
NOTE:
• If the tire becomes over-inflated, press the Deflation Button to reduce the tire pressure to the recommended inflation pressure before continuing.
• When having the tire serviced, advise the authorized dealer or service center that the tire has been sealed using the Tire Service Kit.
(F) Sealant Bottle And Hose Replacement:
1. Uncoil the Sealant Hose (6) (clear in color).
2. Locate the round Sealant Bottle release button in the recessed area under the sealant bottle.
3. Press the Sealant Bottle release button. The Sealant Bottle (1) will pop up. Remove the bottle
and dispose of it accordingly.
4. Clean any remaining sealant from the Tire Service Kit housing.
5. Position the new Sealant Bottle (1) in the housing so that the Sealant Hose (6) aligns with the hose slot in the front of the housing. Press the bottle into the housing. An audible click will be
heard indicating the bottle is locked into place.
WHAT TO DO IN EMERGENCIES
166