2015 CHRYSLER 200 clock
[x] Cancel search: clockPage 86 of 220

Uconnect® 3.0
Clock Setting
1. Push the Menu button at the bottom of the radio, and push the Enter/Browse button forSystem Settings. Next, select the Time and Format setting and then select Set Time by
pushing the Enter/Browse button.
2. Adjust the hours or minutes by turning the Tune/Scroll knob, then pushing the Enter/Browse button to move to the next entry. You can also select 12hr or 24hr format by turning the
Tune/Scroll knob, then pushing the Enter/Browse button on the desired selection.
3. Once the time is set push the “Back” button to exit the time screen.
Uconnect® 3.0 Radio
1 — RADIO Button
2 — INFO Button
3 — MEDIA Button
4 — A-B-C Button
5 — Preset Buttons
6 — SEEK Down Button
7 — Play/Pause — Mute Button8 — SEEK Up Button
9 — ON/OFF Button/Volume Knob
10 — BROWSE/ENTER Button/TUNE/
SCROLL Knob
11 — AUDIO Button
12 — MENU Button
13 — BACK Button
ELECTRONICS
84
Page 89 of 220
Clock Setting
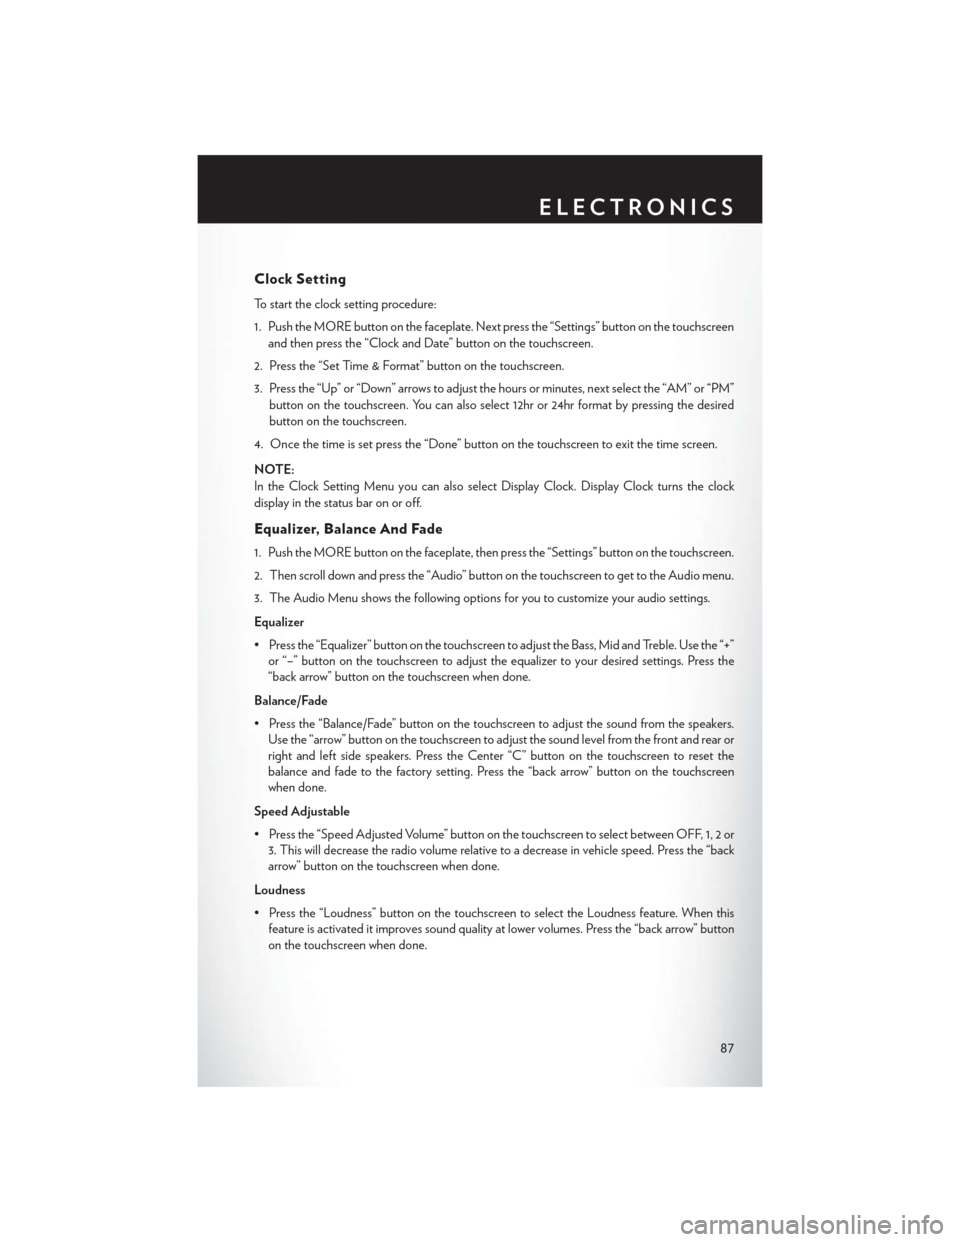
To start the clock setting procedure:
1. Push the MORE button on the faceplate. Next press the “Settings” button on the touchscreenand then press the “Clock and Date” button on the touchscreen.
2. Press the “Set Time & Format” button on the touchscreen.
3. Press the “Up” or “Down” arrows to adjust the hours or minutes, next select the “AM” or “PM” button on the touchscreen. You can also select 12hr or 24hr format by pressing the desired
button on the touchscreen.
4. Once the time is set press the “Done” button on the touchscreen to exit the time screen.
NOTE:
In the Clock Setting Menu you can also select Display Clock. Display Clock turns the clock
display in the status bar on or off.
Equalizer, Balance And Fade
1. Push the MORE button on the faceplate, then press the “Settings” button on the touchscreen.
2. Then scroll down and press the “Audio” button on the touchscreen to get to the Audio menu.
3. The Audio Menu shows the following options for you to customize your audio settings.
Equalizer
• Press the “Equalizer” button on the touchscreen to adjust the Bass, Mid and Treble. Use the “+” or “–” button on the touchscreen to adjust the equalizer to your desired settings. Press the
“back arrow” button on the touchscreen when done.
Balance/Fade
• Press the “Balance/Fade” button on the touchscreen to adjust the sound from the speakers. Use the “arrow” button on the touchscreen to adjust the sound level from the front and rear or
right and left side speakers. Press the Center “C” button on the touchscreen to reset the
balance and fade to the factory setting. Press the “back arrow” button on the touchscreen
when done.
Speed Adjustable
• Press the “Speed Adjusted Volume” button on the touchscreen to select between OFF, 1, 2 or 3. This will decrease the radio volume relative to a decrease in vehicle speed. Press the “back
arrow” button on the touchscreen when done.
Loudness
• Press the “Loudness” button on the touchscreen to select the Loudness feature. When this feature is activated it improves sound quality at lower volumes. Press the “back arrow” button
on the touchscreen when done.
ELECTRONICS
87
Page 100 of 220

Uconnect® 8.4A
Uconnect® 8.4A — If Equipped
At A Glance
Displaying The Time
• If the time is not currently displayed on the radio or player main page, press the “Controls”button on the touchscreen or the “Apps” button on the touchscreen, then the “Settings”
button on the touchscreen. In the Settings list, press the “Clock” button on the touchscreen.
Uconnect® 8.4A
1 — Status Bar
2 — Menu Bar
3 — Uconnect® Apps Button
4 — Uconnect® Phone Button5 — Climate Button
6 — Controls Button
7 — Media Button
8 — Radio Button
ELECTRONICS
98
Page 101 of 220
Setting The Time
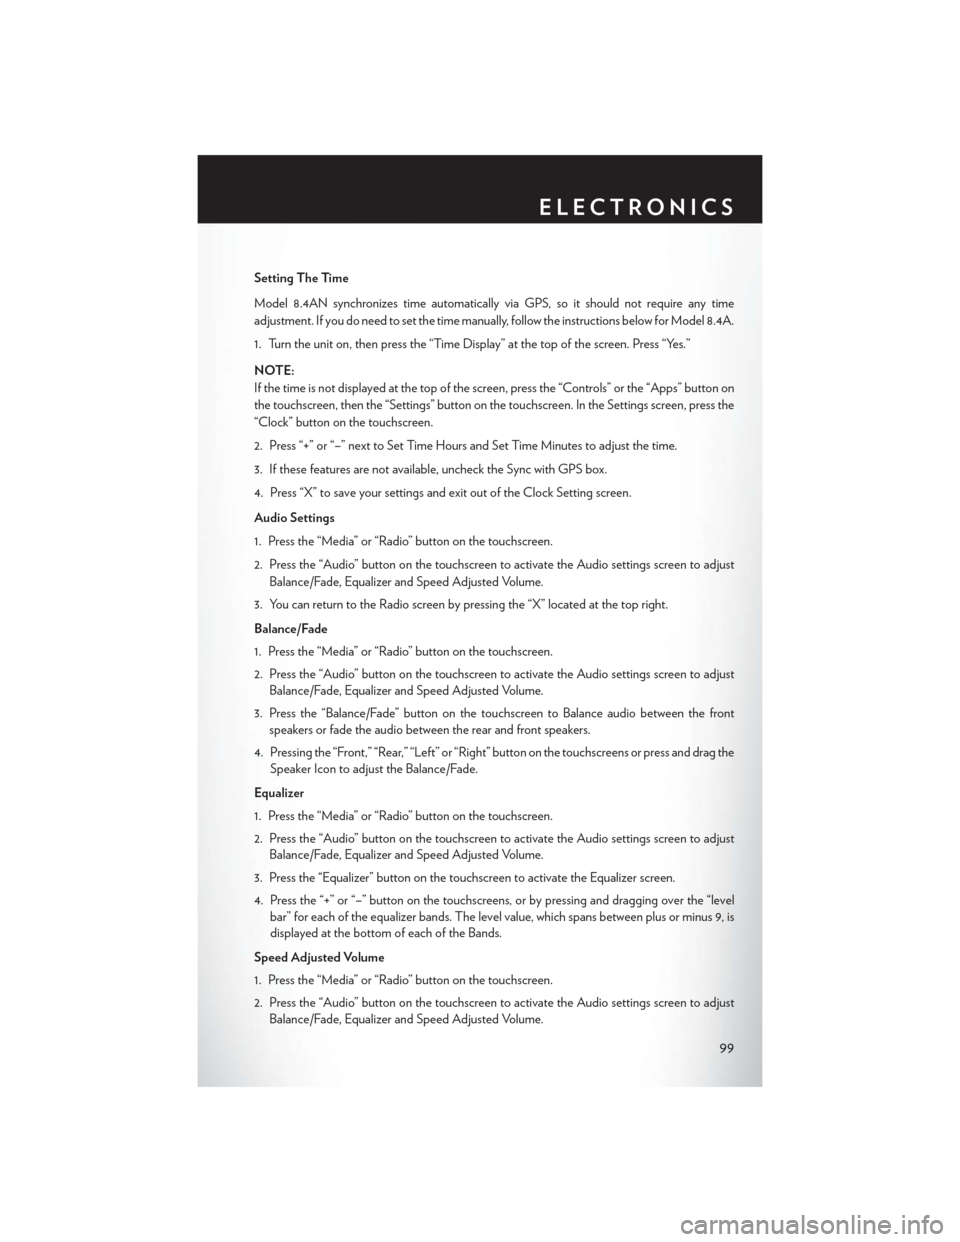
Model 8.4AN synchronizes time automatically via GPS, so it should not require any time
adjustment. If you do need to set the time manually, follow the instructions below for Model 8.4A.
1. Turn the unit on, then press the “Time Display” at the top of the screen. Press “Yes.”
NOTE:
If the time is not displayed at the top of the screen, press the “Controls” or the “Apps” button on
the touchscreen, then the “Settings” button on the touchscreen. In the Settings screen, press the
“Clock” button on the touchscreen.
2. Press “+” or “–” next to Set Time Hours and Set Time Minutes to adjust the time.
3. If these features are not available, uncheck the Sync with GPS box.
4. Press “X” to save your settings and exit out of the Clock Setting screen.
Audio Settings
1. Press the “Media” or “Radio” button on the touchscreen.
2. Press the “Audio” button on the touchscreen to activate the Audio settings screen to adjustBalance/Fade, Equalizer and Speed Adjusted Volume.
3. You can return to the Radio screen by pressing the “X” located at the top right.
Balance/Fade
1. Press the “Media” or “Radio” button on the touchscreen.
2. Press the “Audio” button on the touchscreen to activate the Audio settings screen to adjust Balance/Fade, Equalizer and Speed Adjusted Volume.
3. Press the “Balance/Fade” button on the touchscreen to Balance audio between the front speakers or fade the audio between the rear and front speakers.
4. Pressing the “Front,” “Rear,” “Left” or “Right” button on the touchscreens or press and drag the Speaker Icon to adjust the Balance/Fade.
Equalizer
1. Press the “Media” or “Radio” button on the touchscreen.
2. Press the “Audio” button on the touchscreen to activate the Audio settings screen to adjust Balance/Fade, Equalizer and Speed Adjusted Volume.
3. Press the “Equalizer” button on the touchscreen to activate the Equalizer screen.
4. Press the “+” or “–” button on the touchscreens, or by pressing and dragging over the “level bar” for each of the equalizer bands. The level value, which spans between plus or minus 9, is
displayed at the bottom of each of the Bands.
Speed Adjusted Volume
1. Press the “Media” or “Radio” button on the touchscreen.
2. Press the “Audio” button on the touchscreen to activate the Audio settings screen to adjust Balance/Fade, Equalizer and Speed Adjusted Volume.
ELECTRONICS
99
Page 132 of 220
Displaying The Time
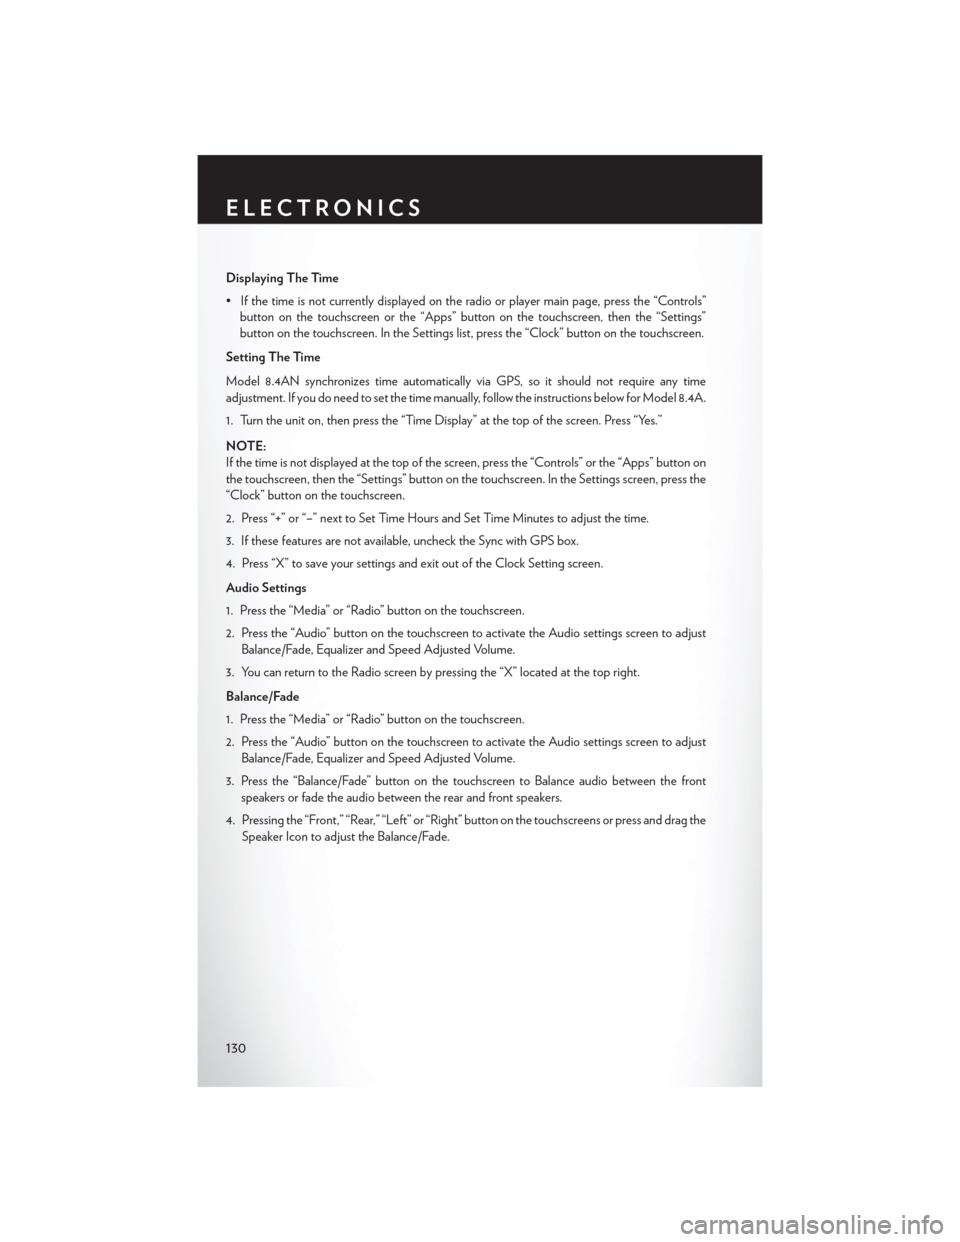
• If the time is not currently displayed on the radio or player main page, press the “Controls”button on the touchscreen or the “Apps” button on the touchscreen, then the “Settings”
button on the touchscreen. In the Settings list, press the “Clock” button on the touchscreen.
Setting The Time
Model 8.4AN synchronizes time automatically via GPS, so it should not require any time
adjustment. If you do need to set the time manually, follow the instructions below for Model 8.4A.
1. Turn the unit on, then press the “Time Display” at the top of the screen. Press “Yes.”
NOTE:
If the time is not displayed at the top of the screen, press the “Controls” or the “Apps” button on
the touchscreen, then the “Settings” button on the touchscreen. In the Settings screen, press the
“Clock” button on the touchscreen.
2. Press “+” or “–” next to Set Time Hours and Set Time Minutes to adjust the time.
3. If these features are not available, uncheck the Sync with GPS box.
4. Press “X” to save your settings and exit out of the Clock Setting screen.
Audio Settings
1. Press the “Media” or “Radio” button on the touchscreen.
2. Press the “Audio” button on the touchscreen to activate the Audio settings screen to adjust Balance/Fade, Equalizer and Speed Adjusted Volume.
3. You can return to the Radio screen by pressing the “X” located at the top right.
Balance/Fade
1. Press the “Media” or “Radio” button on the touchscreen.
2. Press the “Audio” button on the touchscreen to activate the Audio settings screen to adjust Balance/Fade, Equalizer and Speed Adjusted Volume.
3. Press the “Balance/Fade” button on the touchscreen to Balance audio between the front speakers or fade the audio between the rear and front speakers.
4. Pressing the “Front,” “Rear,” “Left” or “Right” button on the touchscreens or press and drag the Speaker Icon to adjust the Balance/Fade.
ELECTRONICS
130
Page 150 of 220
PROGRAMMABLE FEATURES
Uconnect® Customer Programmable Features
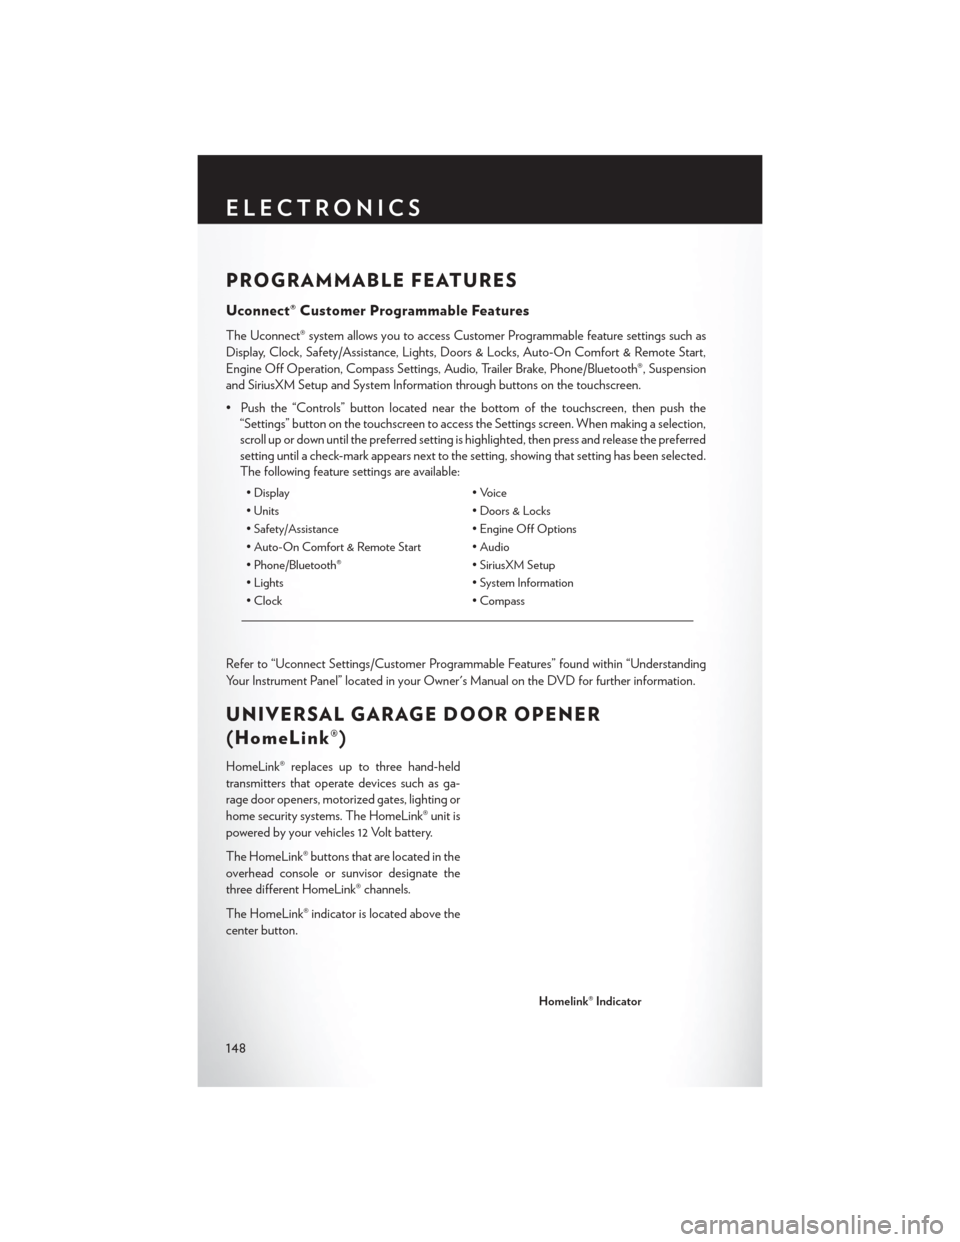
The Uconnect® system allows you to access Customer Programmable feature settings such as
Display, Clock, Safety/Assistance, Lights, Doors & Locks, Auto-On Comfort & Remote Start,
Engine Off Operation, Compass Settings, Audio, Trailer Brake, Phone/Bluetooth®, Suspension
and SiriusXM Setup and System Information through buttons on the touchscreen.
• Push the “Controls” button located near the bottom of the touchscreen, then push the“Settings” button on the touchscreen to access the Settings screen. When making a selection,
scroll up or down until the preferred setting is highlighted, then press and release the preferred
setting until a check-mark appears next to the setting, showing that setting has been selected.
The following feature settings are available:
• Display • Voice
• Units • Doors & Locks
• Safety/Assistance • Engine Off Options
• Auto-On Comfort & Remote Start • Audio
• Phone/Bluetooth® • SiriusXM Setup
• Lights • System Information
• Clock • Compass
Refer to “Uconnect Settings/Customer Programmable Features” found within “Understanding
Your Instrument Panel” located in your Owner's Manual on the DVD for further information.
UNIVERSAL GARAGE DOOR OPENER
(HomeLink®)
HomeLink® replaces up to three hand-held
transmitters that operate devices such as ga-
rage door openers, motorized gates, lighting or
home security systems. The HomeLink® unit is
powered by your vehicles 12 Volt battery.
The HomeLink® buttons that are located in the
overhead console or sunvisor designate the
three different HomeLink® channels.
The HomeLink® indicator is located above the
center button.
Homelink® Indicator
ELECTRONICS
148
Page 176 of 220
9. Finish tightening the lug bolts. Push down on the wrench while at the end of the handle forincreased leverage. Tighten the lug bolts in a star pattern until each nut has been tightened
twice. The correct wheel bolt tightness is 100 ft lb (135 N·m). If in doubt about the correct
tightness, have them checked with a torque wrench by your authorized dealer or at a service
station.
10. Lower the jack to its fully closed position.
11. Secure the tire, jack, and tools in their proper locations.
12. Remove chocks from wheels.
Road Tire Installation
1. Mount the road tire on the axle.
2. Install the remaining lug bolts with the threaded end of the bolt toward the wheel. Lightly tighten the lug bolts.
3. Lower the vehicle to the ground by turning the jack handle counterclockwise.
4. Finish tightening the lug bolts. Push down on the wrench while at the end of the handle for increased leverage. Tighten the lug bolts in a star pattern until each bolt has been tightened
twice. The correct tightness of each lug bolt is 100 ft/lbs (135 N·m). If in doubt about the
correct tightness, have them checked with a torque wrench by your authorized dealer or
service station.
5. After 25 miles (40 km) check the lug bolt torque with a torque wrench to ensure that all lug bolts are properly seated against the wheel.
CAUTION!
Do not attempt to raise the vehicle by jacking on locations other than those indicated in the
Jacking Instructions for this vehicle.
WHAT TO DO IN EMERGENCIES
174
Page 207 of 220

FAQ’s
GETTING STARTED
• How do I install my LATCH Equipped Child Seat? pg. 25
• How do I fold down my rear seat? pg. 31
ELECTRONICS
Which radio is in my vehicle?
• Uconnect® 3.0 pg. 84
• Uconnect® 5.0 pg. 86
• Uconnect® 8.4A pg. 98
• Uconnect® 8.4AN pg. 129
How do I activate the Audio Jack?
• Uconnect® 3.0 pg. 85
• Uconnect® 5.0 pg. 89
• Uconnect® 8.4A pg. 103
• Uconnect® 8.4AN pg. 103
How do I set the clock on my radio?
• Uconnect® 3.0 pg. 84
• Uconnect® 5.0 pg. 87
• Uconnect® 8.4A pg. 98
• Uconnect® 8.4AN pg. 129
How do I use the Navigation feature?
• Uconnect® 8.4A pg. 106
• Uconnect® 8.4AN pg. 138
How do I pair my cell phone via Bluetooth® with the Uconnect® Hands-Free Voice Activation
System? pg. 142
How do I use my iPod®? pg. 103
How do I use my USB port to listen to audio through my touch-screen radio? pg. 103
How do I configure my Universal Garage Door Opener (HomeLink)? pg. 148
UTILITY
How do I know how much I can tow with my Chrysler 200? pg. 153
FREQUENTLY ASKED QUESTIONS
205