2015 CADILLAC ATS USB
[x] Cancel search: USBPage 46 of 138
Black plate (46,1)Cadillac CUE Infotainment System (GMNA-Localizing-U.S./Canada-
7639728) - 2015 - CRC - 9/3/14
46 Infotainment System
RSE Controls Available from
the Front Screen
To access the RSE application,
select Video from the HOME
screen. The Video app may also be
selected from the applications tray if
it has been stored in one of the five
locations.
Sourcing to DVD/BD
After a disc is inserted, it will
automatically begin playing on both
rear screens. If no video disc is
inserted or if the disc is ejected
while it is sourced to DVD/BD, the
screen will display“No Video Disc
Inserted.” With the vehicle in P (Park), BD/
DVD can be watched on the front
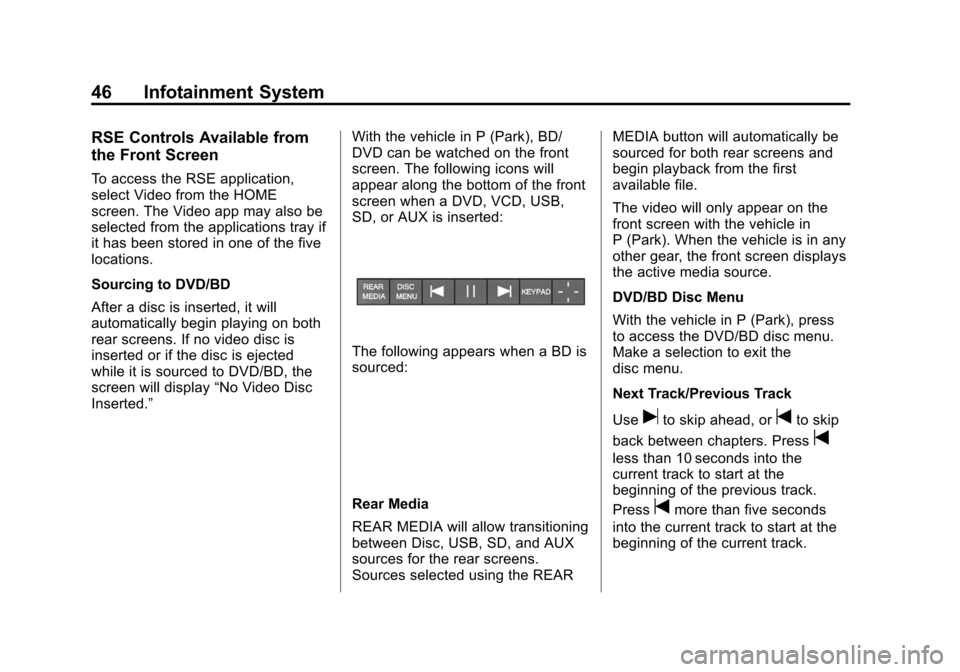
screen. The following icons will
appear along the bottom of the front
screen when a DVD, VCD, USB,
SD, or AUX is inserted:
The following appears when a BD is
sourced:
Rear Media
REAR MEDIA will allow transitioning
between Disc, USB, SD, and AUX
sources for the rear screens.
Sources selected using the REARMEDIA button will automatically be
sourced for both rear screens and
begin playback from the first
available file.
The video will only appear on the
front screen with the vehicle in
P (Park). When the vehicle is in any
other gear, the front screen displays
the active media source.
DVD/BD Disc Menu
With the vehicle in P (Park), press
to access the DVD/BD disc menu.
Make a selection to exit the
disc menu.
Next Track/Previous Track
Use
uto skip ahead, ortto skip
back between chapters. Press
t
less than 10 seconds into the
current track to start at the
beginning of the previous track.
Press
tmore than five seconds
into the current track to start at the
beginning of the current track.
Page 47 of 138
Black plate (47,1)Cadillac CUE Infotainment System (GMNA-Localizing-U.S./Canada-
7639728) - 2015 - CRC - 9/3/14
Infotainment System 47
Fast Forward/Fast Rewind
With the vehicle in P (Park), hold
u
ortfor approximately one and
one-half seconds to fast forward or
fast rewind at a rate of eight times
normal playback. If
uortare
held for approximately six seconds,
the rate of fast forward or fast
rewind will increase.
Play/Pause
Press
rto play orjto pause,
depending on the current selection.
Keypad for DVD/VCD/SD/USB
With the vehicle in P (Park), press
to display the DVD keypad. DVD
keypad functionality is disc
dependent and may not be available
on all DVDs. Up to four digits can
be entered. Press Clear to remove
one digit in the entry field. Press
and hold Clear to remove all digits
in the entry field. Pop Up Menu (BD Only)
This displays the pop up menu
contents for the BD. Make a
selection to exit the pop up
menu view.
Cursor
The cursor is used to navigate and
select items in the disc menu. Press
the up, down, right, or left arrows,
or the ENTER button. The cursor
will close after a selection or
time out.
Sourcing USB/SD/VCD/AUX with
Video
With the vehicle in P (Park), video
can be watched on the front screen
from devices plugged into the rear
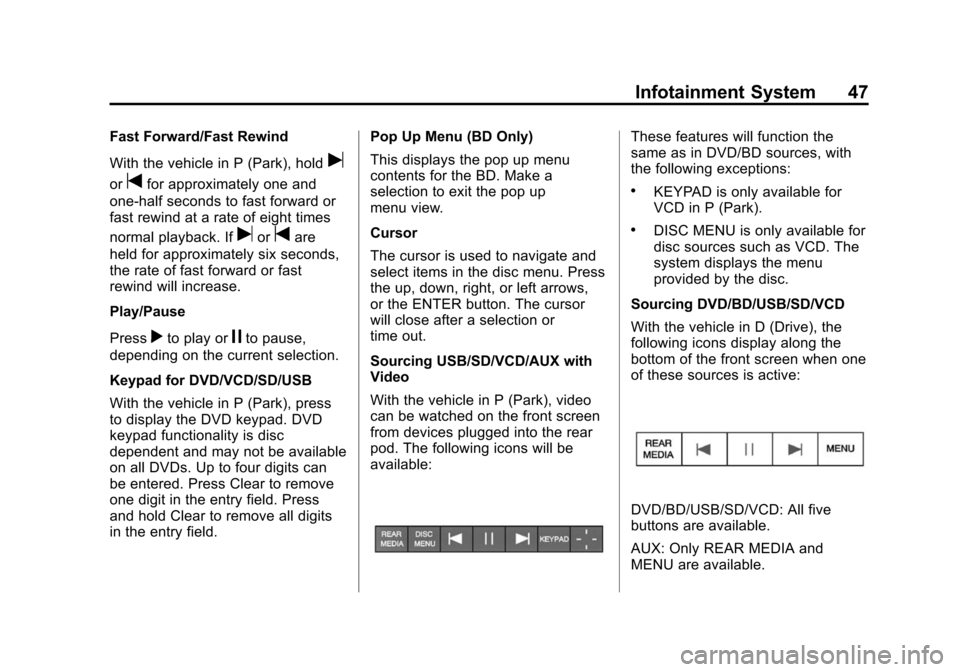
pod. The following icons will be
available:
These features will function the
same as in DVD/BD sources, with
the following exceptions:
.KEYPAD is only available for
VCD in P (Park).
.DISC MENU is only available for
disc sources such as VCD. The
system displays the menu
provided by the disc.
Sourcing DVD/BD/USB/SD/VCD
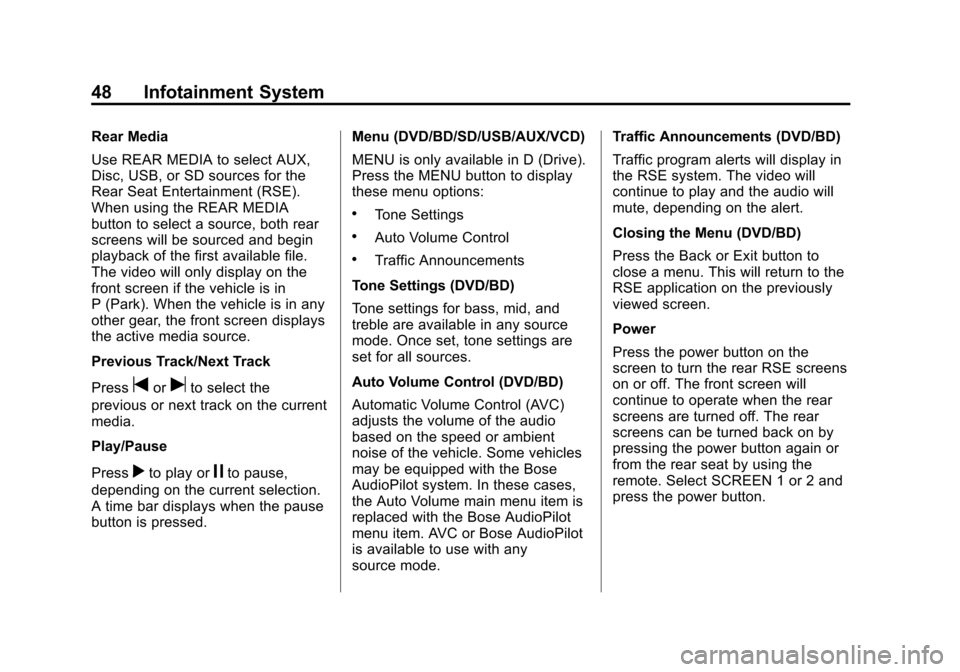
With the vehicle in D (Drive), the
following icons display along the
bottom of the front screen when one
of these sources is active:
DVD/BD/USB/SD/VCD: All five
buttons are available.
AUX: Only REAR MEDIA and
MENU are available.
Page 48 of 138
Black plate (48,1)Cadillac CUE Infotainment System (GMNA-Localizing-U.S./Canada-
7639728) - 2015 - CRC - 9/3/14
48 Infotainment System
Rear Media
Use REAR MEDIA to select AUX,
Disc, USB, or SD sources for the
Rear Seat Entertainment (RSE).
When using the REAR MEDIA
button to select a source, both rear
screens will be sourced and begin
playback of the first available file.
The video will only display on the
front screen if the vehicle is in
P (Park). When the vehicle is in any
other gear, the front screen displays
the active media source.
Previous Track/Next Track
Press
toruto select the
previous or next track on the current
media.
Play/Pause
Press
rto play orjto pause,
depending on the current selection.
A time bar displays when the pause
button is pressed. Menu (DVD/BD/SD/USB/AUX/VCD)
MENU is only available in D (Drive).
Press the MENU button to display
these menu options:
.Tone Settings
.Auto Volume Control
.Traffic Announcements
Tone Settings (DVD/BD)
Tone settings for bass, mid, and
treble are available in any source
mode. Once set, tone settings are
set for all sources.
Auto Volume Control (DVD/BD)
Automatic Volume Control (AVC)
adjusts the volume of the audio
based on the speed or ambient
noise of the vehicle. Some vehicles
may be equipped with the Bose
AudioPilot system. In these cases,
the Auto Volume main menu item is
replaced with the Bose AudioPilot
menu item. AVC or Bose AudioPilot
is available to use with any
source mode. Traffic Announcements (DVD/BD)
Traffic program alerts will display in
the RSE system. The video will
continue to play and the audio will
mute, depending on the alert.
Closing the Menu (DVD/BD)
Press the Back or Exit button to
close a menu. This will return to the
RSE application on the previously
viewed screen.
Power
Press the power button on the
screen to turn the rear RSE screens
on or off. The front screen will
continue to operate when the rear
screens are turned off. The rear
screens can be turned back on by
pressing the power button again or
from the rear seat by using the
remote. Select SCREEN 1 or 2 and
press the power button.
Page 50 of 138
Black plate (50,1)Cadillac CUE Infotainment System (GMNA-Localizing-U.S./Canada-
7639728) - 2015 - CRC - 9/3/14
50 Infotainment System
Battery Replacement
To change the batteries:
1. Loosen the screw to the batterydoor on the left side of the
headphones.
2. Slide the battery door open.
3. Replace the two AAA batteries.
4. Replace the battery door and tighten the screw.
Remove the batteries if the
headphones will not be used for a
long time.Auxiliary Inputs
Audio/Video (A/V) Jacks
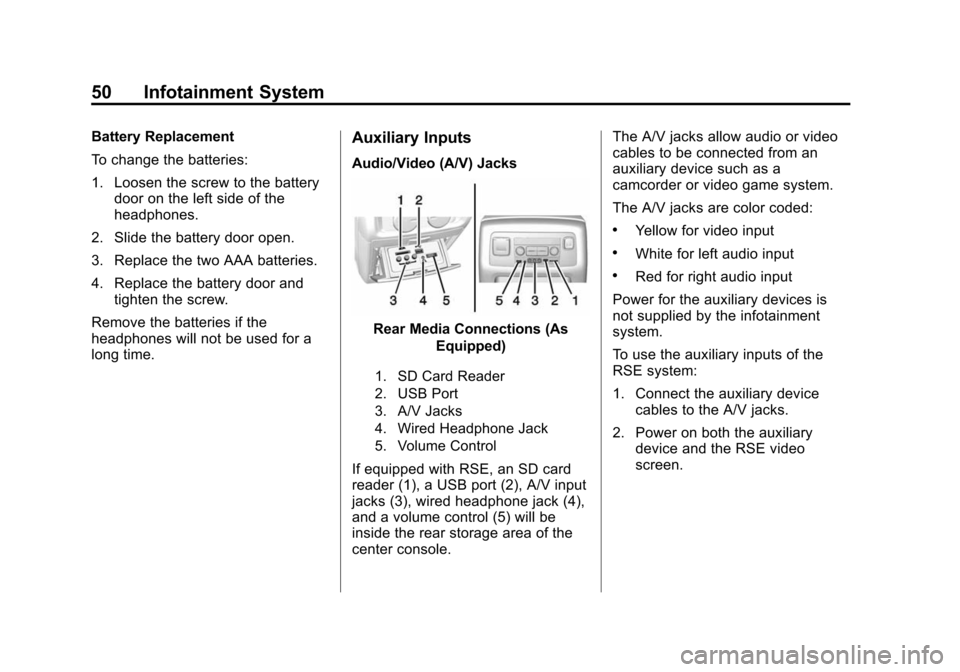
Rear Media Connections (As Equipped)
1. SD Card Reader
2. USB Port
3. A/V Jacks
4. Wired Headphone Jack
5. Volume Control
If equipped with RSE, an SD card
reader (1), a USB port (2), A/V input
jacks (3), wired headphone jack (4),
and a volume control (5) will be
inside the rear storage area of the
center console. The A/V jacks allow audio or video
cables to be connected from an
auxiliary device such as a
camcorder or video game system.
The A/V jacks are color coded:
.Yellow for video input
.White for left audio input
.Red for right audio input
Power for the auxiliary devices is
not supplied by the infotainment
system.
To use the auxiliary inputs of the
RSE system:
1. Connect the auxiliary device cables to the A/V jacks.
2. Power on both the auxiliary device and the RSE video
screen.
Page 51 of 138
Black plate (51,1)Cadillac CUE Infotainment System (GMNA-Localizing-U.S./Canada-
7639728) - 2015 - CRC - 9/3/14
Infotainment System 51
USB/SD
This allows for video and audio
playback of supported media.
To use the USB and SD:
1. Insert the device in theappropriate slot.
2. Select the source via the rear screen menu with the remote
control MEDIA button.
3. Select the source via the front by pressing on the Video
application on the home screen.
Audio Output
Audio from a Blu-ray/DVD/CD
player or auxiliary inputs can be
heard through:
.Wireless headphones
.Vehicle speakers
.Vehicle wired headphone jack The RSE system transmits the
audio signal to the wireless
headphones if an audio signal is
available. See
“Headphones” earlier
in this section.
Wired Headphone Jack
Audio from the wired headphone
jack can be heard from the desired
source through the MENU button on
the remote and by selecting
Settings, then Headphones. The
headphone audio is selected based
on the audio associated with
screen 1 or screen 2.
The front seat passengers are able
to listen to playback from the A/V
jacks through the vehicle speakers
by selecting Rear A/V as the source
on the radio.
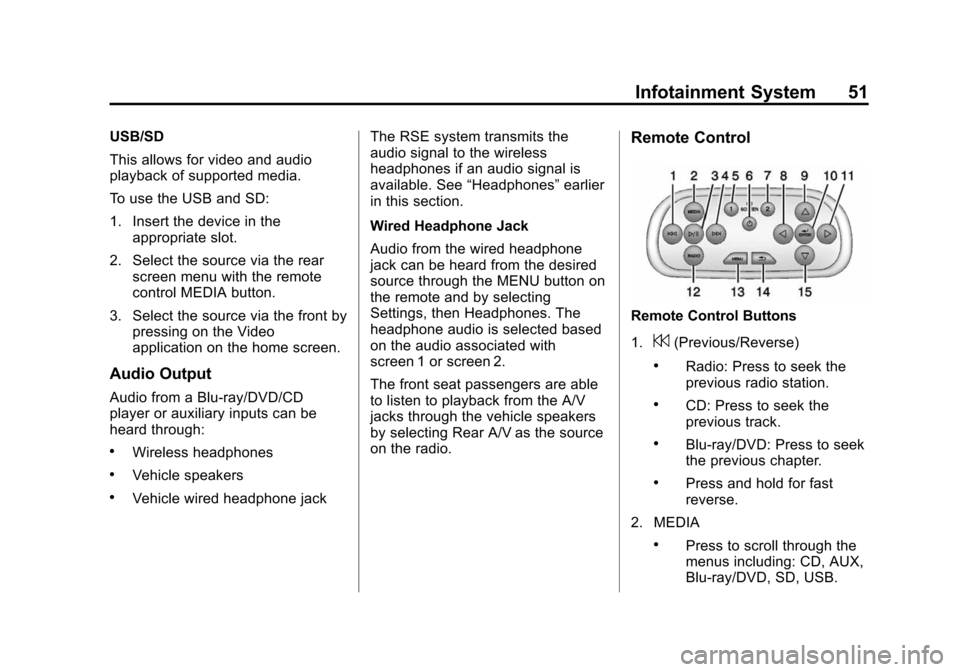
Remote Control
Remote Control Buttons
1.
7(Previous/Reverse)
.Radio: Press to seek the
previous radio station.
.CD: Press to seek the
previous track.
.Blu-ray/DVD: Press to seek
the previous chapter.
.Press and hold for fast
reverse.
2. MEDIA
.Press to scroll through the
menus including: CD, AUX,
Blu-ray/DVD, SD, USB.
Page 57 of 138

Black plate (57,1)Cadillac CUE Infotainment System (GMNA-Localizing-U.S./Canada-
7639728) - 2015 - CRC - 9/3/14
Infotainment System 57
player automatically draws
the disc in,“Loading”
displays on the screen
along with a disc indicator,
and playback starts. If the
disc is inserted incorrectly,
the DVD player ejects the
disc and “No Disc” displays.
3. Lever Lock and Release Latch
.The viewing angle of the
video screen can be
adjusted by releasing the
latch and gently moving the
screen. Then lock it into a
secure position.
4. POWER
O
.Press to turn the power on
or off. Each video screen
can be powered on or off
independently.
5. SOURCE
.Press to select between
Monitor 3, Monitor 4, or the
AV INPUT. Each video
display screen can be
adjusted independently, as well as display information
from both DVD players and
both A/V inputs.
6. USB Port
.Connect the USB drive to
listen to music or view
pictures. To charge devices,
connect it to the USB port.
Not all devices are able to
be charged. For playback,
the formats available are:
‐ JPEG
‐ JPG
‐ M2V
‐ MP3
‐ MPE
‐ MPEG-1
‐ MPEG-2
‐ MPG
‐ OGG
‐ WMA 7. Video Input
.The yellow connector is
used for video input.
8. Left Audio Input
.The white connector is
used for the left side audio.
9. Right Audio Input
.The red connector is used
for the right side audio.
10. 3.5 mm (1/8 in) Output Jack
.Wired headphones can be
plugged in with a 3.5 mm
(1/8 in) jack.
11. PLAY
r
.Press this button located
below the video display
screen to start playback of
a disc. On DVDs and
video CDs with playback
control (PBC), menu
screens can display
automatically. It might be
necessary to press the
play button again to begin
Page 75 of 138
Black plate (75,1)Cadillac CUE Infotainment System (GMNA-Localizing-U.S./Canada-
7639728) - 2015 - CRC - 9/3/14
Infotainment System 75
.To exit out of a list, press the
EXIT screen button in the top
right corner of the map to return
to the main map view.
Upload Saved Locations: Press to
upload any saved locations such as
downloaded POIs and all entries in
the vehicle address book to the
USB device.
.Press Upload Saved Locations
to save the Vehicle Contacts list
and any My POIs that have been
saved to the vehicle.
.Once saved locations have been
uploaded to a USB, they can be
transferred to a different vehicle
or restored to the current
address book.
Map Adjustments
ZOOM −/+ can be used to adjust
the scale of view on the map. When
the end of the zoom level is
reached, ZOOM −/+ will gray out. Use the pinch/spread hand gesture
to zoom the scale of view on
the map.
.ZOOM
−(minus): Pinch fingers
together to zoom out.
.ZOOM + (plus): Spread fingers
apart to zoom in.
The zoom scales can be configured
for English or metric units. To
change from English to metric, see
“Instrument Cluster” in the owner
manual.
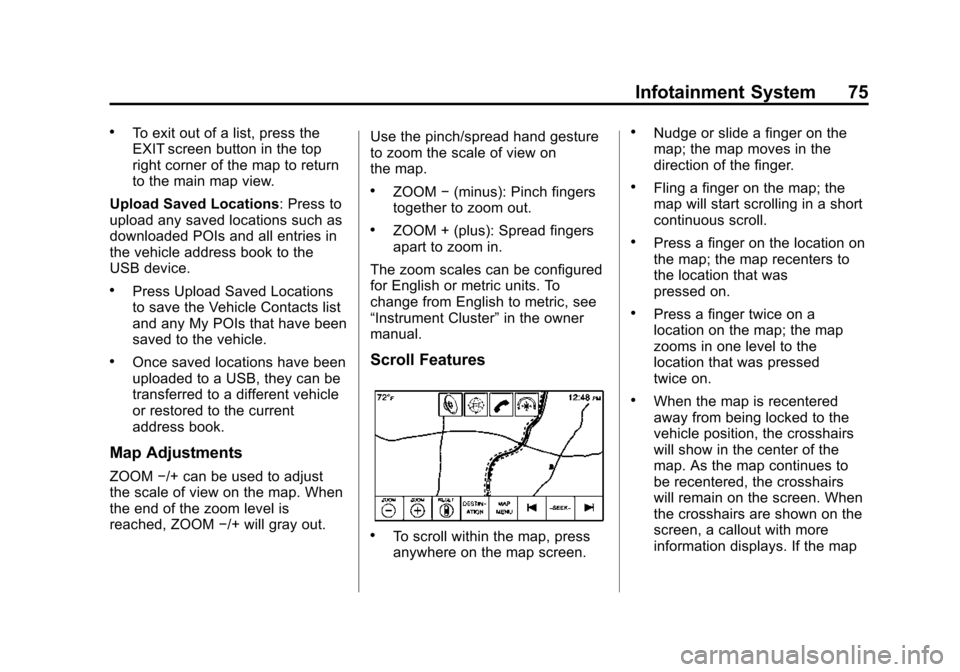
Scroll Features
.To scroll within the map, press
anywhere on the map screen.
.Nudge or slide a finger on the
map; the map moves in the
direction of the finger.
.Fling a finger on the map; the
map will start scrolling in a short
continuous scroll.
.Press a finger on the location on
the map; the map recenters to
the location that was
pressed on.
.Press a finger twice on a
location on the map; the map
zooms in one level to the
location that was pressed
twice on.
.When the map is recentered
away from being locked to the
vehicle position, the crosshairs
will show in the center of the
map. As the map continues to
be recentered, the crosshairs
will remain on the screen. When
the crosshairs are shown on the
screen, a callout with more
information displays. If the map
Page 88 of 138

Black plate (88,1)Cadillac CUE Infotainment System (GMNA-Localizing-U.S./Canada-
7639728) - 2015 - CRC - 9/3/14
88 Infotainment System
Recalling a POI Category or
Chain
If a POI category or chain favorite is
recalled, the system displays a list
of matching results defaulting to
Nearby, but allows a search of other
locations. Press the Search Options
button to specify a different location.
Creating and Downloading
Predefined POIs (My POIs)
In addition to the POIs already
stored in the infotainment system,
predefined POIs can be created.
While creating a predefined POI, the
GPS coordinates for longitude and
latitude of the POI’s location and a
descriptive name will need to be
entered.
After creating the predefined POIs,
they can be downloaded to the
infotainment system from either a
USB stick or SD card.
Once downloaded, the POI data
becomes a selectable destination in
the My POIs menu.Creating a Text File with
Information
Create a text file by using a simple
text editor software. Save this file
with a name and extension of .csv,
for example,
“TomsPOI.csv.”
Enter the POI information into the
text file in the following format:
.Longitude coordinate, Latitude
coordinate, “Name of POI,”
“Additional information,” “Phone
number.”
Example: 7.0350000,
50.6318040, “Michaels Home,”
“123 Maple Lane,”
“02379234567.”
.The GPS coordinates must be
expressed in decimal degrees
and can be taken from a
geographical map. The
additional information and phone
number strings are optional.
.The POI name and the
additional information string may
not exceed 60 characters.
.POI information for each
destination address must be
entered in a single separate line.
Storing the POI on a USB Drive
In the root directory of a USB drive,
create a folder name “myPOIs”; for
example, “F:\”is the root directory of
the USB drive.
In the “myPOIs” folder, store the text
file with your POIs; for example,
“F:\myPOIs\TomsPOIs.csv.”
Downloading the POI to the
Infotainment System
Connect the USB drive or SD card
containing the POI information to
the USB port or SD card slot of the
infotainment system. A message
displays prompting whether or not to
download the POI information from
the USB stick. All POIs found are
saved even if they are in multiple
folders.
Subfolders can also be created to
organize the POIs into categories;
for example, “F:\myPOIs\
Restaurants\TomsPOIs.csv.”