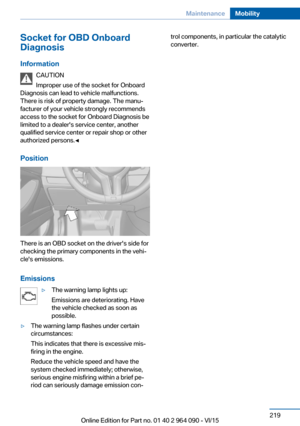
Page 97 of 255

Activating a list and adjusting the
setting
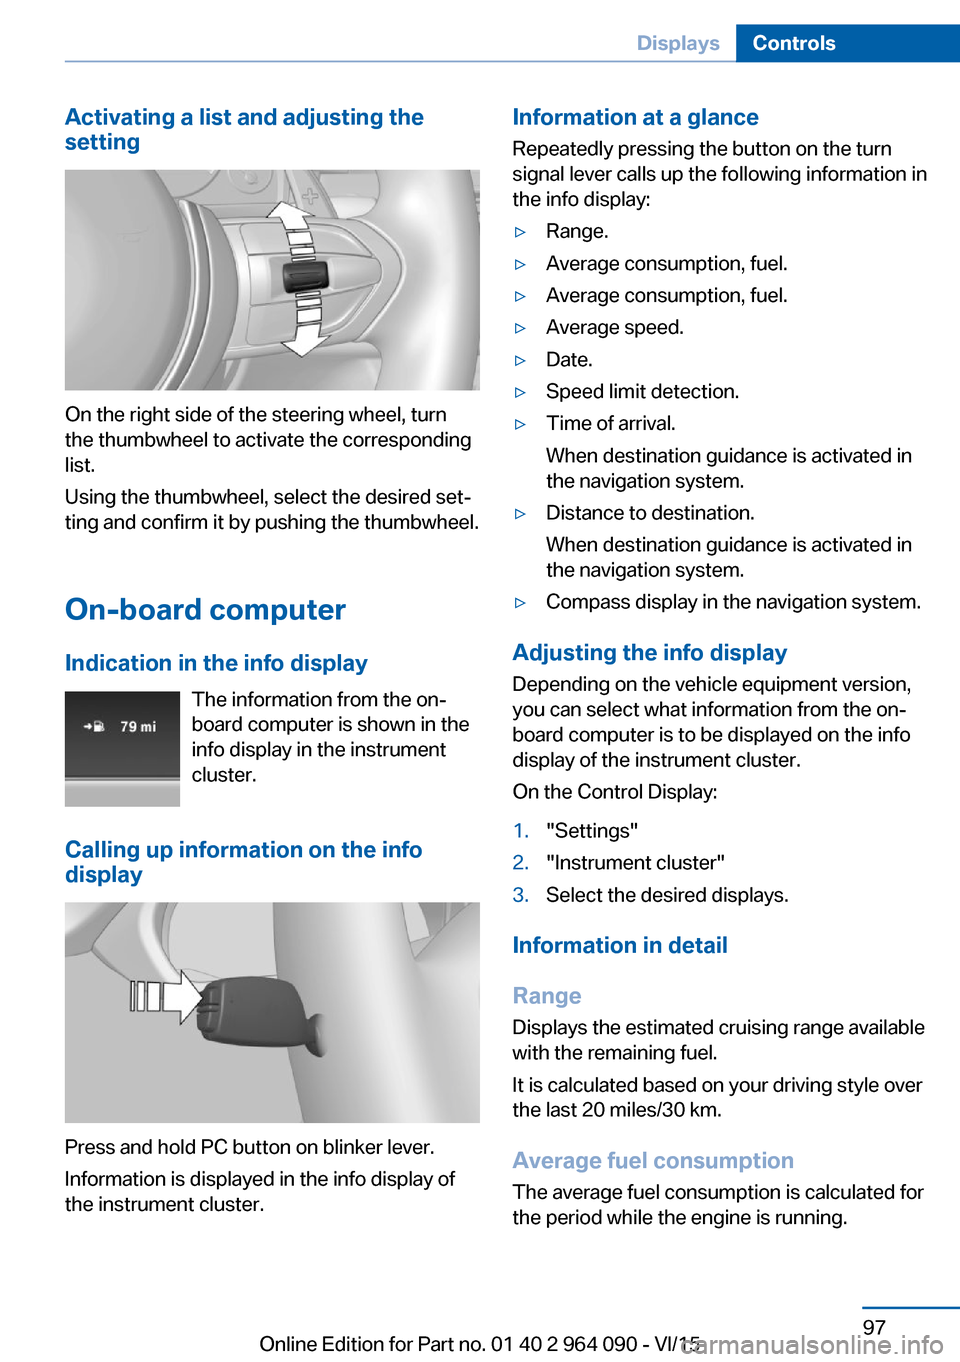
On the right side of the steering wheel, turn
the thumbwheel to activate the corresponding
list.
Using the thumbwheel, select the desired set‐
ting and confirm it by pushing the thumbwheel.
On-board computer
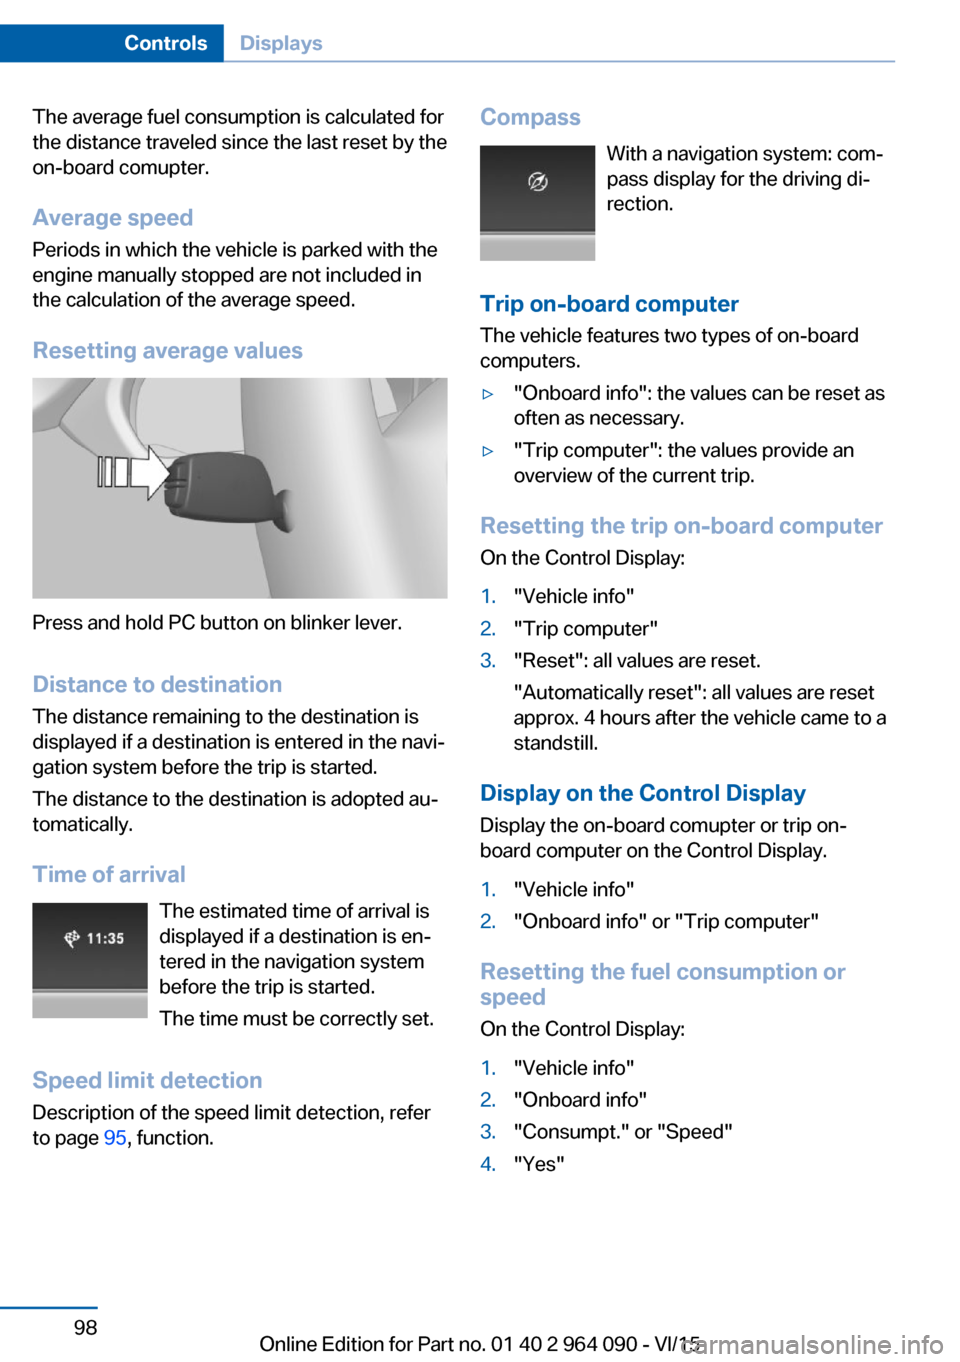
Indication in the info display The information from the on-
board computer is shown in the
info display in the instrument
cluster.
Calling up information on the info
display
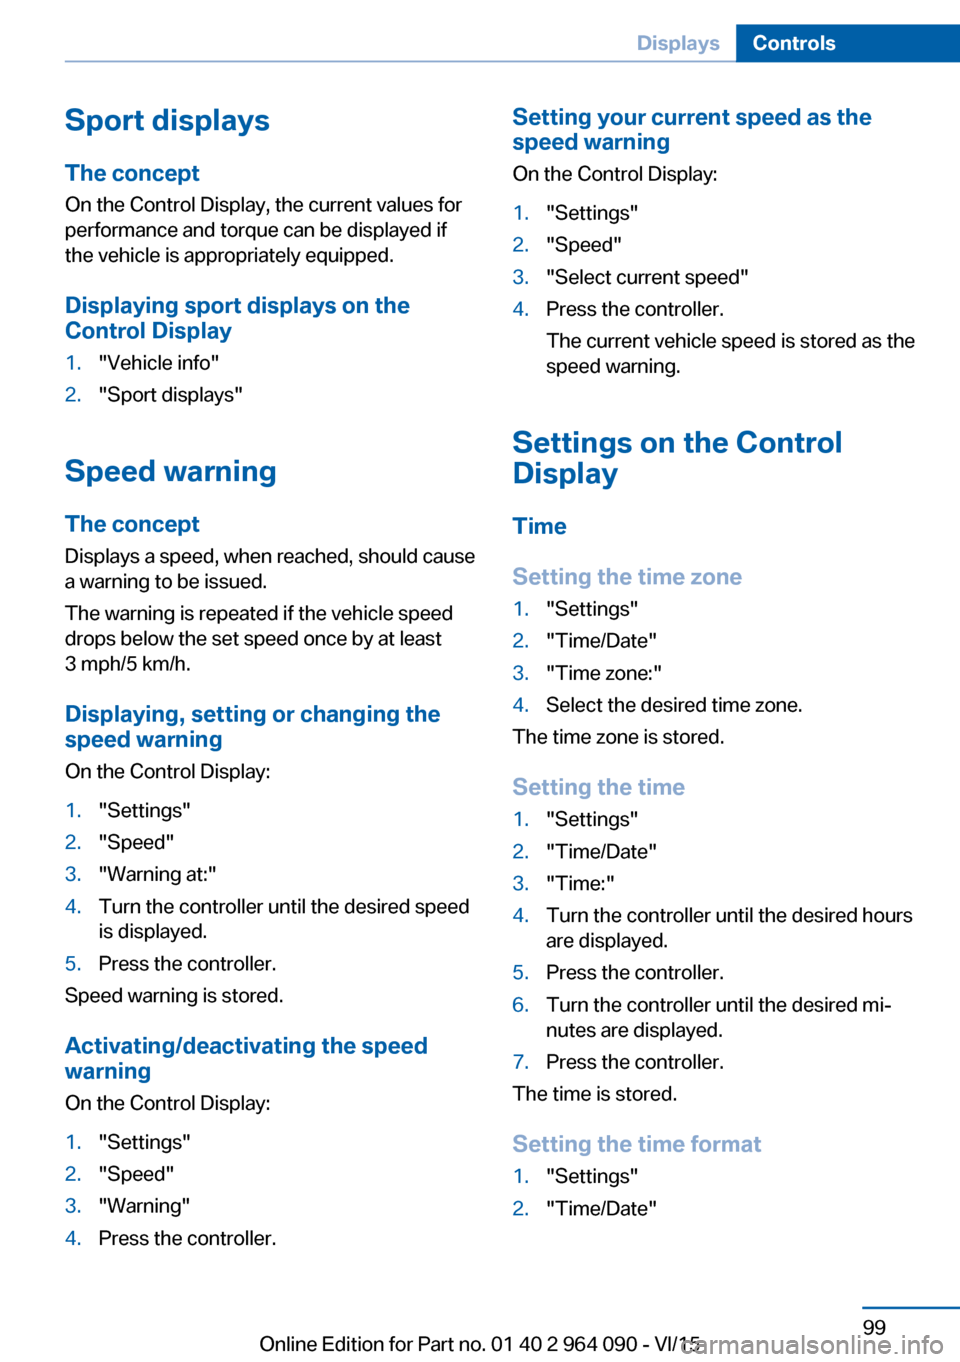
Press and hold PC button on blinker lever.
Information is displayed in the info display of
the instrument cluster.
Information at a glance
Repeatedly pressing the button on the turn
signal lever calls up the following information in
the info display:▷Range.▷Average consumption, fuel.▷Average consumption, fuel.▷Average speed.▷Date.▷Speed limit detection.▷Time of arrival.
When destination guidance is activated in
the navigation system.▷Distance to destination.
When destination guidance is activated in
the navigation system.▷Compass display in the navigation system.
Adjusting the info display
Depending on the vehicle equipment version,
you can select what information from the on-
board computer is to be displayed on the info
display of the instrument cluster.
On the Control Display:
1."Settings"2."Instrument cluster"3.Select the desired displays.
Information in detail
Range
Displays the estimated cruising range available
with the remaining fuel.
It is calculated based on your driving style over
the last 20 miles/30 km.
Average fuel consumption
The average fuel consumption is calculated for
the period while the engine is running.
Seite 97DisplaysControls97
Online Edition for Part no. 01 40 2 964 090 - VI/15
Page 98 of 255

The average fuel consumption is calculated for
the distance traveled since the last reset by the
on-board comupter.
Average speed
Periods in which the vehicle is parked with the
engine manually stopped are not included in
the calculation of the average speed.
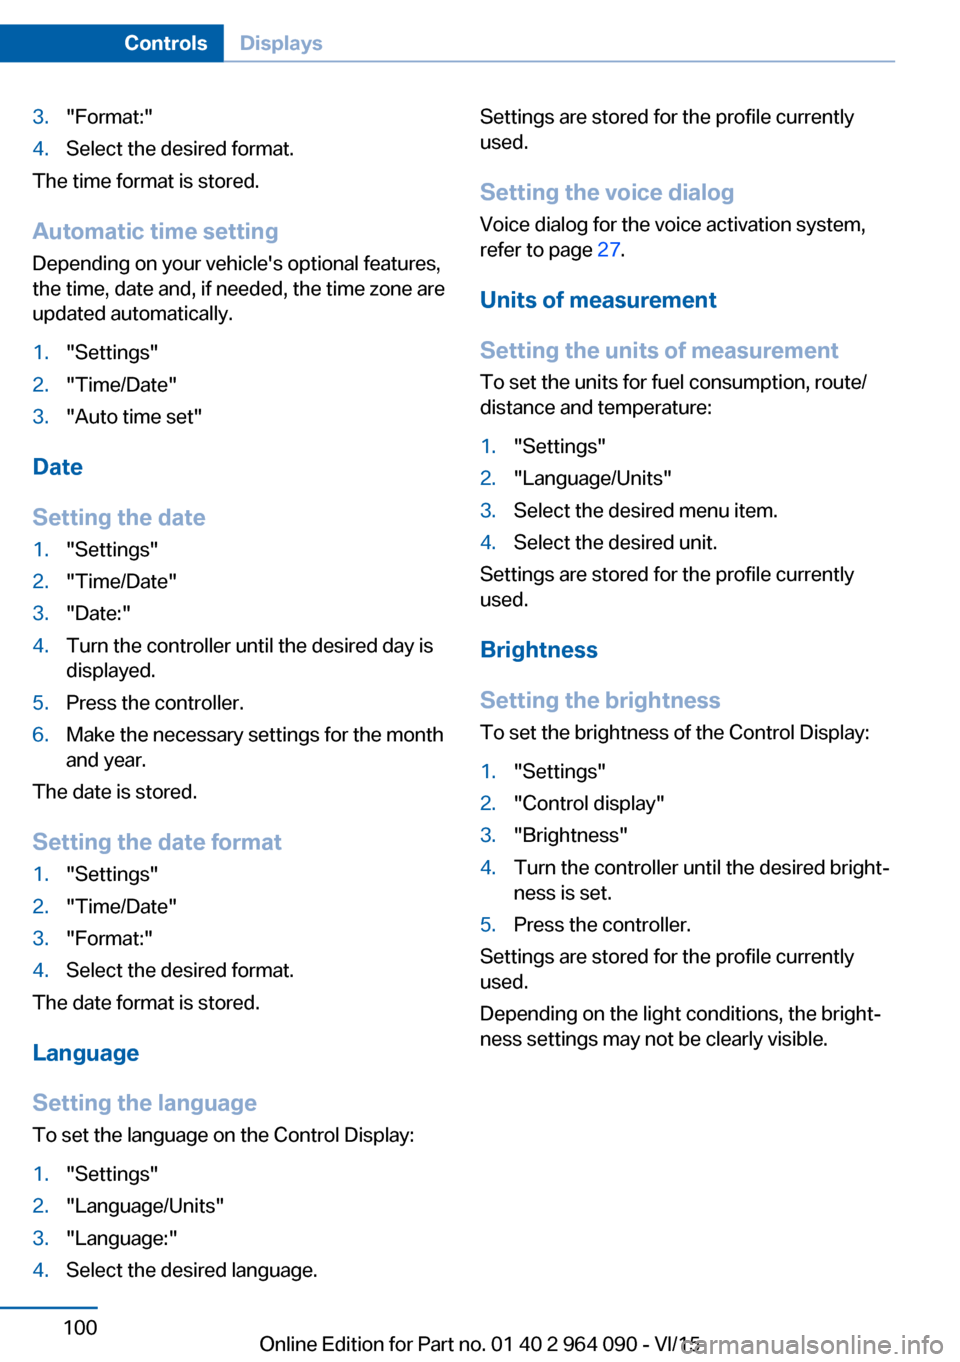
Resetting average values
Press and hold PC button on blinker lever.
Distance to destination
The distance remaining to the destination is
displayed if a destination is entered in the navi‐
gation system before the trip is started.
The distance to the destination is adopted au‐
tomatically.
Time of arrival The estimated time of arrival is
displayed if a destination is en‐
tered in the navigation system
before the trip is started.
The time must be correctly set.
Speed limit detection
Description of the speed limit detection, refer
to page 95, function.
Compass
With a navigation system: com‐
pass display for the driving di‐
rection.
Trip on-board computer
The vehicle features two types of on-board
computers.▷"Onboard info": the values can be reset as
often as necessary.▷"Trip computer": the values provide an
overview of the current trip.
Resetting the trip on-board computer
On the Control Display:
1."Vehicle info"2."Trip computer"3."Reset": all values are reset.
"Automatically reset": all values are reset
approx. 4 hours after the vehicle came to a
standstill.
Display on the Control Display
Display the on-board comupter or trip on-
board computer on the Control Display.
1."Vehicle info"2."Onboard info" or "Trip computer"
Resetting the fuel consumption or
speed
On the Control Display:
1."Vehicle info"2."Onboard info"3."Consumpt." or "Speed"4."Yes"Seite 98ControlsDisplays98
Online Edition for Part no. 01 40 2 964 090 - VI/15
Page 99 of 255

Sport displaysThe concept
On the Control Display, the current values for
performance and torque can be displayed if
the vehicle is appropriately equipped.
Displaying sport displays on the
Control Display1."Vehicle info"2."Sport displays"
Speed warning
The concept Displays a speed, when reached, should cause
a warning to be issued.
The warning is repeated if the vehicle speed
drops below the set speed once by at least
3 mph/5 km/h.
Displaying, setting or changing the
speed warning
On the Control Display:
1."Settings"2."Speed"3."Warning at:"4.Turn the controller until the desired speed
is displayed.5.Press the controller.
Speed warning is stored.
Activating/deactivating the speed
warning
On the Control Display:
1."Settings"2."Speed"3."Warning"4.Press the controller.Setting your current speed as the
speed warning
On the Control Display:1."Settings"2."Speed"3."Select current speed"4.Press the controller.
The current vehicle speed is stored as the
speed warning.
Settings on the Control
Display
Time
Setting the time zone
1."Settings"2."Time/Date"3."Time zone:"4.Select the desired time zone.
The time zone is stored.
Setting the time
1."Settings"2."Time/Date"3."Time:"4.Turn the controller until the desired hours
are displayed.5.Press the controller.6.Turn the controller until the desired mi‐
nutes are displayed.7.Press the controller.
The time is stored.
Setting the time format
1."Settings"2."Time/Date"Seite 99DisplaysControls99
Online Edition for Part no. 01 40 2 964 090 - VI/15
Page 100 of 255

3."Format:"4.Select the desired format.
The time format is stored.
Automatic time setting Depending on your vehicle's optional features,
the time, date and, if needed, the time zone are
updated automatically.
1."Settings"2."Time/Date"3."Auto time set"
Date
Setting the date
1."Settings"2."Time/Date"3."Date:"4.Turn the controller until the desired day is
displayed.5.Press the controller.6.Make the necessary settings for the month
and year.
The date is stored.
Setting the date format
1."Settings"2."Time/Date"3."Format:"4.Select the desired format.
The date format is stored.
Language
Setting the language
To set the language on the Control Display:
1."Settings"2."Language/Units"3."Language:"4.Select the desired language.Settings are stored for the profile currently
used.
Setting the voice dialog
Voice dialog for the voice activation system,
refer to page 27.
Units of measurement
Setting the units of measurement To set the units for fuel consumption, route/
distance and temperature:1."Settings"2."Language/Units"3.Select the desired menu item.4.Select the desired unit.
Settings are stored for the profile currently
used.
Brightness
Setting the brightness To set the brightness of the Control Display:
1."Settings"2."Control display"3."Brightness"4.Turn the controller until the desired bright‐
ness is set.5.Press the controller.
Settings are stored for the profile currently
used.
Depending on the light conditions, the bright‐
ness settings may not be clearly visible.
Seite 100ControlsDisplays100
Online Edition for Part no. 01 40 2 964 090 - VI/15
Page 101 of 255

Head-up Display
Overview
The concept
This system projects important information
into the driver's field of vision, e. g., the speed.
The driver can get information without averting
his or her eyes from the road.
Information Follow the instructions for cleaning the Head-
up Display, refer to page 236.
Display visibility The visibility of the displays in the Head-up
Display is influenced by the following factors:
▷Certain sitting positions.▷Objects on the cover of the Head-up Dis‐
play.▷Sunglasses with certain polarization filters.▷Wet roads.▷Unfavorable light conditions.
If the image is distorted, have the basic set‐
tings checked by a dealer’s service center or
another qualified service center or repair shop.
Switching on/off
1."Settings"2."Head-Up Display"3."Head-Up Display"Display
Standard view The following information is displayed on the
Head-up Display:▷Speed.▷Navigation system.▷Check Control messages.▷Selection list from the instrument cluster.▷Driver assistance systems.
Some of this information is only displayed
briefly as needed.
M view
1Current engine speed, highlighted2Shift point indicator3Pre-warning field, speed display4Red warning field, speed display5Speed6Gear display/warning messages
Activate M view:
Select displays in the Head-up Display.
Selecting displays in the Head-up
Display
On the Control Display:
1."Settings"2."Head-Up Display"3."Displayed information"4.Select the desired displays in the Head-up
Display.Seite 101DisplaysControls101
Online Edition for Part no. 01 40 2 964 090 - VI/15
Page 102 of 255

Setting the brightness
The brightness is automatically adjusted to the
ambient brightness.
The basic setting can be adjusted manually.
On the Control Display:1."Settings"2."Head-Up Display"3."Brightness"4.Turn the controller until the desired bright‐
ness is set.5.Press the controller.
When the low beams are activated, the bright‐
ness of the Head-up Display can be addition‐
ally influenced using the instrument lighting.
Settings are stored for the profile currently
used.
Adjusting the height
On the Control Display:
1."Settings"2."Head-Up Display"3."Height"4.Turn the controller until the desired height
is reached.5.Press the controller.
Settings are stored for the profile currently
used.
Setting the rotation
The screen of the Head-up Display can be ro‐
tated around its own axis.
Only set the rotation while the vehicle is sta‐
tionary and the ignition is switched on.
On the Control Display:
1."Settings"2."Head-Up Display"3."Rotation"4.Turn the controller until the desired setting
is selected.5.Press the controller.
Settings are stored for the profile currently
used.
Special windshield
The windshield is part of the system.
The shape of the windshield makes it possible
to display a precise image.
A film in the windshield prevents double im‐
ages from being displayed.
For this reason, it is strongly suggested to
have the special windshield replaced by a
dealer’s service center or another qualified
service center or repair shop.
Shift point indicator
General information
The display is in the Head-up Display.
Shift point indicator in the Head-up
Display
Switching on Shift lights are only shown in the Head-up Dis‐
play in the M view, refer to page 101.
1.Switch on Head-up Display, refer to
page 101.2."Settings"3."Head-Up Display"4."Displayed information"5."M View"Seite 102ControlsDisplays102
Online Edition for Part no. 01 40 2 964 090 - VI/15
Page 103 of 255
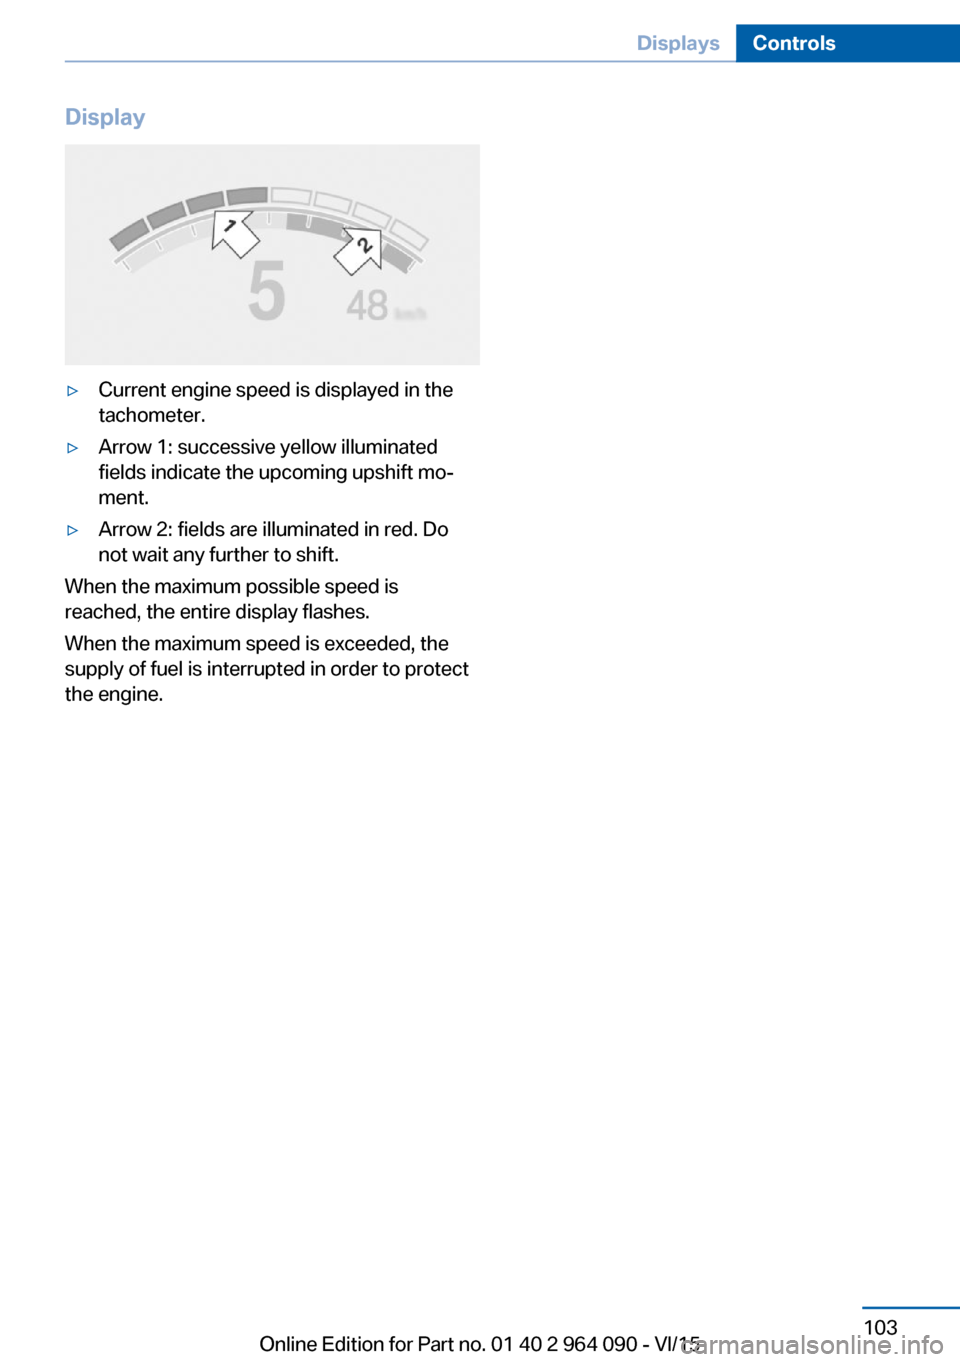
Display▷Current engine speed is displayed in the
tachometer.▷Arrow 1: successive yellow illuminated
fields indicate the upcoming upshift mo‐
ment.▷Arrow 2: fields are illuminated in red. Do
not wait any further to shift.
When the maximum possible speed is
reached, the entire display flashes.
When the maximum speed is exceeded, the
supply of fuel is interrupted in order to protect
the engine.
Seite 103DisplaysControls103
Online Edition for Part no. 01 40 2 964 090 - VI/15
Page 104 of 255

LightsVehicle features and optionsThis chapter describes all standard, country-
specific and optional features offered with the
series. It also describes features that are not
necessarily available in your car, e. g., due to
the selected options or country versions. This
also applies to safety-related functions and
systems. The respectively applicable country
provisions must be observed when using the
respective features and systems.
Overview Switches in the vehicle
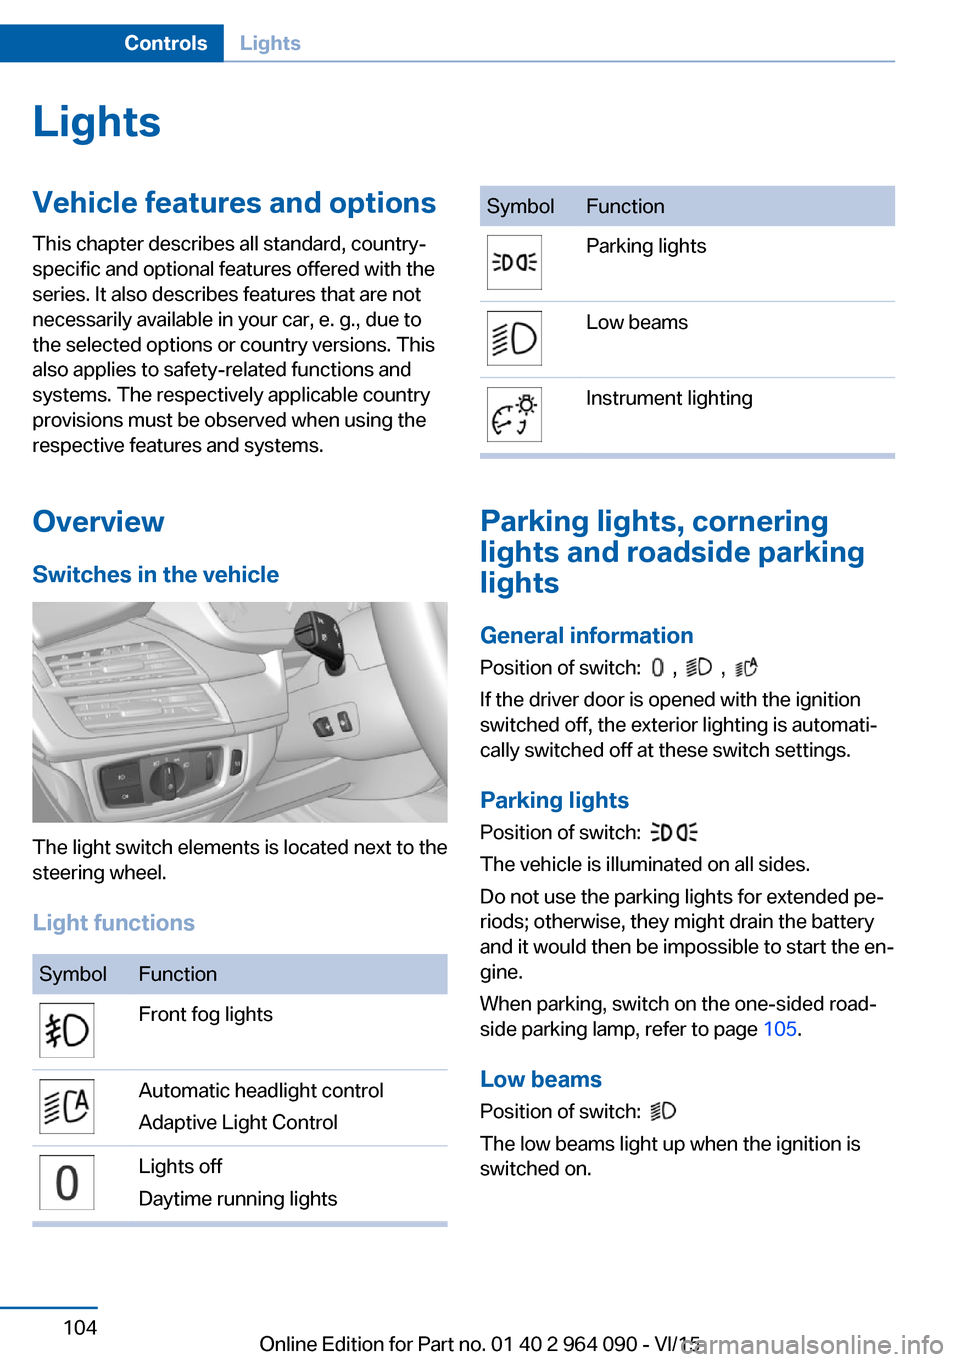
The light switch elements is located next to the
steering wheel.
Light functions
SymbolFunctionFront fog lightsAutomatic headlight control
Adaptive Light ControlLights off
Daytime running lightsSymbolFunctionParking lightsLow beamsInstrument lighting
Parking lights, cornering
lights and roadside parking
lights
General information Position of switch:
, ,
If the driver door is opened with the ignition
switched off, the exterior lighting is automati‐
cally switched off at these switch settings.
Parking lights
Position of switch:
The vehicle is illuminated on all sides.
Do not use the parking lights for extended pe‐
riods; otherwise, they might drain the battery
and it would then be impossible to start the en‐
gine.
When parking, switch on the one-sided road‐
side parking lamp, refer to page 105.
Low beams Position of switch:
The low beams light up when the ignition is
switched on.
Seite 104ControlsLights104
Online Edition for Part no. 01 40 2 964 090 - VI/15