Page 142 of 297
Use coasting conditions
When approaching a red light, take your foot
off the accelerator and let the vehicle coast to
a halt.
On a downhill gradient, take your foot off the
accelerator and let the vehicle roll.
The flow of fuel is interrupted while coasting.
Switch off the engine during longer stops
Switch off the engine during longer stops, e.g.,
at traffic lights, railroad crossings or in traffic
congestion.
Automatic Engine Start/Stop Function The Automatic Start/Stop Function of your ve‐
hicle automatically switches off the engine
during a stop. Additional information on the
Automatic Engine Start/Stop Function, refer to
page 61.
If the engine is stopped and then started again,
fuel consumption and emissions drop com‐
pared to an engine that runs permanently.
Stopping the engine even for just a few sec‐
onds can result in savings.
Use of this system can cause premature wear
on certain vehicle components.
In addition, fuel consumption depends on
other factors as well, such as driving style, road
conditions, maintenance, and environmental
factors.
Switch off any functions that
are not currently needed
Functions such as seat heating and the rear
window defroster require a lot of energy and
consume additional fuel, especially in city and
stop-and-go traffic.
Therefore, switch off these functions if they
are not actually needed.Have maintenance carried
out
Have vehicles maintained regularly to achieve
optimal vehicle economy and operating life.
Have the maintenance carried out by your
service center.
Please also note the BMW Maintenance Sys‐
tem, refer to page 247.
ECO PRO
The concept ECO PRO supports the driver in achieving high
fuel economy. Engine control and comfort
functions, such as the climate control system,
are adjusted accordingly.
In addition, situation-related information can
be displayed that helps the driver achieve
lower fuel consumption.
The resulting range extension can be dis‐
played in the instrument cluster.
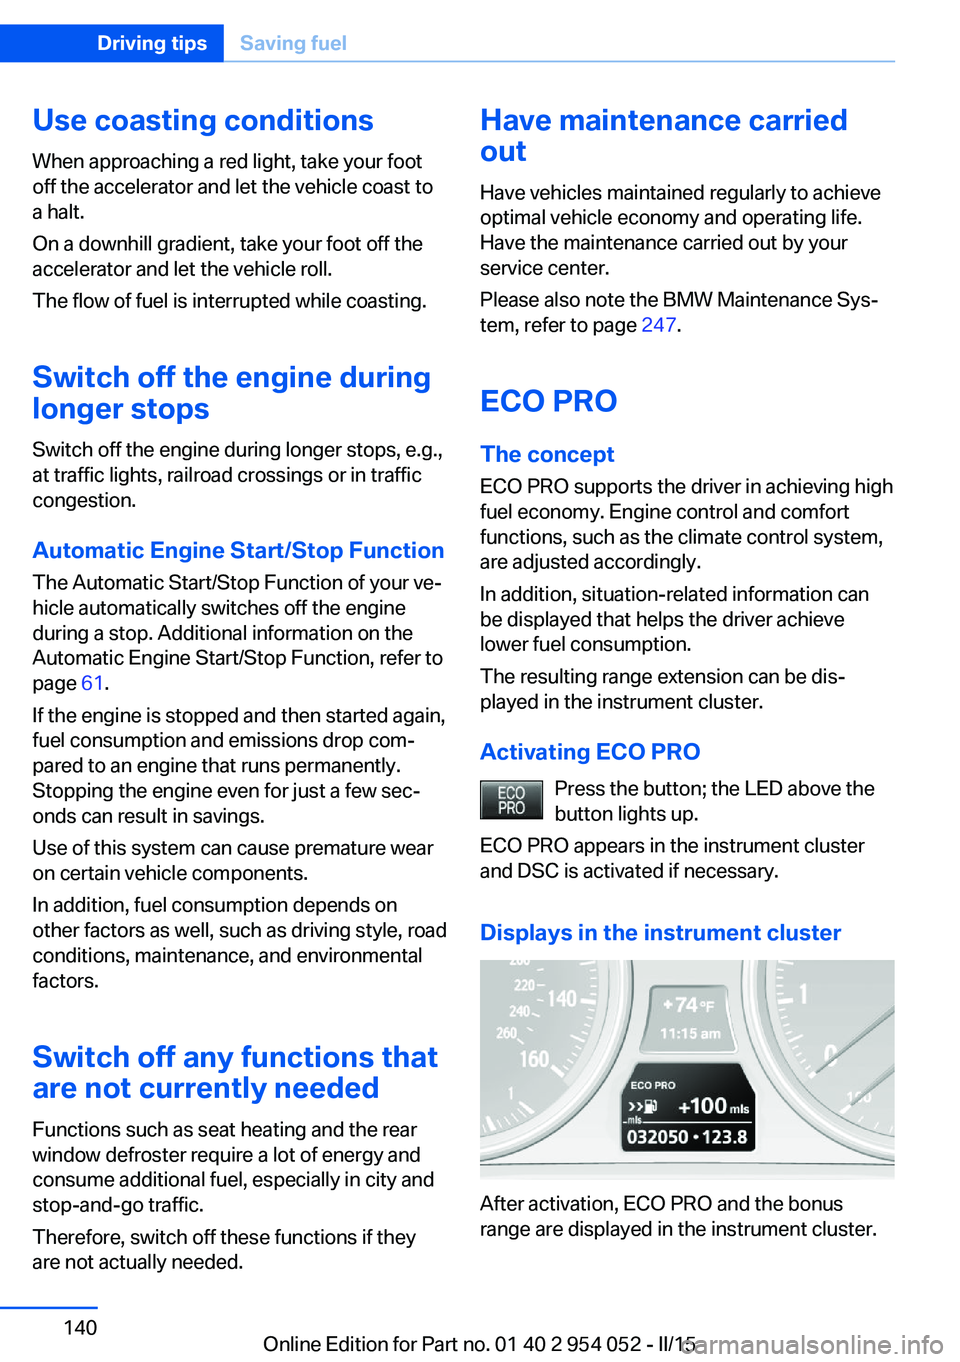
Activating ECO PRO Press the button; the LED above the
button lights up.
ECO PRO appears in the instrument cluster
and DSC is activated if necessary.
Displays in the instrument cluster
After activation, ECO PRO and the bonus
range are displayed in the instrument cluster.
Seite 140Driving tipsSaving fuel140
Online Edition for Part no. 01 40 2 954 052 - II/15
Page 143 of 297

ECO PRO bonus rangeThe vehicle's cruising range can be extended
by adjusting your driving style.
This extended range can be displayed as a bo‐
nus range in the instrument cluster.
The bonus range is indicated in the range dis‐
play.
The bonus range is automatically reset after
refueling.
Driving style
ECO PRO displays the efficiency of the current
driving style in the instrument cluster.▷ECO PRO not highlighted: efficient driving
style.▷ECO PRO highlighted: adjust your driving
style, for example by accelerating less
quickly.
To drive efficiently:
▷Accelerate less quickly.▷Brake in advance.▷Reduce speed to the ECO PRO speed of
80 mph/130 km/h.▷Automatic transmission: shift from S to D,
or avoid shifting manually.
ECO PRO tip
Situation-related tips that indicate measures to
achieve optimum fuel economy can be dis‐
played.
A reminder is displayed when the ECO PRO
speed of 80 mph/130 km/h is exceeded.
Displaying the ECO PRO tip
1."Vehicle Info"2."ECO PRO Tips"
ECO PRO climate control
Climate control is adjusted for optimum fuel
economy.
To achieve better fuel economy, the actual
temperature may vary slightly from the set
temperature and the passenger compartment
may be heated or cooled more slowly.
Deactivating ECO PRO Press the button again.
The LED above the button and the
ECO PRO display in the instrument cluster go
out.Seite 141Saving fuelDriving tips141
Online Edition for Part no. 01 40 2 954 052 - II/15
Page 147 of 297
Viewing the status1.Open "Options".2."Navigation update"
Removing navigation DVD
1. Press button 1.
The DVD emerges slightly from the drive.2.Remove the DVD.Seite 145Navigation systemNavigation145
Online Edition for Part no. 01 40 2 954 052 - II/15
Page 149 of 297
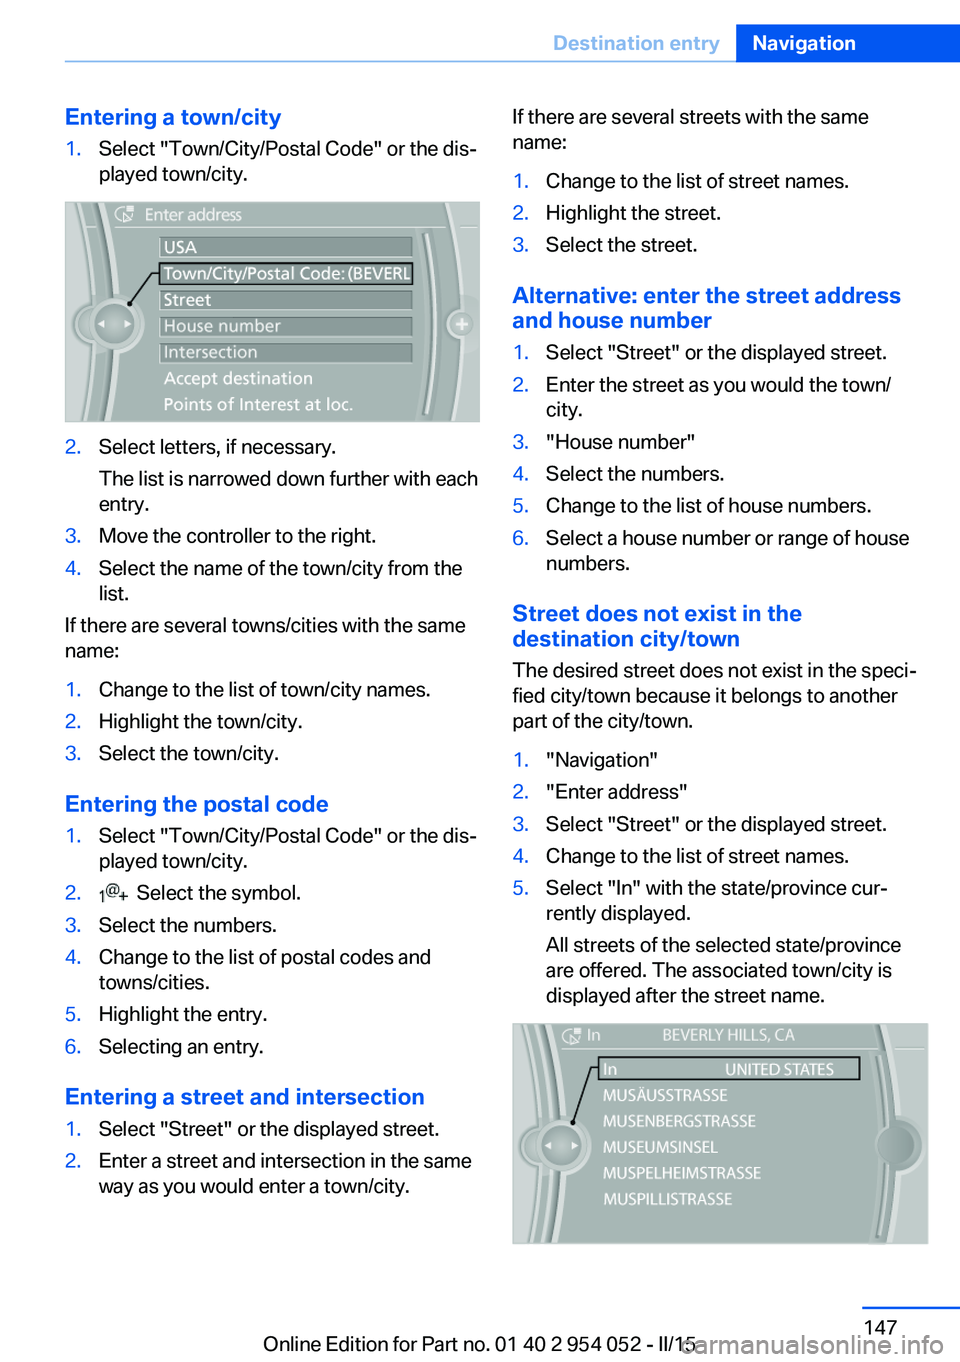
Entering a town/city1.Select "Town/City/Postal Code" or the dis‐
played town/city.2.Select letters, if necessary.
The list is narrowed down further with each
entry.3.Move the controller to the right.4.Select the name of the town/city from the
list.
If there are several towns/cities with the same
name:
1.Change to the list of town/city names.2.Highlight the town/city.3.Select the town/city.
Entering the postal code
1.Select "Town/City/Postal Code" or the dis‐
played town/city.2. Select the symbol.3.Select the numbers.4.Change to the list of postal codes and
towns/cities.5.Highlight the entry.6.Selecting an entry.
Entering a street and intersection
1.Select "Street" or the displayed street.2.Enter a street and intersection in the same
way as you would enter a town/city.If there are several streets with the same
name:1.Change to the list of street names.2.Highlight the street.3.Select the street.
Alternative: enter the street address
and house number
1.Select "Street" or the displayed street.2.Enter the street as you would the town/
city.3."House number"4.Select the numbers.5.Change to the list of house numbers.6.Select a house number or range of house
numbers.
Street does not exist in the
destination city/town
The desired street does not exist in the speci‐
fied city/town because it belongs to another
part of the city/town.
1."Navigation"2."Enter address"3.Select "Street" or the displayed street.4.Change to the list of street names.5.Select "In" with the state/province cur‐
rently displayed.
All streets of the selected state/province
are offered. The associated town/city is
displayed after the street name.Seite 147Destination entryNavigation147
Online Edition for Part no. 01 40 2 954 052 - II/15
Page 150 of 297
6.Select the letters.7.Change to the list of street names.8.Highlight the street.9.Select the street.
Starting destination guidance after
entering the destination
1."Accept destination"2."Start guidance" or "Add as another
destination"
Add, refer to page 153, a destination as a
further destination.
Address book
Create contacts, refer to page 218.
Selecting a destination from the
address book
1."Navigation"2."Address book"
Contacts with addresses are displayed if
these addresses have been checked as
destinations in the contacts.
If the contacts with addresses from the
mobile phone are not displayed, they first
need to be checked as destinations, refer
to page 219.3.Select a contact in the list or, if desired,
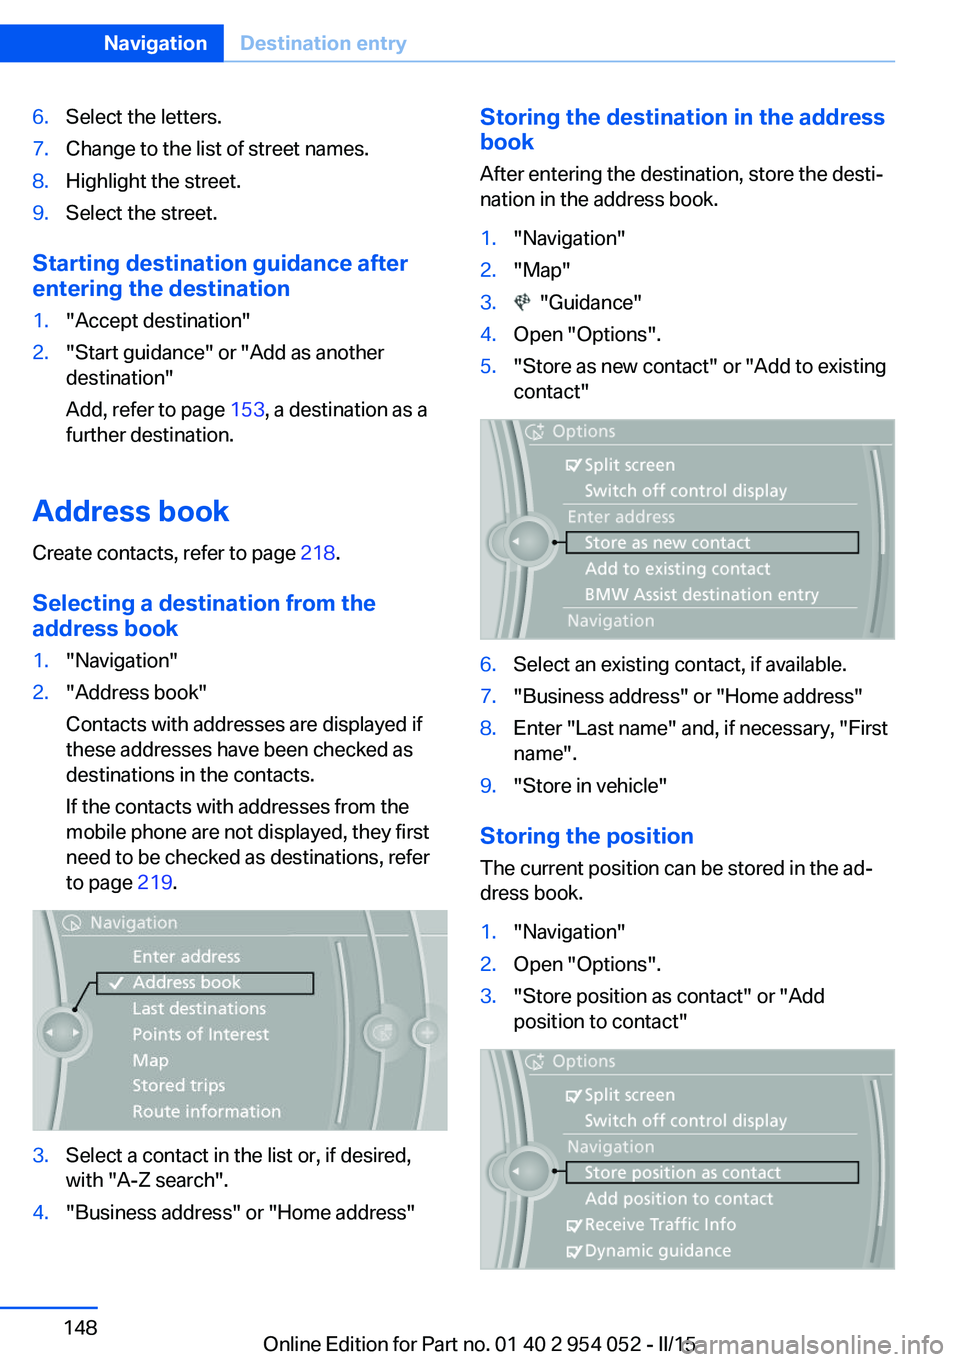
with "A-Z search".4."Business address" or "Home address"Storing the destination in the address
book
After entering the destination, store the desti‐
nation in the address book.1."Navigation"2."Map"3. "Guidance"4.Open "Options".5."Store as new contact" or "Add to existing
contact"6.Select an existing contact, if available.7."Business address" or "Home address"8.Enter "Last name" and, if necessary, "First
name".9."Store in vehicle"
Storing the position
The current position can be stored in the ad‐
dress book.
1."Navigation"2.Open "Options".3."Store position as contact" or "Add
position to contact"Seite 148NavigationDestination entry148
Online Edition for Part no. 01 40 2 954 052 - II/15
Page 151 of 297
4.Depending on the selection, choose an ex‐
isting contact from the list. Select the type
of address and enter the first and last
name.5."Store in vehicle"
Editing or deleting an address
1."Navigation"2."Address book"3.Highlight the entry.4.Open "Options".5."Edit in Contacts" or "Delete entry"
Using the home address as the
destination
The home address must be stored. Specify the
home address, refer to page 211.
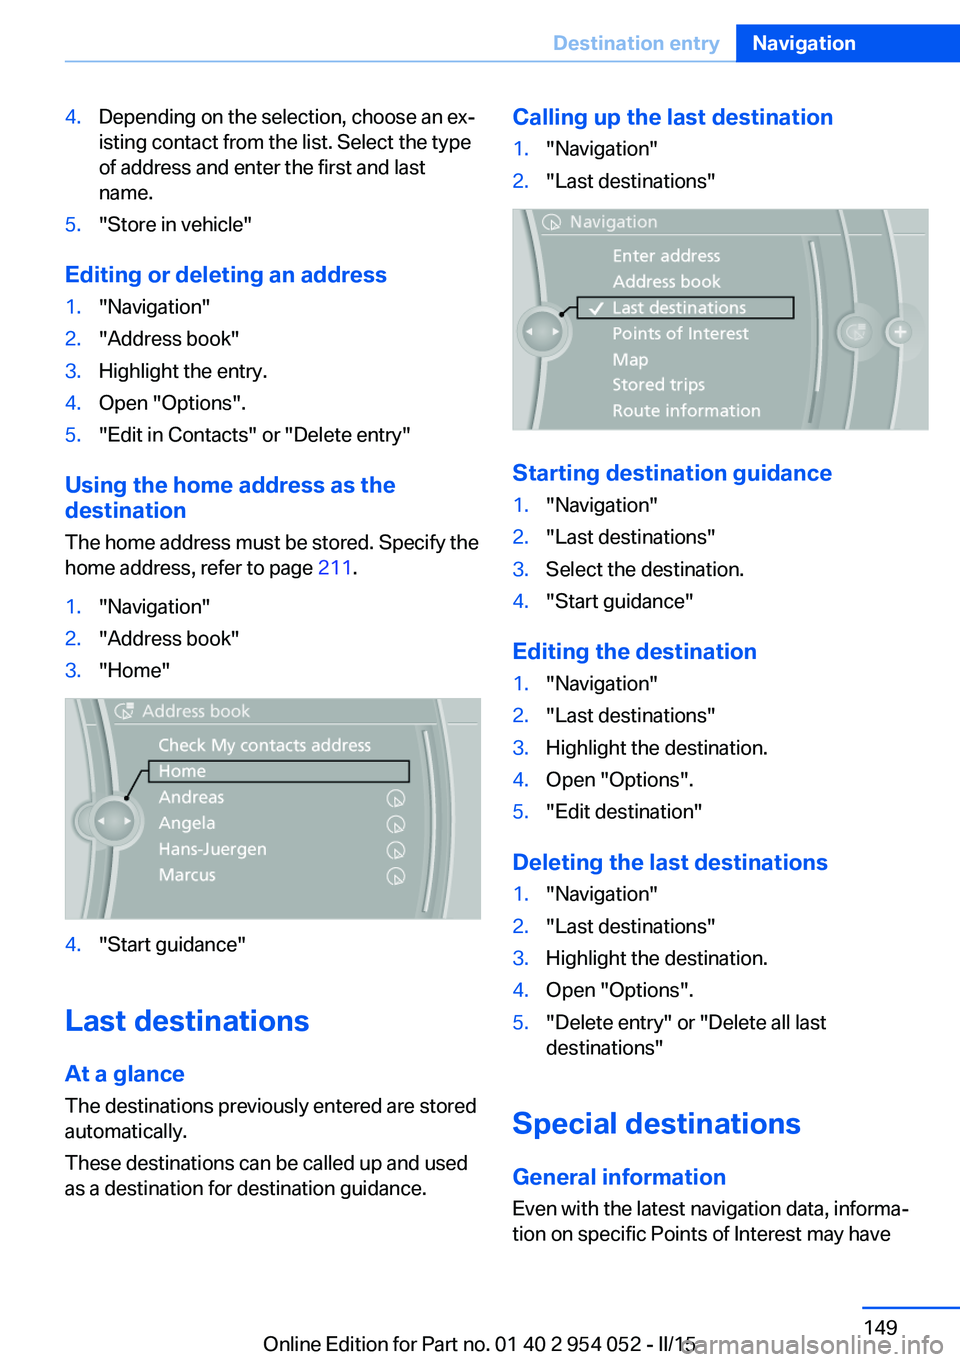
1."Navigation"2."Address book"3."Home"4."Start guidance"
Last destinations
At a glance
The destinations previously entered are stored
automatically.
These destinations can be called up and used
as a destination for destination guidance.
Calling up the last destination1."Navigation"2."Last destinations"
Starting destination guidance
1."Navigation"2."Last destinations"3.Select the destination.4."Start guidance"
Editing the destination
1."Navigation"2."Last destinations"3.Highlight the destination.4.Open "Options".5."Edit destination"
Deleting the last destinations
1."Navigation"2."Last destinations"3.Highlight the destination.4.Open "Options".5."Delete entry" or "Delete all last
destinations"
Special destinations
General information Even with the latest navigation data, informa‐
tion on specific Points of Interest may have
Seite 149Destination entryNavigation149
Online Edition for Part no. 01 40 2 954 052 - II/15
Page 155 of 297
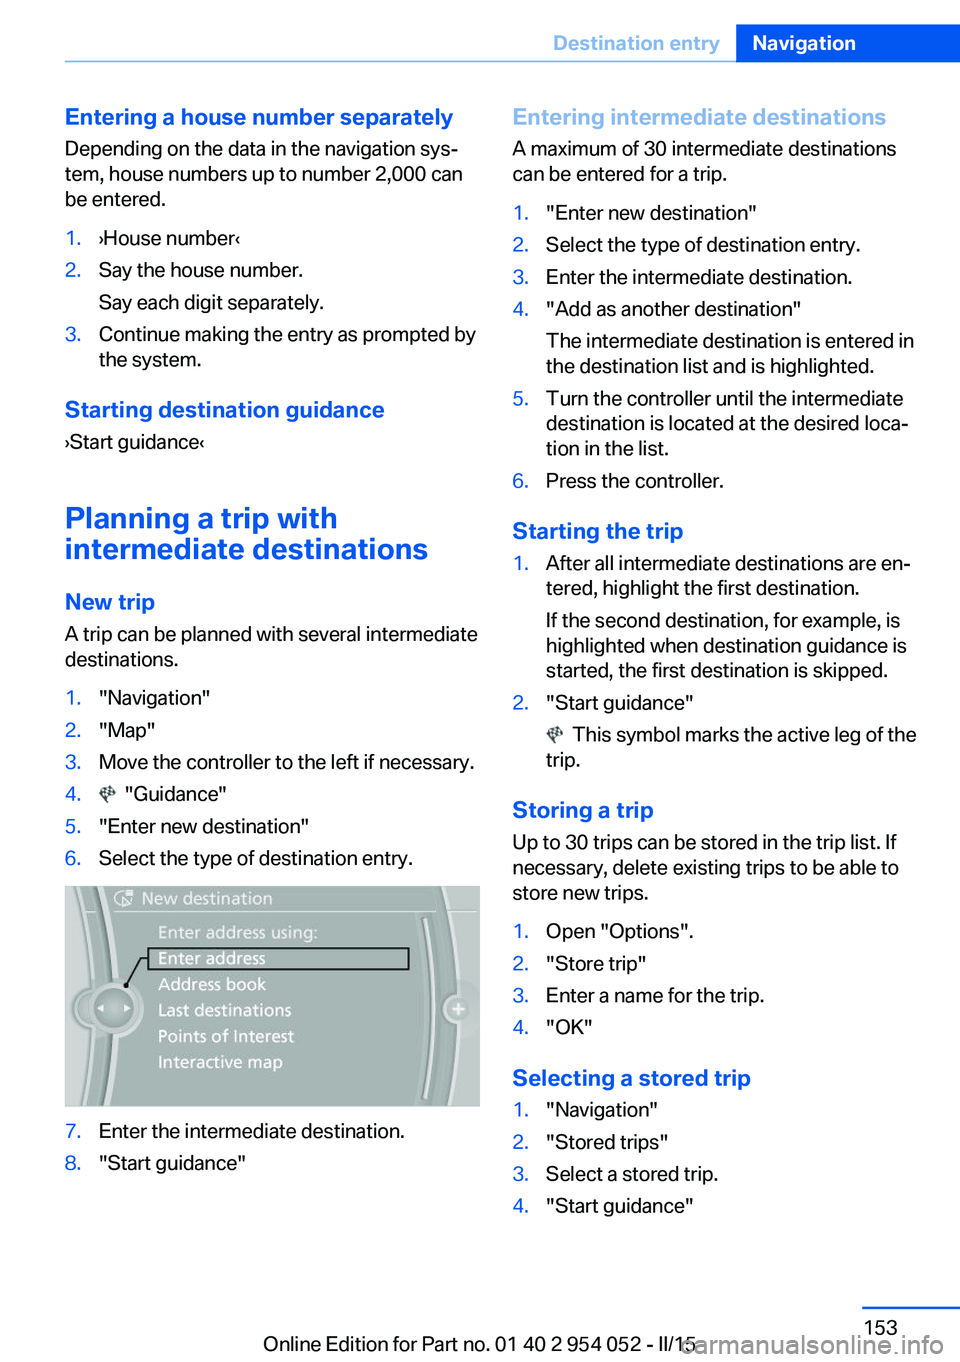
Entering a house number separatelyDepending on the data in the navigation sys‐
tem, house numbers up to number 2,000 can
be entered.1.›House number‹2.Say the house number.
Say each digit separately.3.Continue making the entry as prompted by
the system.
Starting destination guidance
›Start guidance‹
Planning a trip with
intermediate destinations
New trip
A trip can be planned with several intermediate
destinations.
1."Navigation"2."Map"3.Move the controller to the left if necessary.4. "Guidance"5."Enter new destination"6.Select the type of destination entry.7.Enter the intermediate destination.8."Start guidance"Entering intermediate destinations
A maximum of 30 intermediate destinations
can be entered for a trip.1."Enter new destination"2.Select the type of destination entry.3.Enter the intermediate destination.4."Add as another destination"
The intermediate destination is entered in
the destination list and is highlighted.5.Turn the controller until the intermediate
destination is located at the desired loca‐
tion in the list.6.Press the controller.
Starting the trip
1.After all intermediate destinations are en‐
tered, highlight the first destination.
If the second destination, for example, is
highlighted when destination guidance is
started, the first destination is skipped.2."Start guidance"
This symbol marks the active leg of the
trip.
Storing a trip
Up to 30 trips can be stored in the trip list. If
necessary, delete existing trips to be able to
store new trips.
1.Open "Options".2."Store trip"3.Enter a name for the trip.4."OK"
Selecting a stored trip
1."Navigation"2."Stored trips"3.Select a stored trip.4."Start guidance"Seite 153Destination entryNavigation153
Online Edition for Part no. 01 40 2 954 052 - II/15
Page 156 of 297
Changing the trip direction
Intermediate destinations are displayed in re‐
verse order in the list.1."Map"2. "Guidance"3.Open "Options".4."Reverse order of trip dest."
Intermediate destination options
1."Map"2. "Guidance"3."Display all trip destinations"4.Select an intermediate destination.▷"Edit destination"▷"Reposition dest. in the trip": move an
intermediate destination to another po‐
sition in the list.▷"Delete dest. in the trip"▷"Go to next dest. in the trip"
Some options are not available for certain trips.
Deleting a stored trip
1."Navigation"2."Stored trips"3.Highlight the desired trip.4.Open "Options".5."Delete all trips" or "Delete trip"
Opening the last trip
1."Navigation"2."Stored trips"3."Last trip"4."Start guidance"Seite 154NavigationDestination entry154
Online Edition for Part no. 01 40 2 954 052 - II/15