2015 BMW X1 SDRIVE28I light
[x] Cancel search: lightPage 221 of 297
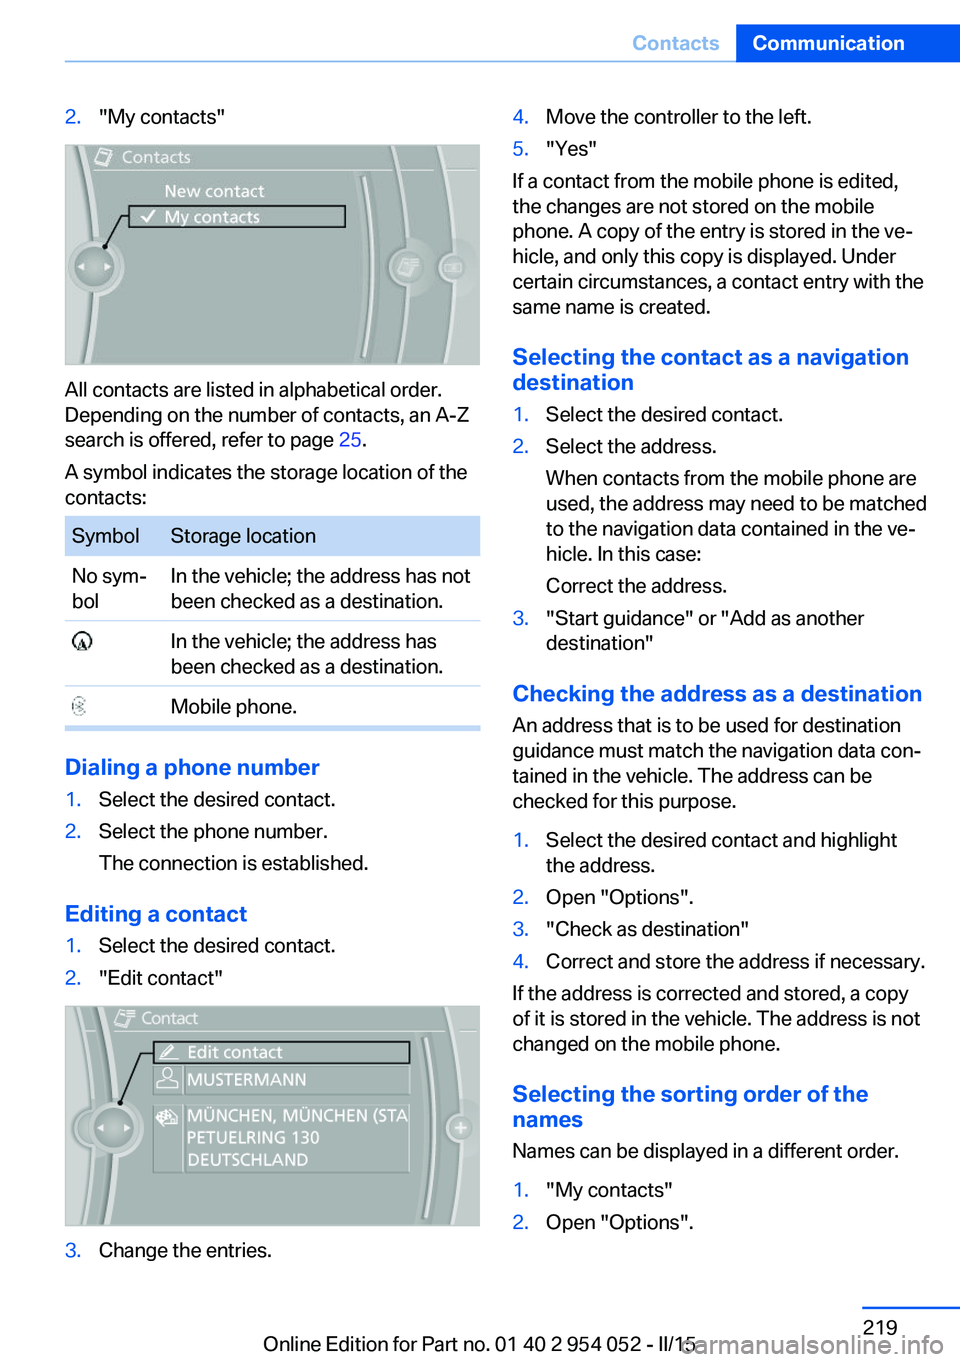
2."My contacts"
All contacts are listed in alphabetical order.
Depending on the number of contacts, an A-Z
search is offered, refer to page 25.
A symbol indicates the storage location of the
contacts:
SymbolStorage locationNo sym‐
bolIn the vehicle; the address has not
been checked as a destination. In the vehicle; the address has
been checked as a destination. Mobile phone.
Dialing a phone number
1.Select the desired contact.2.Select the phone number.
The connection is established.
Editing a contact
1.Select the desired contact.2."Edit contact"3.Change the entries.4.Move the controller to the left.5."Yes"
If a contact from the mobile phone is edited,
the changes are not stored on the mobile
phone. A copy of the entry is stored in the ve‐
hicle, and only this copy is displayed. Under
certain circumstances, a contact entry with the
same name is created.
Selecting the contact as a navigation
destination
1.Select the desired contact.2.Select the address.
When contacts from the mobile phone are
used, the address may need to be matched
to the navigation data contained in the ve‐
hicle. In this case:
Correct the address.3."Start guidance" or "Add as another
destination"
Checking the address as a destination
An address that is to be used for destination
guidance must match the navigation data con‐
tained in the vehicle. The address can be
checked for this purpose.
1.Select the desired contact and highlight
the address.2.Open "Options".3."Check as destination"4.Correct and store the address if necessary.
If the address is corrected and stored, a copy
of it is stored in the vehicle. The address is not
changed on the mobile phone.
Selecting the sorting order of the
names
Names can be displayed in a different order.
1."My contacts"2.Open "Options".Seite 219ContactsCommunication219
Online Edition for Part no. 01 40 2 954 052 - II/15
Page 222 of 297
3."Display: last, first name" or "Display: first,
last name"
Depending on how the contacts were stored
on the mobile phone, the sorting order of the
names may differ from the selected sorting or‐
der.
Deleting contacts
Only contacts that are stored in the vehicle are
deleted. The contacts on the mobile phone
cannot be deleted.
1."My contacts"2.Highlight the contact.3.Open "Options".4."Delete contact" or "Delete all contacts"Seite 220CommunicationContacts220
Online Edition for Part no. 01 40 2 954 052 - II/15
Page 225 of 297
Operating BMW Online
To start a search:▷Turn the controller to highlight an element.▷Press the controller to display an element.
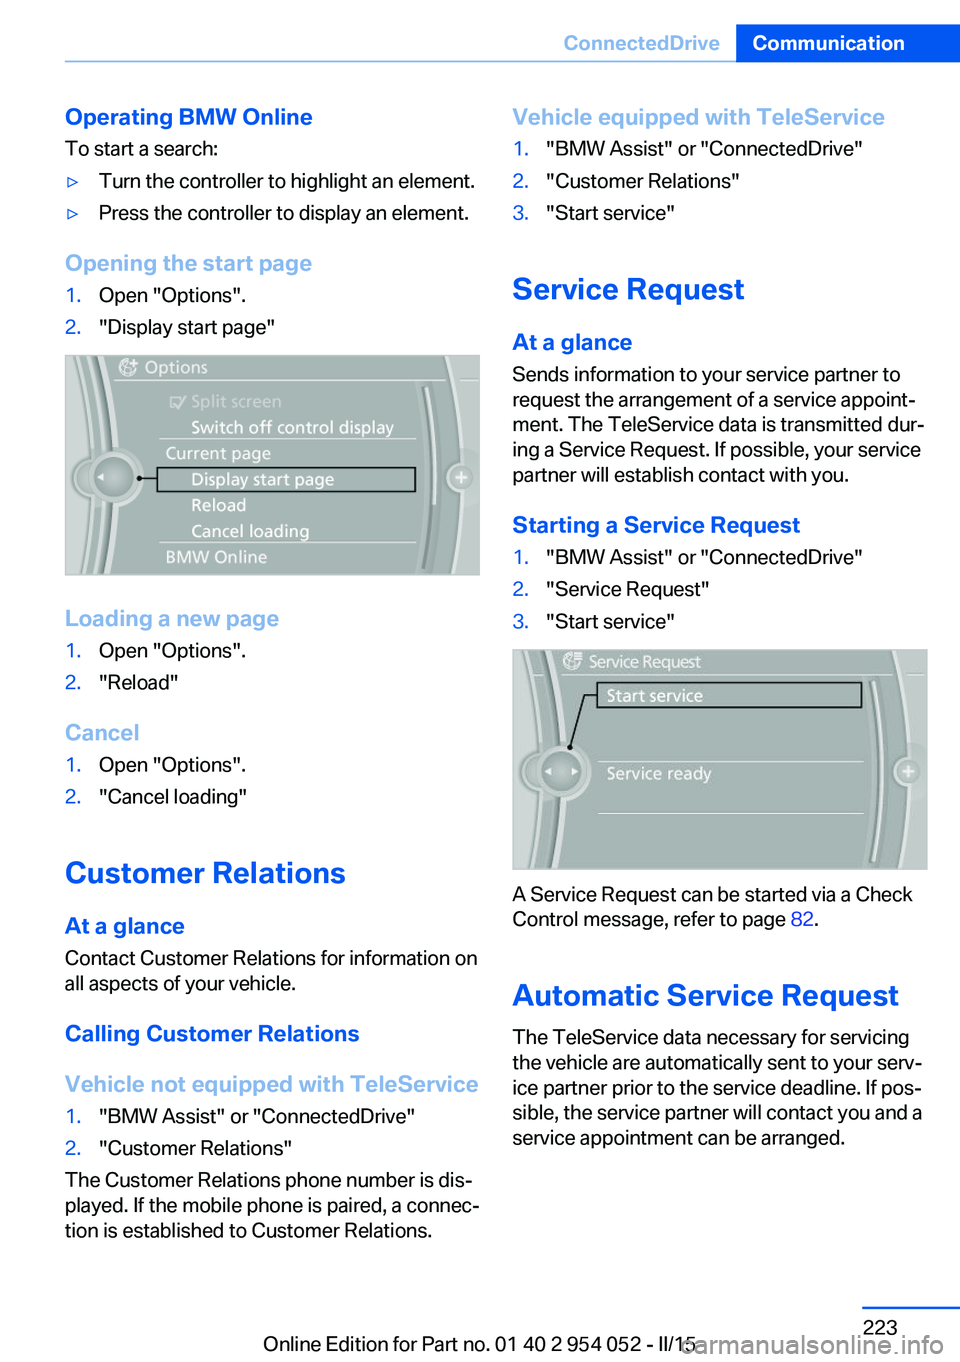
Opening the start page
1.Open "Options".2."Display start page"
Loading a new page
1.Open "Options".2."Reload"
Cancel
1.Open "Options".2."Cancel loading"
Customer Relations
At a glance Contact Customer Relations for information on
all aspects of your vehicle.
Calling Customer Relations
Vehicle not equipped with TeleService
1."BMW Assist" or "ConnectedDrive"2."Customer Relations"
The Customer Relations phone number is dis‐
played. If the mobile phone is paired, a connec‐
tion is established to Customer Relations.
Vehicle equipped with TeleService1."BMW Assist" or "ConnectedDrive"2."Customer Relations"3."Start service"
Service Request
At a glance
Sends information to your service partner to
request the arrangement of a service appoint‐
ment. The TeleService data is transmitted dur‐
ing a Service Request. If possible, your service
partner will establish contact with you.
Starting a Service Request
1."BMW Assist" or "ConnectedDrive"2."Service Request"3."Start service"
A Service Request can be started via a Check
Control message, refer to page 82.
Automatic Service Request
The TeleService data necessary for servicing
the vehicle are automatically sent to your serv‐
ice partner prior to the service deadline. If pos‐
sible, the service partner will contact you and a
service appointment can be arranged.
Seite 223ConnectedDriveCommunication223
Online Edition for Part no. 01 40 2 954 052 - II/15
Page 243 of 297
Maximum speed for winter tires
Do not exceed the maximum speed for
the winter tires; otherwise, tire damage and ac‐
cidents can occur.◀
Run-flat tires
For your own safety, only use run-flat tires.
Your service center will be glad to advise you.
Rotating wheels between axlesThe manufacturer of your vehicle advises
against swapping wheels between the front
and rear axles.
This can impair the handling characteristics.
Rotating the tires is not permissible when us‐
ing different types of tires.
Storage
Store wheels and tires in a cool, dry place with
as little exposure to light as possible.
Always protect tires against all contact with oil,
grease and fuels.
Do not exceed the maximum tire inflation pres‐
sure indicated on the side wall of the tire.
Run-flat tires
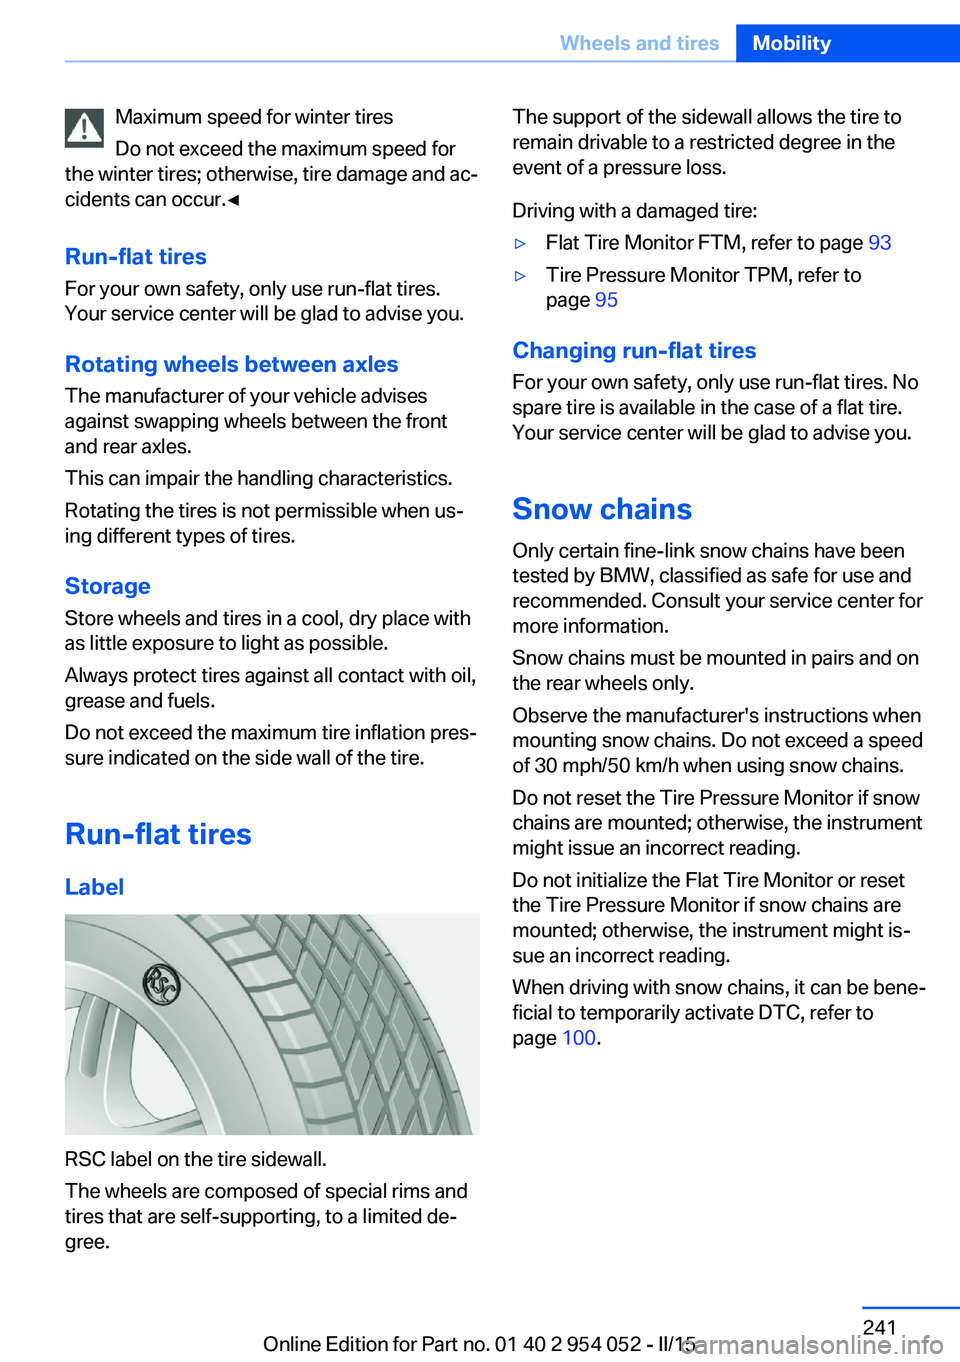
Label
RSC label on the tire sidewall.
The wheels are composed of special rims and
tires that are self-supporting, to a limited de‐
gree.
The support of the sidewall allows the tire to
remain drivable to a restricted degree in the
event of a pressure loss.
Driving with a damaged tire:▷Flat Tire Monitor FTM, refer to page 93▷Tire Pressure Monitor TPM, refer to
page 95
Changing run-flat tires
For your own safety, only use run-flat tires. No
spare tire is available in the case of a flat tire.
Your service center will be glad to advise you.
Snow chains
Only certain fine-link snow chains have been
tested by BMW, classified as safe for use and
recommended. Consult your service center for
more information.
Snow chains must be mounted in pairs and on the rear wheels only.
Observe the manufacturer's instructions when
mounting snow chains. Do not exceed a speed
of 30 mph/50 km/h when using snow chains.
Do not reset the Tire Pressure Monitor if snow
chains are mounted; otherwise, the instrument
might issue an incorrect reading.
Do not initialize the Flat Tire Monitor or reset
the Tire Pressure Monitor if snow chains are
mounted; otherwise, the instrument might is‐
sue an incorrect reading.
When driving with snow chains, it can be bene‐
ficial to temporarily activate DTC, refer to
page 100.
Seite 241Wheels and tiresMobility241
Online Edition for Part no. 01 40 2 954 052 - II/15
Page 246 of 297

Requirements▷The engine must be running and warm af‐
ter the vehicle has been driven for at least
6.2 miles/10 km.▷The vehicle is stopped or being driven on a
level roadway.
Display in the instrument cluster
1.Lightly press button 1 in the turn indicator
lever up or down repeatedly until the ap‐
propriate symbol appears in the display,
accompanied by the word "OIL".2.Press button 2 in the turn indicator lever.
The oil level is checked and the reading
displayed.
Possible displays
SymbolFunctionOil level OK.Oil level is being checked.
This can take about 3 minutes
if the car is at a standstill on a
level surface, or about 5 mi‐
nutes while the car is on the
move.SymbolFunctionOil at minimum level:
Add a maximum quantity of
1 US quart/1 liter of engine oil,
refer to page 245, at the next
opportunity.Oil level is too high.
Overfilling oil damages the en‐
gine. Have the vehicle
checked immediately.The oil level sensor is defec‐
tive.
Do not add engine oil.
It is possible to continue driv‐
ing. Note the newly calculated
remaining mileage until the
next oil service, refer to
page 80. Have the system
checked as soon as possible.
Display via iDrive
1."Vehicle Info"2."Vehicle status"3. "Engine oil level"
Possible messages
▷"Engine oil level OK"▷"Measurement not possible at this time."▷"Measuring engine oil level..."
Duration with the engine running: ap‐
prox. 3 minutes.Seite 244MobilityEngine compartment244
Online Edition for Part no. 01 40 2 954 052 - II/15
Page 248 of 297
Gasoline engineAPI SM or a higher quality standard
Oil changeThe manufacturer of your vehicle recommends
having the engine oil changed by a service
center.
Coolant
General information Danger of burns from hot engine
Do not open the cooling system while
the engine is hot; otherwise, escaping coolant
may cause burns.◀
Suitable additives
Only use suitable additives; otherwise,
engine damage may occur. The additives are
harmful to your health.◀
Coolant consists of water and additives.
Not all commercially available additives are
suitable for your vehicle. Ask your service cen‐
ter for suitable additives.
Checking the coolant level
1.Do not open the hood until the engine has
cooled down.2.Turn the expansion tank cap counterclock‐
wise slightly to allow any accumulatedpressure to escape; then continue turning
to open.3.The filling level indicator 1 in the filler neck
indicates the coolant level. The coolant
level is correct if it is between the arrows of
the respective reservoir label 2.4.If the coolant is low, slowly add coolant up
to the specified level; do not overfill.5.Turn the cap until there is an audible click.6.Have the cause of the coolant loss elimi‐
nated as soon as possible.
Disposal
Comply with the appropriate environ‐
mental protection regulations when dis‐
posing of coolant additives.
Seite 246MobilityEngine compartment246
Online Edition for Part no. 01 40 2 954 052 - II/15
Page 250 of 297
Service and Warranty
Information Booklet for US
models and Warranty and
Service Guide Booklet for
Canadian models
Please consult your Service and Warranty In‐
formation Booklet for US models and Warranty
and Service Guide Booklet for Canadian mod‐
els for additional information on service re‐
quirements.
Maintenance and repair should be performed
by your service center. Make sure to have reg‐
ular maintenance procedures recorded in the
vehicle's Service and Warranty Information
Booklet for US models, and in the Warranty
and Service Guide Booklet for Canadian mod‐
els. These entries are proof of regular mainte‐
nance.
Socket for OBD Onboard
Diagnosis
Socket for Onboard Diagnosis
The socket for Onboard Diagnosis may
only be used by the service center, by work‐
shops that operate according to the specifica‐
tions of the vehicle manufacturer with appro‐ priately trained personnel, and by other
authorized persons. Otherwise, its use may
lead to vehicle malfunctions.◀
On the driver's side is an OBD socket for
checking the primary components in the vehi‐
cle emissions.
Emissions▷The warning light lights up:
Emissions are deteriorating. Have
the vehicle checked as soon as
possible.▷The warning light flashes under certain cir‐
cumstances:
This indicates that there is excessive mis‐
firing in the engine.
Reduce the vehicle speed and have the
system checked immediately; otherwise,
serious engine misfiring within a brief pe‐
riod can seriously damage emission con‐
trol components, in particular the catalytic
converter.
Display of the previously described
malfunctions on Canadian models.
Fuel cap The indicator lamp lights up.
If the fuel cap is not properly tight‐
ened, the OBD system may conclude
that fuel vapor is escaping. If the cap is then
tightened, the display should go out in a short
time.
Seite 248MobilityMaintenance248
Online Edition for Part no. 01 40 2 954 052 - II/15
Page 252 of 297
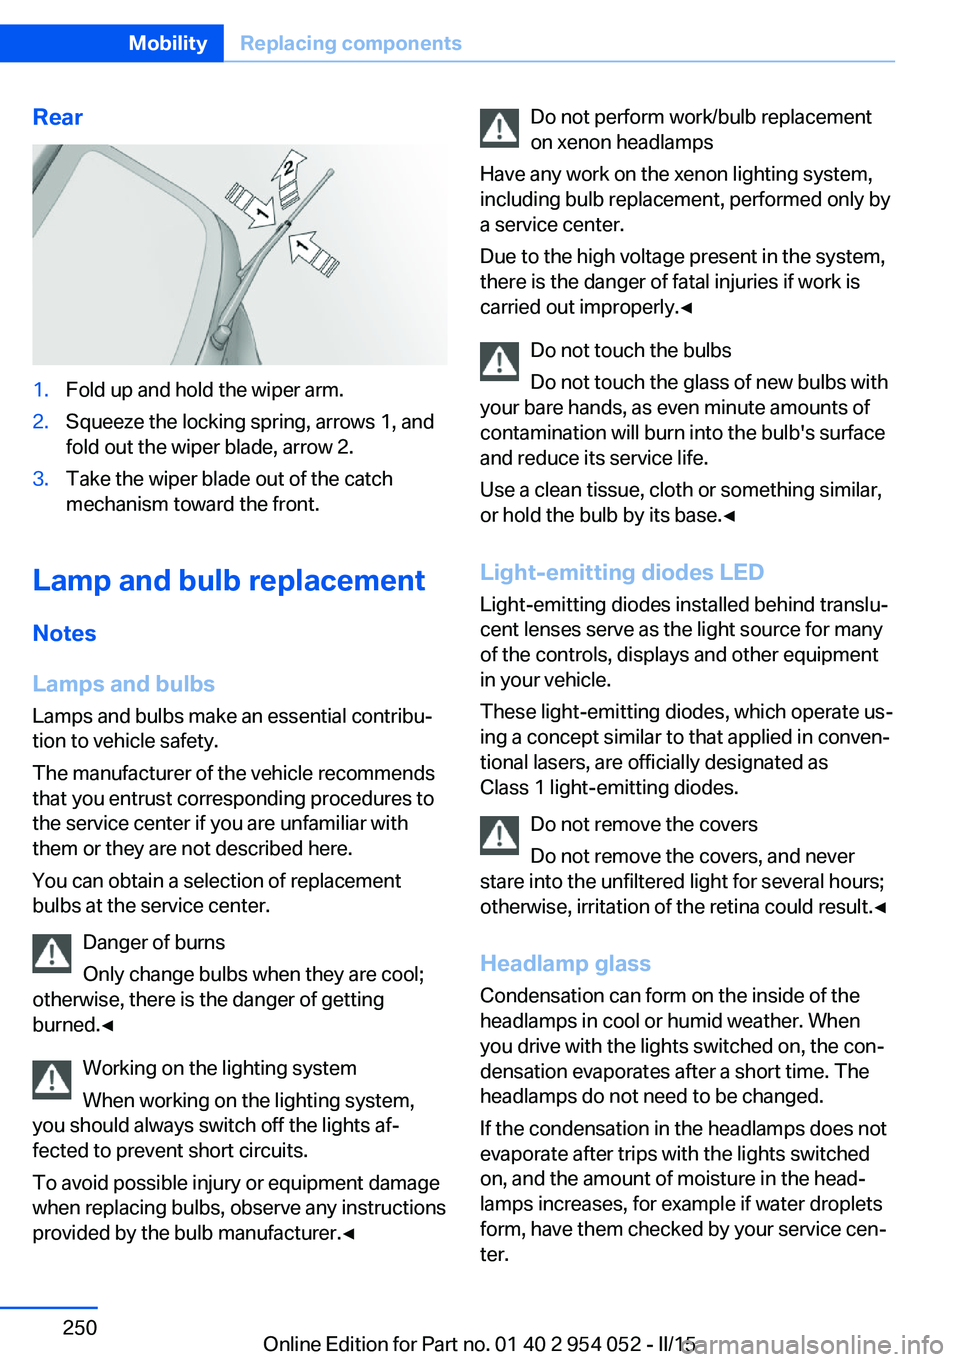
Rear1.Fold up and hold the wiper arm.2.Squeeze the locking spring, arrows 1, and
fold out the wiper blade, arrow 2.3.Take the wiper blade out of the catch
mechanism toward the front.
Lamp and bulb replacement
Notes
Lamps and bulbs
Lamps and bulbs make an essential contribu‐
tion to vehicle safety.
The manufacturer of the vehicle recommends
that you entrust corresponding procedures to
the service center if you are unfamiliar with them or they are not described here.
You can obtain a selection of replacement
bulbs at the service center.
Danger of burns
Only change bulbs when they are cool;
otherwise, there is the danger of getting
burned.◀
Working on the lighting system
When working on the lighting system,
you should always switch off the lights af‐
fected to prevent short circuits.
To avoid possible injury or equipment damage
when replacing bulbs, observe any instructions
provided by the bulb manufacturer.◀
Do not perform work/bulb replacement
on xenon headlamps
Have any work on the xenon lighting system,
including bulb replacement, performed only by
a service center.
Due to the high voltage present in the system,
there is the danger of fatal injuries if work is
carried out improperly.◀
Do not touch the bulbs
Do not touch the glass of new bulbs with
your bare hands, as even minute amounts of
contamination will burn into the bulb's surface
and reduce its service life.
Use a clean tissue, cloth or something similar,
or hold the bulb by its base.◀
Light-emitting diodes LED
Light-emitting diodes installed behind translu‐
cent lenses serve as the light source for many
of the controls, displays and other equipment
in your vehicle.
These light-emitting diodes, which operate us‐
ing a concept similar to that applied in conven‐
tional lasers, are officially designated as
Class 1 light-emitting diodes.
Do not remove the covers
Do not remove the covers, and never
stare into the unfiltered light for several hours; otherwise, irritation of the retina could result.◀
Headlamp glass
Condensation can form on the inside of the
headlamps in cool or humid weather. When
you drive with the lights switched on, the con‐
densation evaporates after a short time. The
headlamps do not need to be changed.
If the condensation in the headlamps does not
evaporate after trips with the lights switched
on, and the amount of moisture in the head‐
lamps increases, for example if water droplets
form, have them checked by your service cen‐
ter.Seite 250MobilityReplacing components250
Online Edition for Part no. 01 40 2 954 052 - II/15