Page 97 of 221

CD Player97
WMA files with Digital Rights
Management (DRM) from online
music shops cannot be played.
WMA files can only be played back
safely if they were created with Windows Media Player version 8 or later.
Applicable playlist
extensions: .m3u, .pls
Playlist entries must be in the form
of relative paths.
■ This chapter deals only with playing
MP3 files since the operation for
MP3 and WMA files is identical.
When a CD with WMA files is
loaded MP3 related menus are
displayed.Usage
Starting CD replay
Push CD with the labelled side
upward into the CD slot until it is
pulled in.
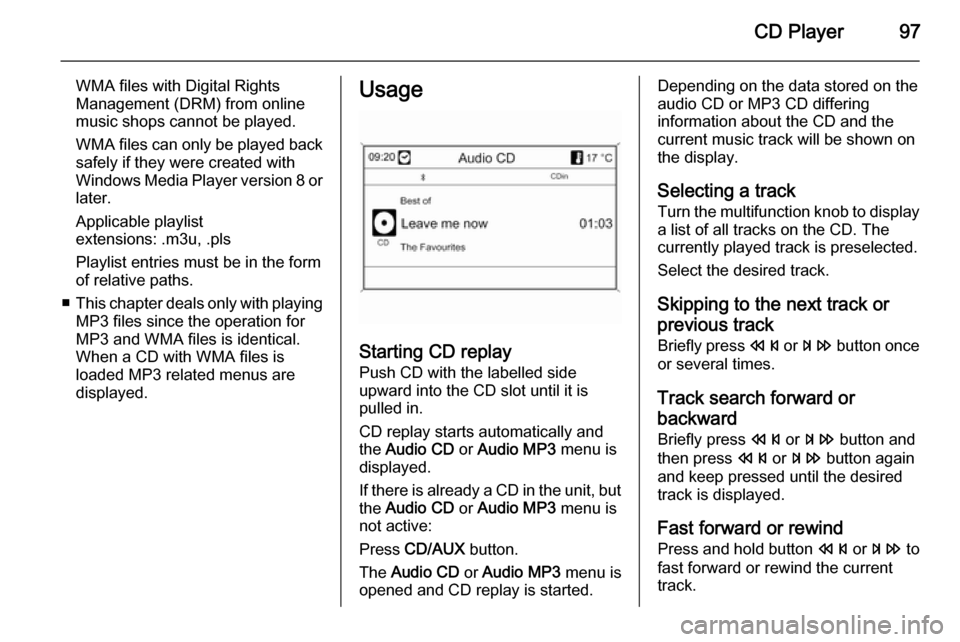
CD replay starts automatically and
the Audio CD or Audio MP3 menu is
displayed.
If there is already a CD in the unit, but the Audio CD or Audio MP3 menu is
not active:
Press CD/AUX button.
The Audio CD or Audio MP3 menu is
opened and CD replay is started.
Depending on the data stored on the
audio CD or MP3 CD differing
information about the CD and the
current music track will be shown on
the display.
Selecting a track
Turn the multifunction knob to display
a list of all tracks on the CD. The
currently played track is preselected.
Select the desired track.
Skipping to the next track orprevious track
Briefly press s or u button once
or several times.
Track search forward or
backward Briefly press s or u button and
then press s or u button again
and keep pressed until the desired
track is displayed.
Fast forward or rewind Press and hold button s or u to
fast forward or rewind the current track.
Page 98 of 221

98CD Player
Selecting tracks using the audio
CD or MP3 menu
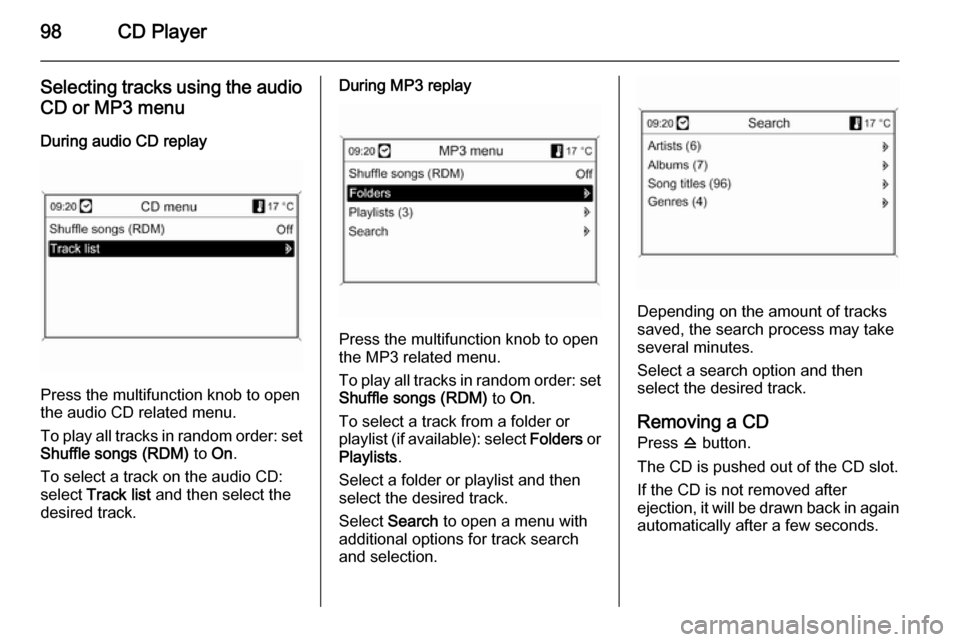
During audio CD replay
Press the multifunction knob to open
the audio CD related menu.
To play all tracks in random order: set
Shuffle songs (RDM) to On.
To select a track on the audio CD:
select Track list and then select the
desired track.
During MP3 replay
Press the multifunction knob to open
the MP3 related menu.
To play all tracks in random order: set
Shuffle songs (RDM) to On.
To select a track from a folder or
playlist (if available): select Folders or
Playlists .
Select a folder or playlist and then
select the desired track.
Select Search to open a menu with
additional options for track search
and selection.
Depending on the amount of tracks
saved, the search process may take
several minutes.
Select a search option and then
select the desired track.
Removing a CD
Press d button.
The CD is pushed out of the CD slot.
If the CD is not removed after
ejection, it will be drawn back in again automatically after a few seconds.
Page 99 of 221
AUX input99AUX inputGeneral information.....................99
Usage .......................................... 99General information
Sockets for the connection of external
devices are located in the centre
console hidden behind a cover.
Notice
The sockets must always be kept
clean and dry.
It is possible, for example, to connect a portable CD player with a 3.5 mm
jack plug to the AUX input.
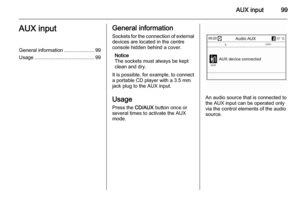
Usage Press the CD/AUX button once or
several times to activate the AUX mode.
An audio source that is connected to
the AUX input can be operated only
via the control elements of the audio source.
Page 100 of 221

100USB portUSB portGeneral information...................100
Playing saved audio files ...........101General information
Sockets for the connection of external
devices are located in the centre
console hidden behind a cover.
Notice
The sockets must always be kept
clean and dry.
An MP3 player, USB drive or an iPod
can be connected to the USB port.
Notice
Not all MP3 player, USB drive and
iPod models are supported by the
Infotainment system.
Important information
MP3 player and USB drives ■ The MP3 players and USB drives connected must comply with the
USB Mass Storage Class
specification (USB MSC).
■ Only MP3 players and USB drives with a cluster size smaller or equal
to 64 kB in the FAT16/FAT32 file
system are supported.
■ Hard disk drives (HDD) and are not
supported.■ USB hubs are not supported.
■ The following restrictions apply for the data stored on an MP3 Player
or USB device:
Maximum folder structure depth:
11 levels.
Maximum number of MP3/WMA
files that can be saved: 1000.
WMA files with Digital Rights
Management (DRM) from online
music shops cannot be played.
WMA files can only be played back
safely if they were created with
Windows Media Player version 8 or later.
Applicable playlist
extensions: .m3u, .pls
Playlist entries must be in the form
of relative paths.
The system attribute for folders/ files that contain audio data must
not be set.
Page 101 of 221
USB port101Playing saved audio filesMP3 player / USB drives
Press the CD/AUX button once or
several times to activate the audio
USB mode.
Replay of the audio data stored on the USB device is started.
The operation of data sources
connected via USB is the same as for an audio MP3/WMA CD 3 97.
iPod
Press the CD/AUX button once or
several times to activate the audio
iPod mode.
Replay of the audio data stored on the iPod is started.
The operation of the iPod connected
via USB is mainly the same as for an
audio MP3/WMA CD 3 97.
On the following pages only the
aspects of operation that are
different/additional are described.
iPod functions
Depending on the data saved, there
are various options for the selection and playing of tracks.
Press the multifunction knob and then select Search to display the options
available.
The search process on the device
may take several seconds.
Page 102 of 221

102Digital picture frameDigital picture frameGeneral information...................102
Usage ........................................ 102General information
Using the digital picture frame
function you can view your favourite
pictures (or photos), one at a time, on the display of the Infotainment
system.
You can download your favourite
pictures from a USB drive connected
to the USB port 3 100 of the
Infotainment system.
Up to 10 pictures can be stored in the
Infotainment system's memory.
The pictures are shown on the display in their original ratio (borders if
necessary are black) and orientation.
Important information ■ The pictures you want to download
need to be stored in the root
directory (e.g., "F:\") of the USB drive.
■ Only the first 100 pictures (sequentially sorted as stored in the
root directory of the USB drive) will
be offered for download.■ Only pictures in JPEG standard format (file extensions, e.g., .jpg
or .jpeg) are supported.
Example: "F:\myPicture.jpg",
where "F:\" is the root directory of
the USB drive.
■ The maximum supported resolution
of a picture is 12 Mega pixel.
Pictures with higher resolutions are down-scaled (resized) during
download.
Pictures with lower resolutions are
not up-scaled (not resized) during
download and centred in the middle of the display.
Usage Downloading and/or removing
pictures
Connect a USB drive with your
favourite pictures (or photos) stored
on it to the USB port 3 100 of the
Infotainment system.
Page 103 of 221

Digital picture frame103
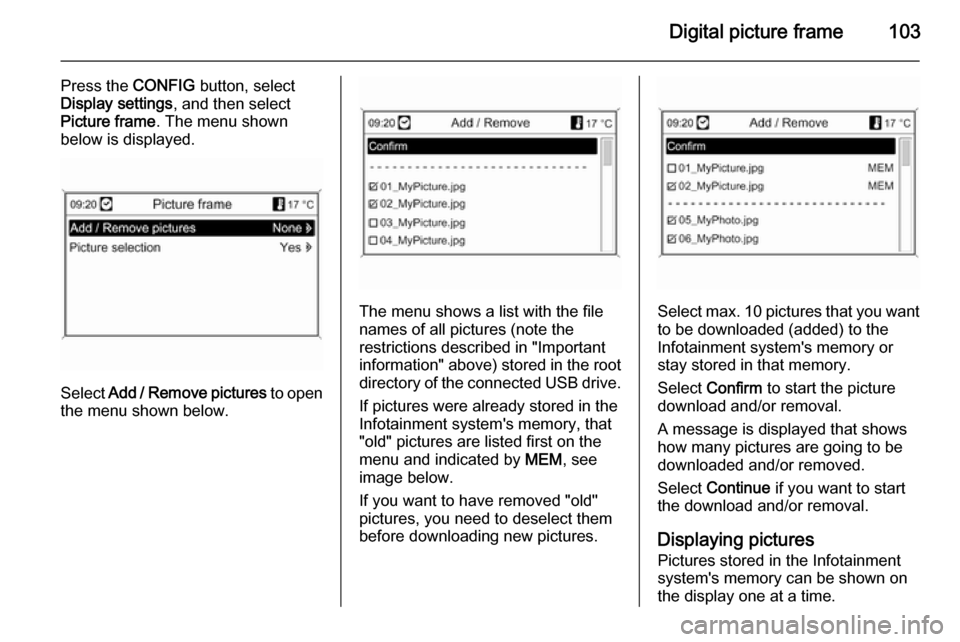
Press the CONFIG button, select
Display settings , and then select
Picture frame . The menu shown
below is displayed.
Select Add / Remove pictures to open
the menu shown below.
The menu shows a list with the file
names of all pictures (note the
restrictions described in "Important information" above) stored in the root directory of the connected USB drive.
If pictures were already stored in the
Infotainment system's memory, that
"old" pictures are listed first on the menu and indicated by MEM, see
image below.
If you want to have removed "old"
pictures, you need to deselect them
before downloading new pictures.Select max. 10 pictures that you want
to be downloaded (added) to the
Infotainment system's memory or
stay stored in that memory.
Select Confirm to start the picture
download and/or removal.
A message is displayed that shows
how many pictures are going to be
downloaded and/or removed.
Select Continue if you want to start
the download and/or removal.
Displaying pictures Pictures stored in the Infotainment
system's memory can be shown on
the display one at a time.
Page 104 of 221
104Digital picture frame
Press the CONFIG button, select
Display settings , select Picture
frame , and then select Picture
selection . The menu shown below is
displayed.
Select the picture you want to be
shown on the display.
Press the INFO button several times
until the currently selected picture is
shown on the display.
To display a default Infotainment
menu again, press any button on the
Infotainment system.
As long as a picture stays selected in
the Picture selection menu, it can be
displayed at any time using the
INFO button.