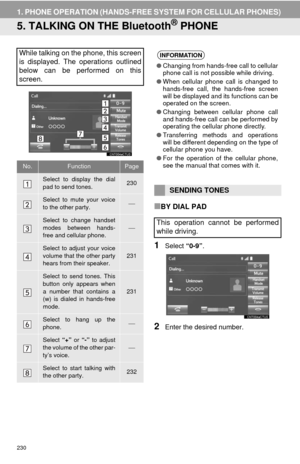
Page 129 of 356

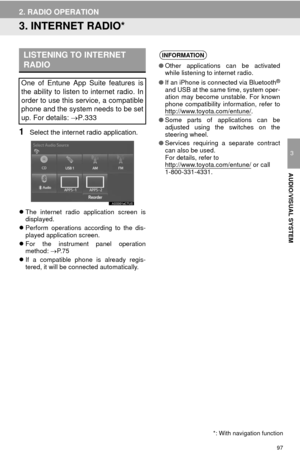
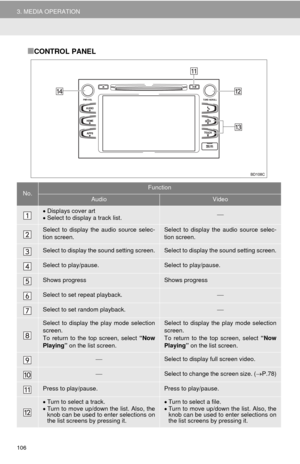
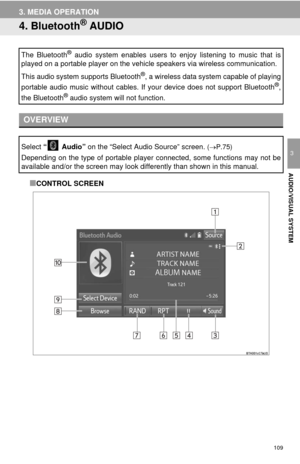
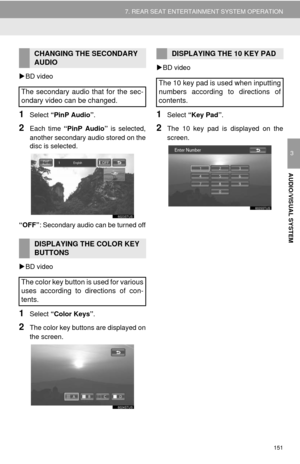
129
6. TIPS FOR OPERATING THE AUDIO/VISUAL SYSTEM
3
AUDIO/VISUAL SYSTEM
This system can play back AAC files
encoded by iTunes.
The sound quality of MP3/WMA files gen-
erally improves with higher bit rates. In
order to achieve a reasonable level of
sound quality, discs recorded with a bit
rate of at least 128 kbps are recom-
mended.
The MP3/WMA player does not play back
MP3/WMA files from discs recorded using
packet write data transfer (UDF format).
Discs should be recorded using “pre-mas-
tering” software rather than packet-write
software.
M3u playlists are not compatible with the
audio player.
MP3i (MP3 interactive) and MP3PRO for-
mats are not compatible with the audio
player.
The player is compatible with VBR (Vari-
able Bit Rate).
When playing back files recorded as VBR
(Variable Bit Rate) files, the play time will
not be correctly displayed if the fast for-
ward or reverse operations are used.
It is not possible to check folders that do
not include MP3/WMA/AAC files.
MP3/WMA/AAC files in folders up to 8 lev-
els deep can be played. However, the
start of playback may be delayed when
using discs containing numerous levels of
folders. For this reason, we recommend
creating discs with no more than 2 levels
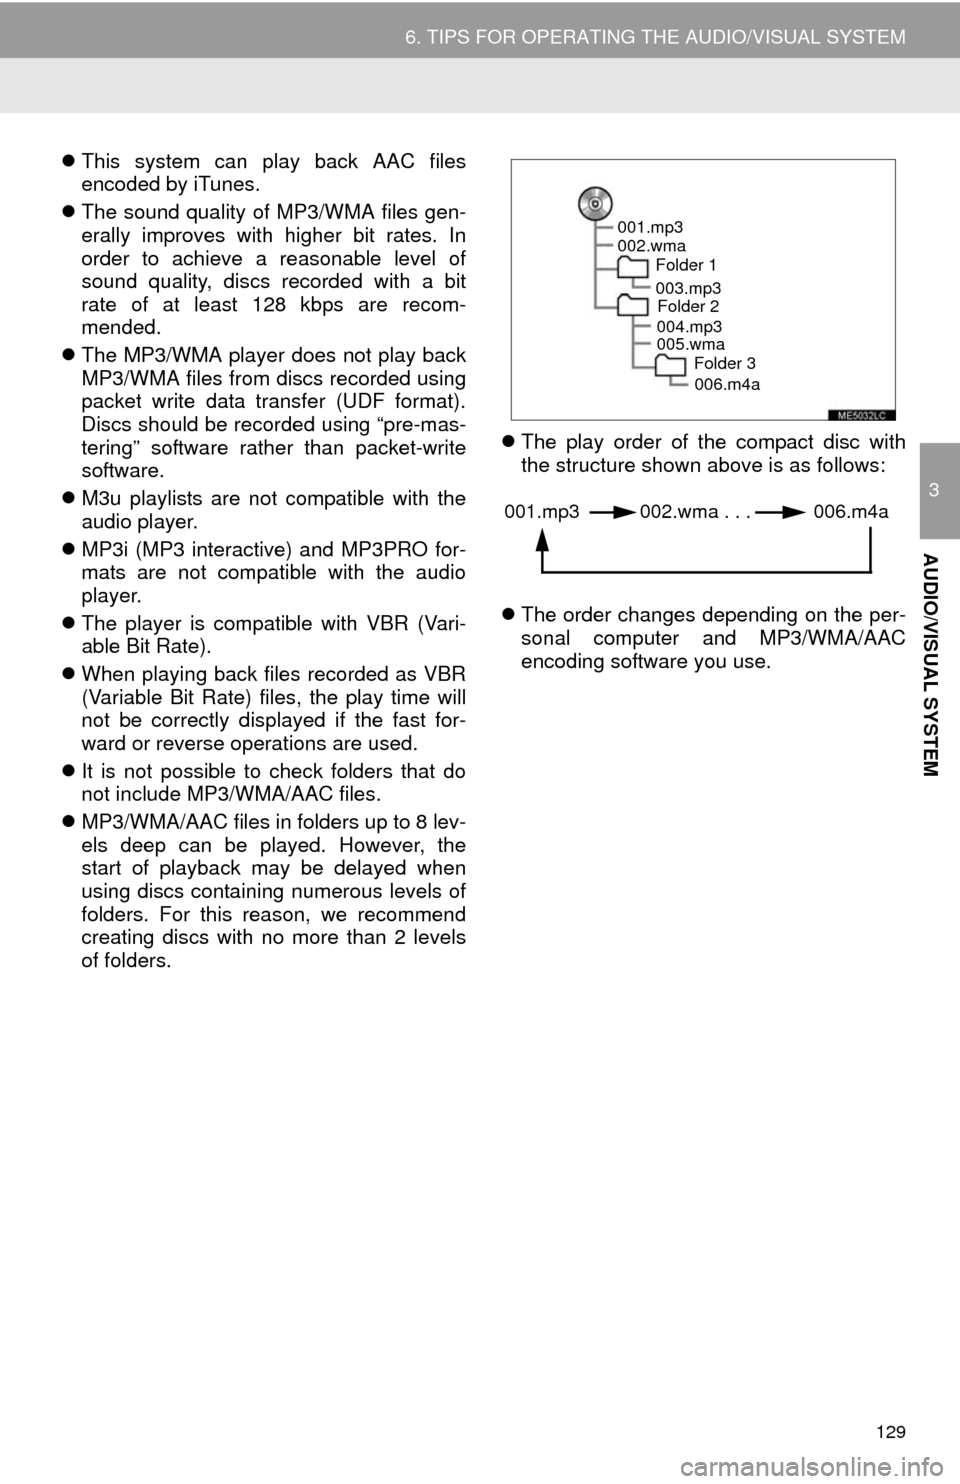
of folders.The play order of the compact disc with
the structure shown above is as follows:
The order changes depending on the per-
sonal computer and MP3/WMA/AAC
encoding software you use.
001.mp3
002.wma
Folder 1
003.mp3
Folder 2
004.mp3
005.wma
Folder 3
006.m4a
001.mp3 002.wma . . . 006.m4a
Page 130 of 356

130
6. TIPS FOR OPERATING THE AUDIO/VISUAL SYSTEM
This is a general term that describes the
process of writing data on-demand to CD-
R, etc., in the same way that data is writ-
ten to floppy or hard discs.
This is a method of embedding track-
related information in an MP3 file. This
embedded information can include the
track number, track title, the artist’s name,
the album title, the music genre, the year
of production, comments, cover art and
other data. The contents can be freely
edited using software with ID3 tag editing
functions. Although the tags are restricted
to a number of characters, the information
can be viewed when the track is played
back.
WMA files can contain a WMA tag that is
used in the same way as an ID3 tag. WMA
tags carry information such as track title
and artist name.
This is the international standard for the
formatting of CD-ROM folders and files.
For the ISO 9660 format, there are 2 lev-
els of regulations.
Level 1: The file name is in 8.3 format (8
character file names, with a 3 character
file extension. File names must be com-
posed of one-byte capital letters and num-
bers. The “_” symbol may also be
included.)
Level 2: The file name can have up to 31
characters (including the separation mark
“.” and file extension). Each folder must
contain fewer than 8 hierarchies.Playlists created using “WINAMP” soft-
ware have a playlist file extension (.m3u).
MP3 is an audio compression standard
determined by a working group (MPEG) of
the ISO (International Standard Organiza-
tion). MP3 compresses audio data to
about 1/10 the size of that on conventional
discs.
WMA (Windows Media Audio) is an audio
compression format developed by
Microsoft
®. It compresses files into a size
smaller than that of MP3 files. The decod-
ing formats for WMA files are Ver. 7, 8 and
9.
This product is protected by certain intel-
lectual property rights of Microsoft Corpo-
ration and third parties. Use or distribution
of such technology outside of this product
is prohibited without a license from
Microsoft or an authorized Microsoft sub-
sidiary and third parties.
AAC is short for Advanced Audio Coding
and refers to an audio compression tech-
nology standard used with MPEG2 and
MPEG4.
TERMS
PACKET WRITE
ID3 TAG
WMA TAG
ISO 9660 FORMAT
m3u
MP3
WMA
AAC
Page 131 of 356

131
6. TIPS FOR OPERATING THE AUDIO/VISUAL SYSTEM
3
AUDIO/VISUAL SYSTEM
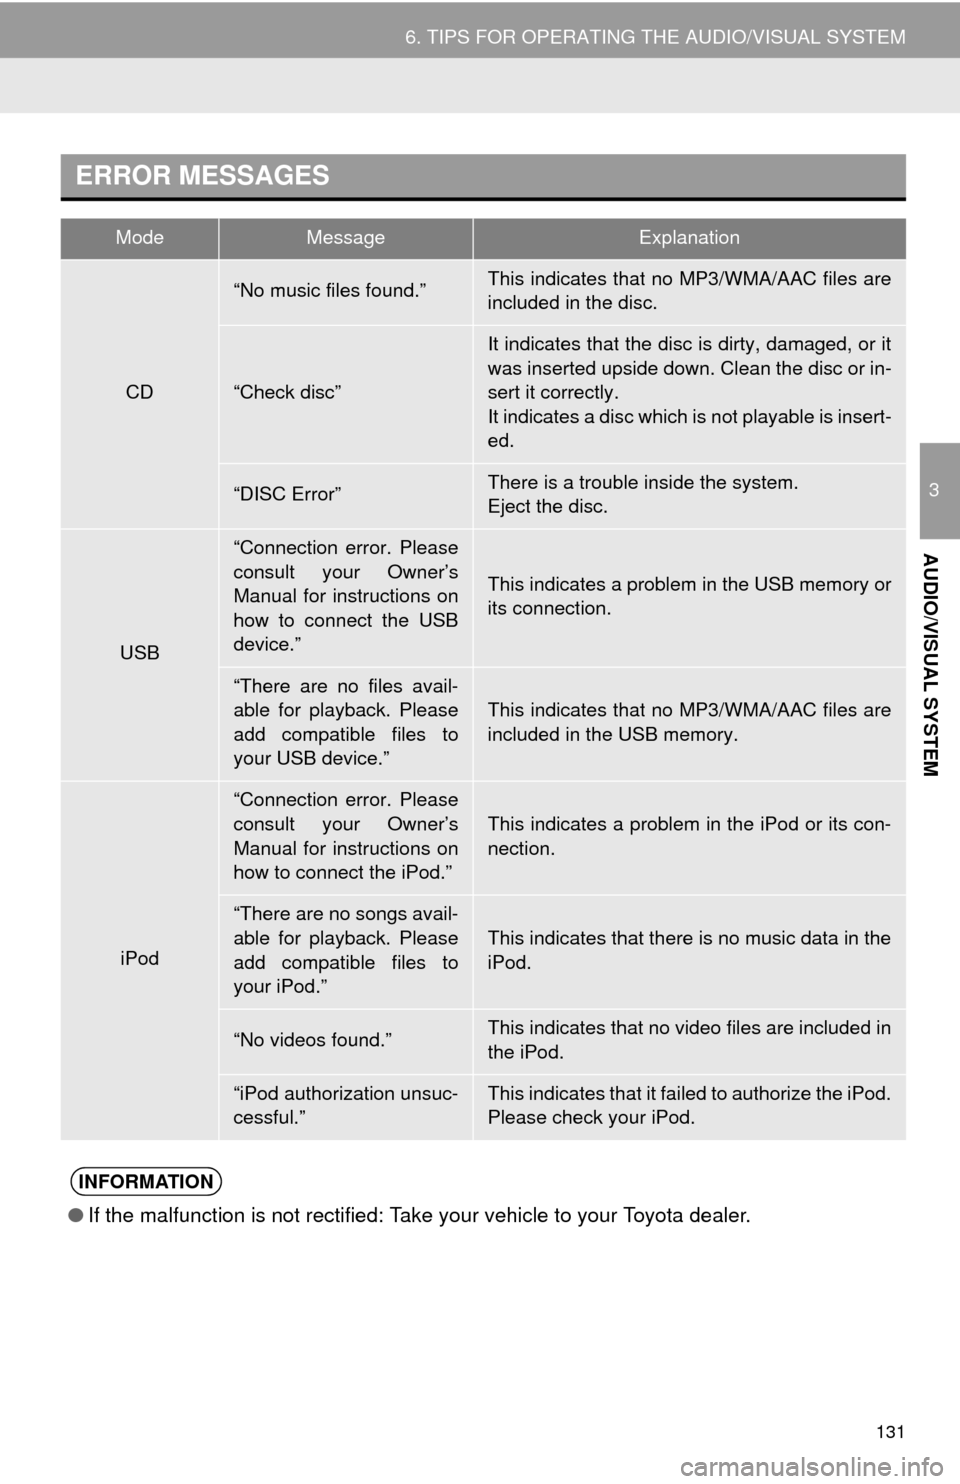
ERROR MESSAGES
ModeMessageExplanation
CD
“No music files found.”This indicates that no MP3/WMA/AAC files are
included in the disc.
“Check disc”
It indicates that the disc is dirty, damaged, or it
was inserted upside down. Clean the disc or in-
sert it correctly.
It indicates a disc which is not playable is insert-
ed.
“DISC Error”There is a trouble inside the system.
Eject the disc.
USB
“Connection error. Please
consult your Owner’s
Manual for instructions on
how to connect the USB
device.”
This indicates a problem in the USB memory or
its connection.
“There are no files avail-
able for playback. Please
add compatible files to
your USB device.”
This indicates that no MP3/WMA/AAC files are
included in the USB memory.
iPod
“Connection error. Please
consult your Owner’s
Manual for instructions on
how to connect the iPod.”
This indicates a problem in the iPod or its con-
nection.
“There are no songs avail-
able for playback. Please
add compatible files to
your iPod.”This indicates that there is no music data in the
iPod.
“No videos found.”This indicates that no video files are included in
the iPod.
“iPod authorization unsuc-
cessful.”This indicates that it failed to authorize the iPod.
Please check your iPod.
INFORMATION
●If the malfunction is not rectified: Take your vehicle to your Toyota dealer.
Page 132 of 356
132
7. REAR SEAT ENTERTAINMENT SYSTEM OPERATION
1. REAR SEAT ENTERTAINMENT SYSTEM FEATURES*
The rear seat entertainment system is designed for the rear passengers to enjoy
video such as Blu-ray Disc™ (BD) and DVD disc.
The video played by the rear seat entertainment system is not displayed on the au-
dio system’s screen. In addition, the DVD video played by the audio system is not
displayed on the rear seat entertainment system’s screen.
No.NameNo.Name
Rear seat entertainment systemA/V input port
Remote controllerAudio system
INFORMATION
●The rear seat entertainment system can be used when the engine switch is in
ACCESSORY or IGNITION ON mode.
*: If equipped
Page 133 of 356
133
7. REAR SEAT ENTERTAINMENT SYSTEM OPERATION
3
AUDIO/VISUAL SYSTEM
1Press the lock release button to open
the display.
2Pull the display down to an easily view-
able angle.
1Push the display up until a click is
heard.
CERTIFICATION
CAUTION:
For vehicles sold in U.S.A. and Cana-
da
Part 15 of the FCC Rules
Changes or modifications not expressly
approved by the party responsible for
compliance could void the user’s
authority to operate the equipment.
Laser products
• USE OF CONTROL OF ADJUST-
MENT OR PERFORMANCE OF PRO-
CEDURES OTHER THAN THOSE
SPECIFIED HEREIN MAY RESULT IN
HAZARDOUS RADIATION EXPO-
SURE.
• THE USE OF OPTICAL INSTRU-
MENTS WITH THIS PRODUCT WILL
INCREASE EYE HAZARD.
DISPLAY
OPENING THE DISPLAY
CLOSING THE DISPLAY
Page 134 of 356

134
7. REAR SEAT ENTERTAINMENT SYSTEM OPERATION
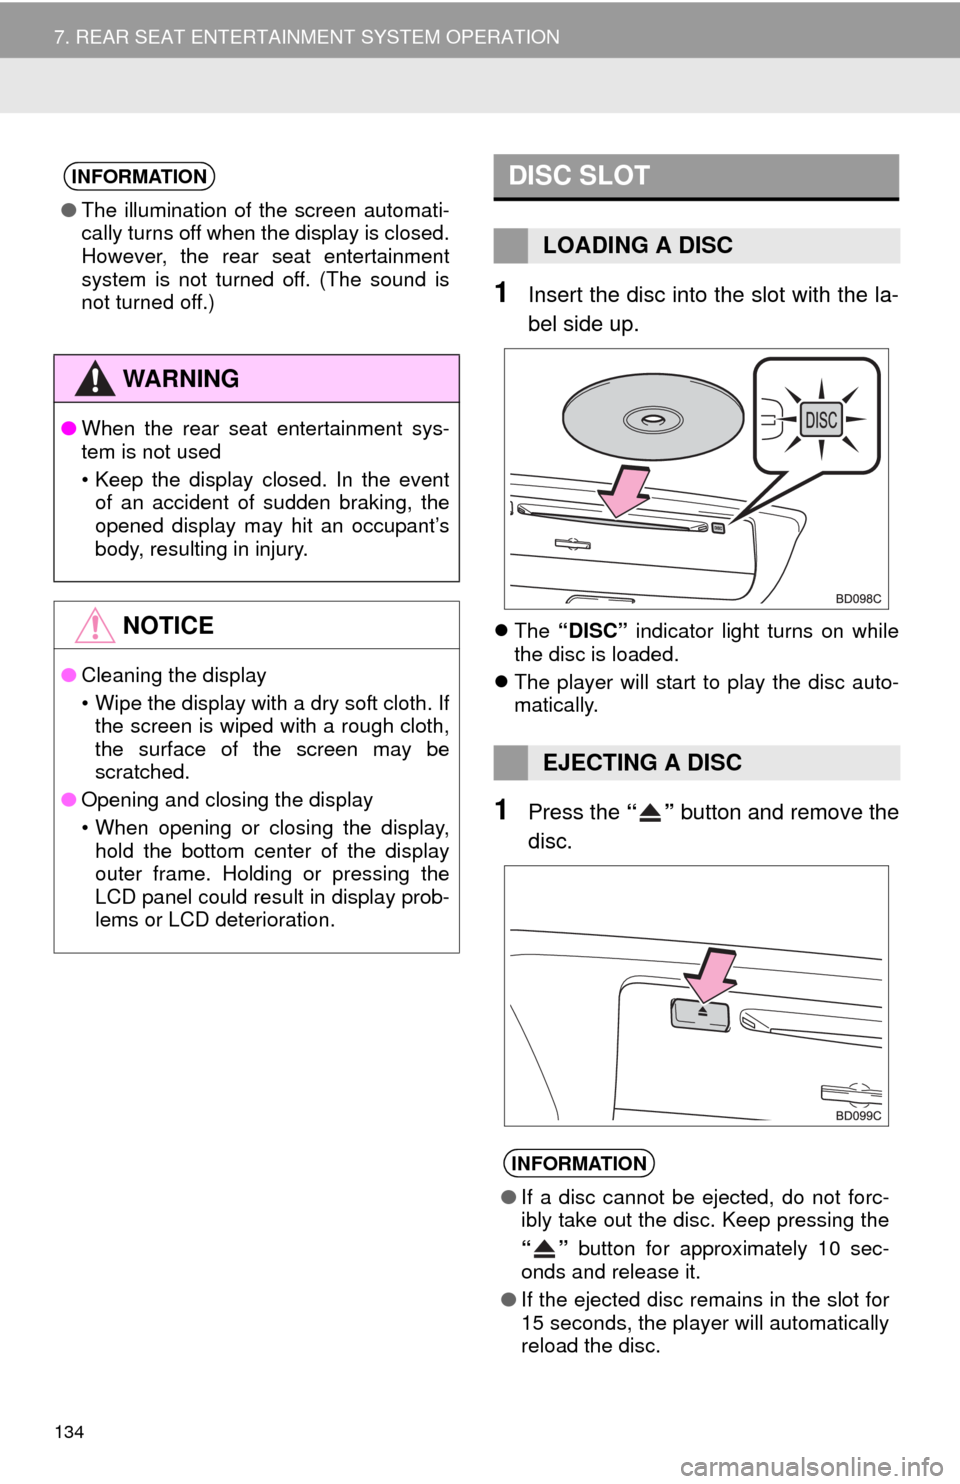
1Insert the disc into the slot with the la-
bel side up.
The “DISC” indicator light turns on while
the disc is loaded.
The player will start to play the disc auto-
matically.
1Press the “” button and remove the
disc.
INFORMATION
●The illumination of the screen automati-
cally turns off when the display is closed.
However, the rear seat entertainment
system is not turned off. (The sound is
not turned off.)
WA R N I N G
●When the rear seat entertainment sys-
tem is not used
• Keep the display closed. In the event
of an accident of sudden braking, the
opened display may hit an occupant’s
body, resulting in injury.
NOTICE
●Cleaning the display
• Wipe the display with a dry soft cloth. If
the screen is wiped with a rough cloth,
the surface of the screen may be
scratched.
●Opening and closing the display
• When opening or closing the display,
hold the bottom center of the display
outer frame. Holding or pressing the
LCD panel could result in display prob-
lems or LCD deterioration.
DISC SLOT
LOADING A DISC
EJECTING A DISC
INFORMATION
●If a disc cannot be ejected, do not forc-
ibly take out the disc. Keep pressing the
“” button for approximately 10 sec-
onds and release it.
●If the ejected disc remains in the slot for
15 seconds, the player will automatically
reload the disc.
Page 135 of 356
135
7. REAR SEAT ENTERTAINMENT SYSTEM OPERATION
3
AUDIO/VISUAL SYSTEM
1Insert the SD card with the label side
up, positioning the cut off corner to the
right.
To eject the SD card, push on the center
of the SD card. When it ejects slightly pull
it straight out.
SD CARD SLOTREMOTE CONTROLLER
The rear seat entertainment system
can be operated with the remote con-
troller. The system cannot be operated
by touching the switches on the screen
directly.
No.Function
Turning on/off the rear seat enter-
tainment system
Selecting a control icon
Inputting the selected control icon
Turning on/off the speaker output
Changing the screen size
Turning on the “VIDEO” mode
Adjusting the volume
Turning on the “SD” mode
Page 136 of 356

136
7. REAR SEAT ENTERTAINMENT SYSTEM OPERATION
1Press the button to turn on the
rear seat entertainment system.
Press the button once again to turn
off the system.
1Press “+” or “-” on the “VOL” button
to adjust the volume.
When the speaker output is off, the vol-
ume cannot be adjusted.
1Press the button to turn on/off
the speaker output.
On: The sound is available from both vehi-
cle speakers and headphones.
Off: The sound is available from the head-
phones only.
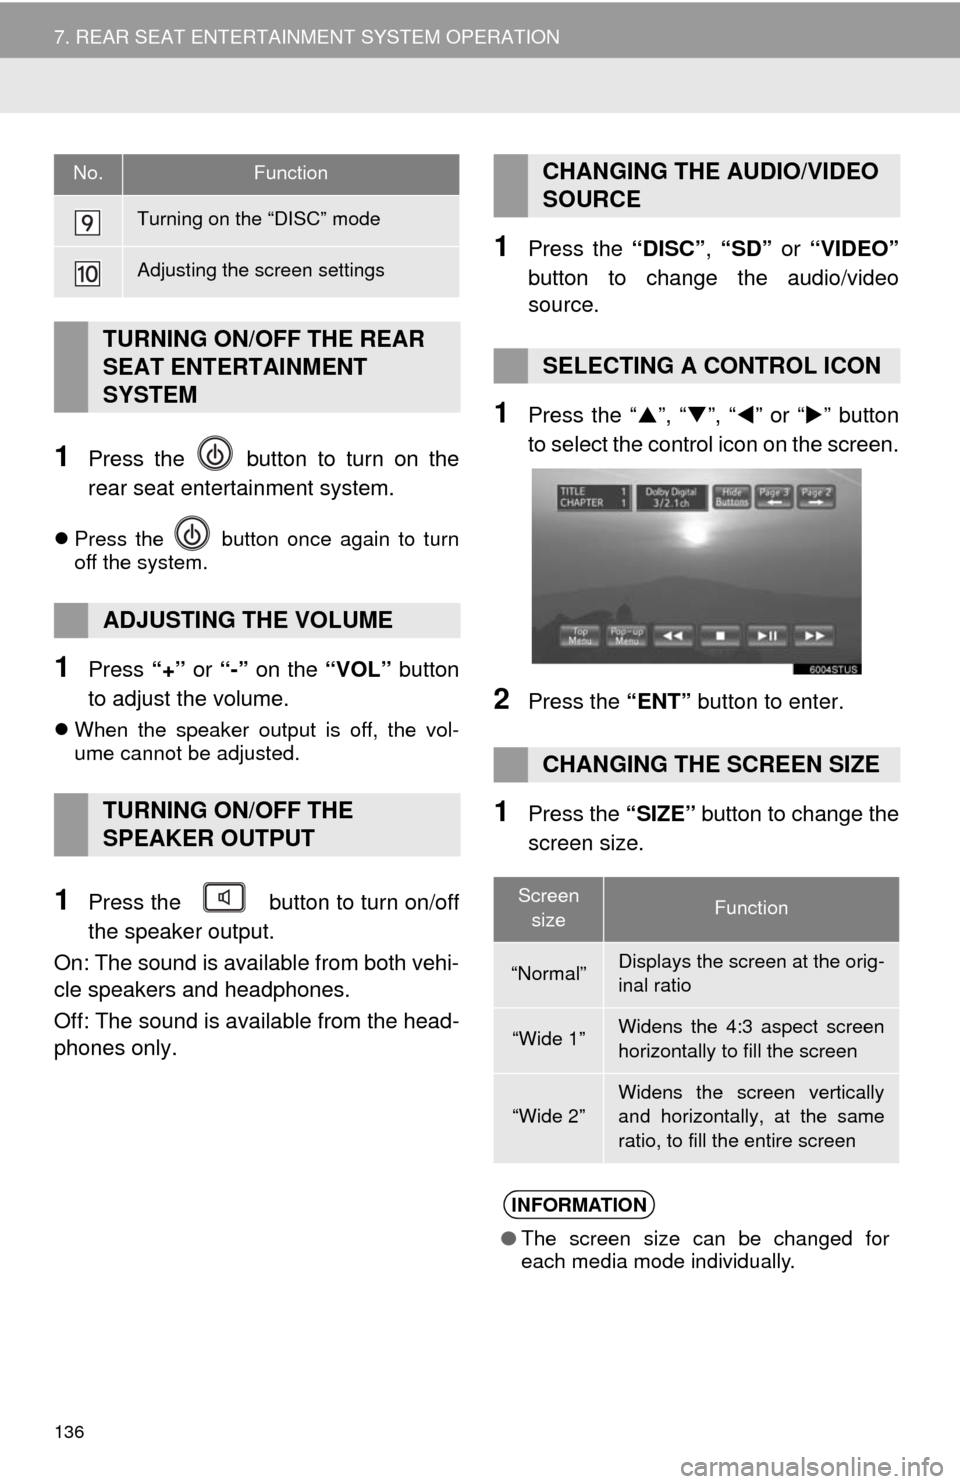
1Press the “DISC”, “SD” or “VIDEO”
button to change the audio/video
source.
1Press the “”, “”, “” or “” button
to select the control icon on the screen.
2Press the “ENT” button to enter.
1Press the “SIZE” button to change the
screen size.
Turning on the “DISC” mode
Adjusting the screen settings
TURNING ON/OFF THE REAR
SEAT ENTERTAINMENT
SYSTEM
ADJUSTING THE VOLUME
TURNING ON/OFF THE
SPEAKER OUTPUT
No.FunctionCHANGING THE AUDIO/VIDEO
SOURCE
SELECTING A CONTROL ICON
CHANGING THE SCREEN SIZE
Screen
sizeFunction
“Normal”Displays the screen at the orig-
inal ratio
“Wide 1”Widens the 4:3 aspect screen
horizontally to fill the screen
“Wide 2”
Widens the screen vertically
and horizontally, at the same
ratio, to fill the entire screen
INFORMATION
●The screen size can be changed for
each media mode individually.