2014 SUBARU TRIBECA stop start
[x] Cancel search: stop startPage 142 of 426
CAUTION
If the pointer exceeds the normaloperating range, safely stop thevehicle as soon as possible.
Refer to“Engine overheating”F9-14.
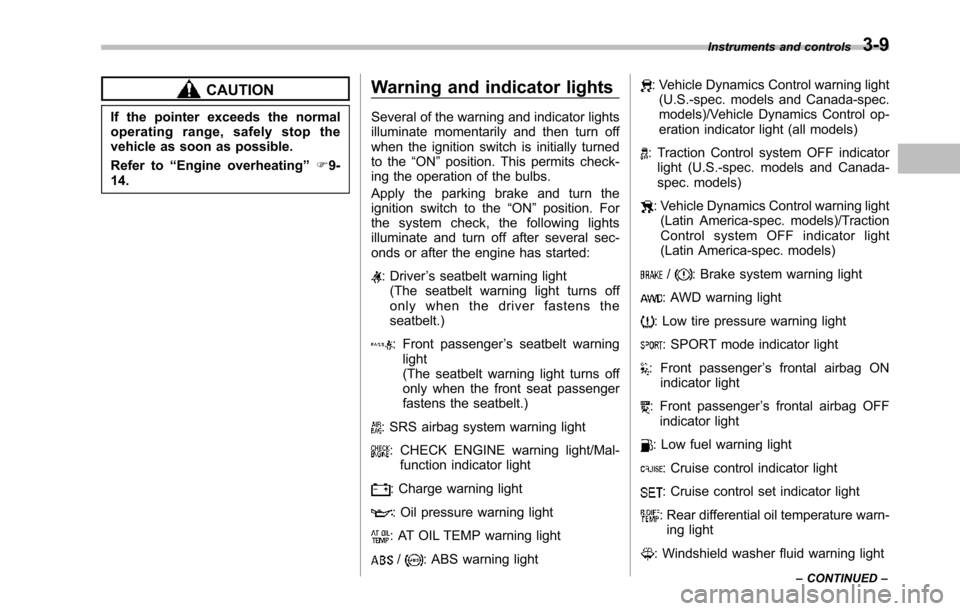
Warning and indicator lights
Several of the warning and indicator lightsilluminate momentarily and then turn offwhen the ignition switch is initially turnedto the“ON”position. This permits check-ing the operation of the bulbs.
Apply the parking brake and turn theignition switch to the“ON”position. Forthe system check, the following lightsilluminate and turn off after several sec-onds or after the engine has started:
: Driver’s seatbelt warning light(The seatbelt warning light turns offonly when the driver fastens theseatbelt.)
: Front passenger’s seatbelt warninglight(The seatbelt warning light turns offonly when the front seat passengerfastens the seatbelt.)
: SRS airbag system warning light
: CHECK ENGINE warning light/Mal-function indicator light
: Charge warning light
: Oil pressure warning light
: AT OIL TEMP warning light
/: ABS warning light
: Vehicle Dynamics Control warning light(U.S.-spec. models and Canada-spec.models)/Vehicle Dynamics Control op-eration indicator light (all models)
: Traction Control system OFF indicatorlight (U.S.-spec. models and Canada-spec. models)
: Vehicle Dynamics Control warning light(Latin America-spec. models)/TractionControl system OFF indicator light(Latin America-spec. models)
/: Brake system warning light
: AWD warning light
: Low tire pressure warning light
: SPORT mode indicator light
: Front passenger’s frontal airbag ONindicator light
: Front passenger’s frontal airbag OFFindicator light
: Low fuel warning light
: Cruise control indicator light
: Cruise control set indicator light
: Rear differential oil temperature warn-ing light
: Windshield washer fluid warning light
Instruments and controls3-9
–CONTINUED–
Page 146 of 426
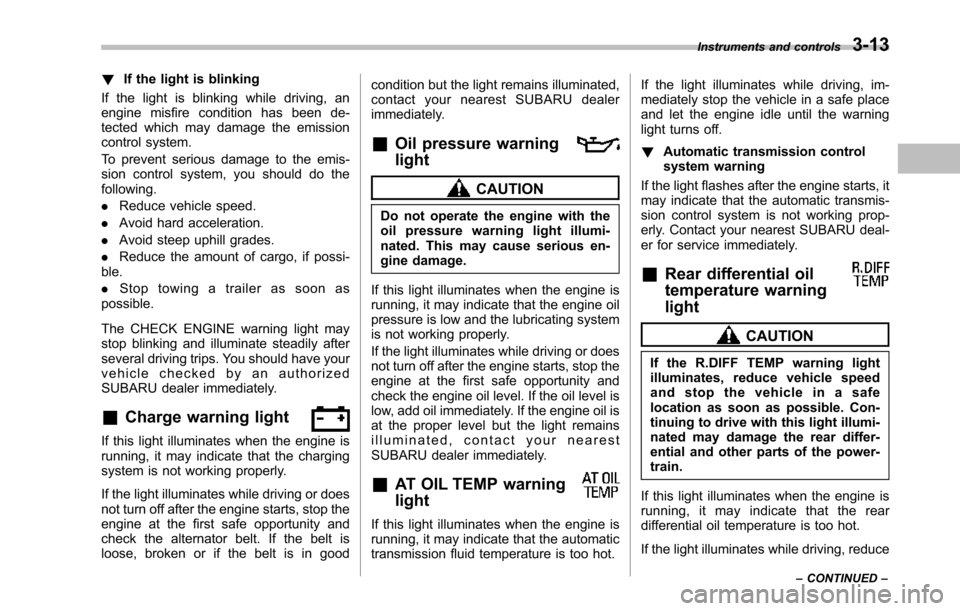
!If the light is blinking
If the light is blinking while driving, anengine misfire condition has been de-tected which may damage the emissioncontrol system.
To prevent serious damage to the emis-sion control system, you should do thefollowing.
.Reduce vehicle speed.
.Avoid hard acceleration.
.Avoid steepuphill grades.
.Reduce the amount of cargo, if possi-ble.
.Stop towing a trailer as soon aspossible.
The CHECK ENGINE warning light maystop blinking and illuminate steadily afterseveral drivingtrips. You should have yourvehicle checked by an authorizedSUBARU dealer immediately.
&Charge warning light
If this light illuminates when the engine isrunning, it may indicate that the chargingsystem is not working properly.
If the light illuminates while driving or doesnot turn off after the engine starts, stop theengine at the first safe opportunity andcheck the alternator belt. If the belt isloose, broken or if the belt is in good
condition but the light remains illuminated,contact your nearest SUBARU dealerimmediately.
&Oil pressure warning
light
CAUTION
Do not operate the engine with theoil pressure warning light illumi-nated. This may cause serious en-gine damage.
If this light illuminates when the engine isrunning, it may indicate that the engine oilpressureis low and the lubricating systemis not working properly.
If the light illuminates while driving or doesnot turnoff after the engine starts, stop theengine at the first safe opportunity andcheck the engine oil level. If the oil level islow, add oil immediately. If the engine oil isat the proper level but the light remainsilluminated, contact your nearestSUBARU dealer immediately.
&AT OIL TEMP warning
light
If this light illuminates when the engine isrunning, it may indicate that the automatictransmission fluid temperature is too hot.
If the light illuminates while driving, im-mediately stop the vehicle in a safe placeand let the engine idle until the warninglight turns off.
!Automatic transmission controlsystem warning
If the light flashes after the engine starts, itmay indicate that the automatic transmis-sion control system is not working prop-erly. Contact your nearest SUBARU deal-er for service immediately.
&Rear differential oil
temperature warning
light
CAUTION
If the R.DIFF TEMP warning lightilluminates, reduce vehicle speedand stop the vehicle in a safelocation as soon as possible. Con-tinuing to drive with this light illumi-nated may damage the rear differ-ential and other parts of the power-train.
If this light illuminates when the engine isrunning, it may indicate that the reardifferential oil temperature is too hot.
If the light illuminates while driving, reduce
Instruments and controls3-13
–CONTINUED–
Page 147 of 426
3-14Instruments and controls
vehicle speed and stop the vehicle at thenearest safe place.
Park the vehicle for several minutes. Afterthe light turns off, you can start driving.
If the light does not turn off, contact thenearest SUBARU dealer for service.
NOTE
.If the tire pressures are not correctand/or the tires are not all the samesize and brand, the rear differential willbe heavily loaded when the vehicle isdriven, resultingin an abnormally highoiltemperature..The rear differential oil will deterio-rate if its temperature increases en-ough for the rear differential oil tem-perature warning light to illuminate. It isadvisable to have the rear differentialoil replaced as soon as possible.
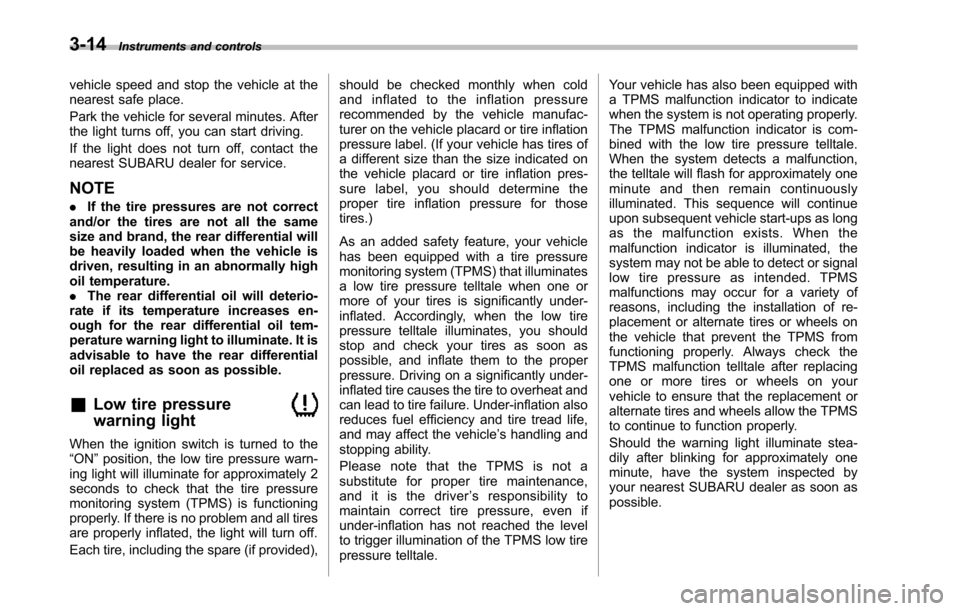
&Low tire pressure
warning light
When the ignition switch is turned to the“ON”position, the low tire pressure warn-ing light will illuminate for approximately 2seconds to check that the tire pressuremonitoring system (TPMS) is functioningproperly. If there is no problem and all tiresare properly inflated, the light will turn off.
Each tire, including the spare (if provided),
should be checked monthly when coldand inflated to the inflation pressurerecommended by the vehicle manufac-turer on the vehicle placard or tire inflationpressure label. (If your vehicle has tires ofa different size than the size indicated onthe vehicle placard or tire inflation pres-sure label, you should determine theproper tire inflation pressure for thosetires.)
As an added safety feature, your vehiclehas been equipped with a tire pressuremonitoring system (TPMS) that illuminatesa low tire pressure telltale when one ormore of your tires is significantly under-inflated. Accordingly, when the low tirepressure telltale illuminates, you shouldstop and check your tires as soon aspossible, and inflatethem to the properpressure.Driving on a significantly under-inflated tire causes the tire to overheat andcan lead to tire failure. Under-inflation alsoreduces fuel efficiency and tire tread life,and may affect the vehicle’s handling andstopping ability.
Please note that the TPMS is not asubstitute for proper tire maintenance,and it is the driver’sresponsibilitytomaintain correct tire pressure, even ifunder-inflation has not reached the levelto trigger illumination of the TPMS low tirepressure telltale.
Your vehicle has also been equipped witha TPMS malfunction indicator to indicatewhen the system is not operating properly.The TPMS malfunction indicator is com-bined with the low tire pressure telltale.When the system detects a malfunction,the telltale will flash for approximately oneminute and then remain continuouslyilluminated. This sequence will continueupon subsequent vehicle start-ups as longas the malfunction exists. When themalfunction indicator is illuminated, thesystem may not be able to detect or signallow tire pressure as intended. TPMSmalfunctions may occur for a variety ofreasons, including the installation of re-placement or alternate tires or wheels onthe vehicle that prevent the TPMS fromfunctioning properly. Always check theTPMS malfunction telltale after replacingone or more tires or wheels on yourvehicle to ensure that the replacement oralternate tires and wheels allow the TPMSto continue to function properly.
Should the warning light illuminate stea-dily after blinking for approximately oneminute, have the system inspected byyour nearest SUBARU dealer as soon aspossible.
Page 149 of 426
3-16Instruments and controls
gether with the brake system warning lightif the EBD system becomes malfunction-ing. For further details of the EBD systemmalfunction warning, refer to“Brake sys-tem warning light”F3-16.
NOTE
If the warning light behavior is asdescribed in the following, the ABSsystem may be considered normal.
.The warning light illuminates rightafter the engine is started but turns offimmediately, remaining off..The warning light remains illumi-nated after the engine has been started,but it turns off when the vehicle speedreaches approximately 8 mph (12km/h)..The warning light illuminates duringdriving, but it turns off immediately andremains off.
When driving with an insufficient batteryvoltage such as when the engine is jumpstarted, the ABS warning light may illumi-nate. This is due to the low battery voltageand does not indicate a malfunction.When the battery becomes fully charged,the light will turn off.
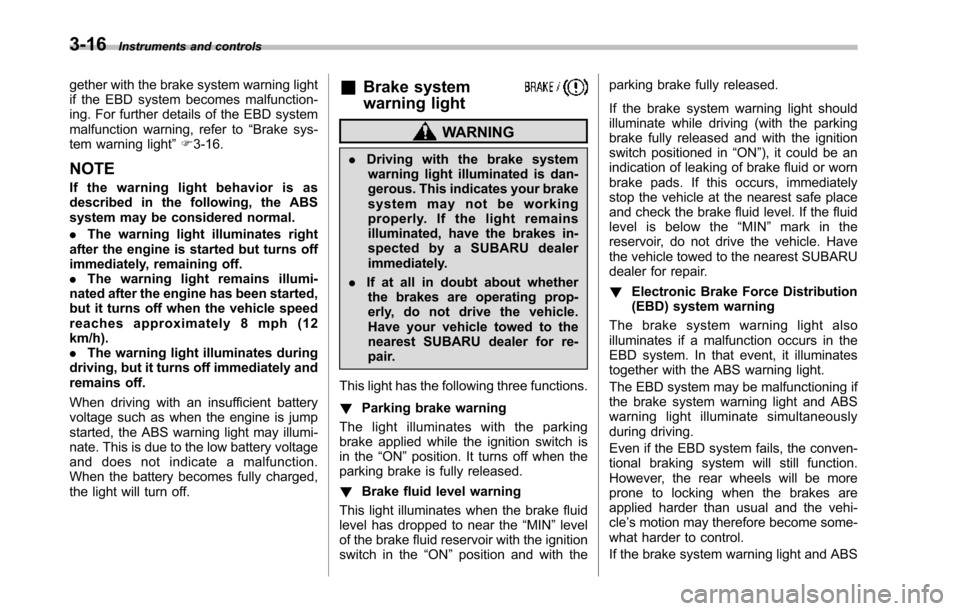
&Brake system
warning light
WARNING
.Driving with the brake systemwarning light illuminated is dan-gerous. This indicates your brakesystem may not be workingproperly. If the light remainsilluminated, have the brakes in-spected by a SUBARU dealerimmediately.
.If at all in doubt about whetherthe brakes are operating prop-erly, do not drive the vehicle.Have your vehicle towed to thenearest SUBARU dealer for re-pair.
This light has the following three functions.
!Parking brake warning
The light illuminates with the parkingbrakeapplied while the ignition switch isin the“ON”position. It turns off when theparking brake is fully released.
!Brake fluid level warning
This light illuminateswhen the brake fluidlevel has dropped to near the“MIN”levelof the brake fluid reservoir with the ignitionswitch in the“ON”position and with the
parking brake fully released.
If the brake system warning light shouldilluminate while driving (with the parkingbrake fully released and with the ignitionswitch positioned in“ON”), it could be anindication of leaking of brake fluid or wornbrake pads. If this occurs, immediatelystop the vehicle at the nearest safe placeand check the brake fluid level. If the fluidlevel is below the“MIN”mark in thereservoir, do not drive the vehicle. Havethe vehicle towed to the nearest SUBARUdealer for repair.
!Electronic Brake Force Distribution(EBD) system warning
The brake system warning light alsoilluminates if a malfunction occurs in theEBD system. In that event, it illuminatestogether with the ABS warning light.
The EBD system may be malfunctioning ifthe brakesystem warning light and ABSwarning light illuminate simultaneouslyduring driving.
Even if the EBD system fails, the conven-tional braking system will still function.However, the rear wheels will be moreprone to locking when the brakes areapplied harder than usual and the vehi-cle’s motion may therefore become some-what harder to control.
If the brake system warning light and ABS
Page 150 of 426
warning light illuminate simultaneously,take the following steps.
1. Stop the vehicle in the nearest safe,flat place.
2. Shut down the engine, apply theparking brake, and then restart it.
3. Release the parking brake. If bothwarning lights turn off, the EBD systemmay be malfunctioning.
Drive carefully to the nearest SUBARUdealer and have the system inspected.
4. If both warning lights illuminate againand remain illuminated after the enginehas been restarted, shut down the engineagain, apply the parking brake, and checkthe brake fluid level.
5. If the brake fluid level is not below the“MIN”mark, the EBD system may bemalfunctioning. Drive carefully to thenearest SUBARU dealer and have thesystem inspected.
6. If the brake fluid level is below the“MIN”mark, DO NOT drive the vehicle.Instead, have the vehicle towed to thenearest SUBARU dealer for repair.
&Low fuel warning light
CAUTION
Immediately put fuel in the tankwhenever the low fuel warning lightilluminates. Engine misfires as aresult of an empty tank could causedamage to the engine.
The low fuel warning light illuminateswhen the tank is nearly empty approxi-mately 2.6 US gal (10 liters, 2.2 Imp gal). Itonly operates when the ignition switch isin the“ON”position. When this lightilluminates, fillthe fuel tank immediately.
NOTE
This light does not turn off unless thetank is replenished up to an internalfuel quantity of approximately 4.0 USgal (15 liters, 3.3 Imp gal).
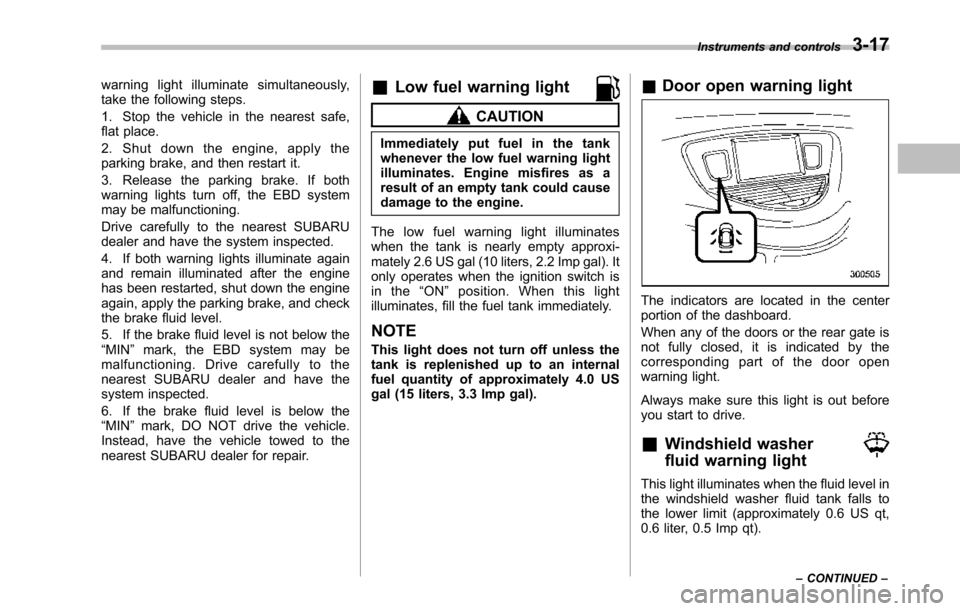
&Door open warning light
The indicators are located in the centerportion of the dashboard.
When any of the doors or the rear gate isnot fully closed, it is indicated by thecorresponding part of the door openwarning light.
Always make sure this light is out beforeyou start to drive.
&Windshield washer
fluid warning light
This light illuminates when the fluid level inthe windshield washer fluid tank falls tothe lower limit (approximately 0.6 US qt,0.6 liter, 0.5 Imp qt).
Instruments and controls3-17
–CONTINUED–
Page 202 of 426
.If you insert a disc that cannot beplayed by the player,“CHECK DISC”will appear on the display and theplayer will revert to the previouslyselected mode..The player is designed to be able toplay music CD-Rs and music CD-RWs,but it may not be able to play certainones..CDs (i.e., 8 cm/3 inch CDs) are notsupported, and if inserted, they will beimmediately ejected.
!When CD is in the player
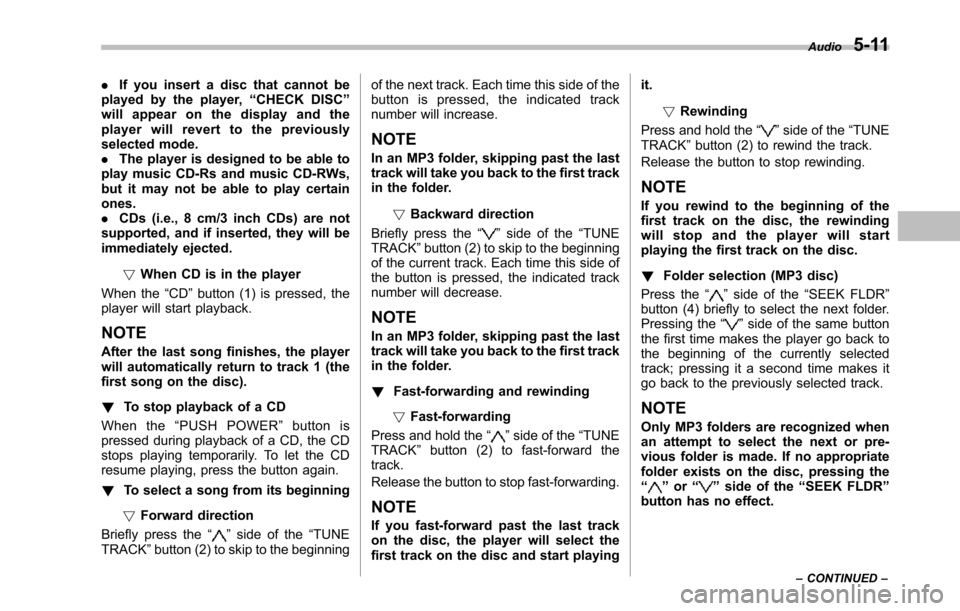
When the“CD”button (1) is pressed, theplayer will start playback.
NOTE
After the last song finishes, the playerwillautomatically return to track 1 (thefirst song on the disc).
!To stop playback of a CD
When the“PUSH POWER”button ispressed during playback of a CD, the CDstops playing temporarily. To let the CDresume playing, press the button again.
!To select a song from its beginning
!Forward direction
Briefly press the“”side of the“TUNETRACK”button (2) to skip to the beginning
of the next track. Each time this side of thebutton is pressed, the indicated tracknumber will increase.
NOTE
In an MP3 folder, skipping past the lasttrack will take you back to the first trackin the folder.
!Backward direction
Briefly press the“”side of the“TUNETRACK”button (2) to skip to the beginningof the current track. Each time this side ofthe button is pressed, the indicated tracknumber will decrease.
NOTE
In an MP3 folder, skipping past the lasttrack will take you back to the first trackin the folder.
!Fast-forwarding and rewinding
!Fast-forwarding
Press and hold the“”side of the“TUNETRACK”button (2) to fast-forward thetrack.
Release the button to stop fast-forwarding.
NOTE
If you fast-forward past the last trackon the disc, the player will select thefirst track on the disc and start playing
it.
!Rewinding
Press and hold the“”side of the“TUNETRACK”button (2) to rewind the track.
Release the button to stop rewinding.
NOTE
If you rewind to the beginning of thefirst track on the disc, the rewindingwill stop and the player will startplaying the first track on the disc.
!Folder selection (MP3 disc)
Press the“”side of the“SEEK FLDR”button (4) brieflyto select the next folder.Pressing the“”side of the same buttonthe first time makes the player go back tothe beginning of the currently selectedtrack; pressing it a second time makes itgo back to the previously selected track.
NOTE
Only MP3 folders are recognized whenan attempt to select the next or pre-vious folder is made. If no appropriatefolder exists on the disc, pressing the“”or“”side of the“SEEK FLDR”button has no effect.
Audio5-11
–CONTINUED–
Page 213 of 426
5-22Audio
!How to insert a CD(s)
!Inserting a CD
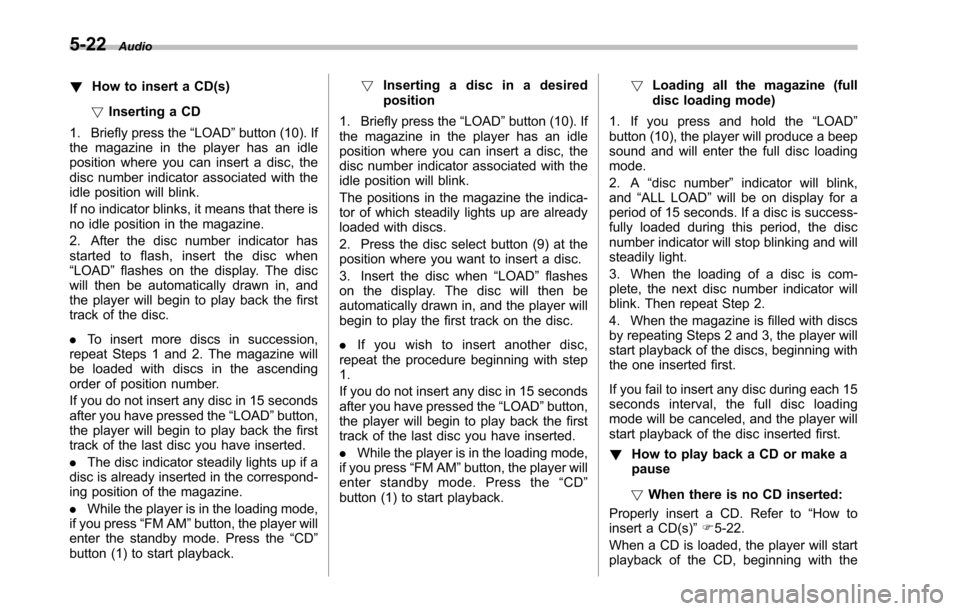
1. Briefly press the“LOAD”button (10). Ifthe magazine in the player has an idleposition where you can insert a disc, thedisc number indicator associated with theidle position will blink.
If no indicator blinks, it means that there isno idle position in the magazine.
2. After the disc number indicator hasstarted to flash, insert the disc when“LOAD”flashes on the display. The discwill then be automatically drawn in, andthe player will begin to play back the firsttrack of the disc.
.To insert more discs in succession,repeatSteps 1 and 2. The magazine willbe loaded with discs in the ascendingorder of position number.
If you do not insert any disc in 15 secondsafter you have pressed the“LOAD”button,the player willbegin to play back the firsttrack of the last disc you have inserted.
.The disc indicator steadily lights up if adisc is already inserted in the correspond-ing position of the magazine.
.While the player is in the loading mode,if you press“FM AM”button, the player willenter the standby mode. Press the“CD”button (1) to start playback.
!Inserting a disc in a desiredposition
1. Briefly press the“LOAD”button (10). Ifthe magazine in the player has an idleposition where you can insert a disc, thedisc number indicator associated with theidle position will blink.
The positions in the magazine the indica-tor of which steadily lights up are alreadyloaded with discs.
2. Press the disc select button (9) at theposition where you want to insert a disc.
3. Insert the disc when“LOAD”flasheson the display. The disc will then beautomatically drawn in, and the player willbegin to play the first track on the disc.
.If you wish to insert another disc,repeat the procedure beginning with step1.
If you do not insert any disc in 15 secondsafter you have pressed the“LOAD”button,the player will begin to play back the firsttrack of the last disc you have inserted.
.While the player is in the loading mode,if you press“FM AM”button, the player willenter standby mode. Press the“CD”button (1) to start playback.
!Loading all the magazine (fulldisc loading mode)
1. If you press and hold the“LOAD”button (10), the player will produce a beepsound and will enter the full disc loadingmode.
2. A“disc number”indicator will blink,and“ALL LOAD”will be on display for aperiod of 15 seconds. If a disc is success-fully loaded during this period, the discnumber indicator will stop blinking and willsteadily light.
3. When the loading of a disc is com-plete, the next disc number indicator willblink. Then repeat Step 2.
4. When the magazine is filled with discsby repeating Steps 2 and 3, the player willstart playback of the discs, beginning withthe one inserted first.
If you fail to insert any disc during each 15seconds interval, the full disc loadingmode will be canceled, and the player willstart playback of the disc inserted first.
!How to play back a CD or make apause
!When there is no CD inserted:
Properly insert a CD. Refer to“How toinsert a CD(s)”F5-22.
When a CD is loaded, the player will startplayback of the CD, beginning with the
Page 214 of 426
first track.
!When there are CDs loaded:
Press the preferred disc select button (9),the disc number indicator of which isconstantly illuminated. The player will thenstart playback of the selected CD, begin-ning with the first track.
If a disc that the player cannot read hasbeen loaded,“CHECK DISC”will appearon the display and the player will not playanything.
!To select a song from its beginning
!Forward direction
Brieflypress the“”side of the“TUNETRACK”button (2) to skip to the beginningof the next track. Each time the button ispressed, the indicated track number willincrease.
NOTE
In an MP3 folder, skipping past the lasttrack will take you back to the first trackin the folder.
!Backward direction
Briefly press the“”side of the“TUNETRACK”button (2) to skip to the beginningof the current track. Each time the buttonis pressed, the indicated track number willdecrease.
NOTE
In an MP3 folder, skipping past the firsttrack will take you to the last track inthe folder.
!Fast-forwarding and rewinding
!Fast-forwarding
Press and hold the“”side of the“TUNETRACK”button (2) to fast-forward thetrack.
Release the button to stop fast-forwarding.
NOTE
If you fast-forward to the end of the lasttrack, fast-forwarding will stop and theplayer will start playback beginningwith the first track.
!Rewinding
Press and hold the“”side of the“TUNETRACK”button (2) to rewind the track.
Release the button to stop rewinding.
NOTE
If you rewind to the beginning of thefirst track, the rewinding will stop andthe player will start playback.
!Repeating
!To repeat the currently playingtrack
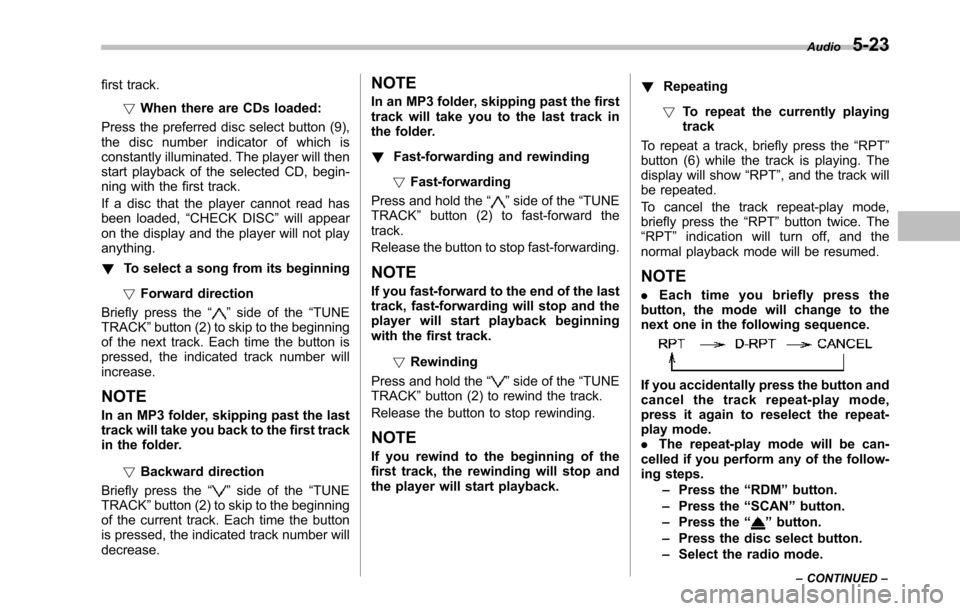
To repeat a track, briefly press the“RPT”button (6) while the track is playing. Thedisplay will show“RPT”, and the track willbe repeated.
To cancel the track repeat-play mode,briefly press the“RPT”button twice. The“RPT”indication will turn off, and thenormal playback mode will be resumed.
NOTE
.Each time you briefly press thebutton, the mode will change to thenext one in the following sequence.
If you accidentally press the button andcancel the track repeat-play mode,press it again to reselect the repeat-play mode..The repeat-play mode will be can-celledif you perform any of the follow-ing steps.–Press the“RDM”button.–Press the“SCAN”button.–Press the“”button.–Press the disc select button.–Select the radio mode.
Audio5-23
–CONTINUED–