2014 Ram 1500 key
[x] Cancel search: keyPage 107 of 252

NOTE:
Destination entry is not available while your vehicle is in motion. However, you can
also use Voice Commands to enter an address while moving. Refer to Common
Navigation Voice Commands in the Uconnect
®Voice Command section.
Setting Your Home Location
• Touch the “Nav” soft-key in the menu bar to access the Navigation system and the Main Navigation menu.
• Touch the “Where To?” soft-key, then touch the “Go Home” soft-key.
• You may enter your address directly, use your current location as your home address, or choose from recently found locations.
• To delete your Home location (or other saved locations) so you can save a new Home location, touch the “Where To?” soft-key from the Main Navigation menu,
then touch the “Go Home” soft-key, and in the Yes screen touch the “Options”
soft-key. In the Options menu touch the “Clear Home” soft-key. Set a new Home
location by following the previous instructions.
Go Home
• A Home location must be saved in the system. From the Main Navigation menu, touch the “Where To?” soft-key, then touch the “Go Home” soft-key.
• Your route is marked with a blue line on the map. If you depart from the original route, your route is recalculated. A speed limit icon could appear as you travel on
major roadways.
ELECTRONICS
105
Page 108 of 252

Adding A Stop
• To add a stop you must be navigating a route.
• Touch the “Menu” soft-key to return to the Main Navigation menu.
• Touch the “Where To?” soft-key, then search for the extra stop. When anotherlocation has been selected, you can choose to cancel your previous route, add as
the first destination or add as the last destination.
• Touch the desired selection and touch the “Yes” soft-key.
Taking A Detour
• To take a detour you must be navigating a route.
• Touch the “Detour” soft-key.
NOTE:
If the route you are currently taking is the only reasonable option, the device may not
calculate a detour. For more information, see your Uconnect
®User's Manual.
SiriusXM TRAFFIC (US Market Only)
Don't Drive Through Traffic. Drive Around It.
Avoid congestion before you reach it. By enhancing your vehicle's navigation system
with the ability to see detailed traffic information, you can pinpoint traffic incidents,
determine average traffic speed and estimate travel time along your route. Since the
service is integrated with a vehicle's navigation system, SiriusXM Traffic can help
drivers pick the fastest route based on traffic conditions.
1. Detailed information on traffic speed, accidents, construction, and road closings.
2.
Traffic information from multiple sources, including police and emergency services,
cameras and road sensors.
3. Coast-to-coast delivery of traffic information.
4.
View conditions for points along your route and beyond. Available in over 130 markets.
SiriusXM TRAVEL LINK (US Market Only)
In addition to delivering over 130 channels of the best sports, entertainment, talk,
and commercial-free music, SiriusXM offers premium data services that work in
conjunction with compatible navigation systems. SiriusXM Travel Link brings a
wealth of useful information into your vehicle and right to your fingertips.
• Fuel Prices — Check local gas and diesel prices in your area and route to the
station of your choice.
• Movie Listings — Check local movie theatres and listings in your area and route to
the theater of your choice.
• Sports Scores — In-game and final scores as well as weekly schedules.
• Weather — Check variety of local and national weather information from radar
maps to current and 5-day forecast.
ELECTRONICS
106
Page 109 of 252

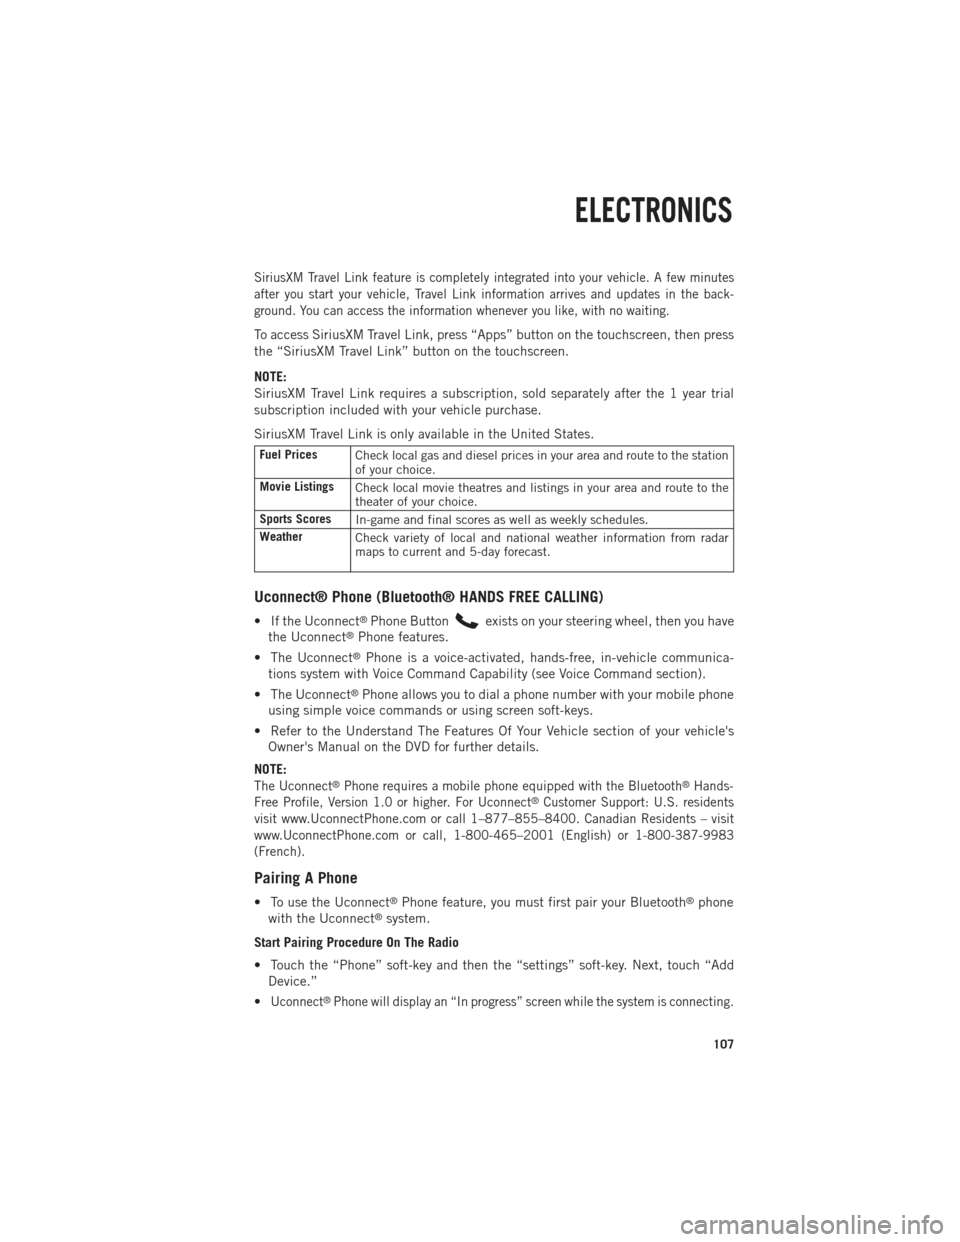
SiriusXM Travel Link feature is completely integrated into your vehicle. A few minutes
after you start your vehicle, Travel Link information arrives and updates in the back-
ground. You can access the information whenever you like, with no waiting.
To access SiriusXM Travel Link, press “Apps” button on the touchscreen, then press
the “SiriusXM Travel Link” button on the touchscreen.
NOTE:
SiriusXM Travel Link requires a subscription, sold separately after the 1 year trial
subscription included with your vehicle purchase.
SiriusXM Travel Link is only available in the United States.
Fuel PricesCheck local gas and diesel prices in your area and route to the station
of your choice.
Movie Listings Check local movie theatres and listings in your area and route to the
theater of your choice.
Sports Scores In-game and final scores as well as weekly schedules.
Weather Check variety of local and national weather information from radar
maps to current and 5-day forecast.
Uconnect® Phone (Bluetooth® HANDS FREE CALLING)
• If the Uconnect®Phone Buttonexists on your steering wheel, then you have
the Uconnect®Phone features.
• The Uconnect
®Phone is a voice-activated, hands-free, in-vehicle communica-
tions system with Voice Command Capability (see Voice Command section).
• The Uconnect
®Phone allows you to dial a phone number with your mobile phone
using simple voice commands or using screen soft-keys.
• Refer to the Understand The Features Of Your Vehicle section of your vehicle's Owner's Manual on the DVD for further details.
NOTE:
The Uconnect®Phone requires a mobile phone equipped with the Bluetooth®Hands-
Free Profile, Version 1.0 or higher. For Uconnect®Customer Support: U.S. residents
visit www.UconnectPhone.com or call 1–877–855–8400. Canadian Residents – visit
www.UconnectPhone.com or call, 1-800-465–2001 (English) or 1-800-387-9983
(French).
Pairing A Phone
• To use the Uconnect®Phone feature, you must first pair your Bluetooth®phone
with the Uconnect®system.
Start Pairing Procedure On The Radio
• Touch the “Phone” soft-key and then the “settings” soft-key. Next, touch “Add Device.”
•
Uconnect®Phone will display an “In progress” screen while the system is connecting.
ELECTRONICS
107
Page 110 of 252

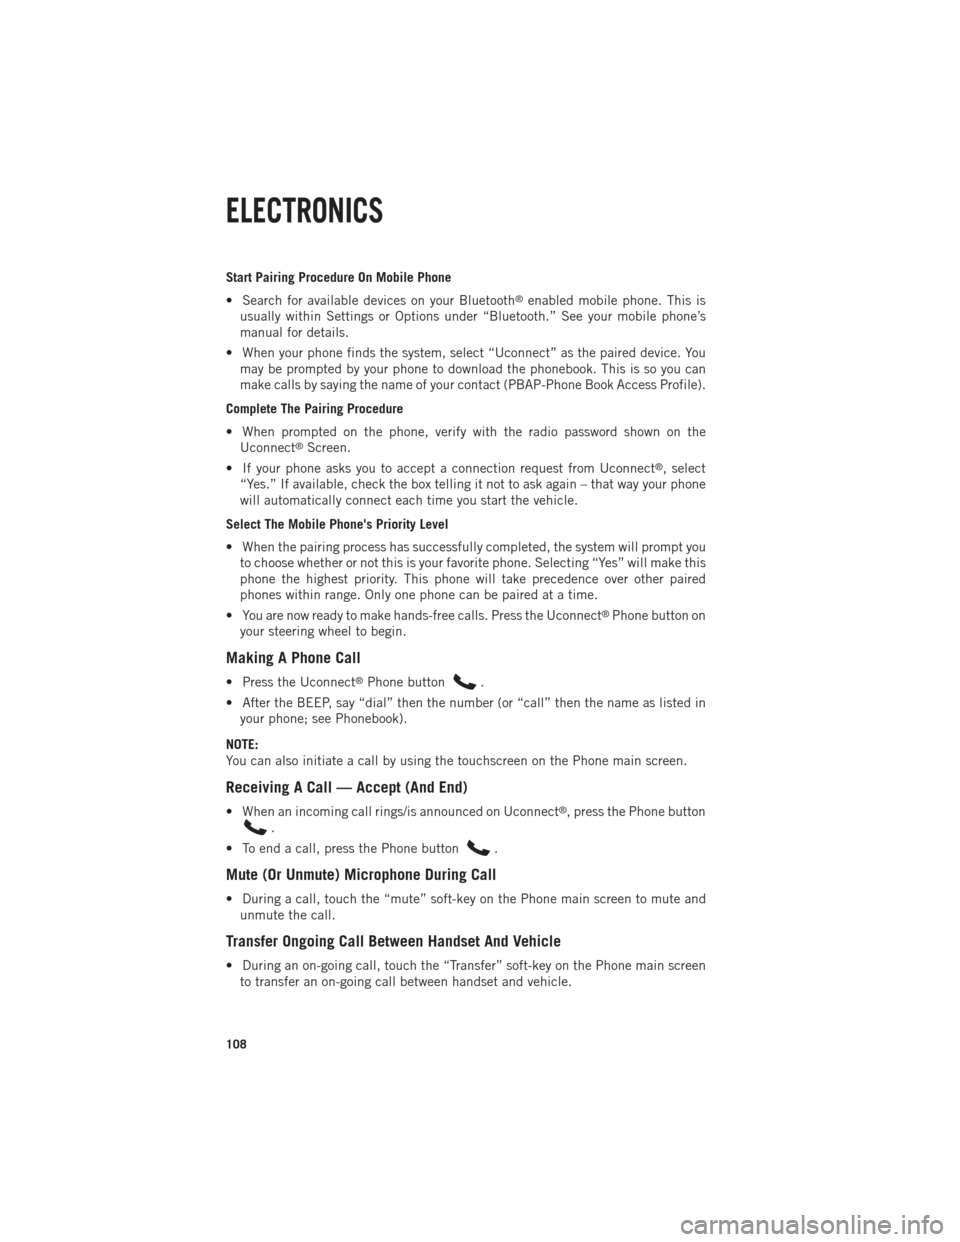
Start Pairing Procedure On Mobile Phone
• Search for available devices on your Bluetooth
®enabled mobile phone. This is
usually within Settings or Options under “Bluetooth.” See your mobile phone’s
manual for details.
• When your phone finds the system, select “Uconnect” as the paired device. You may be prompted by your phone to download the phonebook. This is so you can
make calls by saying the name of your contact (PBAP-Phone Book Access Profile).
Complete The Pairing Procedure
• When prompted on the phone, verify with the radio password shown on the Uconnect
®Screen.
• If your phone asks you to accept a connection request from Uconnect
®, select
“Yes.” If available, check the box telling it not to ask again – that way your phone
will automatically connect each time you start the vehicle.
Select The Mobile Phone's Priority Level
• When the pairing process has successfully completed, the system will prompt you to choose whether or not this is your favorite phone. Selecting “Yes” will make this
phone the highest priority. This phone will take precedence over other paired
phones within range. Only one phone can be paired at a time.
• You are now ready to make hands-free calls. Press the Uconnect
®Phone button on
your steering wheel to begin.
Making A Phone Call
• Press the Uconnect®Phone button.
• After the BEEP, say “dial” then the number (or “call” then the name as listed in your phone; see Phonebook).
NOTE:
You can also initiate a call by using the touchscreen on the Phone main screen.
Receiving A Call — Accept (And End)
• When an incoming call rings/is announced on Uconnect®, press the Phone button
.
• To end a call, press the Phone button
.
Mute (Or Unmute) Microphone During Call
• During a call, touch the “mute” soft-key on the Phone main screen to mute and unmute the call.
Transfer Ongoing Call Between Handset And Vehicle
• During an on-going call, touch the “Transfer” soft-key on the Phone main screento transfer an on-going call between handset and vehicle.
ELECTRONICS
108
Page 111 of 252

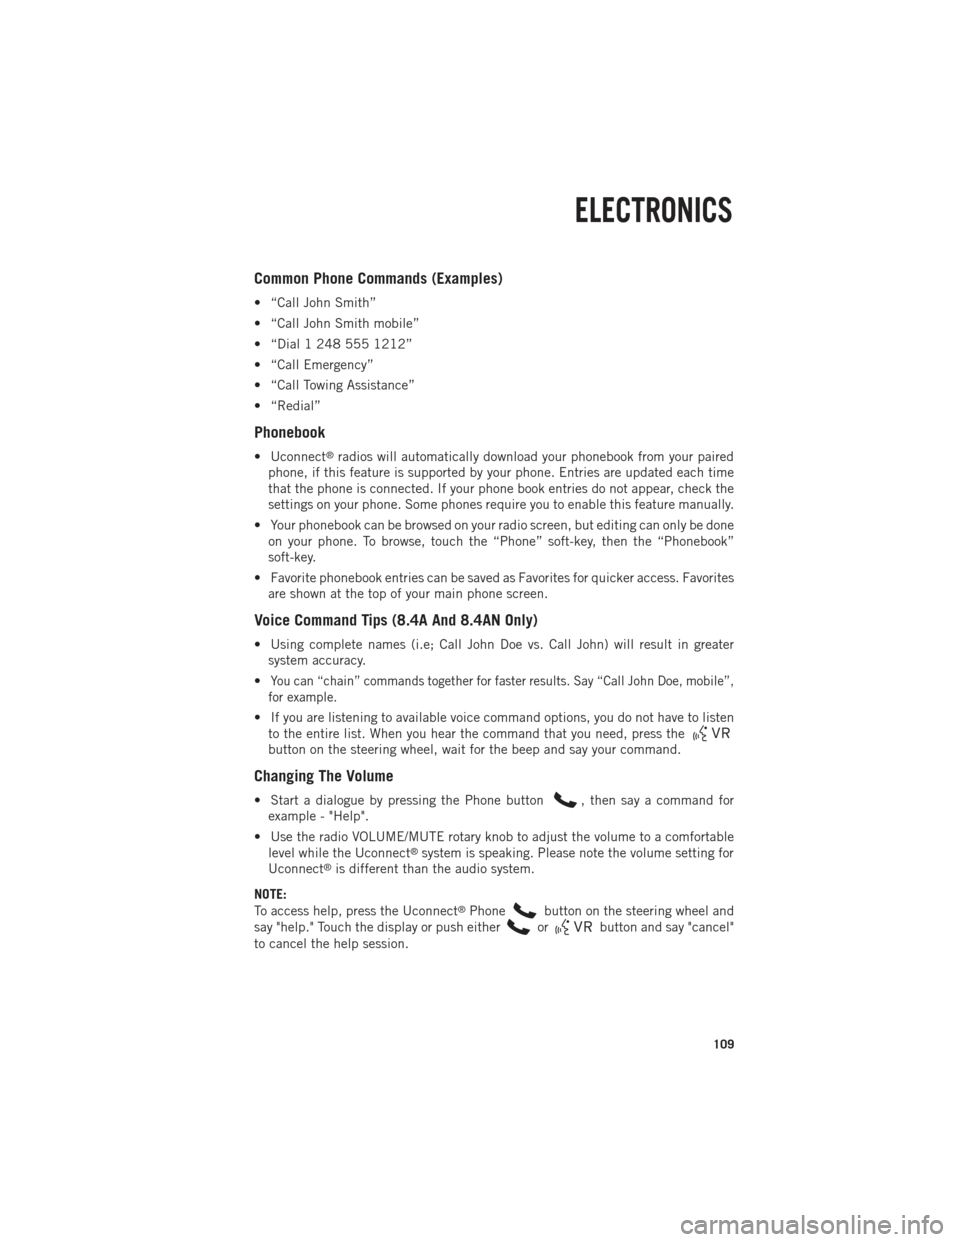
Common Phone Commands (Examples)
• “Call John Smith”
• “Call John Smith mobile”
• “Dial 1 248 555 1212”
• “Call Emergency”
• “Call Towing Assistance”
• “Redial”
Phonebook
• Uconnect®radios will automatically download your phonebook from your paired
phone, if this feature is supported by your phone. Entries are updated each time
that the phone is connected. If your phone book entries do not appear, check the
settings on your phone. Some phones require you to enable this feature manually.
• Your phonebook can be browsed on your radio screen, but editing can only be done on your phone. To browse, touch the “Phone” soft-key, then the “Phonebook”
soft-key.
• Favorite phonebook entries can be saved as Favorites for quicker access. Favorites are shown at the top of your main phone screen.
Voice Command Tips (8.4A And 8.4AN Only)
• Using complete names (i.e; Call John Doe vs. Call John) will result in greatersystem accuracy.
•
You can “chain” commands together for faster results. Say “Call John Doe, mobile”,
for example.
• If you are listening to available voice command options, you do not have to listen to the entire list. When you hear the command that you need, press the
button on the steering wheel, wait for the beep and say your command.
Changing The Volume
• Start a dialogue by pressing the Phone button, then say a command for
example - "Help".
• Use the radio VOLUME/MUTE rotary knob to adjust the volume to a comfortable level while the Uconnect
®system is speaking. Please note the volume setting for
Uconnect®is different than the audio system.
NOTE:
To access help, press the Uconnect
®Phonebutton on the steering wheel and
say "help." Touch the display or push either
orbutton and say "cancel"
to cancel the help session.
ELECTRONICS
109
Page 114 of 252

Available Radio Soft-Key Voice Commands
Ty p e s o fVoiceCom-
mands
Available Steering
Wheel
Buttons to Press: (1)
Radio Mode (2)
Media Mode (3)
Climate
Controls (4)
Naviga- tion (5)
Phone Mode (6)
APPS
Uconnect®
Voice
Command (VR)
ButtonAM/FM
& Satel-
lite Band Control Media
Devices Control Tempera-
ture
Control Destina-
tion
Selection and View - Yelp
®
GENERAL
Uconnect®
Phone
Pick Up Button----
Call
Initiation, Call Man- agement, Pre-
defined
Voice Text Reply
-
ELECTRONICS
112
Page 119 of 252

PROGRAMMABLE FEATURES
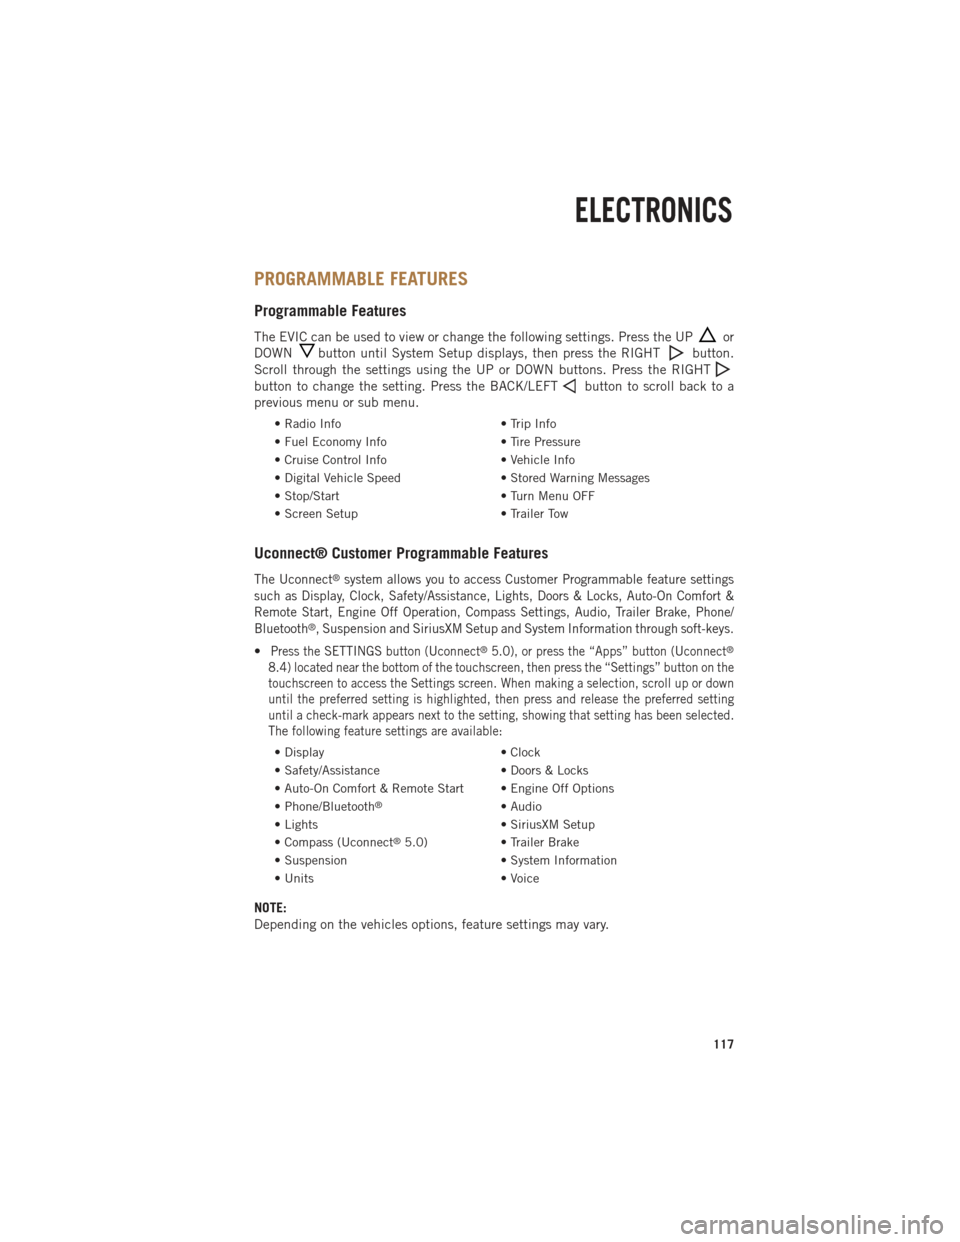
Programmable Features
The EVIC can be used to view or change the following settings. Press the UPor
DOWN
button until System Setup displays, then press the RIGHTbutton.
Scroll through the settings using the UP or DOWN buttons. Press the RIGHT
button to change the setting. Press the BACK/LEFTbutton to scroll back to a
previous menu or sub menu.
• Radio Info • Trip Info
• Fuel Economy Info • Tire Pressure
• Cruise Control Info • Vehicle Info
• Digital Vehicle Speed • Stored Warning Messages
• Stop/Start • Turn Menu OFF
• Screen Setup • Trailer Tow
Uconnect® Customer Programmable Features
The Uconnect®system allows you to access Customer Programmable feature settings
such as Display, Clock, Safety/Assistance, Lights, Doors & Locks, Auto-On Comfort &
Remote Start, Engine Off Operation, Compass Settings, Audio, Trailer Brake, Phone/
Bluetooth
®, Suspension and SiriusXM Setup and System Information through soft-keys.
•Press the SETTINGS button (Uconnect®5.0), or press the “Apps” button (Uconnect®
8.4) located near the bottom of the touchscreen, then press the “Settings” button on the
touchscreen to access the Settings screen. When making a selection, scroll up or down
until the preferred setting is highlighted, then press and release the preferred setting
until a check-mark appears next to the setting, showing that setting has been selected.
The following feature settings are available:
• Display • Clock
• Safety/Assistance • Doors & Locks
• Auto-On Comfort & Remote Start • Engine Off Options
• Phone/Bluetooth
®• Audio
• Lights • SiriusXM Setup
• Compass (Uconnect
®5.0) • Trailer Brake
• Suspension • System Information
• Units • Voice
NOTE:
Depending on the vehicles options, feature settings may vary.
ELECTRONICS
117
Page 126 of 252

POWER OUTLETS
The auxiliary 12 Volt (13 Amp) power outlets can provide power for in-cab accesso-
ries designed for use with the standard “cigar lighter” plug. The 12 Volt power outlets
have a cap attached to the outlet indicating “12V DC”, together with either a key
symbol or a battery symbol.
The auxiliary power outlets can be found in the following locations:
• Lower left and lower right in the center of the instrument panel – if equipped witha column or a eight-speed electronic shifter.
• Inside the top storage tray.
• Inside the upper lid of the center stor- age compartment — if equipped.
•
Rear of the center console storage com-
partment — Quad Cab®or Crew Cab.
NOTE:
• Do not exceed the maximum power of 160 Watts (13 Amps) at 12 Volts.
If the 160 Watt (13 Amp) power rating
is exceeded, the fuse protecting the
system will need to be replaced.
• Power outlets are designed for acces- sory plugs only. Do not insert any other
object in the power outlet as this will
damage the outlet and blow the fuse.
Improper use of the power outlet can
cause damage not covered by your new
vehicle warranty.
ELECTRONICS
124