Page 71 of 378

2
Multifunction screens69
"SETUP" menu (PEUGEOT Connect Navigation (RT6)) PEUGEOT Connect Navigation (RT6)) PEUGEOT
Press the "SETUP" button for access to the "SETUP" menu. This allows you to select from the following functions: - "Languages", - "Date and time", - "Display", - " Vehicle parameters", - "Units", - "System".
"SETUP" menu (PEUGEOT Connect PEUGEOT Connect PEUGEOT
Media Navigation (NG4 3D))
Languages (PEUGEOT Connect Navigation (RT6))
This menu allows you to select the language
used by the display.
Languages and voice functions (PEUGEOT Connect Media Navigation (NG4 3D))
This menu allows you to: - select the language used by the display, - select the settings for voice recognition (on/off, instructions on use, personal voice training...), - adjust the volume of the voice synthesiser.
Display
This menu allows you to set the brightness of the screen, the screen colour scheme and the colour of the map (day/night or auto mode).
Vehicle parameters (PEUGEOTConnect Navigation (RT6))
This menu allows you to activate or deactivate certain driving and comfort equipment * : - wiper linked with reverse gear (refer to the "Visibility" section), - selective unlocking (refer to the "Access" section), - guide-me-home and welcome lighting
(refer to the " Visibility" section), - interior mood lighting (refer to the "Visibility" section), - directional headlamps (refer to the "Visibility" section), - automatic or manual parking brake (refer to the "Driving" section), - ...
Press the "SETUP" button for access to the "SETUP" menu. It allows you to adjust settings for the following functions: - "Languages and voice functions" - "Date and time", - "Display screen", - "Units", - "System parameters".
For safety reasons, configuration of the multifunction screen by the driver must only be done when stationary.
Date and time
Press "SETUP". Select "Display configuration" and confirm. Select "Adjust date and time" and confirm. Select "Synchronise minutes with GPS" for the adjustment of minutes to be done automatically by satellite reception. Select the setting to modify. Confirm by pressing "OK", then adjust the setting and confirm again. Adjust the settings one by one.
Select "OK" in the screen then confirm to save the settings.
Units
This menu allows you to select the units: temperature (°C or °F) and fuel consumption (km/l, l/100 or mpg).
System parameters
This menu allows you to restore the factory configuration, display the software version and activate scrolling text.
* According to country.
Page 80 of 378
Comfort
78
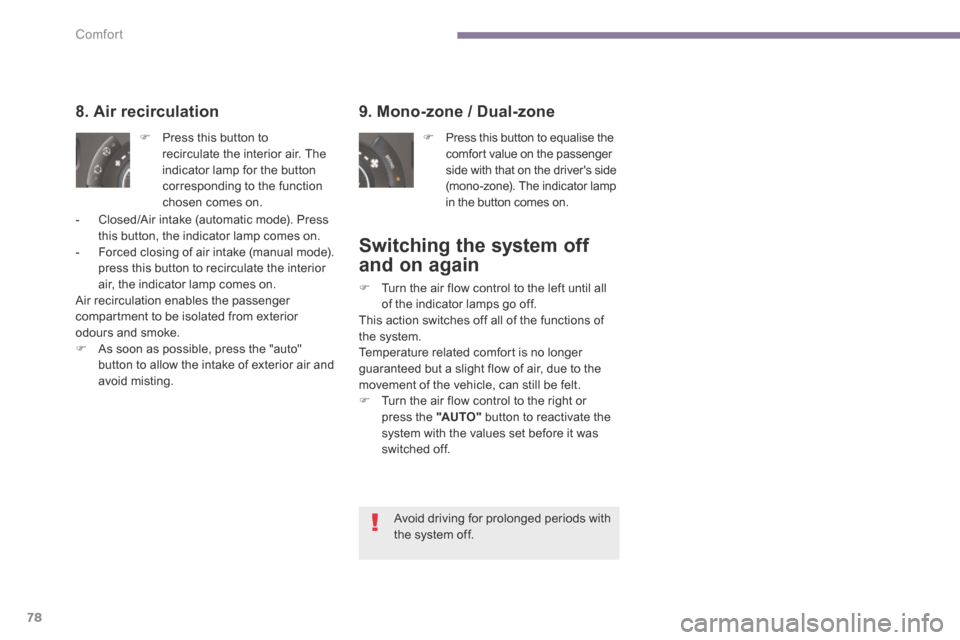
9. Mono-zone / Dual-zone
Press this button to equalise the comfort value on the passenger side with that on the driver's side (mono-zone). The indicator lamp in the button comes on.
8. Air recirculation
Press this button to recirculate the interior air. The indicator lamp for the button corresponding to the function chosen comes on.
- Closed/Air intake (automatic mode). Press this button, the indicator lamp comes on. - Forced closing of air intake (manual mode). press this button to recirculate the interior air, the indicator lamp comes on. Air recirculation enables the passenger compartment to be isolated from exterior odours and smoke. As soon as possible, press the "auto" button to allow the intake of exterior air and avoid misting.
Switching the system off
and on again
Turn the air flow control to the left until all of the indicator lamps go off. This action switches off all of the functions of the system. Temperature related comfort is no longer guaranteed but a slight flow of air, due to the movement of the vehicle, can still be felt. Turn the air flow control to the right or press the "AUTO" button to reactivate the
system with the values set before it was switched off.
Avoid driving for prolonged periods with the system off.
Page 91 of 378
3
Comfort89
Adjustment
Adjust the mirror so that the glass is directed correctly in the "day" position.
Manual day/night model
Day / night position
Pull the lever to change to the "night" anti-dazzle position. Push the lever to change to the normal "day" position.
Rear view mirror
Adjustable mirror providing a central rearward view. Equipped with an anti-dazzle system, which darkens the mirror glass and reduces the nuisance to the driver caused by the sun, headlamps from other vehicles...
Automatic day/night model
By means of a sensor, which measures the light from the rear of the vehicle, this system automatically and progressively changes between the day and night uses.
As a safety measure, the mirrors should be adjusted to reduce the "blind spot". In order to ensure optimum visibility during your manoeuvres, the mirror lightens automatically when reverse gear is engaged.
Page 92 of 378
Access
90
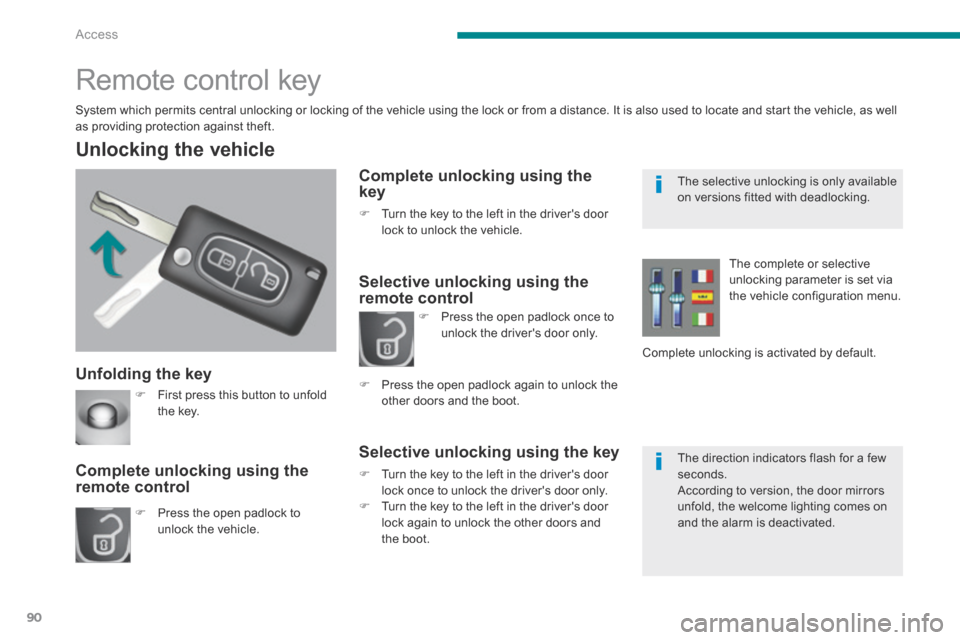
Unfolding the key
Unlocking the vehicle
Press the open padlock to unlock the vehicle.
Complete unlocking using the remote control
Remote control key
System which permits central unlocking or locking of the vehicle using the lock or from a distance. It is also used to locate and start the vehicle, as well as providing protection against theft.
Complete unlocking using the key
Turn the key to the left in the driver's door lock to unlock the vehicle.
Selective unlocking using the remote control
Selective unlocking using the key
Turn the key to the left in the driver's door lock once to unlock the driver's door only. Turn the key to the left in the driver's door lock again to unlock the other doors and the boot.
Press the open padlock once to unlock the driver's door only.
Press the open padlock again to unlock the other doors and the boot.
The complete or selective unlocking parameter is set via the vehicle configuration menu.
Complete unlocking is activated by default.
First press this button to unfold the key.
The selective unlocking is only available on versions fitted with deadlocking.
The direction indicators flash for a few seconds. According to version, the door mirrors unfold, the welcome lighting comes on and the alarm is deactivated.
Page 94 of 378
Access
92
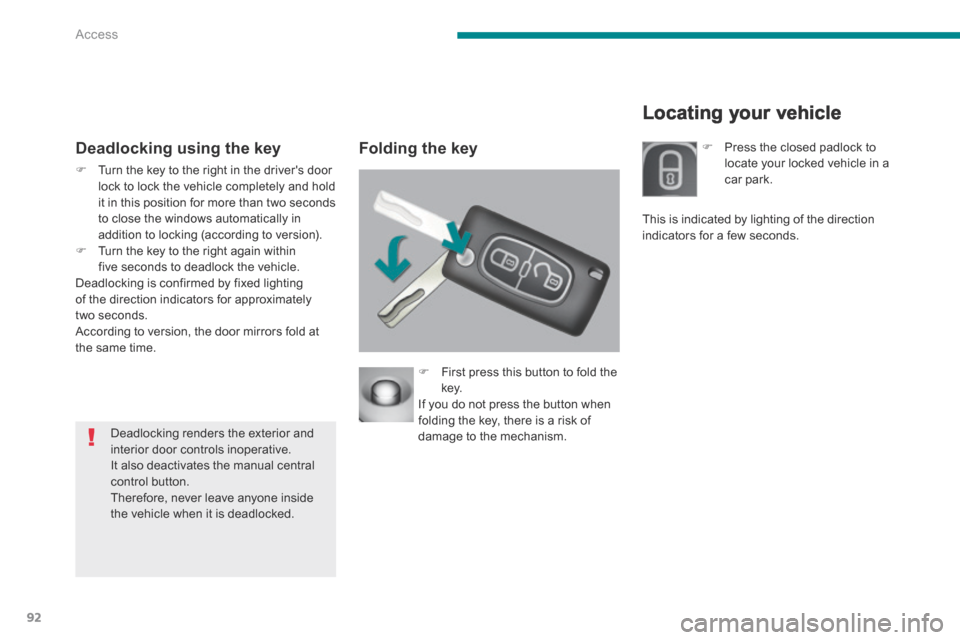
Locating your vehicle
Deadlocking using the key Folding the key
Turn the key to the right in the driver's door lock to lock the vehicle completely and hold it in this position for more than two seconds to close the windows automatically in addition to locking (according to version). Turn the key to the right again within five seconds to deadlock the vehicle. Deadlocking is confirmed by fixed lighting of the direction indicators for approximately two seconds. According to version, the door mirrors fold at the same time.
First press this button to fold the key. If you do not press the button when folding the key, there is a risk of damage to the mechanism. Deadlocking renders the exterior and interior door controls inoperative. It also deactivates the manual central control button. Therefore, never leave anyone inside the vehicle when it is deadlocked.
Press the closed padlock to locate your locked vehicle in a car park.
This is indicated by lighting of the direction indicators for a few seconds.
Page 110 of 378
Visibility
108
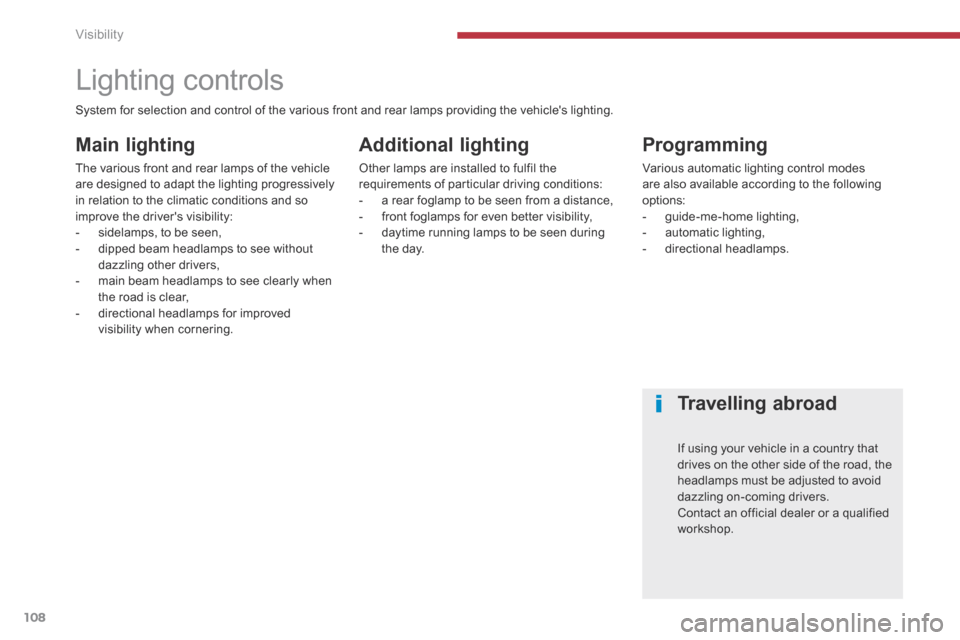
Lighting controls
Main lighting
The various front and rear lamps of the vehicle are designed to adapt the lighting progressively in relation to the climatic conditions and so improve the driver's visibility: - sidelamps, to be seen, - dipped beam headlamps to see without dazzling other drivers, - main beam headlamps to see clearly when the road is clear, - directional headlamps for improved visibility when cornering.
Additional lighting
Other lamps are installed to fulfil the requirements of particular driving conditions: - a rear foglamp to be seen from a distance, - front foglamps for even better visibi lity, - daytime running lamps to be seen during the day.
Programming
Various automatic lighting control modes are also available according to the following options: - guide-me-home lighting, - automatic lighting, - directional headlamps.
System for selection and control of the various front and rear lamps providing the vehicle's lighting.
Travelling abroad
If using your vehicle in a country that drives on the other side of the road, the headlamps must be adjusted to avoid dazzling on-coming drivers. Contact an official dealer or a qualified workshop.
Page 111 of 378
5
Visibility109
Model without AUTO lighting
Model with AUTO lighting
Automatic illumination of headlamps.
Manual controls
The lighting is controlled directly by the driver by means of the ring A and the stalk B . A. Main lighting mode selection ring: turn it to position the symbol required facing the mark.
Lighting off / daytime running lamps.
Sidelamps.
B. Stalk for switching headlamps: pull the stalk towards you to switch the lighting between dipped and main beam headlamps. In the lamps off and sidelamps modes, the driver can switch on the main beam headlamps temporarily ("headlamp flash") by maintaining a pull on the stalk.
Dipped headlamps or main beam headlamps.
Displays
Illumination of the corresponding indicator lamp in the instrument panel confirms that the lighting selected is on.
Page 112 of 378
Visibility
110
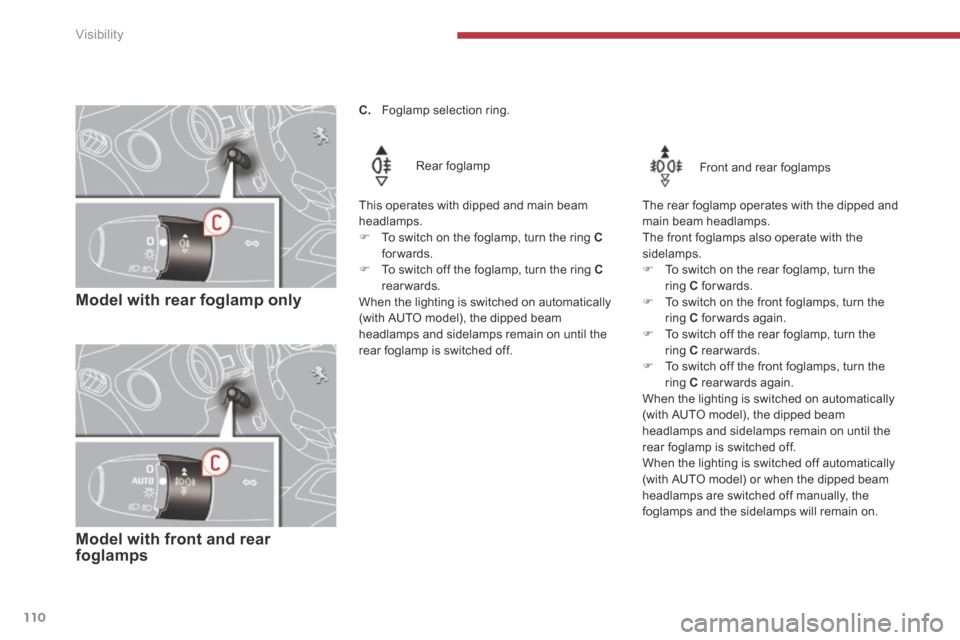
Model with rear foglamp only
Rear foglamp
This operates with dipped and main beam headlamps.
To switch on the foglamp, turn the ring Cforwards. To switch off the foglamp, turn the ring Crearwards. When the lighting is switched on automatically (with AUTO model), the dipped beam headlamps and sidelamps remain on until the rear foglamp is switched off.
Model with front and rear foglamps
Front and rear foglamps
The rear foglamp operates with the dipped and main beam headlamps.
The front foglamps also operate with the sidelamps. To switch on the rear foglamp, turn the ring C forwards. To switch on the front foglamps, turn the ring C forwards again. To switch off the rear foglamp, turn the ring C rearwards. To switch off the front foglamps, turn the ring C rearwards again. When the lighting is switched on automatically (with AUTO model), the dipped beam headlamps and sidelamps remain on until the rear foglamp is switched off. When the lighting is switched off automatically (with AUTO model) or when the dipped beam headlamps are switched off manually, the foglamps and the sidelamps will remain on.
C. Foglamp selection ring.