2014 NISSAN QUEST sensor
[x] Cancel search: sensorPage 104 of 482
SIC4702
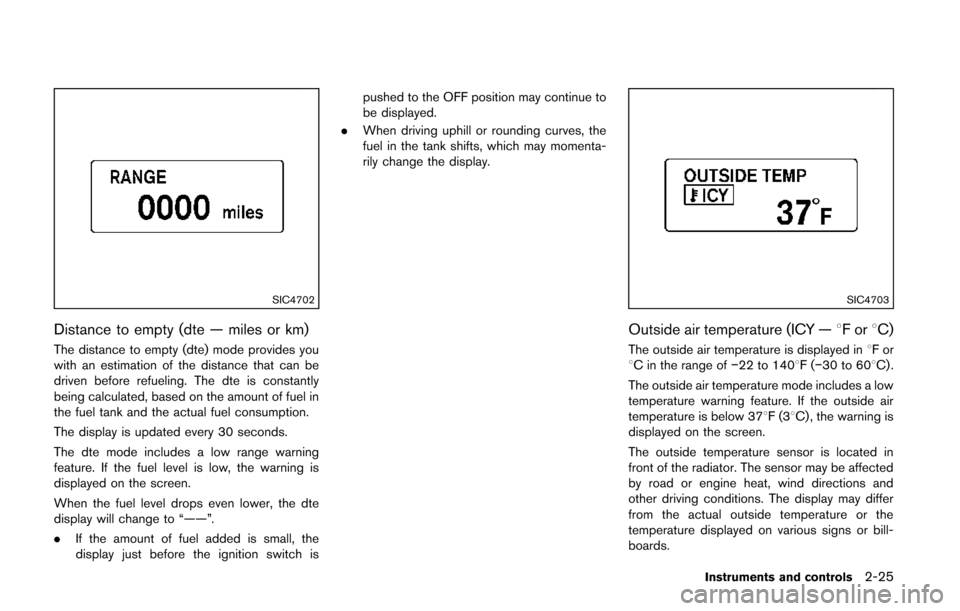
Distance to empty (dte — miles or km)
The distance to empty (dte) mode provides you
with an estimation of the distance that can be
driven before refueling. The dte is constantly
being calculated, based on the amount of fuel in
the fuel tank and the actual fuel consumption.
The display is updated every 30 seconds.
The dte mode includes a low range warning
feature. If the fuel level is low, the warning is
displayed on the screen.
When the fuel level drops even lower, the dte
display will change to “——”.
.If the amount of fuel added is small, the
display just before the ignition switch is pushed to the OFF position may continue to
be displayed.
. When driving uphill or rounding curves, the
fuel in the tank shifts, which may momenta-
rily change the display.
SIC4703
Outside air temperature (ICY — 8For8C)
The outside air temperature is displayed in 8For
8C in the range of −22 to 1408F(−30 to 608C) .
The outside air temperature mode includes a low
temperature warning feature. If the outside air
temperature is below 378F(3 8C) , the warning is
displayed on the screen.
The outside temperature sensor is located in
front of the radiator. The sensor may be affected
by road or engine heat, wind directions and
other driving conditions. The display may differ
from the actual outside temperature or the
temperature displayed on various signs or bill-
boards.
Instruments and controls2-25
Page 113 of 482
2-34Instruments and controls
SIC3669
Autolight system (if so equipped)
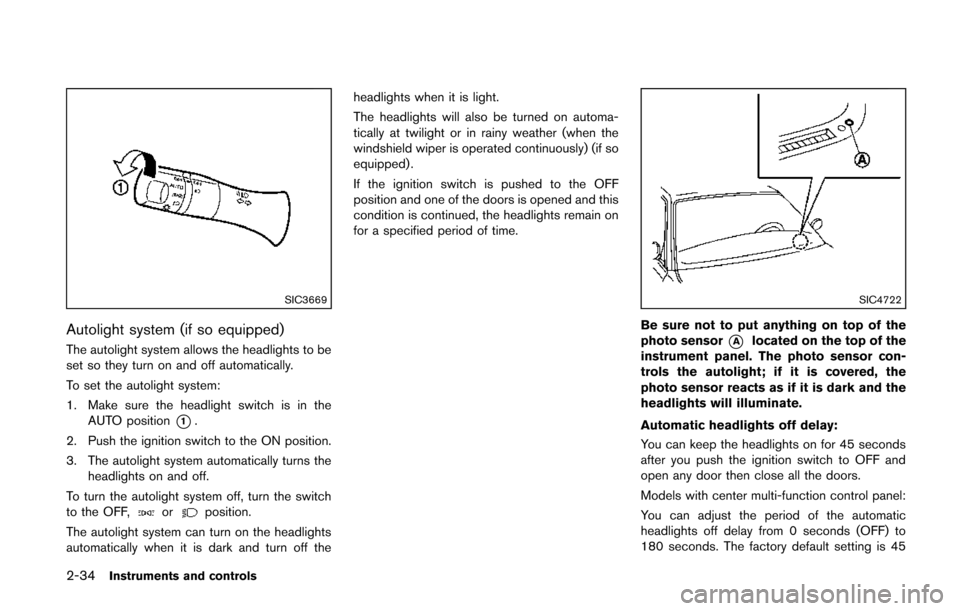
The autolight system allows the headlights to be
set so they turn on and off automatically.
To set the autolight system:
1. Make sure the headlight switch is in theAUTO position
*1.
2. Push the ignition switch to the ON position.
3. The autolight system automatically turns the headlights on and off.
To turn the autolight system off, turn the switch
to the OFF,
orposition.
The autolight system can turn on the headlights
automatically when it is dark and turn off the headlights when it is light.
The headlights will also be turned on automa-
tically at twilight or in rainy weather (when the
windshield wiper is operated continuously) (if so
equipped) .
If the ignition switch is pushed to the OFF
position and one of the doors is opened and this
condition is continued, the headlights remain on
for a specified period of time.
SIC4722
Be sure not to put anything on top of the
photo sensor
*Alocated on the top of the
instrument panel. The photo sensor con-
trols the autolight; if it is covered, the
photo sensor reacts as if it is dark and the
headlights will illuminate.
Automatic headlights off delay:
You can keep the headlights on for 45 seconds
after you push the ignition switch to OFF and
open any door then close all the doors.
Models with center multi-function control panel:
You can adjust the period of the automatic
headlights off delay from 0 seconds (OFF) to
180 seconds. The factory default setting is 45
Page 119 of 482
2-40Instruments and controls
SSD1179
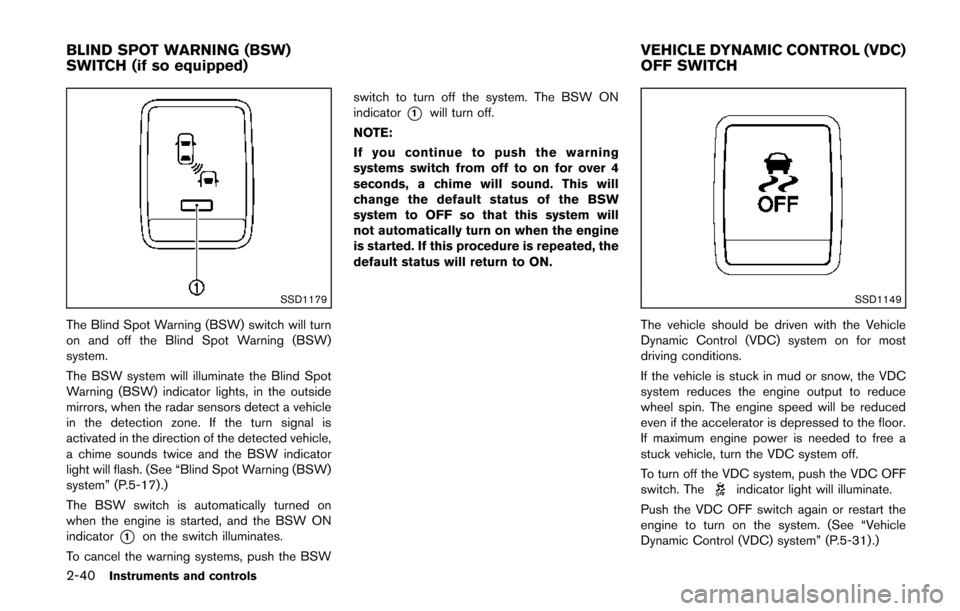
The Blind Spot Warning (BSW) switch will turn
on and off the Blind Spot Warning (BSW)
system.
The BSW system will illuminate the Blind Spot
Warning (BSW) indicator lights, in the outside
mirrors, when the radar sensors detect a vehicle
in the detection zone. If the turn signal is
activated in the direction of the detected vehicle,
a chime sounds twice and the BSW indicator
light will flash. (See “Blind Spot Warning (BSW)
system” (P.5-17) .)
The BSW switch is automatically turned on
when the engine is started, and the BSW ON
indicator
*1on the switch illuminates.
To cancel the warning systems, push the BSW switch to turn off the system. The BSW ON
indicator
*1will turn off.
NOTE:
If you continue to push the warning
systems switch from off to on for over 4
seconds, a chime will sound. This will
change the default status of the BSW
system to OFF so that this system will
not automatically turn on when the engine
is started. If this procedure is repeated, the
default status will return to ON.
SSD1149
The vehicle should be driven with the Vehicle
Dynamic Control (VDC) system on for most
driving conditions.
If the vehicle is stuck in mud or snow, the VDC
system reduces the engine output to reduce
wheel spin. The engine speed will be reduced
even if the accelerator is depressed to the floor.
If maximum engine power is needed to free a
stuck vehicle, turn the VDC system off.
To turn off the VDC system, push the VDC OFF
switch. The
indicator light will illuminate.
Push the VDC OFF switch again or restart the
engine to turn on the system. (See “Vehicle
Dynamic Control (VDC) system” (P.5-31) .)
BLIND SPOT WARNING (BSW)
SWITCH (if so equipped) VEHICLE DYNAMIC CONTROL (VDC)
OFF SWITCH
Page 154 of 482
SPA2071
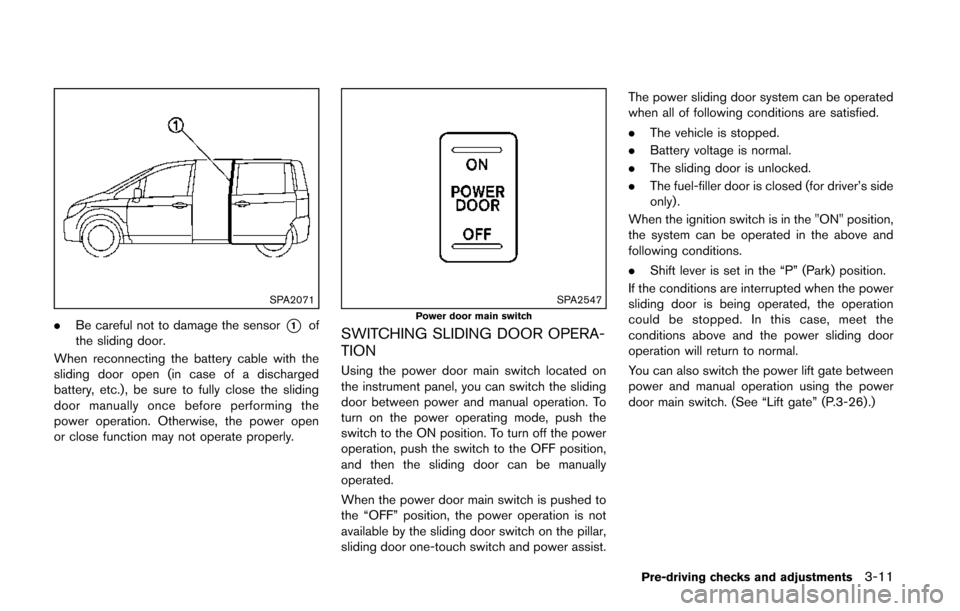
.Be careful not to damage the sensor*1of
the sliding door.
When reconnecting the battery cable with the
sliding door open (in case of a discharged
battery, etc.), be sure to fully close the sliding
door manually once before performing the
power operation. Otherwise, the power open
or close function may not operate properly.
SPA2547Power door main switch
SWITCHING SLIDING DOOR OPERA-
TION
Using the power door main switch located on
the instrument panel, you can switch the sliding
door between power and manual operation. To
turn on the power operating mode, push the
switch to the ON position. To turn off the power
operation, push the switch to the OFF position,
and then the sliding door can be manually
operated.
When the power door main switch is pushed to
the “OFF” position, the power operation is not
available by the sliding door switch on the pillar,
sliding door one-touch switch and power assist. The power sliding door system can be operated
when all of following conditions are satisfied.
.
The vehicle is stopped.
. Battery voltage is normal.
. The sliding door is unlocked.
. The fuel-filler door is closed (for driver’s side
only).
When the ignition switch is in the "ON" position,
the system can be operated in the above and
following conditions.
. Shift lever is set in the “P” (Park) position.
If the conditions are interrupted when the power
sliding door is being operated, the operation
could be stopped. In this case, meet the
conditions above and the power sliding door
operation will return to normal.
You can also switch the power lift gate between
power and manual operation using the power
door main switch. (See “Lift gate” (P.3-26) .)
Pre-driving checks and adjustments3-11
Page 156 of 482
push the LOCK button on the Intelligent Key
after the door is closed. See “Remote keyless
entry system” (P.3-21) .
OPERATING SLIDING DOOR BY
POWER ASSIST
To operate, pull the inside or outside door
handle until you hear the buzzer, the door will
automatically open or close.
If the door handle is operated while the sliding
door is moving, the door will reverse directions
and stop at either the full open or closed
position.
SLIDING DOOR AUTO REVERSE
FUNCTION
If an obstacle is detected while the power
sliding door is being operated, the door will
reverse directions and return to the full open or
full closed position.
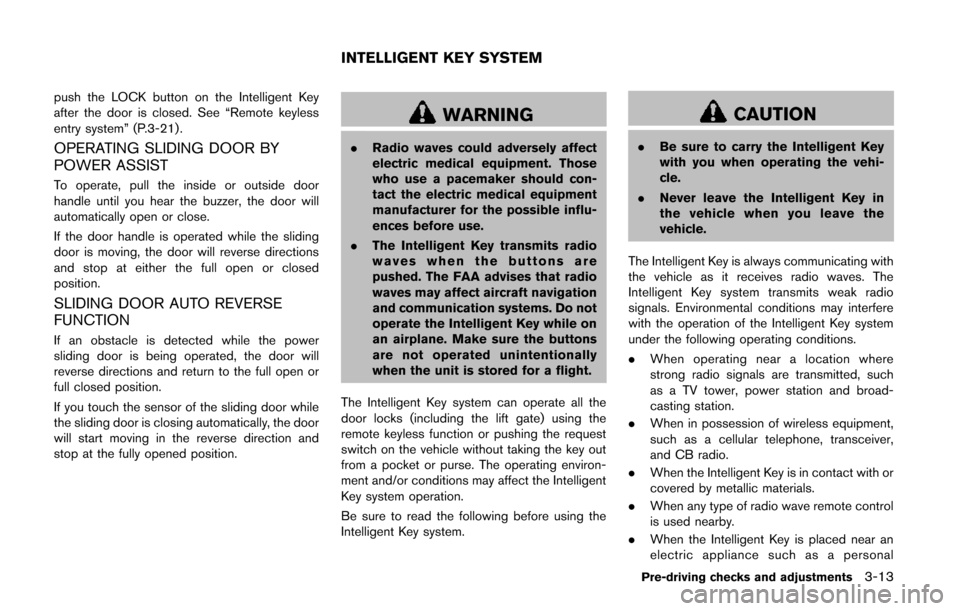
If you touch the sensor of the sliding door while
the sliding door is closing automatically, the door
will start moving in the reverse direction and
stop at the fully opened position.
WARNING
.Radio waves could adversely affect
electric medical equipment. Those
who use a pacemaker should con-
tact the electric medical equipment
manufacturer for the possible influ-
ences before use.
. The Intelligent Key transmits radio
waves when the buttons are
pushed. The FAA advises that radio
waves may affect aircraft navigation
and communication systems. Do not
operate the Intelligent Key while on
an airplane. Make sure the buttons
are not operated unintentionally
when the unit is stored for a flight.
The Intelligent Key system can operate all the
door locks (including the lift gate) using the
remote keyless function or pushing the request
switch on the vehicle without taking the key out
from a pocket or purse. The operating environ-
ment and/or conditions may affect the Intelligent
Key system operation.
Be sure to read the following before using the
Intelligent Key system.
CAUTION
. Be sure to carry the Intelligent Key
with you when operating the vehi-
cle.
. Never leave the Intelligent Key in
the vehicle when you leave the
vehicle.
The Intelligent Key is always communicating with
the vehicle as it receives radio waves. The
Intelligent Key system transmits weak radio
signals. Environmental conditions may interfere
with the operation of the Intelligent Key system
under the following operating conditions.
. When operating near a location where
strong radio signals are transmitted, such
as a TV tower, power station and broad-
casting station.
. When in possession of wireless equipment,
such as a cellular telephone, transceiver,
and CB radio.
. When the Intelligent Key is in contact with or
covered by metallic materials.
. When any type of radio wave remote control
is used nearby.
. When the Intelligent Key is placed near an
electric appliance such as a personal
Pre-driving checks and adjustments3-13
INTELLIGENT KEY SYSTEM
Page 171 of 482
3-28Pre-driving checks and adjustments
Power open
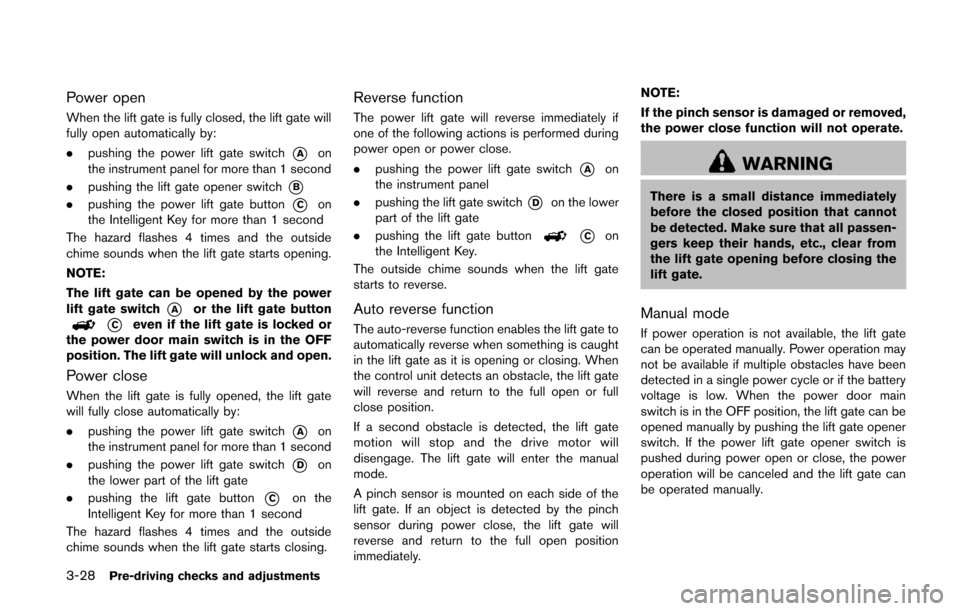
When the lift gate is fully closed, the lift gate will
fully open automatically by:
.pushing the power lift gate switch
*Aon
the instrument panel for more than 1 second
. pushing the lift gate opener switch
*B
.pushing the power lift gate button*Con
the Intelligent Key for more than 1 second
The hazard flashes 4 times and the outside
chime sounds when the lift gate starts opening.
NOTE:
The lift gate can be opened by the power
lift gate switch
*Aor the lift gate button
*Ceven if the lift gate is locked or
the power door main switch is in the OFF
position. The lift gate will unlock and open.
Power close
When the lift gate is fully opened, the lift gate
will fully close automatically by:
. pushing the power lift gate switch
*Aon
the instrument panel for more than 1 second
. pushing the power lift gate switch
*Don
the lower part of the lift gate
. pushing the lift gate button
*Con the
Intelligent Key for more than 1 second
The hazard flashes 4 times and the outside
chime sounds when the lift gate starts closing.
Reverse function
The power lift gate will reverse immediately if
one of the following actions is performed during
power open or power close.
. pushing the power lift gate switch
*Aon
the instrument panel
. pushing the lift gate switch
*Don the lower
part of the lift gate
. pushing the lift gate button
*Con
the Intelligent Key.
The outside chime sounds when the lift gate
starts to reverse.
Auto reverse function
The auto-reverse function enables the lift gate to
automatically reverse when something is caught
in the lift gate as it is opening or closing. When
the control unit detects an obstacle, the lift gate
will reverse and return to the full open or full
close position.
If a second obstacle is detected, the lift gate
motion will stop and the drive motor will
disengage. The lift gate will enter the manual
mode.
A pinch sensor is mounted on each side of the
lift gate. If an object is detected by the pinch
sensor during power close, the lift gate will
reverse and return to the full open position
immediately. NOTE:
If the pinch sensor is damaged or removed,
the power close function will not operate.
WARNING
There is a small distance immediately
before the closed position that cannot
be detected. Make sure that all passen-
gers keep their hands, etc., clear from
the lift gate opening before closing the
lift gate.
Manual mode
If power operation is not available, the lift gate
can be operated manually. Power operation may
not be available if multiple obstacles have been
detected in a single power cycle or if the battery
voltage is low. When the power door main
switch is in the OFF position, the lift gate can be
opened manually by pushing the lift gate opener
switch. If the power lift gate opener switch is
pushed during power open or close, the power
operation will be canceled and the lift gate can
be operated manually.
Page 177 of 482
3-34Pre-driving checks and adjustments
SPA2143
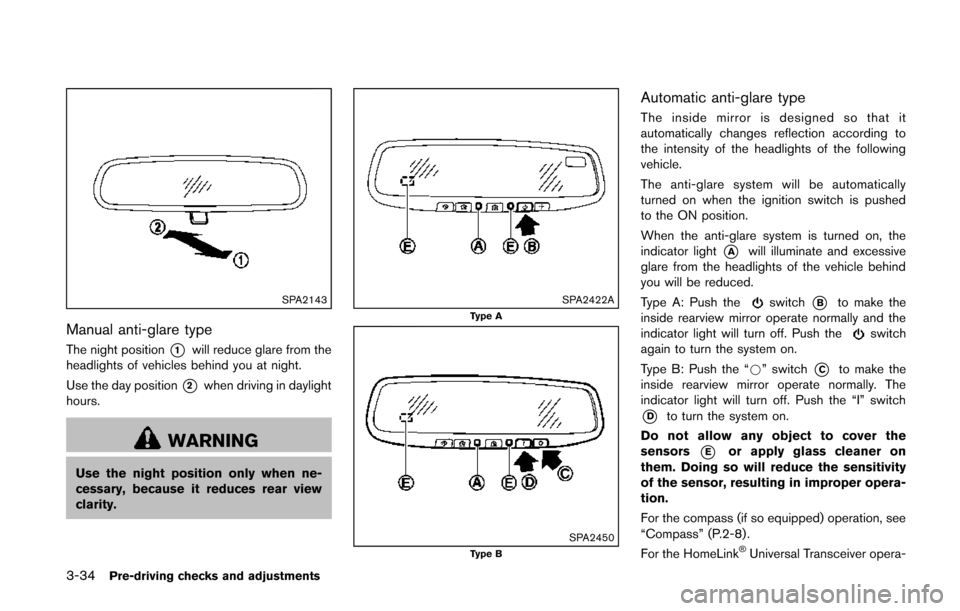
Manual anti-glare type
The night position*1will reduce glare from the
headlights of vehicles behind you at night.
Use the day position
*2when driving in daylight
hours.
WARNING
Use the night position only when ne-
cessary, because it reduces rear view
clarity.
SPA2422AType A
SPA2450Type B
Automatic anti-glare type
The inside mirror is designed so that it
automatically changes reflection according to
the intensity of the headlights of the following
vehicle.
The anti-glare system will be automatically
turned on when the ignition switch is pushed
to the ON position.
When the anti-glare system is turned on, the
indicator light
*Awill illuminate and excessive
glare from the headlights of the vehicle behind
you will be reduced.
Type A: Push the
switch*Bto make the
inside rearview mirror operate normally and the
indicator light will turn off. Push the
switch
again to turn the system on.
Type B: Push the “*” switch
*Cto make the
inside rearview mirror operate normally. The
indicator light will turn off. Push the “I” switch
*Dto turn the system on.
Do not allow any object to cover the
sensors
*Eor apply glass cleaner on
them. Doing so will reduce the sensitivity
of the sensor, resulting in improper opera-
tion.
For the compass (if so equipped) operation, see
“Compass” (P.2-8) .
For the HomeLink
®Universal Transceiver opera-
Page 223 of 482
4-40Monitor, heater, air conditioner, audio, phone and voice recognition systems
even if the engine is turned off and the ignition
switch is in the “ON” position.
NOTE:
.Odors from inside and outside the
vehicle can build up in the air condi-
tioner unit. Odor can enter the passen-
ger compartment through the vents.
. When parking, set the heater and air
conditioner controls to turn off air
recirculation to allow fresh air into the
passenger compartment. This should
help reduce odors inside the vehicle.
SAA3594
SAA3514
OPERATING TIPS (for automatic air
conditioner)
When the engine coolant temperature and
outside air temperature are low, the air flow
from the foot outlets may not operate. However,
this is not a malfunction. After the coolant
temperature warms up, the air flow from the
foot outlets will operate normally.
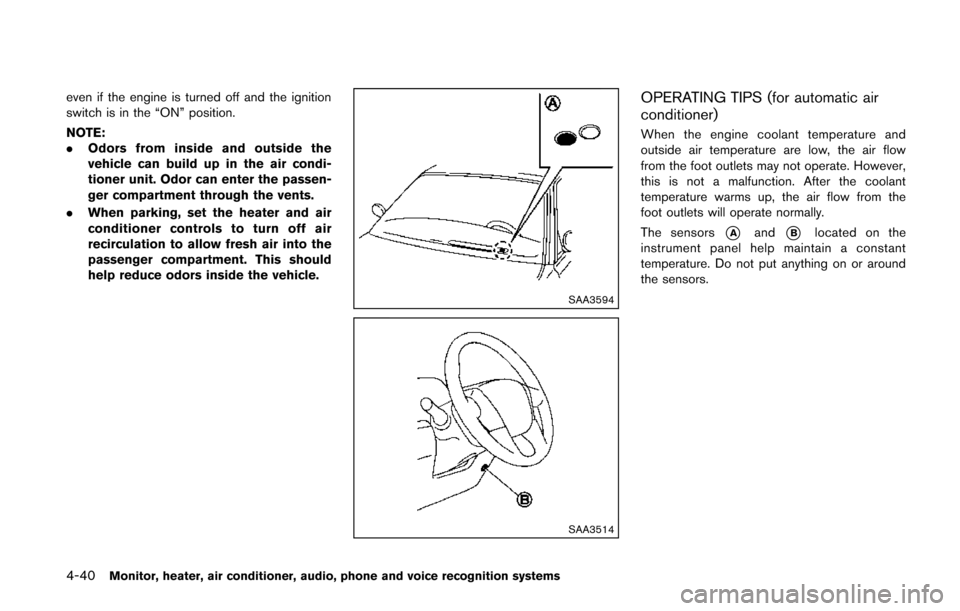
The sensors
*Aand*Blocated on the
instrument panel help maintain a constant
temperature. Do not put anything on or around
the sensors.