2014 NISSAN PATHFINDER ECO mode
[x] Cancel search: ECO modePage 6 of 32

4
TiRE PRESSURE MoNi To RiN G SYSTEM (TPMS)
with Easy Fill Tire Alert
A Tire Pressure l ow – Add Air warning message
will appear in the vehicle information display
01 and
the low tire pressure warning light
02 will illuminate
when one or more tires are low on pressure and air
is needed.
•
T
he tire pressures should be checked when the
tires are cold. The tires are considered cold after
the vehicle has been parked for 3 hours or more or
driven less than 1 mi (1.6 km) at moderate speeds.
When adding air to an under-inflated tire, the TPMS with e asy Fill Tire Alert provides visual and
audible signals to help you inflate the tires to the
recommended
c
O
LD tire pressure.
T
o use the e asy Fill Tire Alert:
1.
Move the shift lever to the
P (PARK) position and apply the parking brake.
2.
Place the ignition switc
h in the o N position. Do not start the engine.
3.
Add air to the under-inflated tire and within a few seconds, the hazar\
d warning lights will
start flashing.
4.
W
hen the designated tire pressure is reached, the horn will beep once and the hazard
warning lights will stop flashing.
5.
Repeat this procedure for any additional under-inflated tires.
After tire pressures are adjusted, drive the vehicle at speeds above 16 \
M PH (25 km/h).
The Tire Pressure
l ow – Add Air warning message and low tire pressure warning light
will disappear.
When the low tire pressure warning light flashes for approximately 1 minute and then remains on, the TPMS is not functioning properly. Have the system checked by a NISSAN dealer.
Tire pressure rises and falls depending on the heat caused by the vehicle\
’s operation and the outside temperature. Low outside temperature can lower the temperature o\
f the air inside
the tire, which can cause a lower tire inflation pressure. This may cause the low tire pressure
warning light to illuminate. If the warning light illuminates, check the tire pressure in your tires.
The Tire and Loading Information label contains valuable information. Please refer to section 9, “Technical and consumer information” in your Owner’s Manual for the location of the Tire
and Loading Information label.
For more information, refer to the “instruments and controls (section 2)”, the “Starting and driving (section 5)” and the
“Maintenance and do-it-yourself (section 8)” of your Owner’s Manual.
02
01
esseNtial iNf or matioN
1558965_14b_Pathfinder_QRG_100213.indd 410/2/13 9:27 AM
To view detailed instructional videos regarding these and other features, please go to www.nissanownersinfo.mobi.
Page 8 of 32

6
NiSSAN iNTElliG ENT KEY® SYSTE M
(if so equipped)
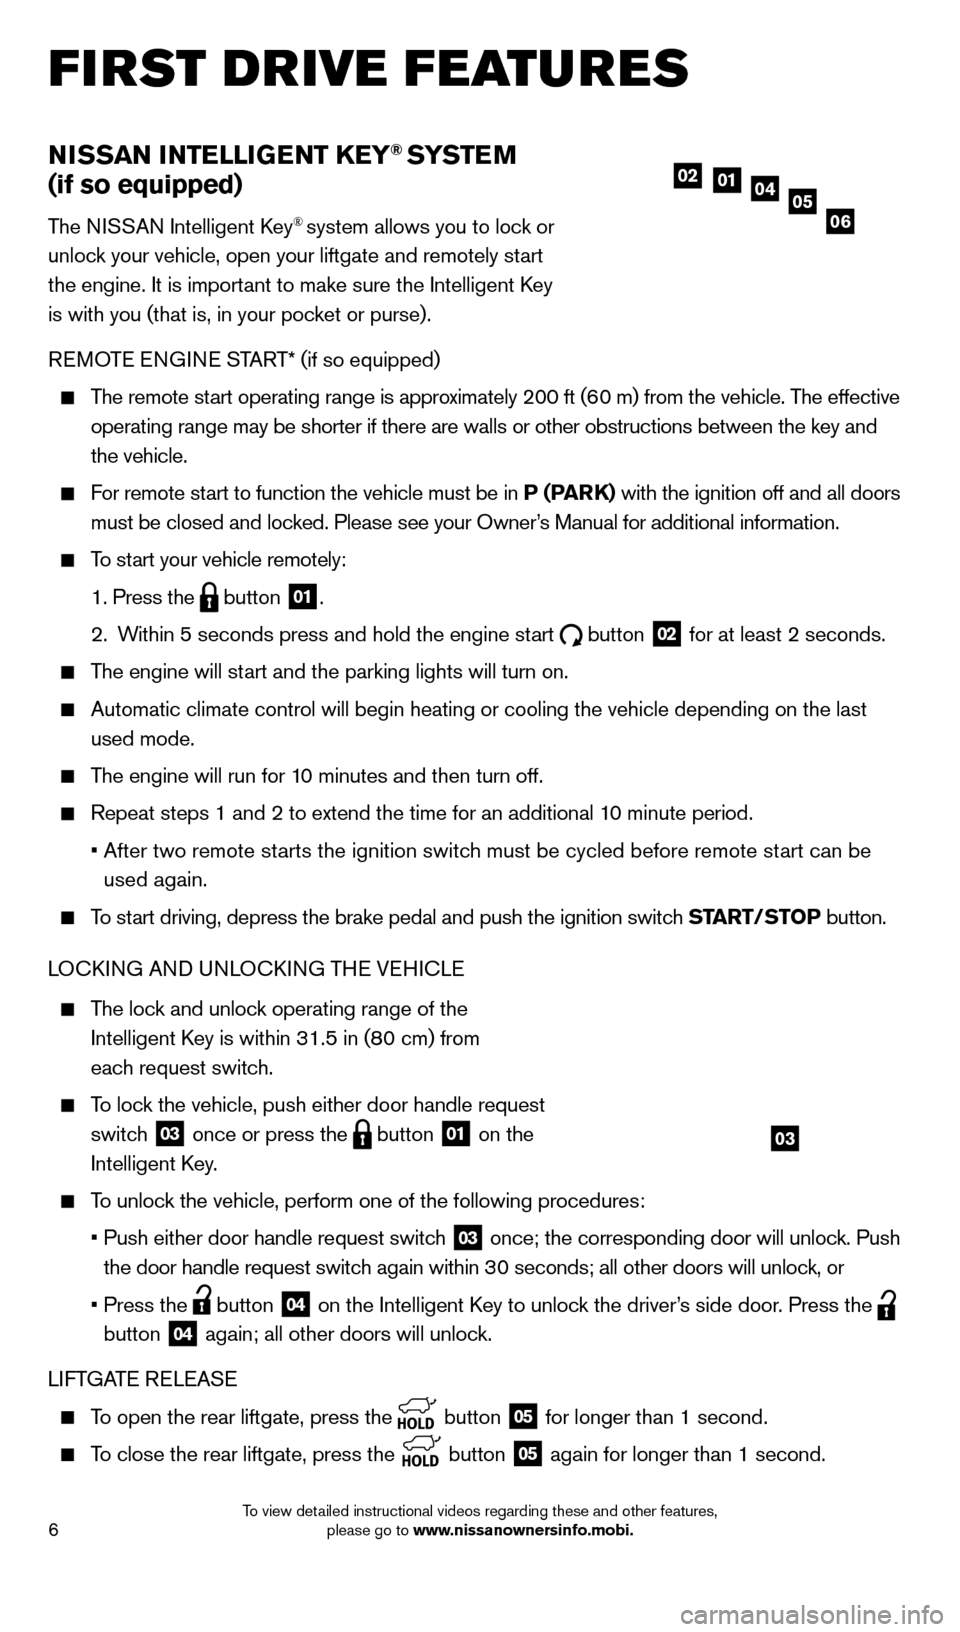
The NISSAN Intelligent key® system allows you to lock or
unlock your vehicle, open your liftgate and remotely start
the engine. It is important to make sure the Intelligent
k
ey
is with you (that is, in your pocket or purse).
R
eM
OT
e
e
N
GIN
e
START* (if so equipped)
The remote start operating range is approximately 200 ft (60 m) from the vehicle. The effective operating range may be shorter if there are walls or other obstructions \
between the key and
the vehicle.
For remote start to function the vehicle must be in P (PARK) with the ignition off and all doors must be closed and locked. Please see your Owner’s Manual for additional information.
To start your vehicle remotely:
1. Press the button 01.
2.
W
ithin 5 seconds press and hold the engine start
button 02 for at least 2 seconds.
The engine will start and the parking lights will turn on.
Automatic climate control will begin heating or cooling the vehicle depe\
nding on the last
used mode.
The engine will run for 10 minutes and then turn off.
Repeat steps 1 and 2 to extend the time for an additional 1 0 minute period.
•
After two remote st
arts the ignition switch must be cycled before remote start can be
used again.
To start driving, depress the brake pedal and push the ignition switch START/STo P button.
LO ck ING AND UNLO ck ING TH
e VeH
I c L
e
The lock and unlock operating range of the
Intelligent k
ey is within 31.5 in (8
0 cm) from
each request switch.
To lock the vehicle, push either door handle request switch
03 once or press the button 01 on the
Intelligent
k
ey
.
To unlock the vehicle, perform one of the following procedures:
•
Push either door handle request switc
h
03 once; the corresponding door will unlock. Push
the door handle request switch again within 30 seconds; all other doors will unlock, or
•
Press the button 04 on the Intelligent key to unloc k the driver’s side door. Press the
button
04 again; all other doors will unlock.
LIFTGAT
e
R
eL
e
AS
e
To open the rear liftgate, press the button 05 for longer than 1 second.
To close the rear liftgate, press the
button 05 again for longer than 1 second.
05010204
06
first drive features
03
1558965_14b_Pathfinder_QRG_100213.indd 610/2/13 9:27 AM
To view detailed instructional videos regarding these and other features, please go to www.nissanownersinfo.mobi.
Page 15 of 32

13
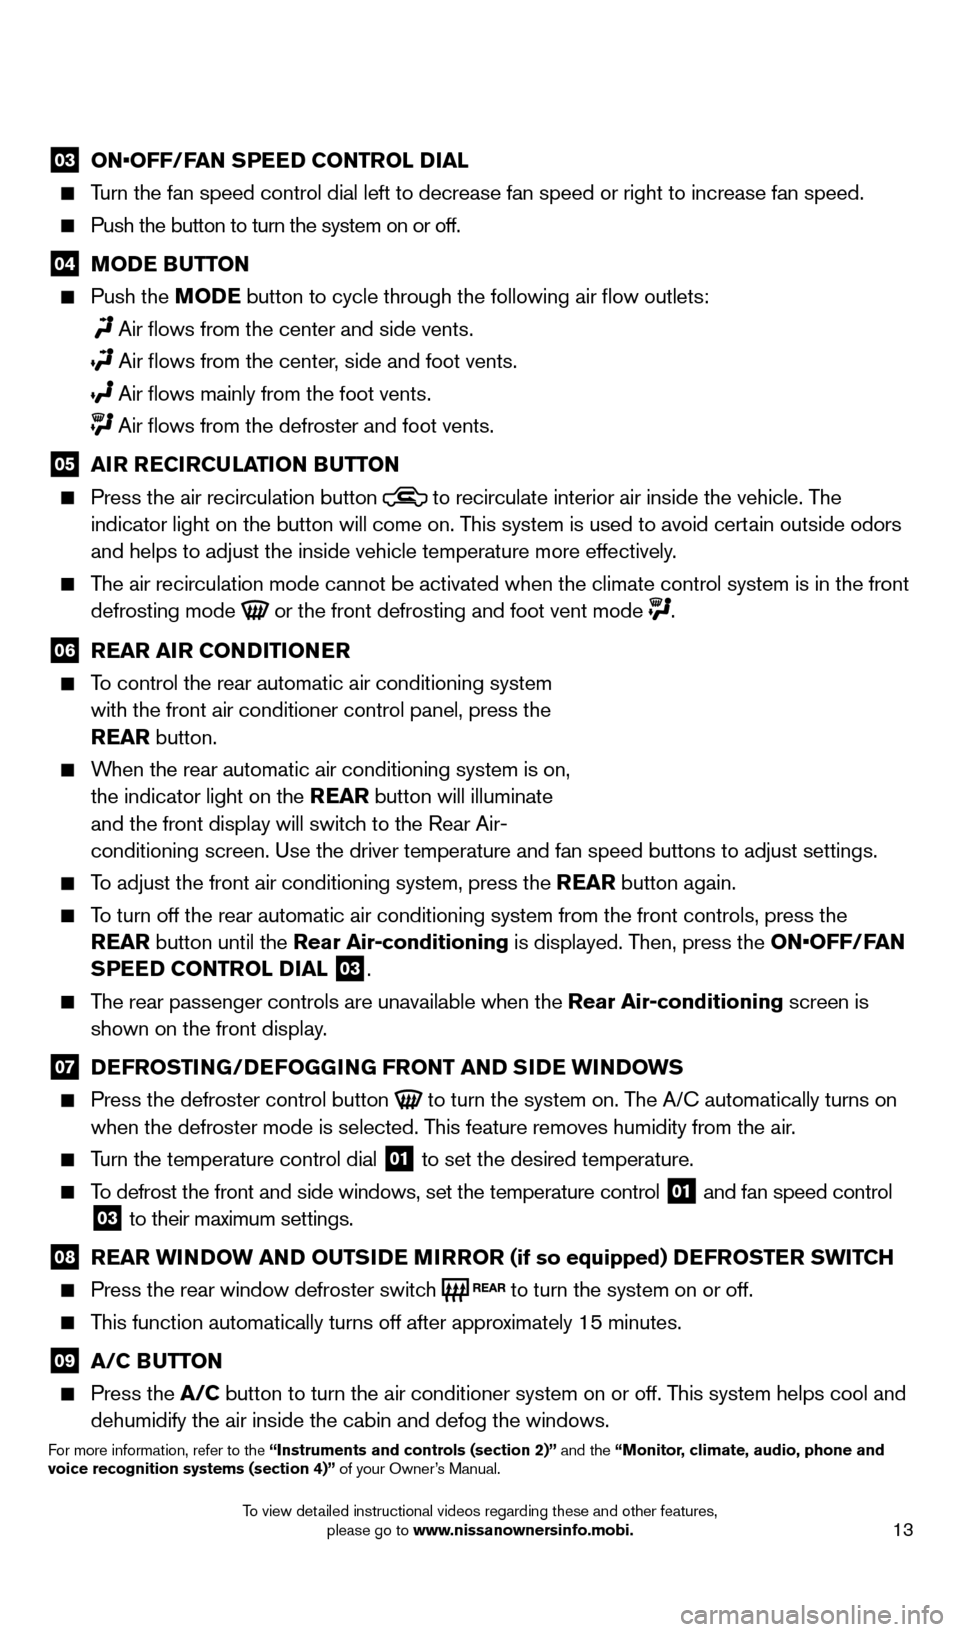
03 ON•OFF/FAN SPEED CONTROL DIAL Turn the fan speed control dial left to decrease fan speed or right to in\
crease fan speed.
Push the button to turn the system on or off.
04 MoDE BUTTo N Push the
Mo DE button to cycle through the following air flow outlets:
Air flows from the center and side vents.
Air flows from the center , side and foot vents.
Air flows mainly from the foot vents. Air flows from the defroster and foot vents.
05 A iR R EC iR CUl AT io N BUTTo N Press the air recirculation button to recirculate interior air inside the vehicle. The
indicator light on the button will come on. This system is used to avoid certain outside odors
and helps to adjust the inside vehicle temperature more effectively.
The air recirculation mode cannot be activated when the climate control s\
ystem is in the front defrosting mode
or the front defrosting and foot vent mode .
06 R EAR A iR C o NDi T io NER To control the rear automatic air conditioning system
with the front air conditioner control panel, press the
REAR button.
When the rear automatic air conditioning system is on, the indicator light on the REAR button will illuminate
and the front display will switch to the Rear Air-
conditioning screen. Use the driver temperature and fan speed buttons to\
adjust settings.
To adjust the front air conditioning system, press the REAR button again.
To turn off the rear automatic air conditioning system from the front con\
trols, press the REAR button until the Rear Air-conditioning is displayed. Then, press the ON•OFF/FAN
SPEED C
o NTR
ol
D
i
A l
03.
The rear passenger controls are unavailable when the Rear Air-conditioning screen is shown on the front display.
07 D EFRo ST iN G/DEFo GGiN G FRo NT AND SiD E W iN DoWS
Press the defroster control button to turn the system on. The A/c automatically turns on
when the defroster mode is selected. T his feature removes humidity from the air.
Turn the temperature control dial 01 to set the desired temperature.
To defrost the front and side windows, set the temperature control 01 and fan speed control 03 to their maximum settings.
08 R EAR W iN DoW AN D o UTSiD E MiR Ro R (if so equipped) DEFRo STER SW i TCH Press the rear window defroster switc
h to turn the system on or off.
This function automatically turns off after approximately 15 minutes.
09 A/C BUTTo N Press the
A/C button to turn the air conditioner system on or off. This system helps cool and
dehumidify the air inside the cabin and defog the windows.
For more information, refer to the “instruments and controls (section 2)” and the “Monitor, climate, audio, phone and
voice recognition systems (section 4)” of your Owner’s Manual.
1558965_14b_Pathfinder_QRG_100213.indd 1310/2/13 9:28 AM
To view detailed instructional videos regarding these and other features, please go to www.nissanownersinfo.mobi.
Page 20 of 32

18
vEHiCl E iN Fo RMAT io N DiS P l AY
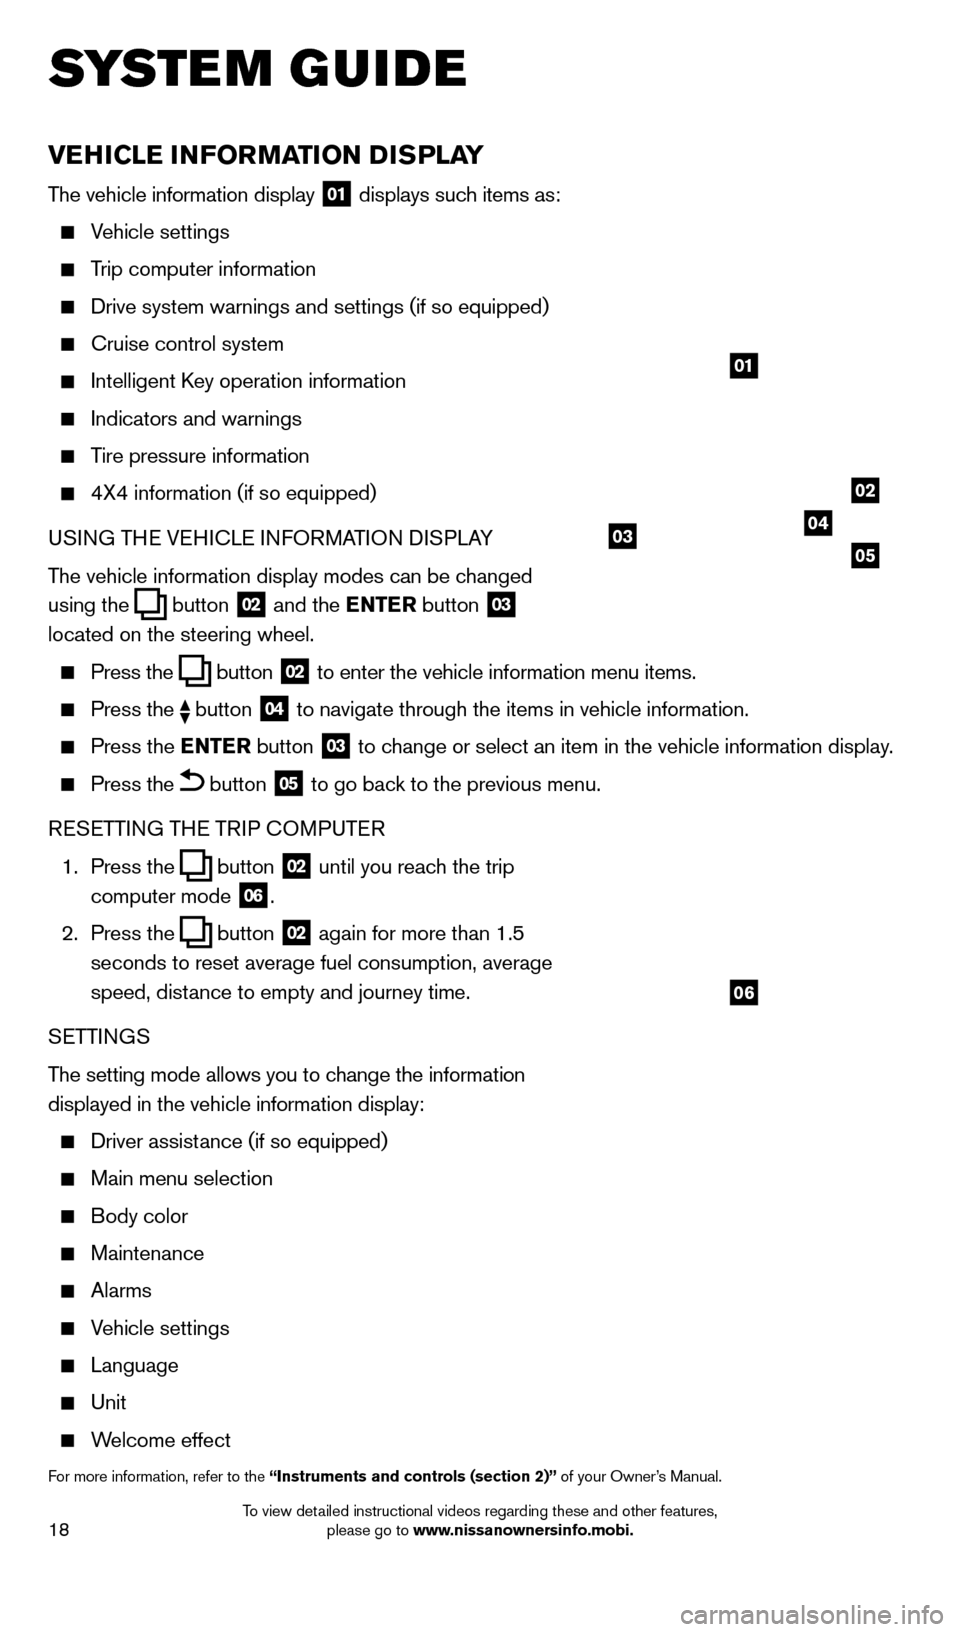
The vehicle information display 01 displays such items as:
Vehicle settings
Trip computer information
Drive system warnings and settings (if so equipped)
cruise control system
Intelligent key operation information
Indicators and warnings
Tire pressure information
4X4 information (if so equipped)
USI NG TH
e VeH
I c L
e I
NFORMATION DISPLAY
The vehicle information display modes can be changed
using the
button 02 and the ENTER button 03
located on the steering wheel.
Press the button 02 to enter the vehicle information menu items.
Press
the button 04 to navigate through the items in vehicle information.
Press the
E NTER button 03 to change or select an item in the vehicle information display.
Press the button 05 to go back to the previous menu.
R
eSe
TTING TH
e
TRIP
c
O
MPUT e
R
1.
Press the
button 02 until you reach the trip
computer mode 06.
2.
Press the
button 02 again for more than 1.5
seconds to reset average fuel consumption, average
speed, distance to empty and journey time.
S
e
TTINGS
The setting mode allows you to change the information
displayed in the vehicle information display:
Driver assist ance (if so equipped)
Main menu selection
Body color
Maintenance
Alarms
Vehicle settings
Language
Unit
Welcome effect
For more information, refer to the “instruments and controls (section 2)” of your Owner’s Manual.
system guide
01
02
040305
06
1558965_14b_Pathfinder_QRG_100213.indd 1810/2/13 9:28 AM
To view detailed instructional videos regarding these and other features, please go to www.nissanownersinfo.mobi.
Page 21 of 32

19
BlUETooTH® HANDS-FREE PHo NE SYSTEM (if so equipped)
A cellular telephone should not be used while driving
so full attention may be given to vehicle operation.*
SYSTeM OPeRA TING TIPS
Press the or button to interrupt the voice
prompts at any time and speak a command after
the tone.
The “Help” command can be used to hear a list of
available commands at any time.
Reduce bac kground noise as much as possible by
closing windows and pointing HVA
c
vents away from
the ceiling.
Speak naturally without long pauses and without
raising your voice.
When speaking Phonebook names, please be aware some phones require the last name to be spoken
before the first name. For example, “Michael Smith”
may be spoken as “Smith Michael”.
To cancel a voice recognition session, say “ e xit” or press and hold the or button.
Voice commands can be used to operate various Bluetooth System features u\
sing the
N ISSAN Voice Recognition system. See your Owner’s Manual for detailed information.
If the Voice Recognition system does not recognize your voice commands, train th\
e system using the Speaker Adaptation Mode.
For more detailed information and instructions, refer to your cellular phone Owner’s Manual and visit www.nissuanusa.com/bluetooth.
*Some jurisdictions prohibit the use of cellular telephones while drivin\
g.
Microphone
Bluetooth®
Controls
1558965_14b_Pathfinder_QRG_100213.indd 1910/2/13 9:28 AM
To view detailed instructional videos regarding these and other features, please go to www.nissanownersinfo.mobi.
Page 24 of 32

22
BlUETooTH® SYSTEM WiTHo UT
NA
viGA
T
io
N (if so equipped)
cONNecTING PRO ceDU Re
The vehicle must be stationary when connecting
the phone.
1.
Press the
button on the steering wheel.
The system announces the available commands.
2.
S
ay: “
c
onnect phone”. The system acknowledges
the command and announces the next set of
available commands.
3.
S
ay: “Add phone”. The system acknowledges the
command and asks you to initiate connecting from
the phone handset.
4.
Initiate connecting from the phone:
•
T
he connecting procedure varies according to each cellular phone model.
For detailed connecting instructions and compatible phones, please
visit www.nissanusa.com/bluetooth.
•
W
hen prompted for a PIN code, enter “1234” from the handset.
(The PIN code is assigned by NISSAN and cannot be changed.)
5.
S
ay the name for the phone when the system asks you to provide one. You can give the
phone a name of your choice.
PHON
eB
OO
k
The phonebook stores up to 1,000 names for each phone paired with the system.
Depending on your cell phone, the system may automatically download your\
cell phone’ s
entire phonebook to the vehicle’s Bluetooth® system.
If the phonebook does not download automatically, 40 entries can be individually downloaded.
To manually download entries:
1.
Press the button on the steering wheel.
2.
After the tone, s
ay “Phonebook”.
3.
After the next tone s
ay “Transfer e ntry”. The system acknowledges the command
and asks you to initiate the transfer from the phone handset. The new contact phone
number will be transferred from the cellular phone to the vehicle.
•
T
he transfer procedure varies according to each cellular phone.
See your cellular phone’s Owner’s Manual for details. You can also
visit www.nissanusa.com/bluetooth for instruction on transferring
phone numbers from NISSAN recommended cellular phones.
4.
T
he system repeats the number and prompts you for the next command.
When you have finished entering numbers or transferring an entry, choose “Store”.
5.
T
he system confirms the name, location and number.
system guide
1558965_14b_Pathfinder_QRG_100213.indd 2210/2/13 9:28 AM
To view detailed instructional videos regarding these and other features, please go to www.nissanownersinfo.mobi.
Page 27 of 32

25
DUAl HEAD RESTRAiNT Dv D SYSTEM
(if so equipped)
With this Dual Head Restraint DVD System you
can play video files via a DVD or c
D, providing
images and sound both from the front and rear
display screens.
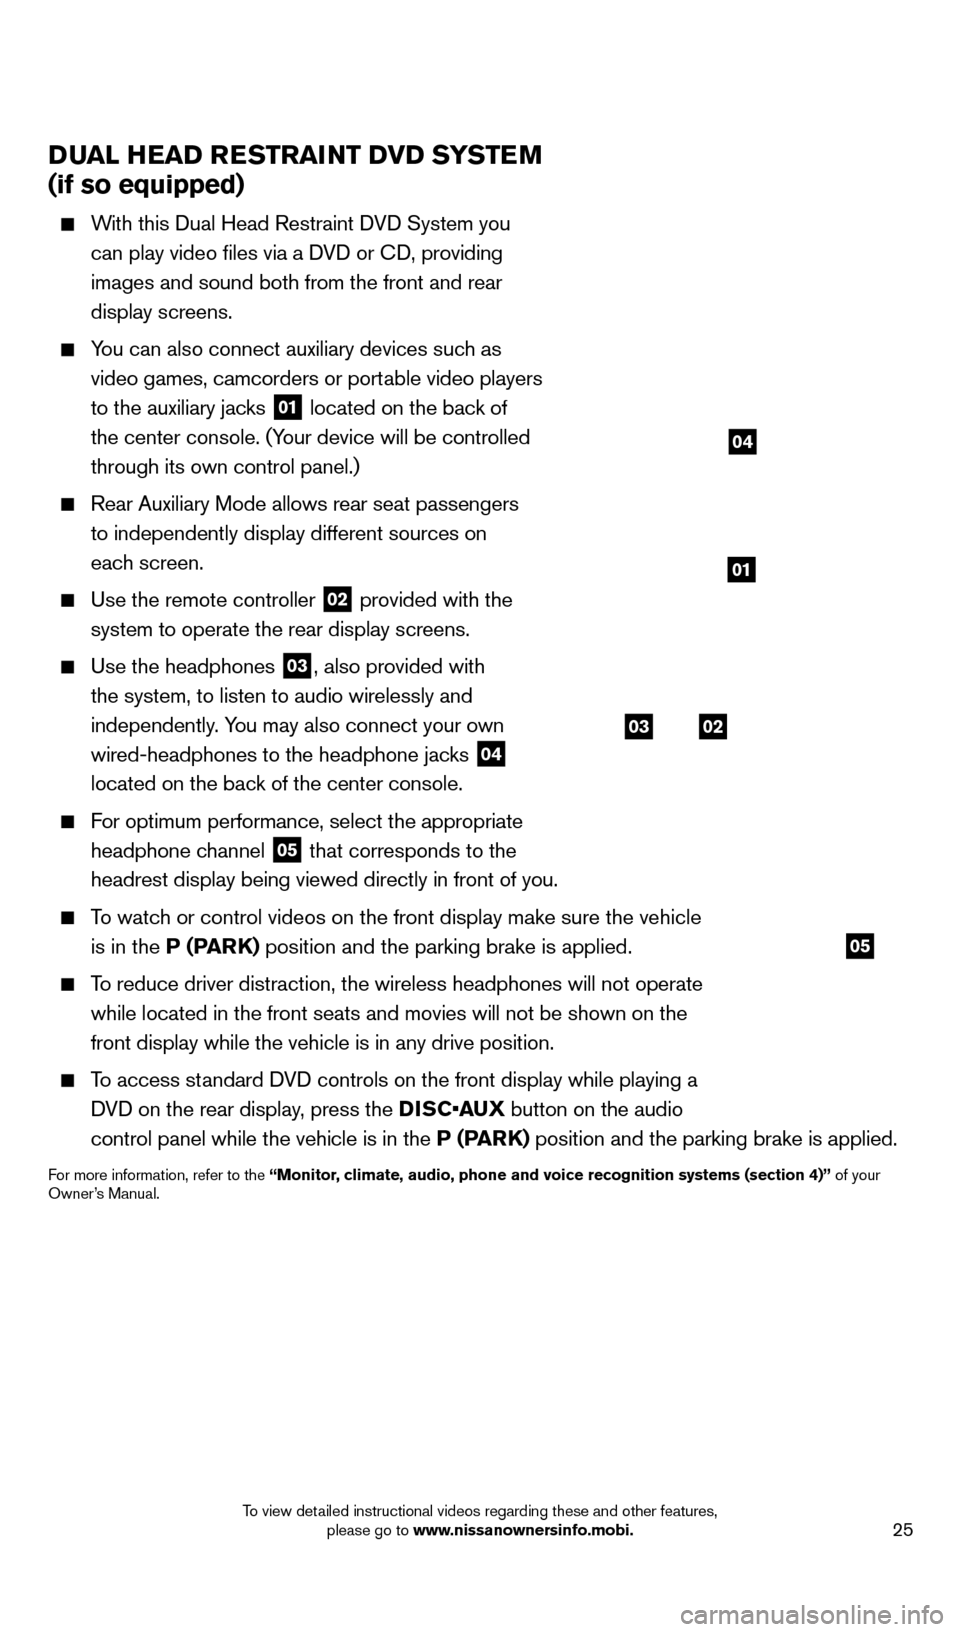
You can also connect auxiliary devices such as video games, camcorders or portable video players
to the auxiliary jacks
01 located on the back of
the center console. (Your device will be controlled
through its own control panel.)
Rear Auxiliary Mode allows rear seat passengers
to independently display different sources on
each screen.
Use the remote controller 02 provided with the
system to operate the rear display screens.
Use the headphones 03, also provided with
the system, to listen to audio wirelessly and
independently. You may also connect your own
wired-headphones to the headphone jacks
04
located on the back of the center console.
For optimum performance, select the appropriate
headphone channel
05 that corresponds to the
headrest display being viewed directly in front of you.
To watch or control videos on the front display make sure the vehicle is in the P (PARK) position and the parking brake is applied.
To reduce driver distraction, the wireless headphones will not operate while located in the front seats and movies will not be shown on the
front display while the vehicle is in any drive position.
To access standard DVD controls on the front display while playing a DVD on the rear display, press the DISC•AUX button on the audio
control panel while the vehicle is in the P (PARK) position and the parking brake is applied.
For more information, refer to the “Monitor, climate, audio, phone and voice recognition systems (section 4)” of your
Owner’s Manual.
system guide
03
05
02
01
04
1558965_14b_Pathfinder_QRG_100213.indd 2510/2/13 9:28 AM
To view detailed instructional videos regarding these and other features, please go to www.nissanownersinfo.mobi.