Page 2 of 25
*See your Owner’s Manual for information.VEHICLE INFORMATION DISPLAY*
HEADLIGHT AND TURN SIGNAL CONTROL
LOW TIRE PRESSURE WARNING LIGHT
INSTRUMENT BRIGHTNESS
CONTROL SWITCH*
TWIN TRIP ODOMETER RESET SWITCH* /
TRIP COMPUTER MODE SWITCH
WINDSHIELD WIPER AND WASHER SWITCH
STEERING WHEEL SWITCHES FOR
AUDIO* / BLUETOOTH
®
CRUISE CONTROL
OUTSIDE MIRROR CONTROL SWITCH
TILT STEERING ADJUSTMENT*
VEHICLE DYNAMIC CONTROL (VDC)
OFF SWITCH*
ALL-WHEEL DRIVE (AWD) SWITCH*
FUEL-FILLER DOOR RELEASE
HOOD RELEASE*
HAZARD WARNING FLASHER SWITCH*AUDIO AND NAVIGATION SYSTEM
INTEGRATED CONTROL SYSTEM
AUXILIARY JACK*
USB / iPOD
® CONNECTOR
POWER OUTLET*
0102030405
0910
16
06
11
17181920
07
1214
08
1315
02
03
0104
05
09
15
12
1617
18
19
20
13
14
11
1007
06
08
Page 4 of 25

2To view detailed instructional videos regarding these and other features, please go to www.nissanownersinfo.mobi.
ESSE NTIAL I N FOR MATION
FUEL EFFICIENT DRIVING
Fuel Effi cient Driving Tips can be found in your Owner’s Manual. These tips are intended to
help you achieve the most fuel economy from your vehicle.
For more information, refer to the “Starting and driving (section 5) ” of your Owner’s Manual.
TIRE PRESSURE MONITORING SYSTEM (TPMS)
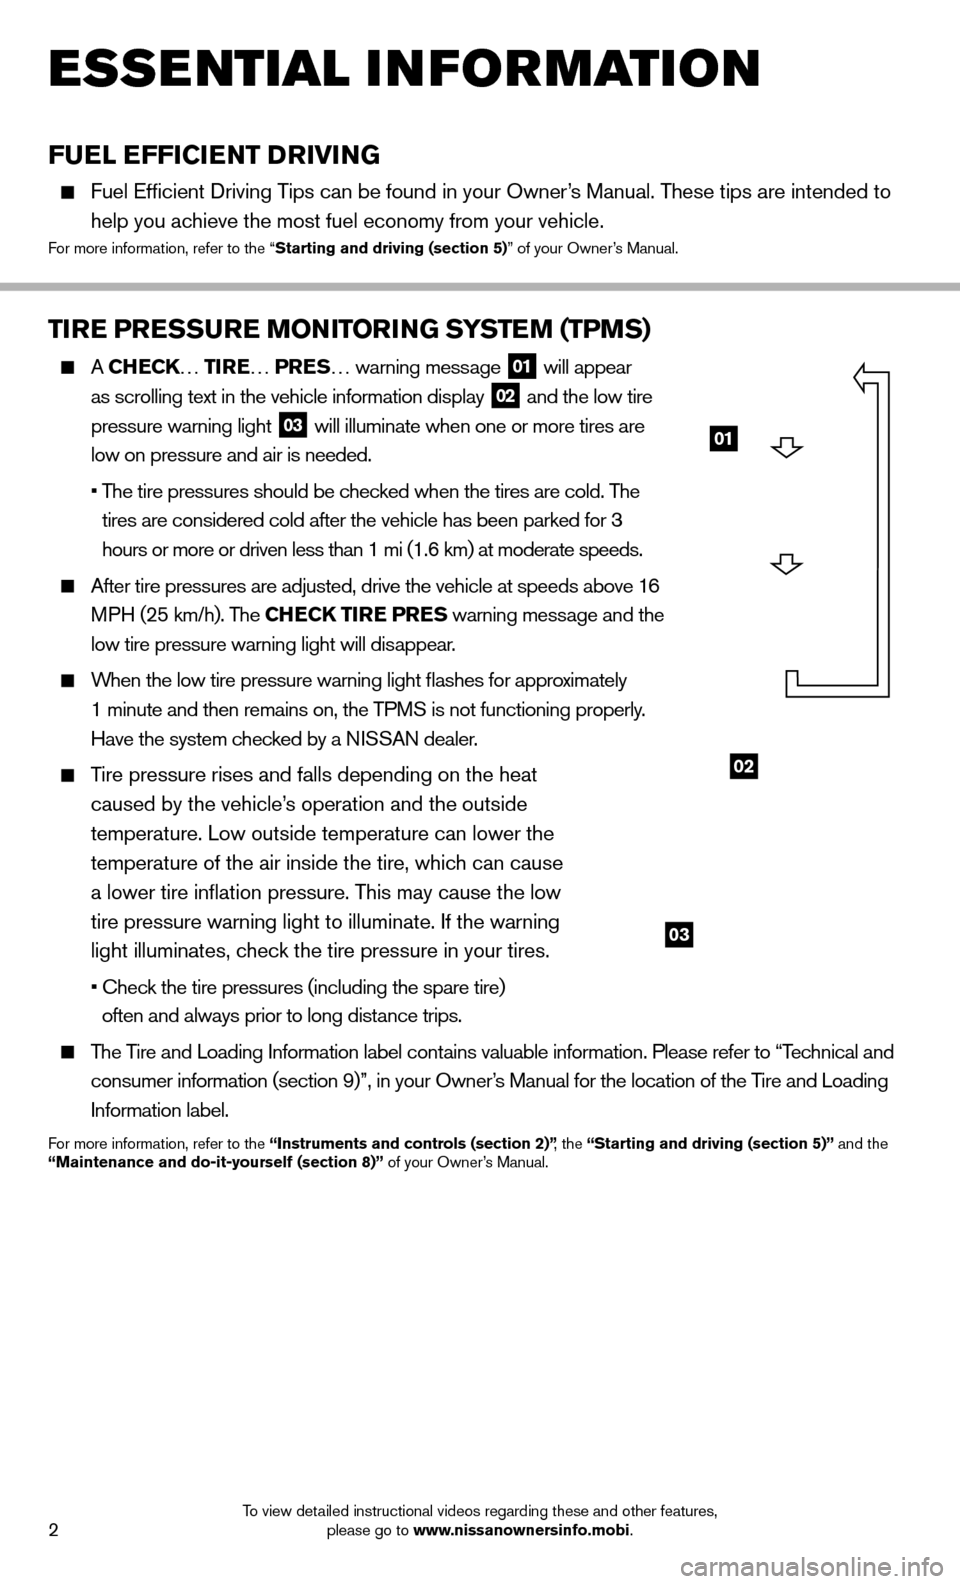
A CHECK… TIRE … PRES… warning message 01 will appear
as scrolling text in the vehicle information display 02 and the low tire
pressure warning light 03 will illuminate when one or more tires are
low on pressure and air is needed.
• The tire pressures should be checked when the tires are cold. The
tires are considered cold after the vehicle has been parked for 3
hours or more or driven less than 1 mi (1.6 km) at moderate speeds.
After tire pressures are adjusted, drive the vehicle at speeds above 16
MPH (25 km/h). The CHECK TIRE PRES warning message and the
low tire pressure warning light will disappear.
When the low tire pressure warning light
fl
ashes for approximately
1 minute and then remains on, the TPMS is not functioning properly.
Have the system checked by a NISSAN dealer.
Tire pressure rises and falls depending on the heat
caused by the vehicle’s operation and the outside
temperature. Low outside temperature can lower the
temperature of the air inside the tire, which can cause
a lower tire infl ation pressure. This may cause the low
tire pressure warning light to illuminate. If the warning
light illuminates, check the tire pressure in your tires.
• Check the tire pressures (including the spare tire) often and always prior to long distance trips.
The Tire and Loading Information label contains valuable information. Please refer to “Technical and
consumer information (section 9)”, in your Owner’s Manual for the location of the Tire and Loading
Information label.
For more information, refer to the “Instruments and controls (section 2)” , the “Starting and driving (section 5)” and the
“Maintenance and do-it-yourself (section 8)” of your Owner’s Manual.
02
03
01
Page 5 of 25

3To view detailed instructional videos regarding these and other features, please go to www.nissanownersinfo.mobi.
LOOSE FUEL CAP
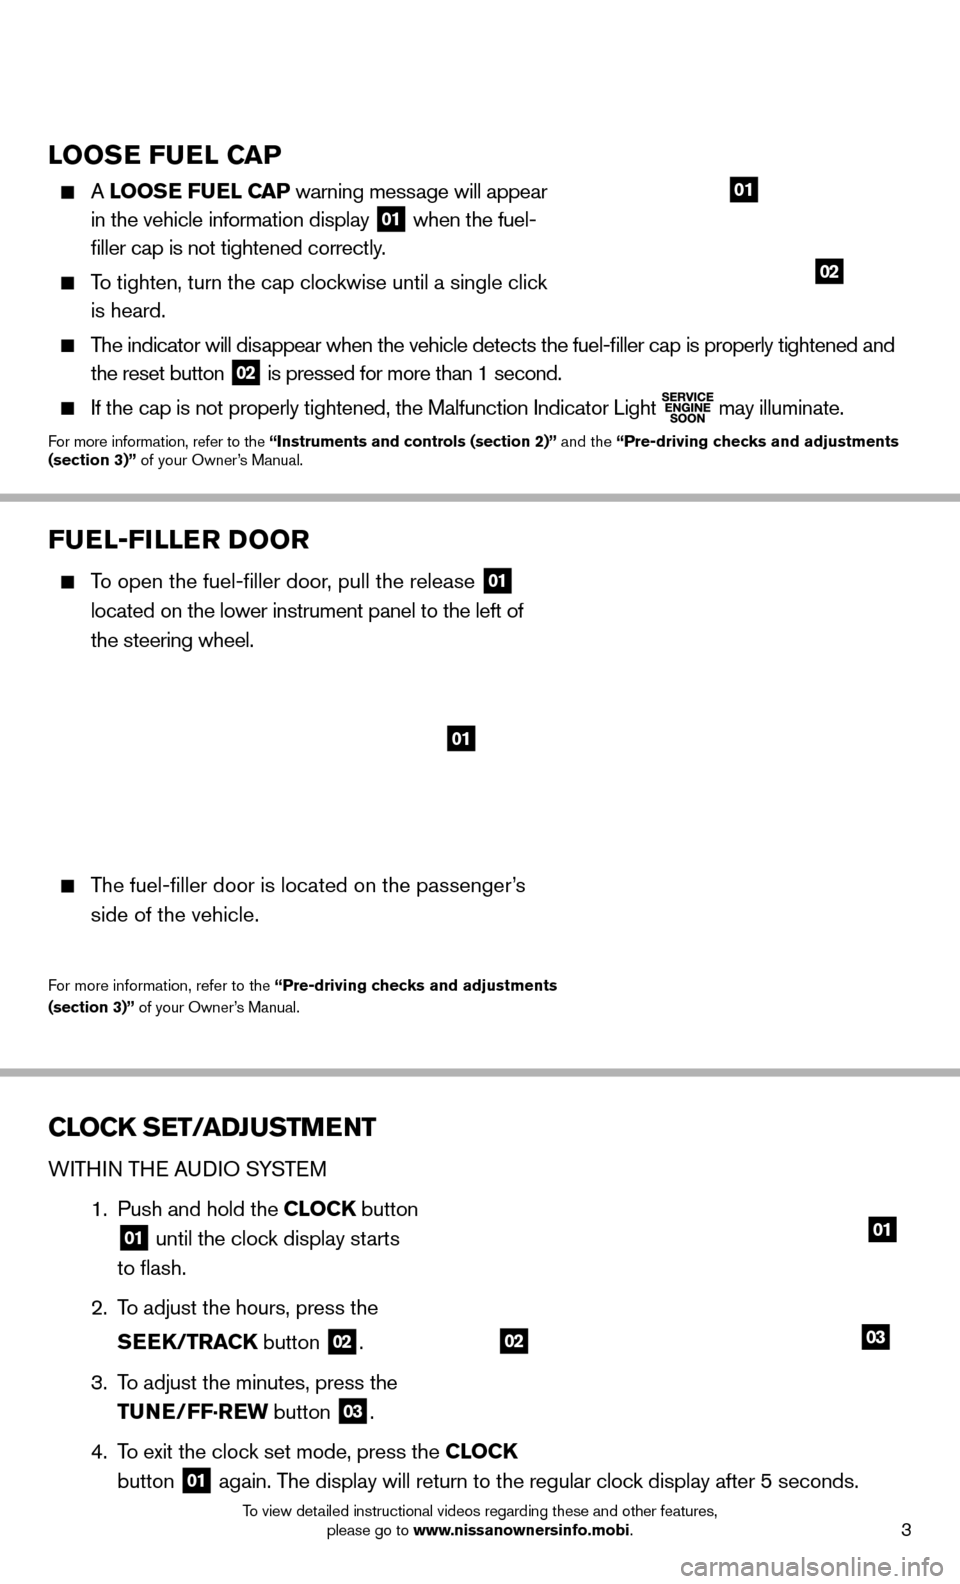
A LOOSE FUEL CAP warning message will appear
in the vehicle information display
01 when the fuel-
fi ller cap is not tightened correctly.
To tighten, turn the cap clockwise until a single click
is heard.
The indicator will disappear when the vehicle detects the fuel-fi ller cap is properly tightened and
the reset button
02 is pressed for more than 1 second.
If the cap is not properly tightened, the Malfunction Indicator Light
may illuminate.For more information, refer to the “Instruments and controls (section 2)”
and the “Pre-driving checks and adjustments
(section 3)” of your Owner’s Manual.
01
02
FUEL-FILLER DOOR
To open the fuel-fi ller door, pull the release 01
located on the lower instrument panel to the left of
the steering wheel.
The fuel-fi ller door is located on the passenger’s
side of the vehicle.
For more information, refer to the “Pre-driving checks and adjustments
(section 3)” of your Owner’s Manual.
01
CLOCK SET/ADJUSTMENT
WITHIN THE AUDIO SYSTEM
1. Push and hold the CLOCK button
01 until the clock display starts
to fl ash.
2. To adjust the hours, press the
SEEK/TRACK button
02.
3. To adjust the minutes, press the
TUNE/FF·REW button
03.
4. To exit the clock set mode, press the CLOCK
button
01 again. The display will return to the regular clock display after 5 seconds.
0302
01