2014 NISSAN JUKE heater
[x] Cancel search: heaterPage 3 of 25
TABLE OF CONTENTS
ESSENTIAL INFORMATION
Fuel Effi cient Driving . . . . . . . . . . . . . . . . . . . . . . . . . . . . . . . . . . . .\
. . . . . . . . 2
Tire Pressure Monitoring System (TPMS) . . . . . . . . . . . . . . . . . . . . . . . . . . . 2
Loose Fuel Cap . . . . . . . . . . . . . . . . . . . . . . . . . . . . . . . . . . . . \
. . . . . . . . . . . . 3
Fuel-fi ller Door . . . . . . . . . . . . . . . . . . . . . . . . . . . . . . . . . . . . \
. . . . . . . . . . . . . 3
Clock Set/Adjustment . . . . . . . . . . . . . . . . . . . . . . . . . . . . . . . . . . . . \
. . . . . . . 3
FIRST DRIVE FEATURES
NISSAN Intelligent Key
® System (if so equipped) . . . . . . . . . . . . . . . . . . . . 5
Liftgate Release (NISSAN Intelligent Key® models only - if so equipped) . . 6
Seat Adjustments . . . . . . . . . . . . . . . . . . . . . . . . . . . . . . . . . . . . \
. . . . . . . . . . 6
Heated Seats (if so equipped) . . . . . . . . . . . . . . . . . . . . . . . . . . . . . . . . . . . . \
7
Outside Mirror Control Switch . . . . . . . . . . . . . . . . . . . . . . . . . . . . . . . . . . . . \
7
Starting/Stopping the Engine (NISSAN Intelligent Key
® models only -
if so equipped) . . . . . . . . . . . . . . . . . . . . . . . . . . . . . . . . . . . . \
. . . . . . . . . . . . . 7
Headlight Control Switch . . . . . . . . . . . . . . . . . . . . . . . . . . . . . . . . . . . .\
. . . . 8
Windshield Wiper and Washer Switch . . . . . . . . . . . . . . . . . . . . . . . . . . . . . 9
Automatic Climate Controls (with Integrated Control System)
(if so equipped) . . . . . . . . . . . . . . . . . . . . . . . . . . . . . . . . . . . .\
. . . . . . . . . . . 10
Drive Mode (with Integrated Control System) (if so equipped). . . . . . . . . 11
FM/AM/SiriusXM Satellite Radio with CD Player (if so equipped). . . . . . 12
USB/Aux Jack and iPod
® Interface (if so equipped) . . . . . . . . . . . . . . . . . 13
Cruise Control . . . . . . . . . . . . . . . . . . . . . . . . . . . . . . . . . . . .\
. . . . . . . . . . . . 13
SYSTEM GUIDE
Trip Computer . . . . . . . . . . . . . . . . . . . . . . . . . . . . . . . . . . . .\
. . . . . . . . . . . . 14
Bluetooth
® Hands-free Phone System . . . . . . . . . . . . . . . . . . . . . . . . . . . . 14
System Operating Tips . . . . . . . . . . . . . . . . . . . . . . . . . . . . . . . . . . . . \
. . . 14
Navigation System (if so equipped) . . . . . . . . . . . . . . . . . . . . . . . . . . . . . . . 17
Please see your owner’s manual for important safety
information and system operation limitations.
• A cellular telephone should not be used for any purpose while driving so full attention may be given to vehicle operation.
• Always wear your seat belt.
• Supplemental air bags do not replace proper seat belt usage.
• Children 12 and under should always ride in the rear seat properly secured in child restraints or seat belts according
to their age and weight.
• Do not drink and drive.
For more information, refer to the “Safety –– Seats, seat belts and
supplemental restraint system (section 1)” , the “Heater, air
conditioner, audio and phone systems (section 4)” and the “Starting
and driving (section 5)” of your Owner’s Manual.
Additional information about your vehicle is also available in your Owner’s Manual, Navigation System Owner’s Manual and at www.nissanusa.com.
To view detailed
instructional videos, go to
www.nissanownersinfo.mobi/2014/juke or snap this barcode with an appropriate barcode reader.
Page 6 of 25
4To view detailed instructional videos regarding these and other features, please go to www.nissanownersinfo.mobi.
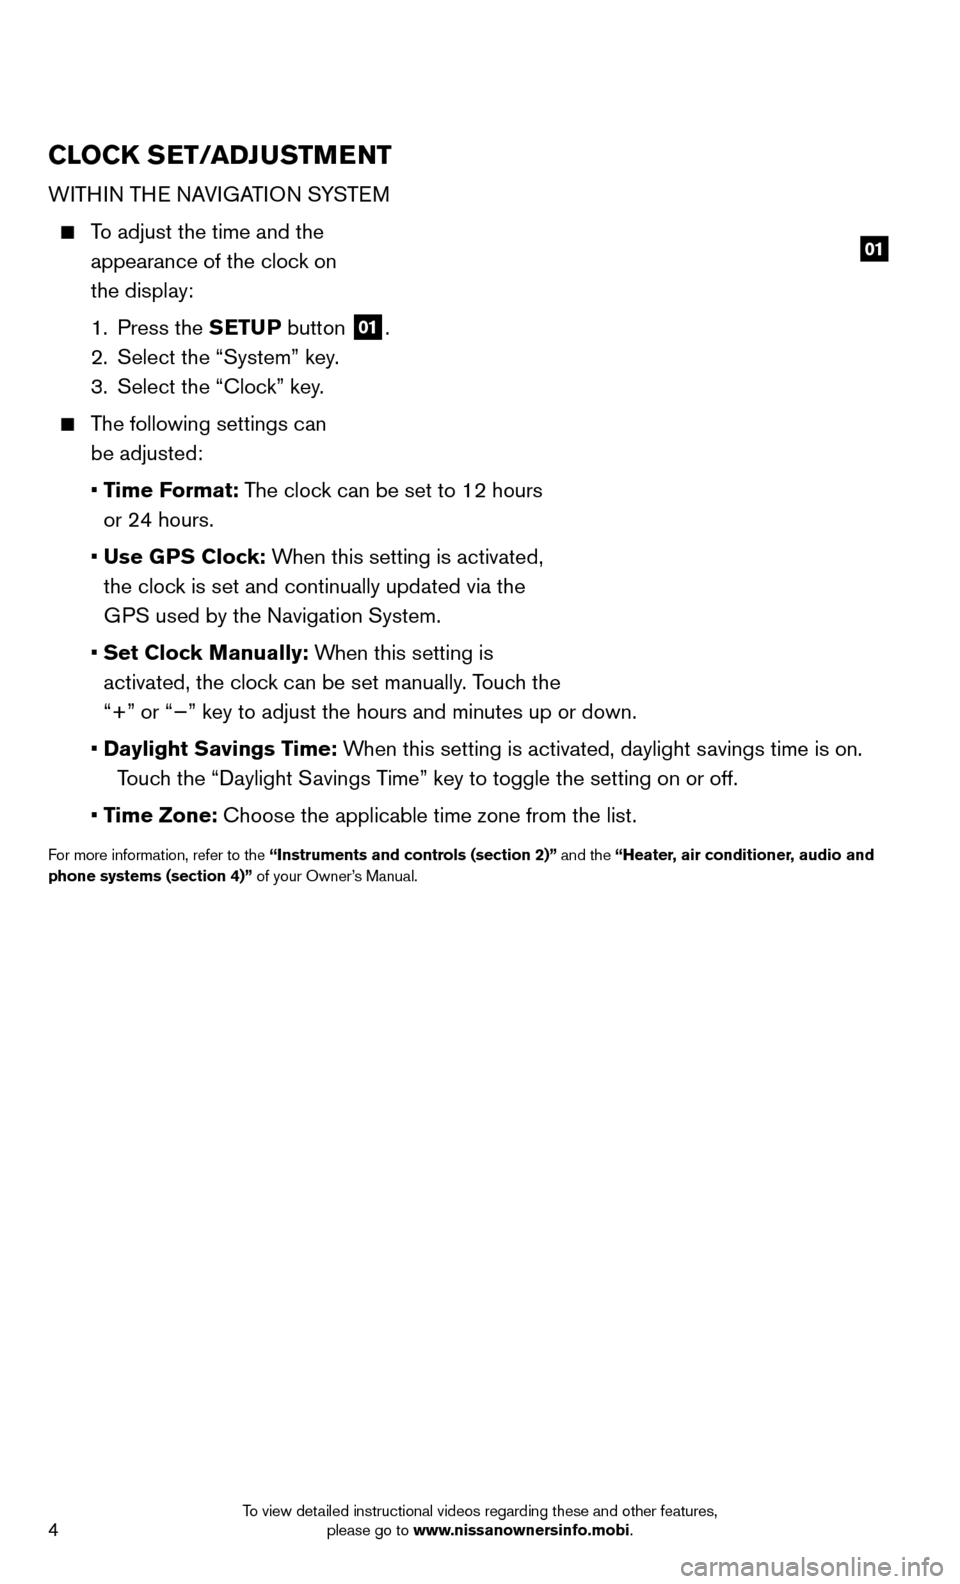
CLOCK SET/ADJUSTMENT
WITHIN THE NAVIGATION SYSTEM
To adjust the time and the
appearance of the clock on
the display:
1. Press the SETUP button
01.
2. Select the “System” key.
3. Select the “Clock” key.
The following settings can
be adjusted:
• Time Format: The clock can be set to 12 hours
or 24 hours.
• Use GPS Clock: When this setting is activated,
the clock is set and continually updated via the
GPS used by the Navigation System.
• Set Clock Manually: When this setting is
activated, the clock can be set manually. Touch the
“+” or “−” key to adjust the hours and minutes up or down\
.
• Daylight Savings Time: When this setting is activated, daylight savings time is on.
Touch the “Daylight Savings Time” key to toggle the setting on or off.
• Time Zone: Choose the applicable time zone from the list.
For more information, refer to the “Instruments and controls (section 2)” and the “Heater, air conditioner, audio and
phone systems (section 4)” of your Owner’s Manual.
01
Page 9 of 25
7To view detailed instructional videos regarding these and other features, please go to www.nissanownersinfo.mobi.
STARTING/STOPPING THE EN GINE (NISSAN Intelligent Key®
models only - if so equipped)
CONTINUOUSLY VARIABLE TRANSMISSION
(if so equipped)
It is important to make sure the NISSAN Intelligent
Key® is with you (that is, in your pocket or purse).
Depress the brake pedal.
Move the shift lever to the P (PARK) position.
Push the ignition switch to start the engine.
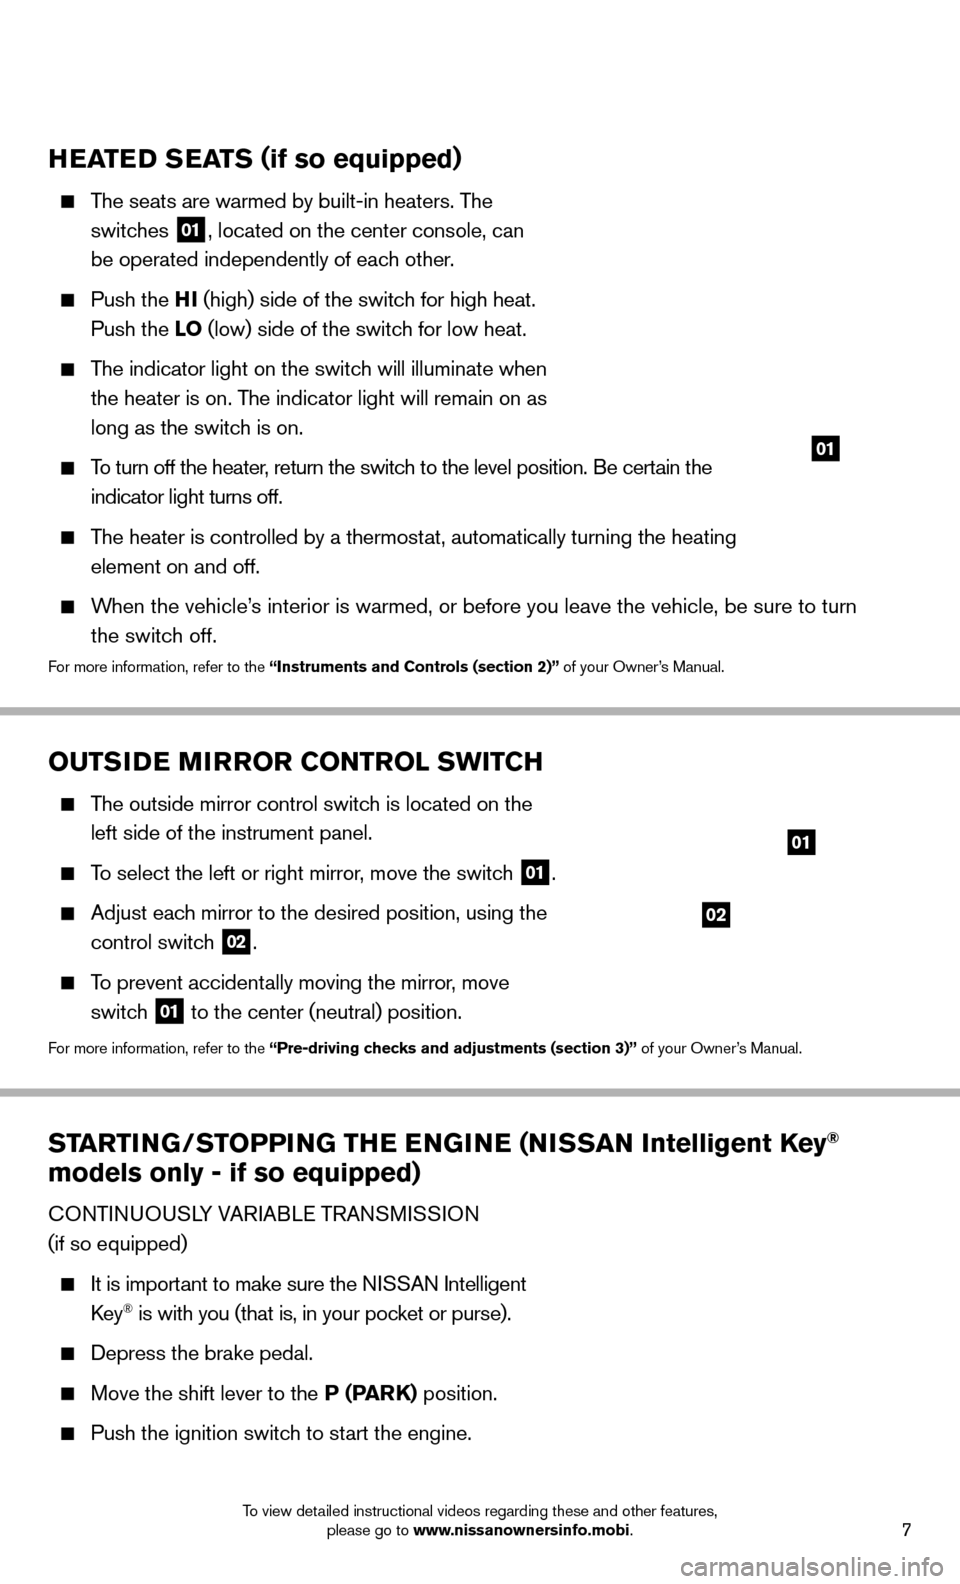
H EATE D S EATS (if so equipped)
The seats are warmed by built-in heaters. The
switches
01, located on the center console, can
be operated independently of each other.
Push the HI (high) side of the switch for high heat.
Push the LO (low) side of the switch for low heat.
The indicator light on the switch will illuminate when
the heater is on. The indicator light will remain on as
long as the switch is on.
To turn off the heater, return the switch to the level position. Be certain the
indicator light turns off.
The heater is controlled by a thermostat, automatically turning the heating
element on and off.
When the vehicle’s interior is warmed, or before you leave the vehicle, be sure to turn
the switch off.
For more information, refer to the “Instruments and Controls (section 2)” of your Owner’s Manual.
02
01
OUTSIDE MIRROR CONTROL SWITCH
The outside mirror control switch is located on the
left side of the instrument panel.
To select the left or right mirror, move the switch 01.
Adjust each mirror to the desired position, using the
control switch
02.
To prevent accidentally moving the mirror, move
switch
01 to the center (neutral) position.For more information, refer to the “Pre-driving checks and adjustments
(section 3)” of your Owner’s Manual.
01
Page 13 of 25
11To view detailed instructional videos regarding these and other features, please go to www.nissanownersinfo.mobi.
07 AIR INTAKE BUTTON
Press the air intake button to change the air circulation from the air recirculation mode to
the outside air circulation mode.
When the air recirculation indicator light illuminates, the fl owing air is recirculated
inside the vehicle. This system is used to avoid outside odors and helps to adjust the
inside vehicle temperature more effectively.
The air recirculation mode cannot be activated when the climate control s\
ystem is in
the front defroster mode
or the front defroster and foot outlet mode .
When the outside air circulation indicator light
illuminates, the fl owing air is
drawn from outside the vehicle.
08 A/C BUTTON
Press the A/C button to manually turn the A/C on or off.
09 OFF BUTTON
Press the OFF button to turn the climate control system off.
For more information, refer to the “Instruments and controls (section 2)” , the “Heater, air conditioner, audio and phone
systems (section 4)” and the “Starting and driving (section 5)” of your Owner’s Manual.
02
01
03
04
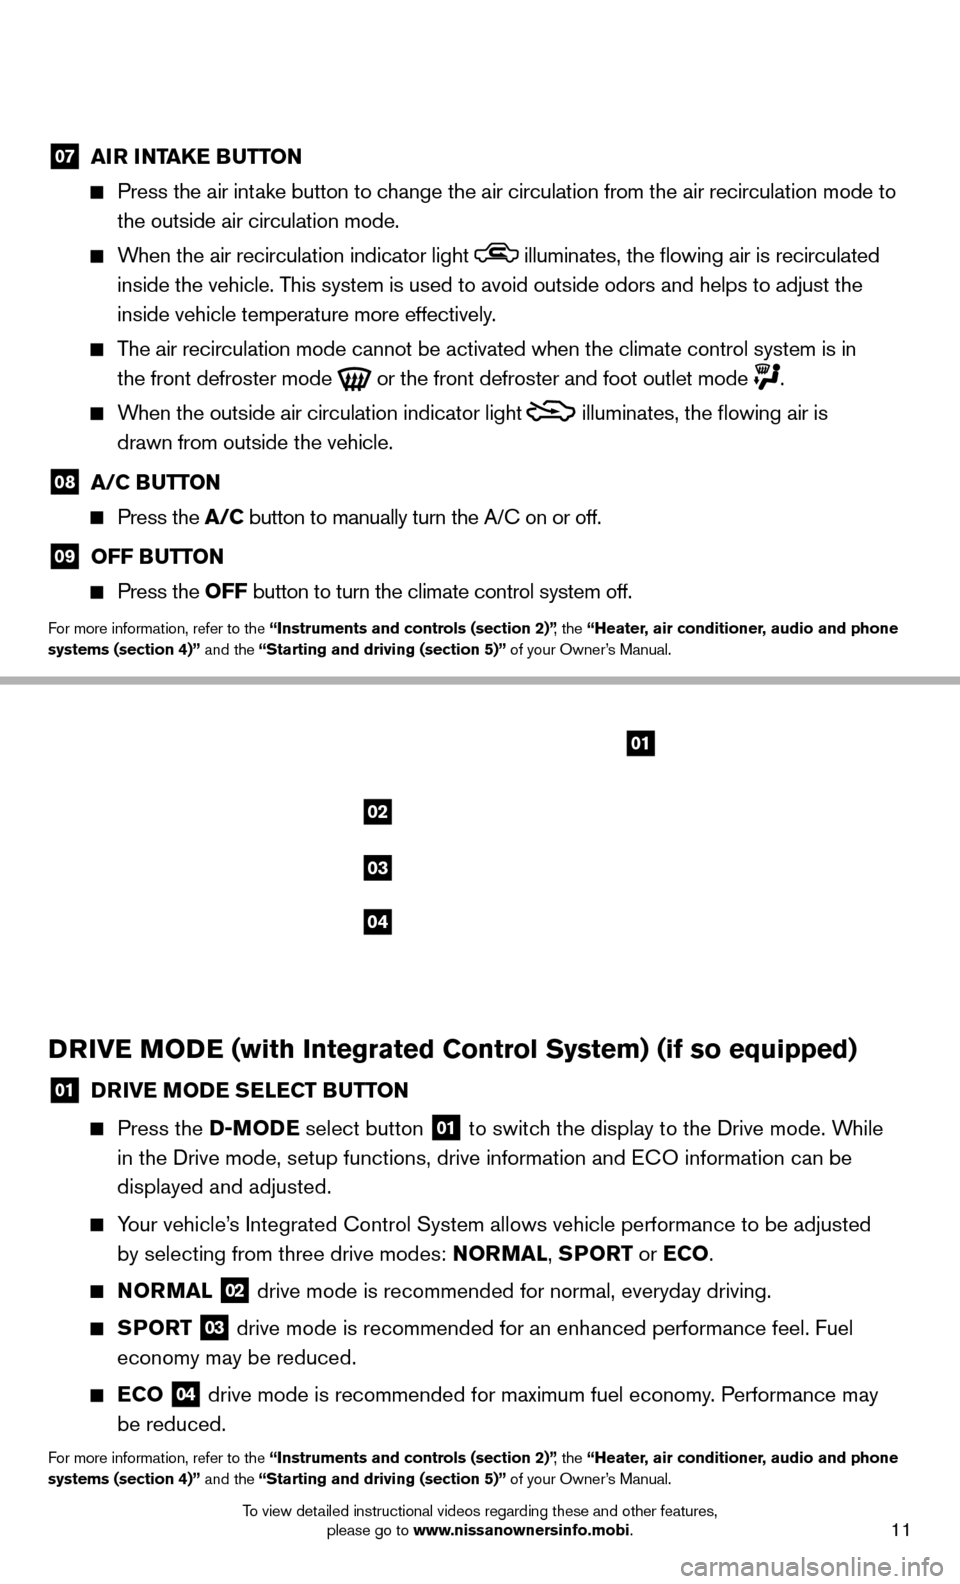
DRIVE MODE (with Integrated Control System) (if so equipped)
01 DRIVE MODE SELECT BUTTON
Press the D-MODE select button 01 to switch the display to the Drive mode. While
in the Drive mode, setup functions, drive information and ECO information can be
displayed and adjusted.
Your vehicle’s Integrated Control System allows vehicle performance to be adjusted
by selecting from three drive modes: NORMAL, SPORT or ECO .
NORMAL
02 drive mode is recommended for normal, everyday driving.
SPORT
03 drive mode is recommended for an enhanced performance feel. Fuel
economy may be reduced.
ECO
04 drive mode is recommended for maximum fuel economy. Performance may
be reduced.
For more information, refer to the “Instruments and controls (section 2)” , the “Heater, air conditioner, audio and phone
systems (section 4)” and the “Starting and driving (section 5)” of your Owner’s Manual.
Page 14 of 25
12To view detailed instructional videos regarding these and other features, please go to www.nissanownersinfo.mobi.
FIRST DRIVE FEATURES
0201
0605
03
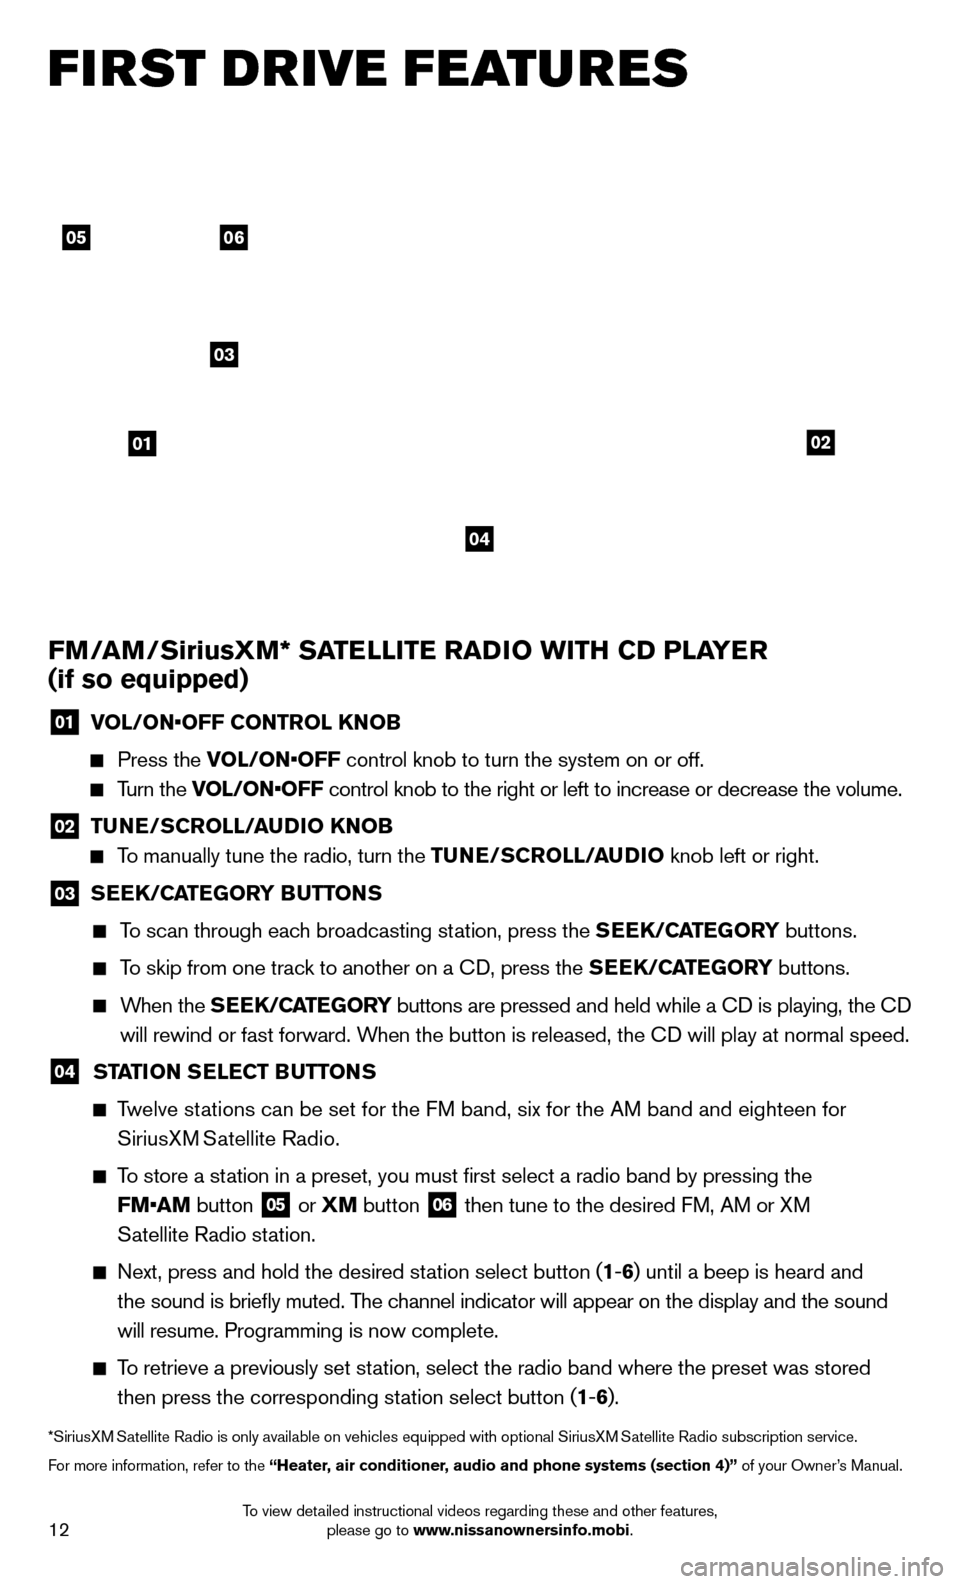
FM/AM/SiriusXM* SATELLITE RADIO WITH CD PLAYER
(if so equipped)
01 VOL/ON•OFF CONTROL KNOB
Press the VOL/ON•OFF control knob to turn the system on or off.
Turn the VOL/ON•OFF control knob to the right or left to increase or decrease the volume.
02 TUNE/SCR
OLL/AUDIO KNOB
To manually tune the radio, turn the TUNE/SCROLL/AUDIO knob left or right.
03
SEEK/CATEGORY BUTTONS
To scan through each broadcasting station, press the SEEK/CATEGORY buttons.
To skip from one track to another on a CD, press the SEEK/CATEGORY buttons.
When the SEEK/CATEGORY buttons are pressed and held while a CD is playing, the CD
will rewind or fast forward. When the button is released, the CD will play at normal speed.
04 STATION SELECT BUTTONS
Twelve stations can be set for the FM band, six for the AM band and eighteen for
SiriusXM Satellite Radio.
To store a station in a preset, you must fi rst select a radio band by pressing the
FM•AM button
05 or XM button
06 then tune to the desired FM, AM or XM
Satellite Radio station.
Next, press and hold the desired station select button ( 1-6 ) until a beep is heard and
the sound is briefl y muted. The channel indicator will appear on the display and the sound
will resume. Programming is now complete.
To retrieve a previously set station, select the radio band where the preset was stored
then press the corresponding station select button ( 1-6 ).
*SiriusXM Satellite Radio is only available on vehicles equipped with optional Siri\
usXM Satellite Radio subscription service.
For more information, refer to the “Heater, air conditioner, audio and phone systems (section 4)” of your Owner’s Manual.
04
Page 15 of 25
13To view detailed instructional videos regarding these and other features, please go to www.nissanownersinfo.mobi.
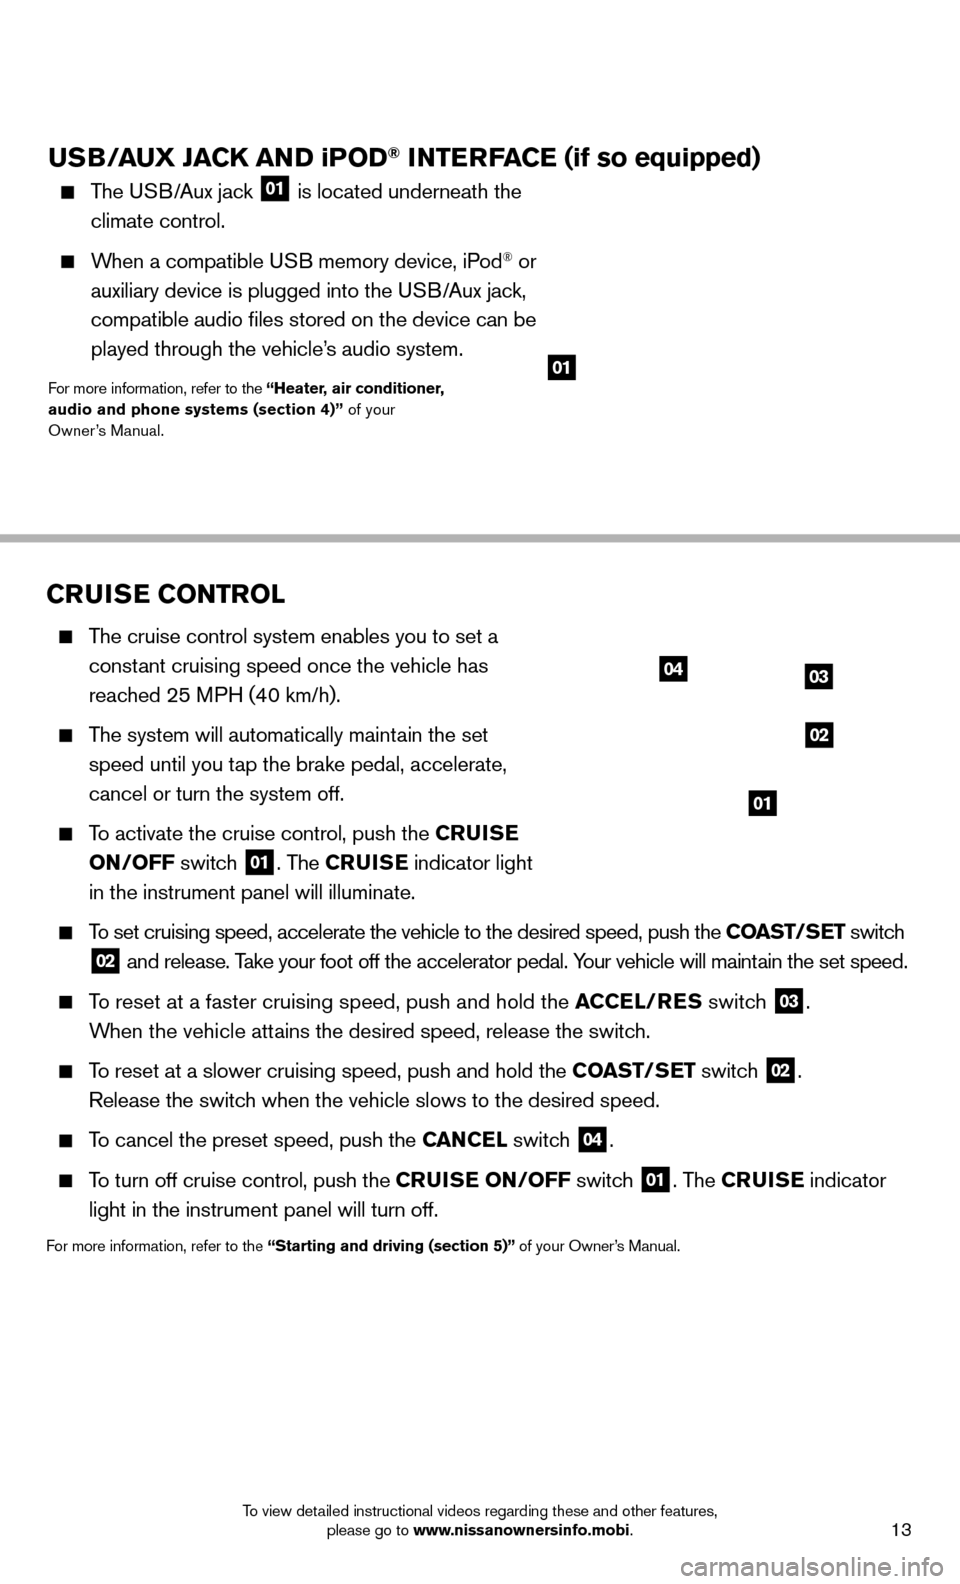
CRUISE CONTROL
The cruise control system enables you to set a
constant cruising speed once the vehicle has
reached 25 MPH (40 km/h).
The system will automatically maintain the set
speed until you tap the brake pedal, accelerate,
cancel or turn the system off.
To activate the cruise control, push the CRUISE
ON/OFF switch
01. The CRUISE indicator light
in the instrument panel will illuminate.
To set cruising speed, accelerate the vehicle to the desired speed, push \
the COAST/SET switch
02 and release. Take your foot off the accelerator pedal. Your vehicle will maintain the set speed.
To reset at a faster cruising speed, push and hold the ACCEL/RES switch
03.
When the vehicle attains the desired speed, release the switch.
To reset at a slower cruising speed, push and hold the COAST/SET switch
02.
Release the switch when the vehicle slows to the desired speed.
To cancel the preset speed, push the CAN CE L switch
04.
To turn off cruise control, push the CRUISE ON/OFF switch
01. The CRUISE indicator
light in the instrument panel will turn off.
For more information, refer to the “Starting and driving (section 5)” of your Owner’s Manual.
0403
02
01
USB/AUX JACK AND iPOD® INTERFACE (if so equipped)
The USB/Aux jack
01 is located underneath the
climate control.
When a compatible USB memory device, iPod® or
auxiliary device is plugged into the USB/Aux jack,
compatible audio fi les stored on the device can be
played through the vehicle’s audio system.
For more information, refer to the “Heater, air conditioner,
audio and phone systems (section 4)” of your
Owner’s Manual.01
Page 18 of 25
16To view detailed instructional videos regarding these and other features, please go to www.nissanownersinfo.mobi.
SYSTEM GUIDE
MAKING A CALL FROM THE PHONEBOOK
1. Press the button.
2. After waiting for the tone, say “Call”.
3. After the next tone, speak a name of a phonebook entry. For example, “Michael Smith”.
4. Confi rm the correct name is recognized by saying “Dial” after the tone.
5. In some cases, names stored using all UPPERCASE letters may not be recognized by
the voice recognition system.
MAKING A CALL BY PHONE NUMBER
1. Press the
button. A tone will sound.
2. Say: “Call”. The system acknowledges the command and announces the next set of
available commands.
3. Say: “Phone Number”. The system acknowledges the command and announces the next
set of available commands.
4. Say the number you wish to call, starting with the area code in single digit format.
5. When you have fi nished speaking the phone number, the system repeats it back and
announces the available commands.
6. Say: “Dial”. The system acknowledges the command and makes the call.
RECEIVING/ENDING A CALL
When you receive a phone call, a ring tone sounds through the audio syste\
m.
To accept the call, press the
button.
To reject the call, press the button.
To hang up the phone at the end of a call or to disconnect during call pl\
acement, press
the
button.
For more information, refer to the “Heater, air conditioner, audio and phone systems (section 4)” of your Owner’s Manual.