Page 16 of 24

DrIVe c OMP u T er
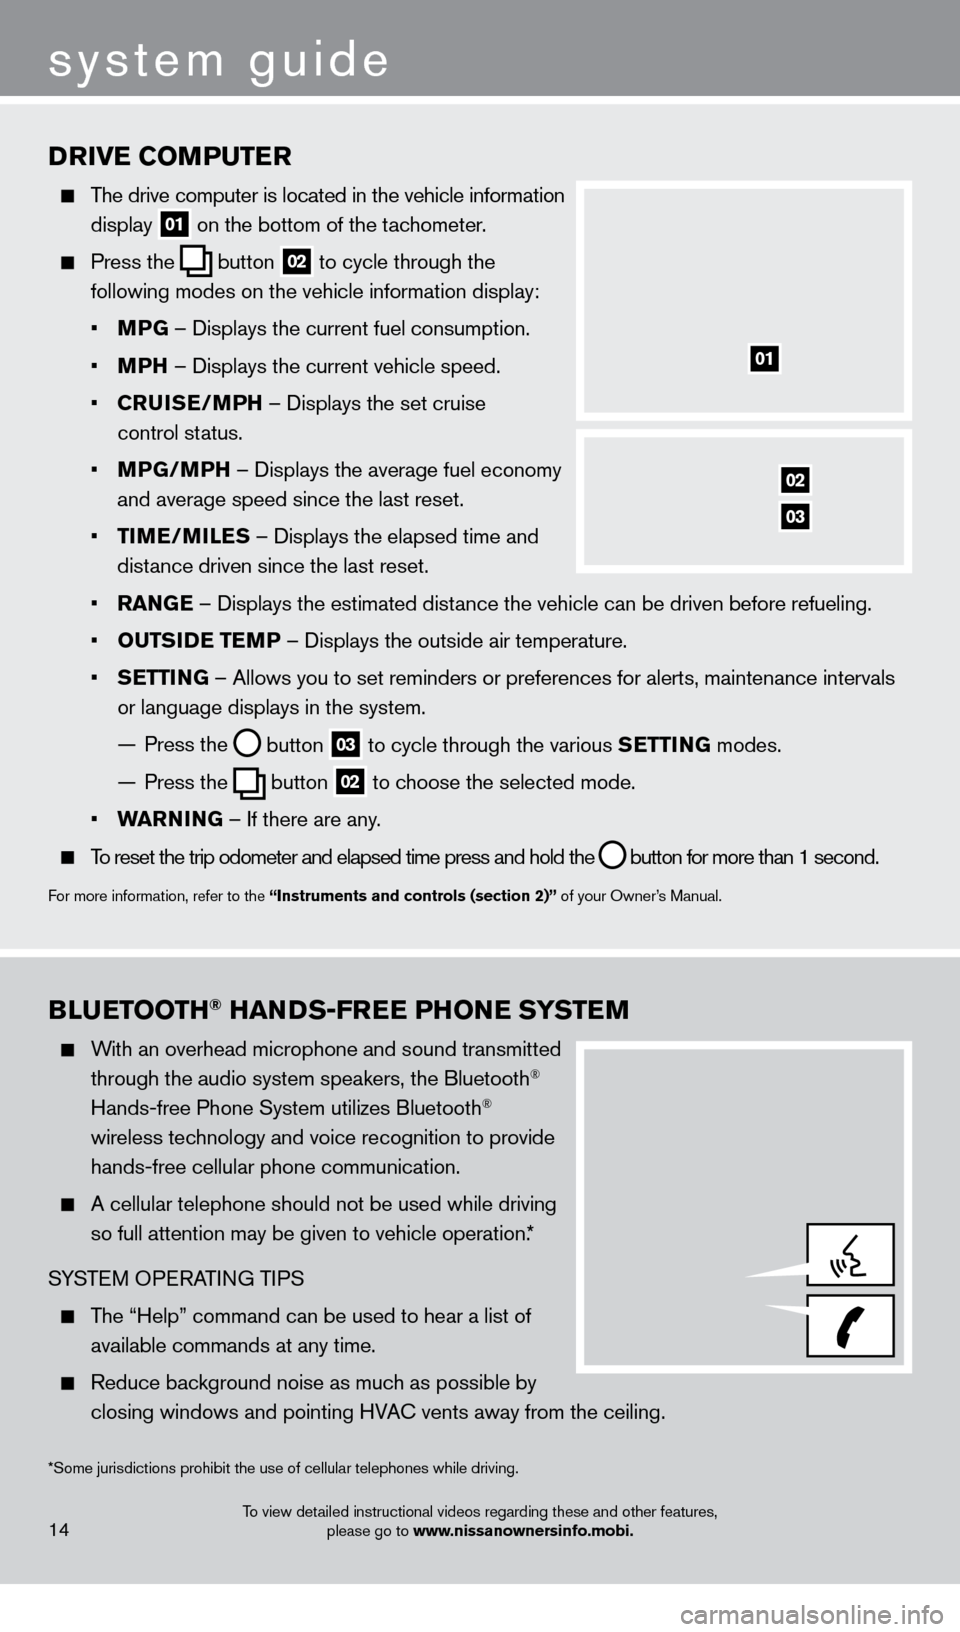
The drive computer is located in the vehicle information
display
01 on the bottom of the tachometer.
Press the
button
02 to cycle through the
following modes on the vehicle information display:
•
M
PG – Displays the current fuel consumption.
•
M
P
h
– Displays the current vehicle speed.
•
cru
IS
e
/MP
h – Displays the set cruise
control status.
•
MP
G/MP
h – Displays the average fuel economy
and average speed since the last reset.
•
T
IM
e
/MIL
e
S – Displays the elapsed time and
distance driven since the last reset.
•
ra
NG
e
– Displays the estimated distance the vehicle can be driven before refueling.
•
O
u
TSID
e
T
e
M
P – Displays the outside air temperature.
•
Se
TTING – Allows you to set reminders or preferences for alerts, maintenance\
intervals
or language displays in the system.
—
Press the button
03 to cycle through the various Se TTING
modes.
—
Press the button
02 to choose the selected mode.
•
war
NING – If there are any.
To reset the trip odometer and elapsed time press and hold the
button for more than 1 second.
For more information, refer to the “Instruments and controls (section 2)” of your Owner’s Manual.
01
02
03
system guide
14
BLueTOOTh® haNDS-Free PhONe
SYST eM
With an overhead microphone and sound transmitted
through the audio system speakers, the Bluetooth®
Hands-free Phone System utilizes Bluetooth®
wireless technology and voice recognition to provide
hands-free cellular phone communication.
A cellular telephone should not be used while driving
so full attention may be given to vehicle operation.*
SYSTEM OPERATING TIPS
The “Help” command can be used to hear a list of available commands at any time.
Reduce bac kground noise as much as possible by
closing windows and pointing HVAC vents away from the ceiling.
*Some jurisdictions prohibit the use of cellular telephones while drivin\
g.
To view detailed instructional videos regarding these and other features, please go to www.nissanownersinfo.mobi.
1276458_14a_GTR_QRG_Text-Insert_113012.indd 1411/30/12 1:45 PM
Page 18 of 24

When prompted for a PIN code, enter “1234” from the handset. (The PIN code is assigned by NISSAN and cannot be changed.)
5.
W
hen connecting is complete, the screen will return to the Phone menu dis\
play.
PHONEBOOK SETUP
Depending on your cell phone, the system may automatically download your\
cell phone’ s
entire phonebook to the vehicle’s Bluetooth® system.
If the phonebook does not download automatically , 40 entries can be
individually downloaded.
To manually download entries:
1.
Press the
button and select the “Vehicle
Phonebook” key.
2.
Select the “
Add New” key at the top of the display.
There are different methods to input a phone
number. Select one of the following options:
•
“Copy from Call History” to s
ave a number from
the Outgoing, Incoming or Missed Calls lists.
•
“Copy from the Handset” to s
ave a number
that has been downloaded from your handset
to the vehicle.
•
“Enter Number by K
eypad” to input the number
and name manually.
MAKING A CALL
To make a call, follow this procedure:
1
.
Press the P
h
ONe
button on the control panel
or press the
button
on the steering wheel.
The “Phone” screen will appear on the control
panel display.
2.
Select the “Handset Phonebook”, “V
ehicle
Phonebook”, “Call History” or “Dial Number” key.
3.
Select the desired entry from the list.
4.
Select “Call” to st
art dialing the number.
16
system guide
To view detailed instructional videos regarding these and other features, please go to www.nissanownersinfo.mobi.
1276458_14a_GTR_QRG_Text-Insert_113012.indd 1611/30/12 1:45 PM
Page 19 of 24
RECEIVING/ENDING A CALL
To accept the call, press the button on the steering
wheel or touch the “Answer” key.
To reject the call, touch the “Reject Call” key.
To hang-up, press the button or touch the
“Hang-Up” key.
For more information, refer to the “Bluetooth® hands-Free Phone
System (section 4)”
of your Multi Function Display Owner’s Manual.
17
NaVIG aTION SYST eM
The Navigation System starts up when the ignition switch is placed in the acc or ON position.
T
o help ensure safe driving, some functions are grayed out or muted while driving. Park \
the
vehicle in a s
afe location and then operate the Navigation System.
STORING YOUR HOME IN YOUR ADDRESS BOOK
Press the D e ST button.
Touch the “Home (Add New)” key. If you have already
stored your home this key may not appear
.
To view detailed instructional videos regarding these and other features, please go to www.nissanownersinfo.mobi.
1276458_14a_GTR_QRG_Text-Insert_113012.indd 1711/30/12 1:45 PM
Page 20 of 24

When you touch the “Home (Add New)” key, a
confirmation mess
age is displayed. Touch the
“Y
es” key.
Ensure the correct region is selected. T o change
region, touc
h the “Change Region” key and select
the appropriate region.
Touch the “Street Address” key. A character input
screen is displayed.
Enter the street number of your home, then touc h
the “O
K” key.
Enter your street name, then touc h the “OK” key. The
m
ap screen is displayed.
Press the directional buttons to adjust your home
location, if necess
ary. After adjusting the location,
touc
h the “ENTER” key.
Your home is displayed at the center of the map. A
confirmation mess
age is displayed, and the system
sets your home as the destination.
Press the M a P button to return to the current
location map screen. T
he home icon is displayed
on the screen.
S
ETTING A STREET ADDRESS AS A DESTINATION
Press the D e ST button.
Touch the “Street Address” key. A character input
screen is displayed.
system guide
18To view detailed instructional videos regarding these and other features, please go to www.nissanownersinfo.mobi.
1276458_14a_GTR_QRG_Text-Insert_113012.indd 1811/30/12 1:45 PM
Page 21 of 24
Enter the house number; when finished touch the
“O
K” key. If you do not know the house number,
touc
h the “No House #” key.
Enter the name of the street. After finishing the entry ,
touc
h the “List” key. A list of possible street
addresses is displayed.
Touch the correct address of the destination
f
rom the list. You might need to touch the “UP”
o
r “DOWN” key to find the preferred street
address key
.
The selected destination is displayed at the center
of the map. T
ouch the “Start” key after confirming
the location of the displayed destination. T
he system
sets the destination to the selected location and
st
arts calculating a route.
For more information, refer to the “Navigation (section 2)” of your Multi Function Display Owner’s Manual.
19To view detailed instructional videos regarding these and other features, please go to www.nissanownersinfo.mobi.
1276458_14a_GTR_QRG_Text-Insert_113012.indd 1911/30/12 1:45 PM