2014 MERCEDES-BENZ SLS AMG GT COUPE key battery
[x] Cancel search: key batteryPage 114 of 290

X
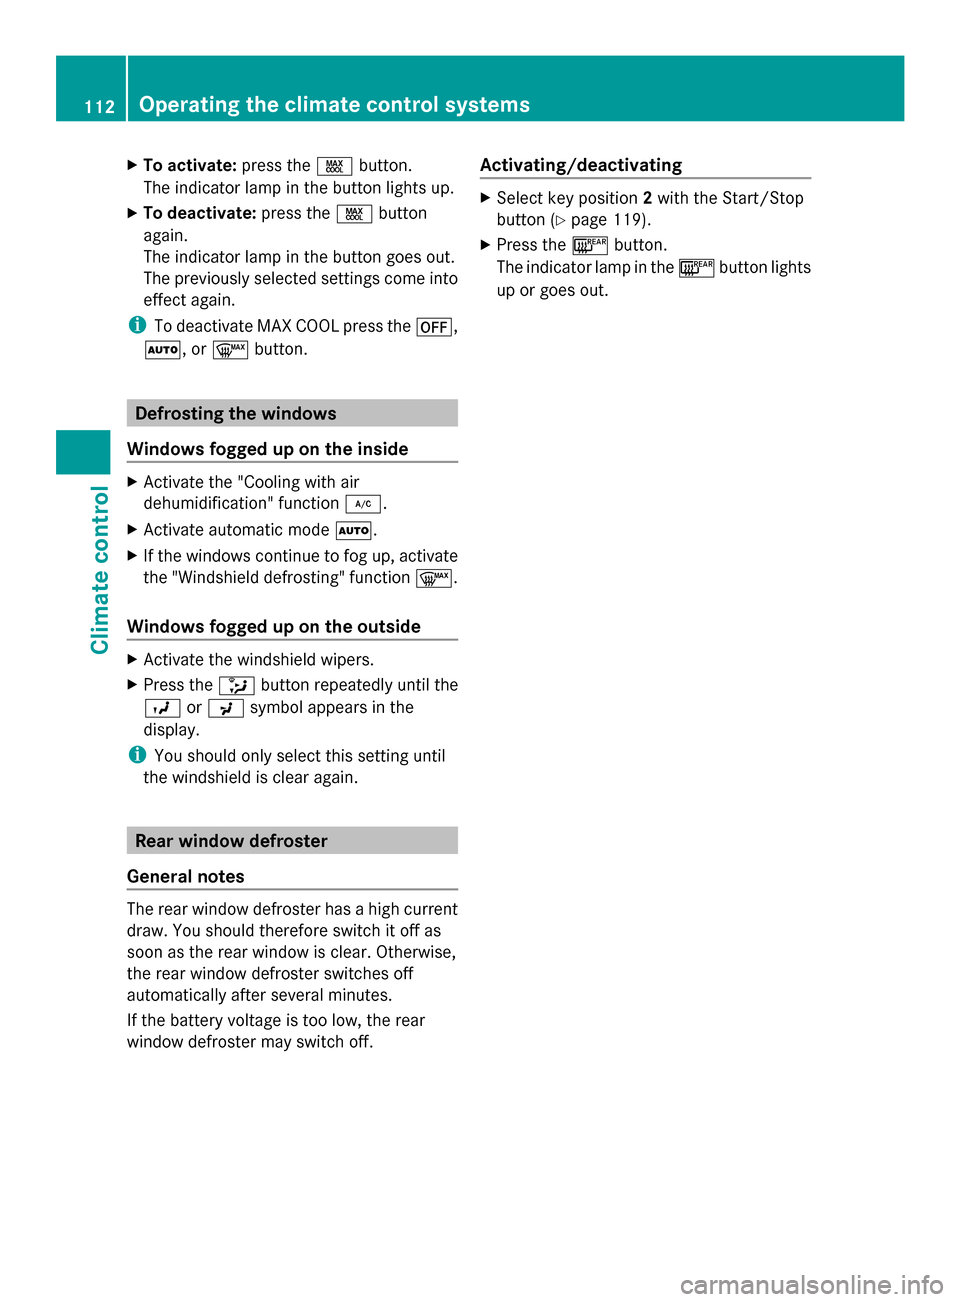
To activate: press the00C9button.
The indicator lamp in the button lights up.
X To deactivate: press the00C9button
again.
The indicator lamp in the button goes out.
The previously selected settings come into
effect again.
i To deactivate MAX COOL press the 0078,
0058, or 0064button. Defrosting the windows
Windows fogged up on the inside X
Activate the "Cooling with air
dehumidification" function 005A.
X Activate automatic mode 0058.
X If the windows continue to fog up, activate
the "Windshield defrosting" function 0064.
Windows fogged up on the outside X
Activate the windshield wipers.
X Press the 008Fbutton repeatedly until the
009B or009C symbol appears in the
display.
i You should only select this setting until
the windshield is clear again. Rear window defroster
General notes The rear window defroster has a high current
draw. You should therefore switch it off as
soon as the rear window is clear. Otherwise,
the rear window defroster switches off
automatically after several minutes.
If the battery voltage is too low, the rear
window defroster may switch off. Activating/deactivating X
Select key position 2with the Start/Stop
button ( Ypage 119).
X Press the 006Cbutton.
The indicator lamp in the 006Cbutton lights
up or goes out. 112
Operating the climate control systemsClimate control
Page 115 of 290

Problems with the rear window defroster
Problem Possible causes/consequences and
0050
0050Solutions The rear window
defroster has
deactivated
prematurely or cannot
be activated. The on-board voltage is too low because too many electrical
consumers are switched on.
X
Switch off any consumers that are not required, e.g. reading
lamps, interior lighting or the seat heating.
When the battery is sufficiently charged, the rear window
defroster can be activated again. Activating/deactivating air-
recirculation mode
General notes You can deactivate the flow of fresh air if
unpleasant odors are entering the vehicle
from outside. The air already inside the
vehicle will then be recirculated.
If you switch on air-recirculation mode, the
windows can fog up more quickly, in
particular at low temperatures. Only use air-
recirculation mode briefly to prevent the
windows from fogging up.
Activating/deactivating X
Select key position 2with the Start/Stop
button (Y page 119).
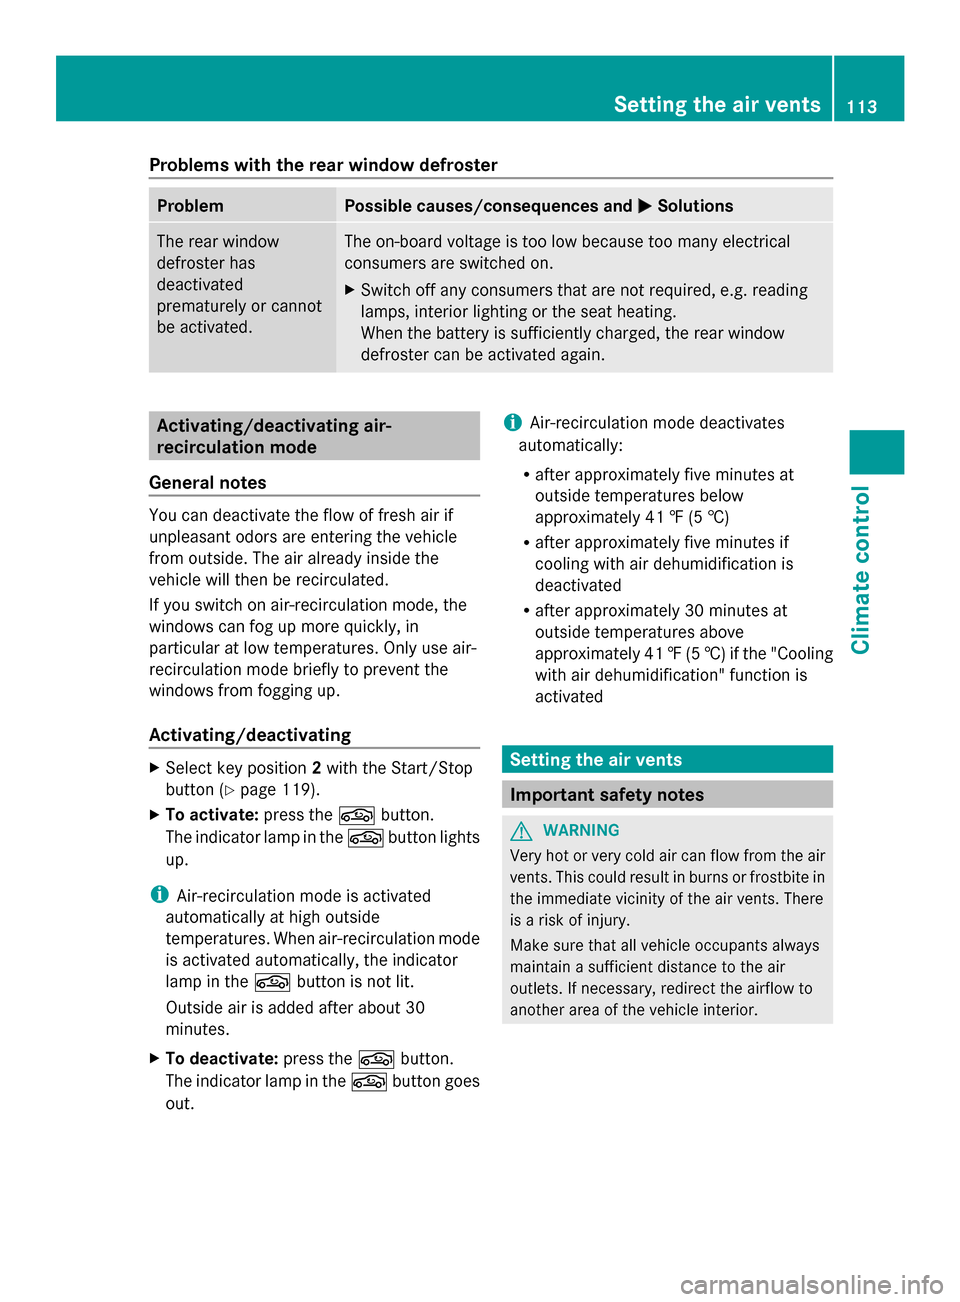
X To activate: press the0072button.
The indicator lamp in the 0072button lights
up.
i Air-recirculation mode is activated
automatically at high outside
temperatures. When air-recirculation mode
is activated automatically, the indicator
lamp in the 0072button is not lit.
Outside air is added after about 30
minutes.
X To deactivate: press the0072button.
The indicator lamp in the 0072button goes
out. i
Air-recirculation mode deactivates
automatically:
R after approximately five minutes at
outside temperatures below
approximately 41 ‡ (5 †)
R after approximately five minutes if
cooling with air dehumidification is
deactivated
R after approximately 30 minutes at
outside temperatures above
approximately 41 ‡(5 †) if the "Cooling
with air dehumidification" function is
activated Setting the air vents
Important safety notes
G
WARNING
Very hot or very cold air can flow from the air
vents. This could result in burns or frostbite in
the immediate vicinity of the air vents. There
is a risk of injury.
Make sure that all vehicle occupants always
maintain a sufficient distance to the air
outlets. If necessary, redirect the airflow to
another area of the vehicle interior. Setting the air vents
113Climate control Z
Page 133 of 290

Problems with fuel and the fuel tank
Problem Possible causes/consequences and
0050
0050Solutions Fuel is leaking from the
vehicle.
G
Risk of explosion or fire
The fuel line or the fuel tank is defective.
X Set the Start/Stop button to key position 0immediately.
X Do not restart the engine under any circumstances.
X Consult a qualified specialist workshop. The fuel filler flap
cannot be opened. The fuel filler flap is not unlocked.
or
The SmartKey battery is discharged.
X
Unlock the vehicle (Y page 68).
or
X Unlock the vehicle using the mechanical key (Y page 71).The fuel filler flap is unlocked, but the opening mechanism is
jammed.
X
Consult a qualified specialist workshop. Parking
Important safety notes
G
WARNING
Flammable material such as leaves, grass or
twigs may ignite if they come into contact with
hot parts of the exhaust system or exhaust
gas flow. There is a risk of fire.
Park the vehicle so that no flammable
materials come into contact with parts of the
vehicle which are hot. Take particular care not
to park on dry grassland or harvested grain
fields. G
WARNING
If you leave children unsupervised in the
vehicle, they could set it in motion by, for
example:
R release the parking brake.
R shift the automatic transmission out of the
parking position P.
R start the engine. In addition, they may operate vehicle
equipment and become trapped. There is a
risk of an accident and injury.
When leaving the vehicle, always take the
SmartKey with you and lock the vehicle. Never
leave children unsupervised in the vehicle.
! If the engine speed is too high or if the
vehicle is rolling, do not shift the
transmission directly from Dto R, from R
to Dor directly to P.
Do not open the driver's door while the
vehicle is in motion. At low speeds in
transmission position Dor R, park position
P is otherwise engaged automatically.
The transmission could be damaged.
! Always secure the vehicle correctly
against rolling away. Otherwise, the vehicle
or its drivetrain could be damaged. Parking
131Driving and parking Z
Page 187 of 290

Display messages Possible causes/consequences and
0050
0050Solutions The soft top has been opened and closed several times in a row.
The soft-top drive has been switched off automatically for safety
reasons.
You can open and close the soft top again after approximately ten
minutes.
X
Switch off the ignition and turn it back on.
X Repeat the opening or closing procedure (Y page 79).0059
Depress Brake to Depress Brake to
Start Engine Start Engine You have attempted to close the soft top with the soft top switch
while the vehicle was stationary.
X
Depress the brake pedal.
X Press the soft-top switch until the soft top is completely closed. 00B2
Check Washer Fluid Check Washer Fluid The washer fluid level in the washer fluid reservoir has dropped
below the minimum.
X
Add washer fluid ( Ypage 221). SmartKey
Display messages Possible causes/consequences and
0050 0050Solutions 0039
Change Key Battery Change Key Battery The SmartKey batteries are discharged.
X
Change the batteries ( Ypage 65). 0039
Key Not Detected Key Not Detected
(red display message) The SmartKey is not in the vehicle. A warning tone also sounds.
When you switch off the engine, you will be unable to restart it.
X
Pull over and stop the vehicle safely as soon as possible, paying
attention to road and traffic conditions.
X Locate the SmartKey. The key is not detected while driving because a powerful radio
transmitter is causing interference. A warning tone also sounds.
X
Pull over and stop the vehicle safely as soon as possible, paying
attention to road and traffic conditions.
X Insert the key into the ignition lock and turn it to the desired
position (Y page 119). Display
messages
185On-board computer and displays Z
Page 205 of 290

Ashtray
i You can remove the ashtray insert and
use the resulting compartment for
stowage.
! The stowage space under the ashtray is
not heat resistant. Before placing lit
cigarettes in the ashtray, make sure that
the ashtray is properly engaged. Otherwise,
the stowage space could be damaged. Example: Coupe
X
To open: briefly press the middle of
cover 0043.
The stowage compartment opens.
X To remove the insert: slide insert0044
forwards in the direction of the arrow.
X Remove insert 0044.
X To re-install the insert: place insert0044
into the holder and press it in the opposite
direction of the arrow until it engages.
X To close: fold down cover 0043. Cigarette lighter
G
WARNING
You can burn yourself if you touch the hot
heating element or the socket of the cigarette
lighter.
In addition, flammable materials can ignite if:
R the hot cigarette lighter falls
R a child holds the hot cigarette lighter to
objects, for example
There is a risk of fire and injury. Always hold the cigarette lighter by the knob.
Always make sure that the cigarette lighter is
out of reach of children. Never leave children
unsupervised in the vehicle.
Example: Coupe
X
Select key position 2with the Start/Stop
button (Y page 119).
X To open: briefly press the middle of
cover 0043.
The stowage compartment opens.
X Press in cigarette lighter 0044.
Cigarette lighter 0044will pop out
automatically when the heating element is
red-hot.
X To close: fold down cover 0043. 12 V sockets
Points to observe before use X
Select SmartKey position 1(Ypage 119)
using the Start/Stop button.
The sockets can be used for accessories with
a maximum current draw of 180 W (15 A)
each, e.g. bulbs or chargers for mobile
phones.
If you use the sockets for long periods when
the engine is switched off, the battery may
discharge.
i You can also use the sockets when the
ignition is switched off. An emergency cut-
out ensures that the on-board voltage does
not drop too low. If the on-board voltage is Features
203Stowage and featu res Z
Page 216 of 290

out). Press button
0084on remote control
0083 again before transmission ends.
R Align the antenna cable of the garage door
opener unit. This can improve signal
reception/transmission.
Opening/closing the garage door Once programed, the integrated garage door
opener 0083will assume the function of the
garage door system's remote control. Please
also read the operating instructions for the
garage door system.
X Select key position 2with the Start/Stop
button.
X Press button 0044,0087or0085 which you have
programed to operate the garage door.
Garage door system with a fixed code:
indicator lamp 0043lights up green.
Garage door system with a rolling code:
indicator lamp 0043flashes green.
i The transmitter will transmit a signal as
long as the button is pressed. The
transmission is halted after a maximum of
ten seconds and indicator lamp 0043lights
up yellow. Press button 0044,0087or0085 again
if necessary.
Clearing the memory X
Select key position 2with the Start/Stop
button.
X Press buttons 0044and 0085.
The indicator lamp lights up yellow.
X Press and hold buttons 0044and 0085until the
indicator lamp turns green.
i Make sure that you clear the memory of
the integrated garage door opener before
selling the vehicle. Charge maintenance socket
The battery may drain if the vehicle is left
stationary for long periods. In this case,
Mercedes-Benz recommends attaching the trickle charger to the charge maintenance
socket.
The charge maintenance socket is designed
solely for connecting a trickle charger. A
trickle charger can be obtained from an
authorized Mercedes-Benz Center, for
example.
X
Switch the ignition off.
X Open the trunk lid.
X Connect the cable provided in the trunk to
the trickle charger.
X Connect the trickle charger to charge
maintenance socket 0043. Consult the
manufacturer's operating instructions on
how to do so.
i A trickle charger connected to charge
maintenance socket 0043only maintains the
current charge level of the vehicle's
electrical system battery. If the vehicle's
electrical system battery is discharged, it
needs to be charged with a battery charger.
You will find further information on
charging the battery on (Y page 236). Floormat on the driver's side
G
WARNING
Objects in the driver's footwell can restrict the
pedal travel or obstruct a depressed pedal.
The operating and road safety of the vehicle
is jeopardized. There is a risk of an accident.
Make sure that all objects in the vehicle are
stowed correctly, and that they cannot enter
the driver's footwell. Install the floormats 214
FeaturesStowage and features
Page 236 of 290

X
Do not remove any foreign objects which
have penetrated the tire, e.g. screws or
nails.
X Take the TIREFIT kit out of the trunk
(Y page 232). X
Open the TIREFIT kit and remove "max.
80 km/h" sticker 006C.
X Affix sticker 006Cwithin the driver's field of
vision.
i If TIREFIT leaks out, allow it to dry. It can
then be removed like a layer of film.
If you get TIREFIT on your clothing, have it
cleaned as soon as possible with
perchloroethylene.
Comply with the manufacturer's safety
instructions on the tire inflation compressor
label and on the tire sealant bottle.
i You will also find operating instructions
0087 in the lid of the TIREFIT kit.
X Pull the cable and filler hose 006Dout of the
housing. X
Unscrew flanged cap 0083. X
Unscrew the cap from tire sealant
bottle 0043. Make sure that the aluminum
film is not damaged when doing so. X
Screw tire sealant bottle 0043clockwise
tightly onto flange seal 006E.
This pierces the aluminum film.
X Remove the cap from the valve on the faulty
tire.
X Make sure that pressure release screw 006B
is closed.
X Remove the dust protection cap from filler
hose 006D. X
Screw the end of filler hose 006Donto tire
valve 006F.
X Make sure that on/off switch 0044on the tire
inflation compressor is set to 0.
X Insert connector 0085into the 12 V socket
(Y page 203).
X Select key position 2with the Start/Stop
button ( Ypage 119).
i The battery discharges during tire
inflation compressor usage. For this 234
Flat tireBreakdown assistance
Page 240 of 290

special collection point for
used batteries.
! Have the battery checked regularly at a
qualified specialist workshop.
Observe the service intervals in the
Maintenance Booklet or contact a qualified
specialist workshop for more information.
! You should have all work involving the
battery carried out at a qualified specialist
workshop. In the exceptional case that it is
necessary for you to disconnect the battery
yourself, make sure that:
R you switch off the engine and remove the
SmartKey. On vehicles with KEYLESS-
GO, ensure that the ignition is switched
off. Check that all the indicator lamps in
the instrument cluster are off. Otherwise,
electronic components, such as the
alternator, may be damaged.
R you first remove the negative terminal
clamp and then the positive terminal
clamp. Never swap the terminal clamps.
Otherwise, the vehicle's electronic
system may be damaged.
R the transmission is locked in position P
after disconnecting the battery. The
vehicle is secured against rolling away.
You can then no longer move the vehicle.
The battery and the cover of the positive
terminal clamp must be installed securely
during operation.
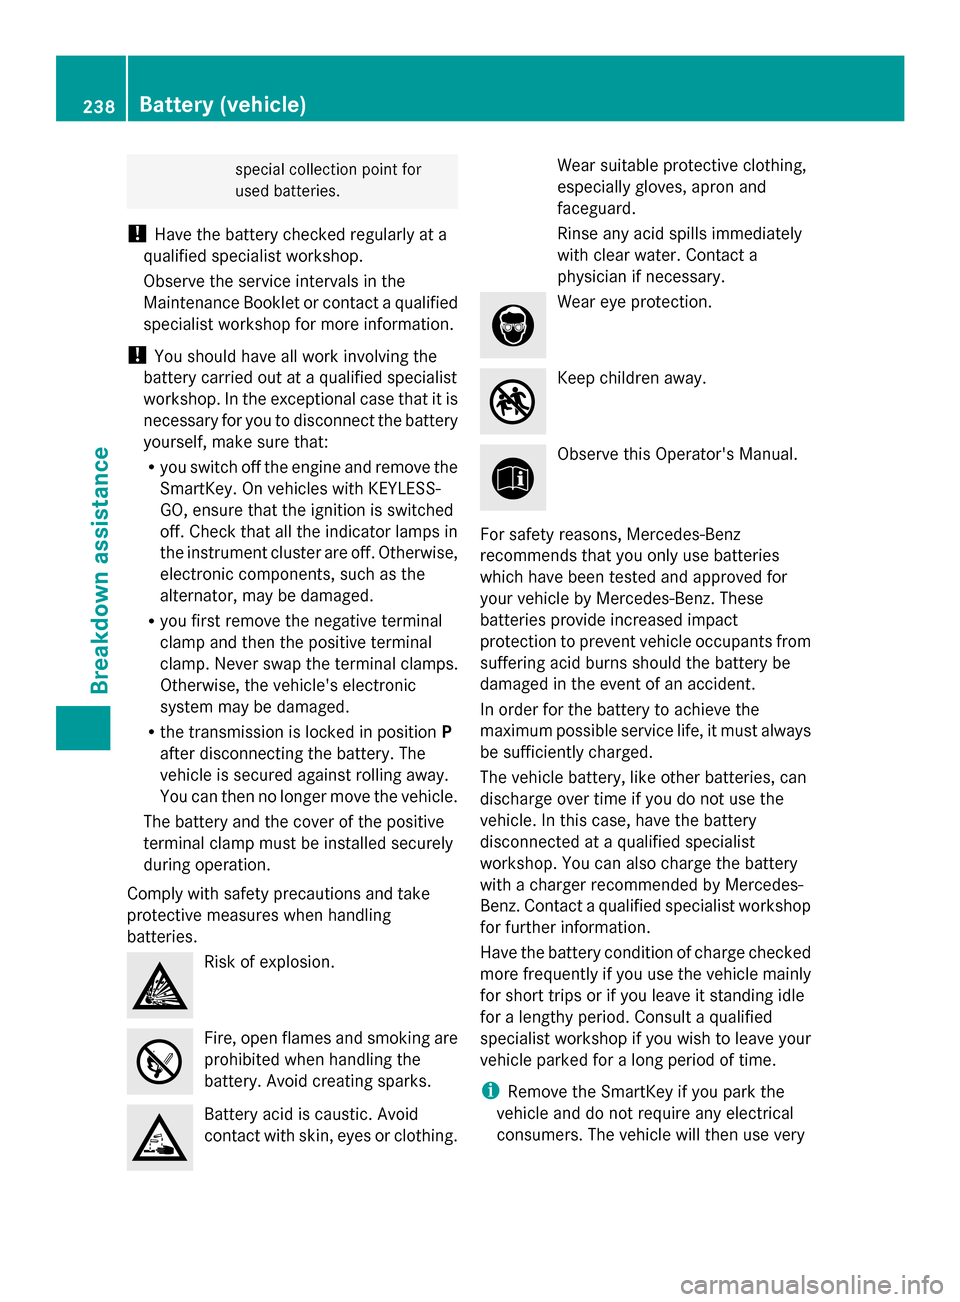
Comply with safety precautions and take
protective measures when handling
batteries. Risk of explosion.
Fire, open flames and smoking are
prohibited when handling the
battery. Avoid creating sparks. Battery acid is caustic. Avoid
contact with skin, eyes or clothing. Wear suitable protective clothing,
especially gloves, apron and
faceguard.
Rinse any acid spills immediately
with clear water. Contact a
physician if necessary. Wear eye protection.
Keep children away.
Observe this Operator's Manual.
For safety reasons, Mercedes-Benz
recommends that you only use batteries
which have been tested and approved for
your vehicle by Mercedes-Benz. These
batteries provide increased impact
protection to prevent vehicle occupants from
suffering acid burns should the battery be
damaged in the event of an accident.
In order for the battery to achieve the
maximum possible service life, it must always
be sufficiently charged.
The vehicle battery, like other batteries, can
discharge over time if you do not use the
vehicle. In this case, have the battery
disconnected at a qualified specialist
workshop. You can also charge the battery
with a charger recommended by Mercedes-
Benz. Contact a qualified specialist workshop
for further information.
Have the battery condition of charge checked
more frequently if you use the vehicle mainly
for short trips or if you leave it standing idle
for a lengthy period. Consult a qualified
specialist workshop if you wish to leave your
vehicle parked for a long period of time.
i Remove the SmartKey if you park the
vehicle and do not require any electrical
consumers. The vehicle will then use very 238
Battery (vehicle)Breakdown assistance