2014 MERCEDES-BENZ S-CLASS COUPE charging
[x] Cancel search: chargingPage 9 of 413
B
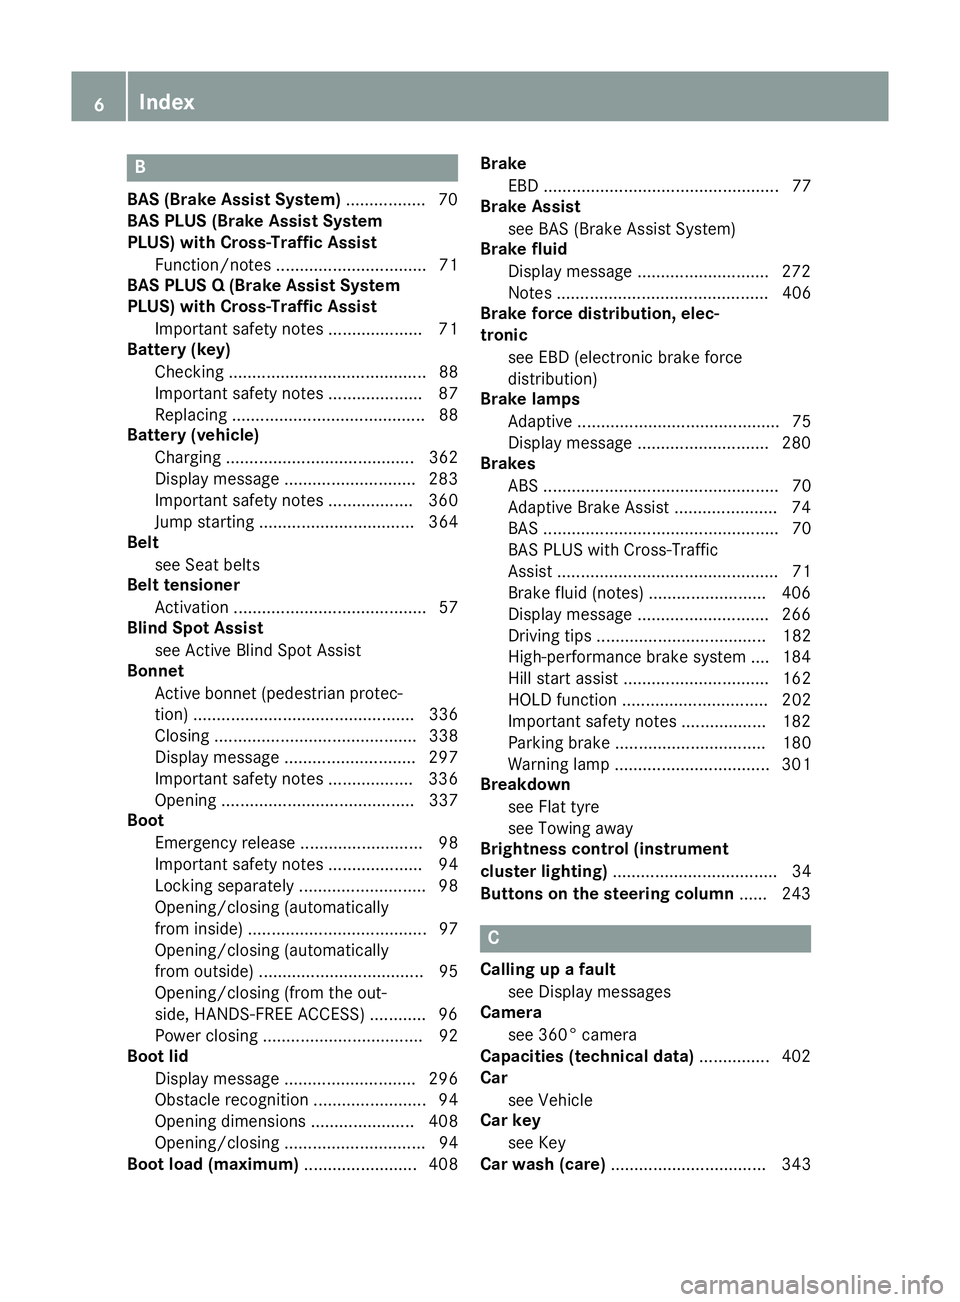
BAS (Brake Assist System) ................. 70
BAS PLUS (Brake Assist System
PLUS) with Cross-Traffic Assist
Function/note s................................ 71
BAS PLUS Q (Brake Assist System
PLUS) with Cross-Traffic Assist
Important safety notes .................... 71
Battery (key)
Checking .......................................... 88
Important safety notes .................... 87
Replacing ......................................... 88
Battery (vehicle)
Charging ........................................ 362
Display message ............................ 283
Important safety notes .................. 360
Jump starting ................................. 364
Belt
see Seat belts
Belt tensioner
Activation ......................................... 57
Blind Spot Assist
see Active Blind Spot Assist
Bonnet
Active bonnet (pedestrian protec-tion) ............................................... 336
Closing ........................................... 338
Display message ............................ 297
Important safety notes .................. 336
Opening ......................................... 337
Boot
Emergency release .......................... 98
Important safety notes .................... 94
Locking separately ........................... 98
Opening/closing (automatically
from inside) ...................................... 97
Opening/closing (automatically
from outside) ................................... 95
Opening/closing (from the out-
side, HANDS-FREE ACCESS) ............ 96
Power closing .................................. 92
Boot lid
Display message ............................ 296
Obstacle recognition ........................ 94
Opening dimensions ...................... 408
Opening/closing .............................. 94
Boot load (maximum) ........................ 408Brake
EBD .................................................. 77
Brake Assist
see BAS (Brake Assist System)
Brake fluid
Display message ............................ 272
Notes ............................................. 406
Brake force distribution, elec-
tronic
see EBD (electronic brake force
distribution)
Brake lamps
Adaptive ........................................... 75
Display message ............................ 280
Brakes
ABS .................................................. 70
Adaptive Brake Assist ...................... 74
BAS .................................................. 70
BAS PLUS with Cross-Traffic
Assist ............................................... 71
Brake fluid (notes) ......................... 406
Display message ............................ 266
Driving tips .................................... 182
High-performance brake system .... 184
Hill start assist ............................... 162
HOLD function ............................... 202
Important safety notes .................. 182
Parking brake ................................ 180
Warning lamp ................................. 301
Breakdown
see Flat tyre
see Towing away
Brightness control (instrument
cluster lighting) ................................... 34
Buttons on the steering column ...... 243 C
Calling up a fault see Display messages
Camera
see 360° camera
Capacities (technical data) ............... 402
Car
see Vehicle
Car key
see Key
Car wash (care) ................................. 3436
Index
Page 133 of 413
If you are driving at speeds below approx-
imately 25 km/h or the roads are ade-
quately illuminated:
The main-beam headlamps are switched off
automatically. The Kindicator lamp in
the instrument cluster goes out. The _
indicator lamp in the multifunction display
remains lit.
X To switch off: move the combination
switch back to its normal position or move
the light switch to another position.
The _ indicator lamp in the multifunc-
tion display goes out. Headlamps misted up on the inside
Certain climatic and physical conditions may
cause moisture to form in the headlamp. This
moisture does not affect the functionality of
the headlamp. Interior lighting
Overview of interior lighting
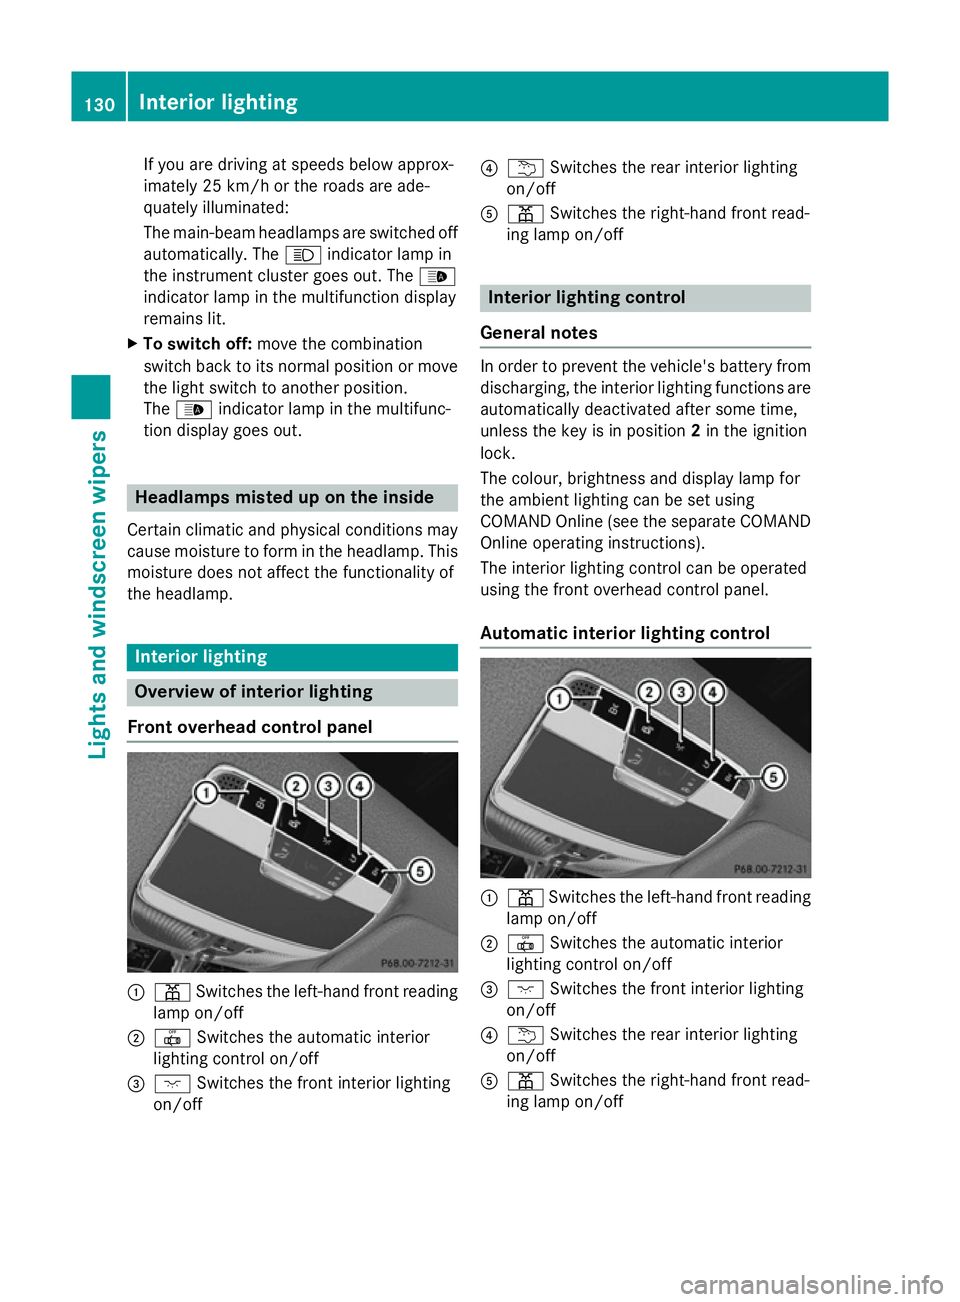
Front overhead control panel :
p Switches the left-hand front reading
lamp on/off
; | Switches the automatic interior
lighting control on/off
= c Switches the front interior lighting
on/off ?
u Switches the rear interior lighting
on/off
A p Switches the right-hand front read-
ing lamp on/off Interior lighting control
General notes In order to prevent the vehicle's battery from
discharging, the interior lighting functions are
automatically deactivated after some time,
unless the key is in position 2in the ignition
lock.
The colour, brightness and display lamp for
the ambient lighting can be set using
COMAND Online (see the separate COMAND
Online operating instructions).
The interior lighting control can be operated
using the front overhead control panel.
Automatic interior lighting control :
p Switches the left-hand front reading
lamp on/off
; | Switches the automatic interior
lighting control on/off
= c Switches the front interior lighting
on/off
? u Switches the rear interior lighting
on/off
A p Switches the right-hand front read-
ing lamp on/off 130
Interior lightingLights and windscreen wipers
Page 184 of 413
R
the power supply is insufficient
R the vehicle is stationary for a lengthy period
The red !indicator lamp in the instrument
cluster lights up.
The electric parking brake is not automati-
cally applied if the engine is switched off by
the ECO start/stop function.
Releasing automatically The electric parking brake is released auto-
matically when all of the following conditions
are fulfilled:
R the engine is running
R the transmission is in position Dor R.
R the seat belt is fastened
R you depress the accelerator pedal
If the automatic transmission is in position R,
the boot lid must be closed.
If your seat belt is not fastened, the following conditions must be fulfilled to automatically
release the electric parking brake:
R the driver's door is closed
R you have shifted out of transmission posi-
tion Por you have previously driven faster
than 3 km/h.
Ensure that you do not depress the acceler-
ator pedal unintentionally. Otherwise, the
parking brake will be released and the vehicle will start to move.
Emergency braking The vehicle can also be braked during an
emergency by using the electric parking
brake.
X While driving, push handle :of the elec-
trical parking brake (Y page 180).
The vehicle is braked as long as you keep
handle :of the electric parking brake
pressed. The longer electric parking brake
handle :is depressed, the greater the brak-
ing force. During braking:
R a warning tone sounds
R the Release parking brake
Release parking brake message
appears
R the red !indicator lamp in the instru-
ment cluster flashes
When the vehicle has been braked to a stand- still, the electric parking brake is applied. Parking up the vehicle
If you leave the vehicle parked up for longer
than four weeks, the battery may be damaged by exhaustive discharging and further dam-
aged in the event of this occurring again.
X Disconnect the battery or connect it to a
trickle charger.
i You can obtain information about trickle
chargers from a qualified specialist work-
shop.
If you leave the vehicle parked up for longer
than six weeks, it may suffer from lack of use.
X Visit a qualified specialist workshop and
seek advice. Driving tips
General driving tips
G
WARNING
If you switch off the ignition while driving,
safety-relevant functions are only available
with limitations, or not at all. This could affect, for example, the power steering and the brake
boosting effect. You will require considerably
more effort to steer and brake. There is a risk of an accident.
Do not switch off the ignition while driving. Driving
tips
181Driving an d parking Z
Page 274 of 413
Display messages
Possible causes/consequences and
M
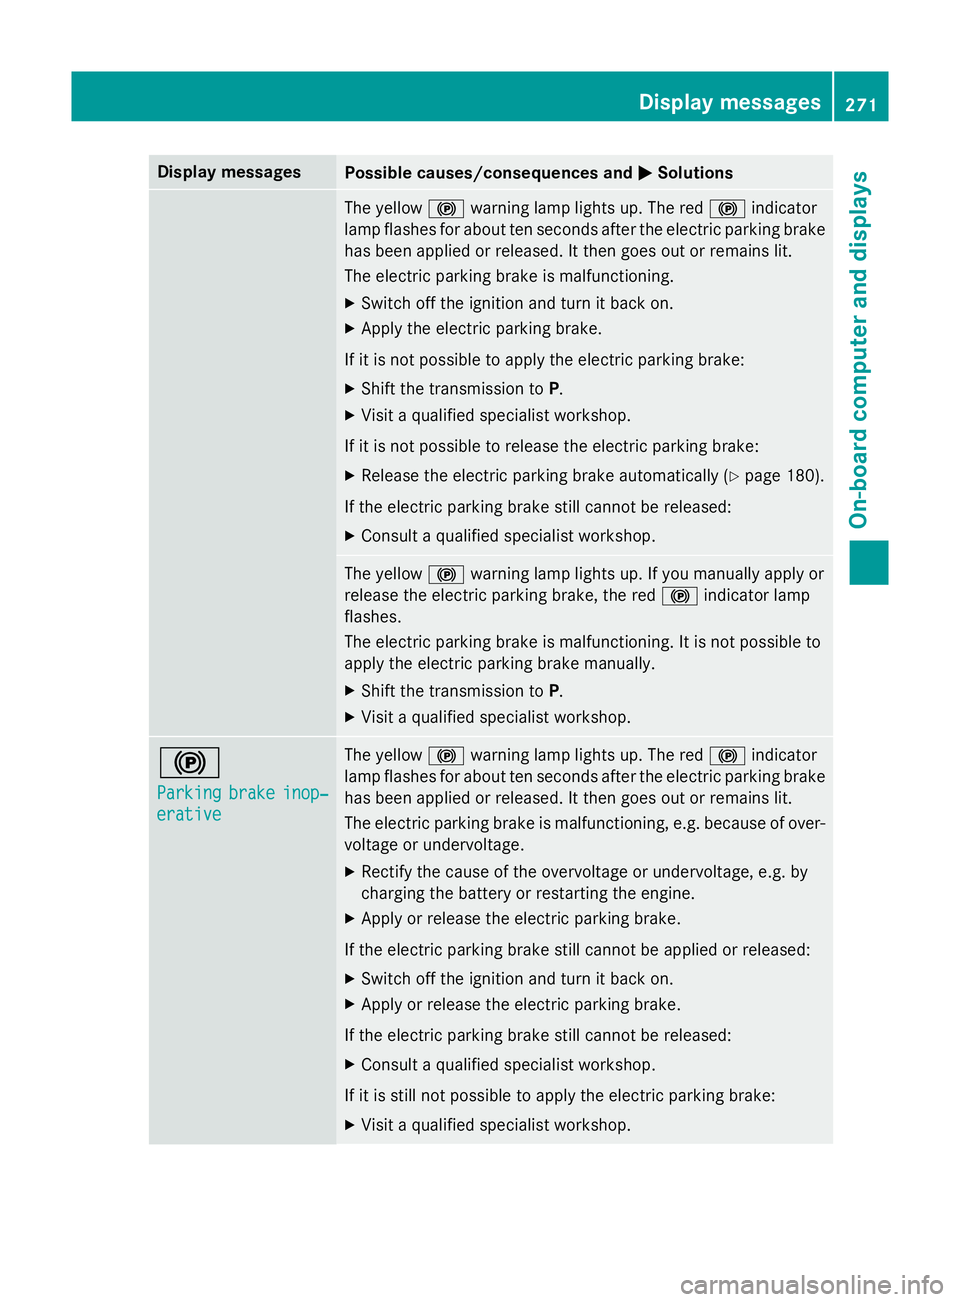
MSolutions The yellow
!warning lamp lights up. The red !indicator
lamp flashes for about ten seconds after the electric parking brake
has been applied or released. It then goes out or remains lit.
The electric parking brake is malfunctioning.
X Switch off the ignition and turn it back on.
X Apply the electric parking brake.
If it is not possible to apply the electric parking brake:
X Shift the transmission to P.
X Visit a qualified specialist workshop.
If it is not possible to release the electric parking brake:
X Release the electric parking brake automatically (Y page 180).
If the electric parking brake still cannot be released:
X Consult a qualified specialist workshop. The yellow
!warning lamp lights up. If you manually apply or
release the electric parking brake, the red !indicator lamp
flashes.
The electric parking brake is malfunctioning. It is not possible to
apply the electric parking brake manually.
X Shift the transmission to P.
X Visit a qualified specialist workshop. !
Parking Parking
brake
brakeinop‐
inop‐
erative
erative The yellow
!warning lamp lights up. The red !indicator
lamp flashes for about ten seconds after the electric parking brake
has been applied or released. It then goes out or remains lit.
The electric parking brake is malfunctioning, e.g. because of over- voltage or undervoltage.
X Rectify the cause of the overvoltage or undervoltage, e.g. by
charging the battery or restarting the engine.
X Apply or release the electric parking brake.
If the electric parking brake still cannot be applied or released: X Switch off the ignition and turn it back on.
X Apply or release the electric parking brake.
If the electric parking brake still cannot be released: X Consult a qualified specialist workshop.
If it is still not possible to apply the electric parking brake: X Visit a qualified specialist workshop. Display
messages
271On-board computer and displays Z
Page 330 of 413
sion surrounding the possible health risk
posed by electromagnetic fields.
Mercedes-Benz recommends the use of an
approved exterior aerial. This ensures:
R optimal mobile phone reception quality in
the vehicle
R that mutual interference between the vehi-
cle electronics and mobile phones is mini-
mised
An exterior aerial has the following advan-
tages:
R it conducts the electromagnetic fields gen-
erated by a wireless device to the exterior
R the field strength in the vehicle interior is
lower than in a vehicle that does not have
an exterior aerial
Information on retrofitting two-way radios
and mobile phones (RF transmitters)
(Y page 400).
General notes Depending on the vehicle equipment, there
are various mobile phone brackets that may
be fitted in your vehicle; in some cases, these
are country-specific.
More information on suitable mobile phones,
mobile phone brackets and on connecting
Bluetooth ®
-capable mobile phones with
COMAND Online can be obtained:
R at your Mercedes-Benz Service Centre
R on the Internet at http://www.mercedes-
benz.com/connect
The functions and services available when
you use the phone depend on your mobile
phone model and service provider.
Using a mobile phone To connect a mobile phone to the exterior
aerial and charge it, insert it into the mobile
phone bracket. X
Open the telephone compartment
(Y page 316).
X Place the mobile phone bracket into the
pre-installed fitting; see the separate instal-
lation instructions for the mobile phone fit-
ting.
X Insert the mobile phone into the mobile
phone bracket; see the separate installa-
tion instructions for the mobile phone fit-
ting.
i The mobile phone can also be operated
without being in the bracket. However, the charging function and aerial function are
not available.
In order to use Bluetooth ®
(SAP profile) on
your telephone module, you must first insert
the telephone module into the pre-installed
fitting. This connects it to the exterior aerial.
If you wish to charge the mobile phone, then
you must connect it to a USB port.
Further information on the telephone module
with Bluetooth ®
(SAP profile) can be found in
the Digital Owner's Manual.
Operating the mobile phone You can operate the telephone using the
6 and~ buttons on the multifunction
steering wheel. You can operate other mobile
phone functions via the on-board computer
(Y page 254).
When you remove the key from the ignition
lock, the mobile phone is disconnected from
the vehicle. You can then no longer make calls using the hands-free system.
If a call is active and you remove the key from the ignition lock, the conversation is trans-
ferred over to the mobile telephone. It is then
possible to continue the conversation on the
mobile telephone. Features
327Stowing and features Z
Page 364 of 413
Before handling the battery, touch the vehicle
body to remove any existing electrostatic
build-up.
The highly flammable gas mixture is created
while the battery is charging and when jump- starting.
Always make sure that neither you nor the
battery is electrostatically charged. Electro-
static charge is created, for example:
R by wearing synthetic fibre clothing
R due to friction between clothing and the
seat
R when you pull or push the battery across
carpet or other synthetic materials
R when you rub the battery with a cloth G
WARNING
During the charging process, a battery produ- ces hydrogen gas. If a short circuit occurs or
sparks are created, the hydrogen gas can
ignite. There is a risk of an explosion.
R Make sure that the positive terminal of a
connected battery does not come into con- tact with vehicle parts.
R Never place metal objects or tools on a bat-
tery.
R It is important that you observe the descri-
bed order of the battery terminals when
connecting and disconnecting a battery.
R When jump-starting, make sure that the
battery poles with identical polarity are
connected.
R It is particularly important to observe the
described order when connecting and dis-
connecting the jump leads.
R Never connect or disconnect the battery
terminals while the engine is running. G
WARNING
Battery acid is caustic. There is a risk of injury. Avoid contact with the skin, eyes or clothing.
Do not inhale any battery gases. Do not lean
over the battery. Keep children away from batteries. Wash battery acid immediately with
water and seek medical attention. H
Environmental note Batteries contain pollutants.
It is illegal to dispose of them
with the household rubbish.
They must be collected sep-
arately and disposed of in an environmentally responsible
recycling system. Dispose of batteries in an
environmentally responsible
manner. Take discharged
batteries to a qualified spe-
cialist workshop or to a col-
lection point for used batter-
ies.
! Have the battery checked regularly at a
qualified specialist workshop.
Observe the service intervals in the Service
Booklet or contact a qualified specialist
workshop for more information.
! Always have work on the batteries carried
out at a qualified specialist workshop.
Should it, in exceptional circumstances, be absolutely necessary to disconnect the 12-
volt battery yourself, please observe the
following:
R secure the vehicle to prevent it from roll-
ing away.
R switch off the engine and remove the
key. Make sure the ignition is switched
off. Check that all the indicator lamps in
the instrument cluster are off. Otherwise,
you may damage electronic components such as the alternator, for example.
R first, disconnect the negative terminal
clamp, followed by the positive terminal
clamp. Never swap the terminal clamps.
The vehicle electronics may otherwise be
damaged.
R the transmission is locked in position P
after disconnecting the battery. The vehi- Battery (vehicle)
361Breakdown assistance Z
Page 365 of 413
cle is secured against rolling away. You
can then no longer move the vehicle.
The batteries and the covers of the positive
terminal clamps must always be fitted
securely during operation.
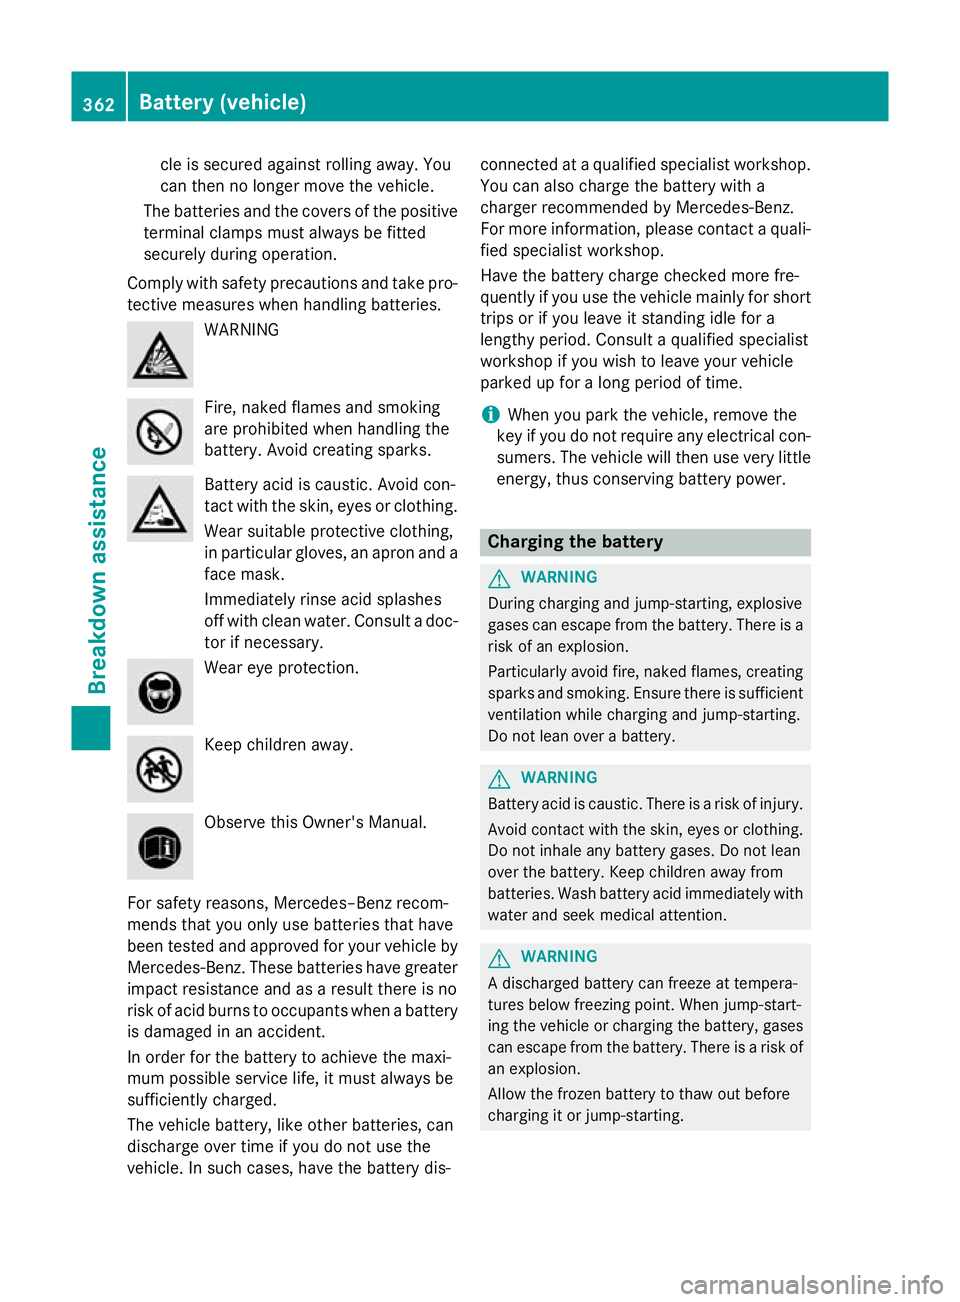
Comply with safety precautions and take pro-
tective measures when handling batteries. WARNING
Fire, naked flames and smoking
are prohibited when handling the
battery. Avoid creating sparks.
Battery acid is caustic. Avoid con-
tact with the skin, eyes or clothing.
Wear suitable protective clothing,
in particular gloves, an apron and a face mask.
Immediately rinse acid splashes
off with clean water. Consult a doc- tor if necessary. Wear eye protection.
Keep children away.
Observe this Owner's Manual.
For safety reasons, Mercedes–Benz recom-
mends that you only use batteries that have
been tested and approved for your vehicle by
Mercedes-Benz. These batteries have greater impact resistance and as a result there is no
risk of acid burns to occupants when a battery is damaged in an accident.
In order for the battery to achieve the maxi-
mum possible service life, it must always be
sufficiently charged.
The vehicle battery, like other batteries, can
discharge over time if you do not use the
vehicle. In such cases, have the battery dis- connected at a qualified specialist workshop.
You can also charge the battery with a
charger recommended by Mercedes-Benz.
For more information, please contact a quali-
fied specialist workshop.
Have the battery charge checked more fre-
quently if you use the vehicle mainly for short
trips or if you leave it standing idle for a
lengthy period. Consult a qualified specialist
workshop if you wish to leave your vehicle
parked up for a long period of time.
i When you park the vehicle, remove the
key if you do not require any electrical con-
sumers. The vehicle will then use very little energy, thus conserving battery power. Charging the battery
G
WARNING
During charging and jump-starting, explosive
gases can escape from the battery. There is a risk of an explosion.
Particularly avoid fire, naked flames, creating
sparks and smoking. Ensure there is sufficient
ventilation while charging and jump-starting.
Do not lean over a battery. G
WARNING
Battery acid is caustic. There is a risk of injury. Avoid contact with the skin, eyes or clothing.
Do not inhale any battery gases. Do not lean
over the battery. Keep children away from
batteries. Wash battery acid immediately with water and seek medical attention. G
WARNING
A discharged battery can freeze at tempera-
tures below freezing point. When jump-start-
ing the vehicle or charging the battery, gases can escape from the battery. There is a risk of
an explosion.
Allow the frozen battery to thaw out before
charging it or jump-starting. 362
Battery (vehicle)Breakdown assistance
Page 366 of 413
!
Only use battery chargers with a maxi-
mum charging voltage of 14.8 V.
! Only charge the battery using the jump-
start connection point.
The jump-starting connection point is in the
engine compartment (Y page 364).
X Open the bonnet.
X Connect the battery charger to the positive
terminal and earth point in the same order
as when connecting the donor battery in
the jump-starting procedure (Y page 364).
Never charge the battery if it is still fitted to
the vehicle, unless you use a battery charger which has been tested and approved by
Mercedes-Benz. A battery charger unit spe-
cially adapted for Mercedes-Benz vehicles
and tested and approved by Mercedes-Benz
is available as an accessory. It permits the
charging of the battery in its installed posi-
tion. Contact a Mercedes-Benz Service
Centre for information and availability. Read
the battery charger's operating instructions
before charging the battery.
If the indicator/warning lamps do not light up
at low temperatures, it is very likely that the
discharged battery has frozen. In this case
you may neither jump-start the vehicle nor
charge the battery. The service life of a bat-
tery that has been thawed may be reduced.
The starting characteristics may be impaired, especially at low temperatures. Have the
thawed battery checked at a qualified spe-
cialist workshop. Battery (vehicle)
363Breakdown assistance Z