Page 246 of 274

i
The operating duration of the headphones
with a set of batteries is up to 40 hours. Basic functions
Using headphones
You can use the cordless headphones
supplied and/or up to two sets of corded
headphones connected to the corresponding
jack of the rear-compartment screens
(Y page 239).
Information on:
R switching the cordless headphones on/off
R adjusting the volume of the headphones
R selecting a screen for the headphones
can be found under "Cordless headphones"
(Y page 241). Using the main loudspeakers
This function is available in conjunction with
COMAND.
You can use the vehicle loudspeakers to
listen to a disc inserted in the rear-
compartment drive. To do so, at least one of
the rear-compartmen tscreens mus tbe set to
disc mode.
X To set on COMAND: press the0006
function button to switch on an audio
mode.
X Select Audio by sliding
00360012the COMAND
controller and press 0037to confirm.
The Audio menu appears.
X Select Rear Audio by turning
003C0012003Dthe
COMAND controller and press 0037to
confirm.
i The headphones' volume setting does not
affect the main loudspeakers. Selecting sound settings
You can select the sound settings in the CD/
audio DVD/MP3, video DVD and AUX modes. X
Switch on an operating mode (e.g. audio
CD mode) (Y page 246).
X Select Treble or
Bass using
the 00090006000A buttons on the remote
control and press the 0016button to confirm.
An adjustment scale appears.
X Select a setting using the 00080009
buttons and press the 0016button to confirm. Multiple users
Simultaneous use of the rear-
compartment disc drive The two rear-compartment screens can be
operated almost entirely independently from
one another. However, there can be a conflict
in some menus if the two screens are used
simultaneously.
If the rear-compartment disc drive is being
used for both screens simultaneously,
selecting certain menus or settings on one of
the screens also affects the other screen.
The following functions affect both screens:
R changing playback options
R selecting a trac k(from a track lis torfolder)
R using the play, pause and stop functions
R fast forwarding/rewinding or scrolling
R calling up the DVD menu and navigating
within it
R setting the language, subtitles and camera
angle
R calling up interactive DVD content
The following functions affect only one
screen:
R audio and video functions as well as picture
settings
R switching between full screen and the
menu 244
Basic functionsRear Seat Entertainment System
Page 247 of 274

Switching between operating modes
When you exit an operating mode (e.g. audio
CD mode), the current setting is saved. If you
call up this operating mode again later, there
are two possibilities:
R the operating mode has been changed on
the other screen.
R the operating mode has not been changed.
In the first case, the operating mode appears
as it is on the other screen.
In the second case, the setting appears on the
screen as it was when you last exited the
operating mode. Picture settings
Overview You can select picture settings in video DVD
and AUX mode (Y page 258).
Adjusting the brightness, contrast and
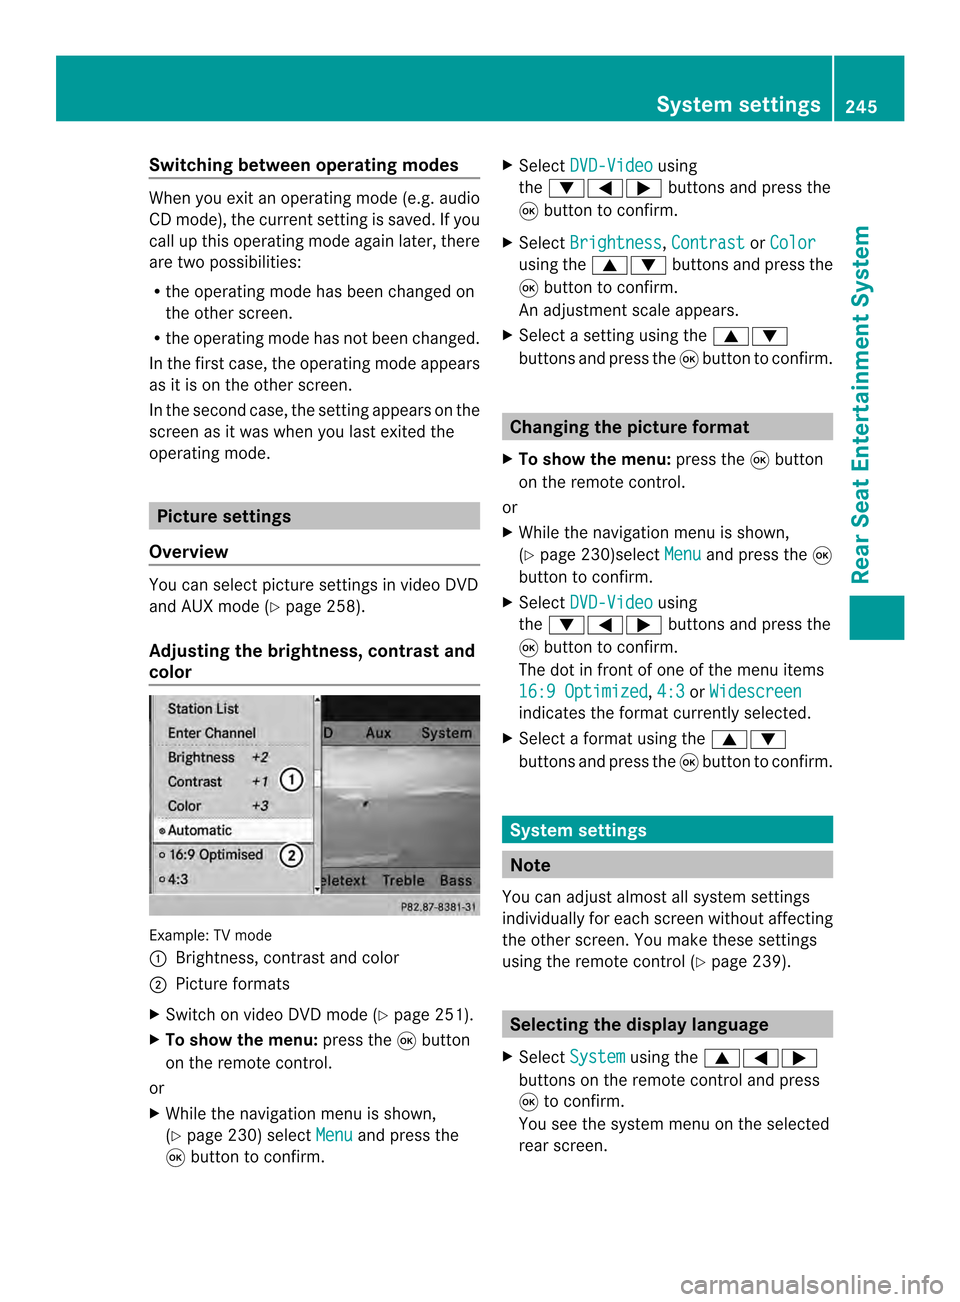
color Example: TV mode
0001
Brightness, contrast and color
0002 Picture formats
X Switch on video DVD mode (Y page 251).
X To show the menu: press the0016button
on the remote control.
or
X While the navigation menu is shown,
(Y page 230) select Menu and press the
0016 button to confirm. X
Select DVD-Video using
the 00090006000A buttons and press the
0016 button to confirm.
X Select Brightness ,
Contrast or
Color using the
00080009 buttons and press the
0016 button to confirm.
An adjustment scale appears.
X Select a setting using the 00080009
buttons and press the 0016button to confirm. Changing the picture format
X To show the menu: press the0016button
on the remote control.
or
X While the navigation menu is shown,
(Y page 230)select Menu and press the
0016
button to confirm.
X Select DVD-Video using
the 00090006000A buttons and press the
0016 button to confirm.
The dot in front of one of the menu items
16:9 Optimized ,
4:3 or
Widescreen indicates the format currently selected.
X Select a format using the 00080009
buttons and press the 0016button to confirm. System settings
Note
You can adjust almost all system settings
individually for each screen without affecting
the other screen. You make these settings
using the remote control (Y page 239). Selecting the display language
X Select System using the
00080006000A
buttons on the remote control and press
0016 to confirm.
You see the system menu on the selected
rear screen. System settings
245Rear Seat Entertainment System Z
Page 260 of 274

Skipping backwards restarts the current
track (i
fithas been playing for more than
eigh tseconds) or starts the previous track
(if the curren ttrack has only been playing
for a shorter time).
X To selectaf older:press the 0009button
on the remote control.
X Highlight one of the two folde rsymbols
with the 0006or000A buttonand press
0016 to confirm.
Depending on your selection, the previous
or next folde ris selected and the first track
is played.
Additional setting option:
R Adjusting the sound settings (Y page 244)
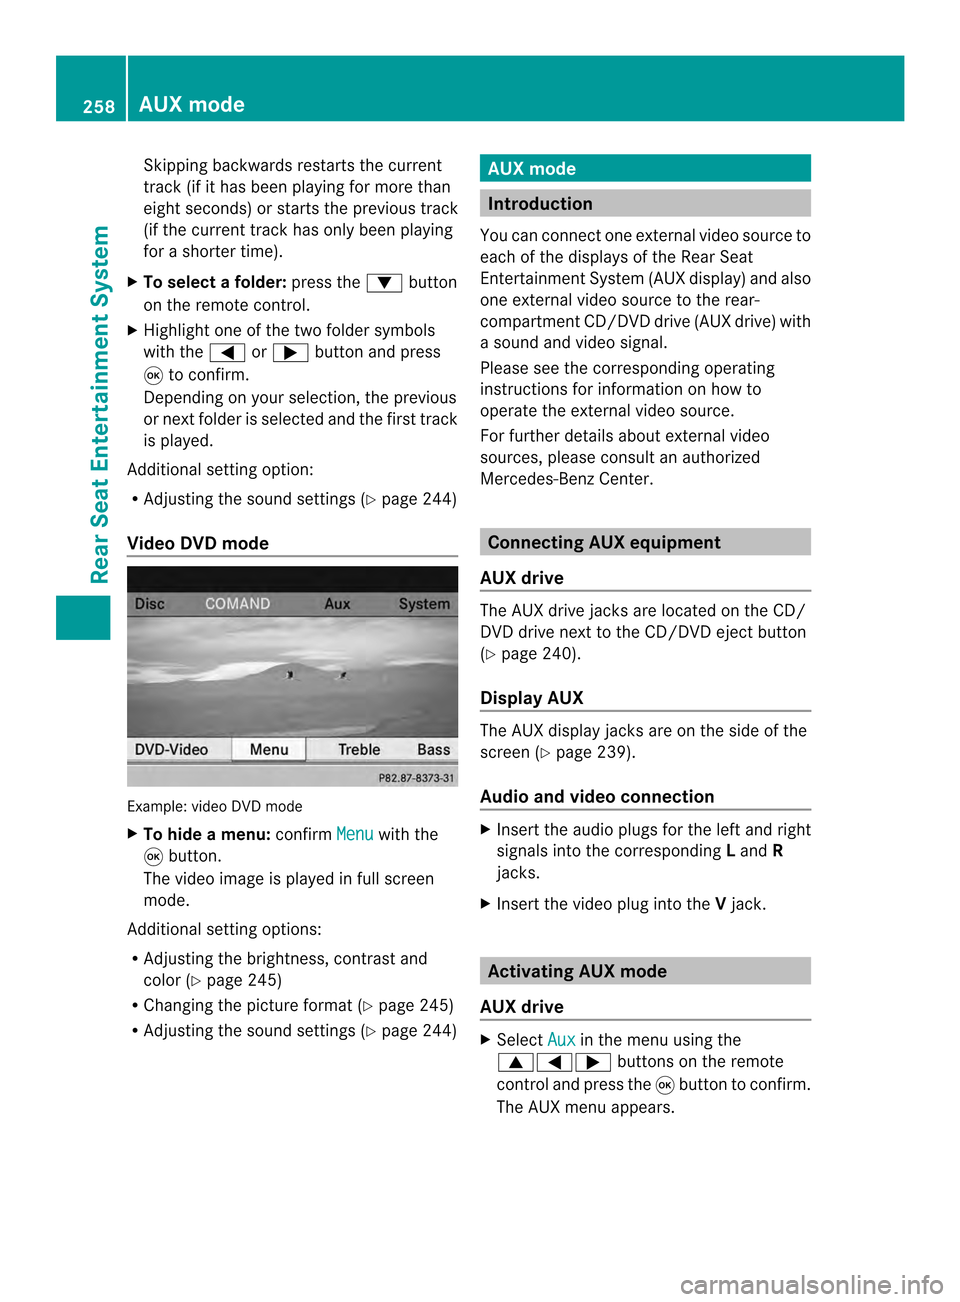
Video DVD mode Example: video DVD mode
X
To hide a menu: confirmMenu with the
0016 button.
The video image is played in full screen
mode.
Additional setting options:
R Adjusting the brightness, contrast and
color (Y page 245)
R Changing the picture format (Y page 245)
R Adjusting the sound settings (Y page 244) AUX mode
Introduction
You can connect one external video source to
each of the displays of the Rear Seat
Entertainment System (AUX display) and also
one external video source to the rear-
compartment CD/DVD drive (AUX drive) with
a sound and video signal.
Please see the corresponding operating
instructions for information on how to
operate the external video source.
For further details aboute xternal video
sources, please consult an authorized
Mercedes-Benz Center. Connecting AUX equipment
AUX drive The AUX drive jacks are located on the CD/
DVD drive next to the CD/DVD eject button
(Y
page 240).
Display AUX The AUX display jacks are on the side of the
screen (Y
page 239).
Audio and video connection X
Insert the audio plugs for the left and right
signals into the corresponding Land R
jacks.
X Insert the video plug into the Vjack. Activating AUX mode
AUX drive X
Select Aux in the menu using the
00080006000A buttons on the remote
control and press the 0016button to confirm.
The AUX menu appears. 258
AUX modeRear Seat Entertainment System
Page 261 of 274

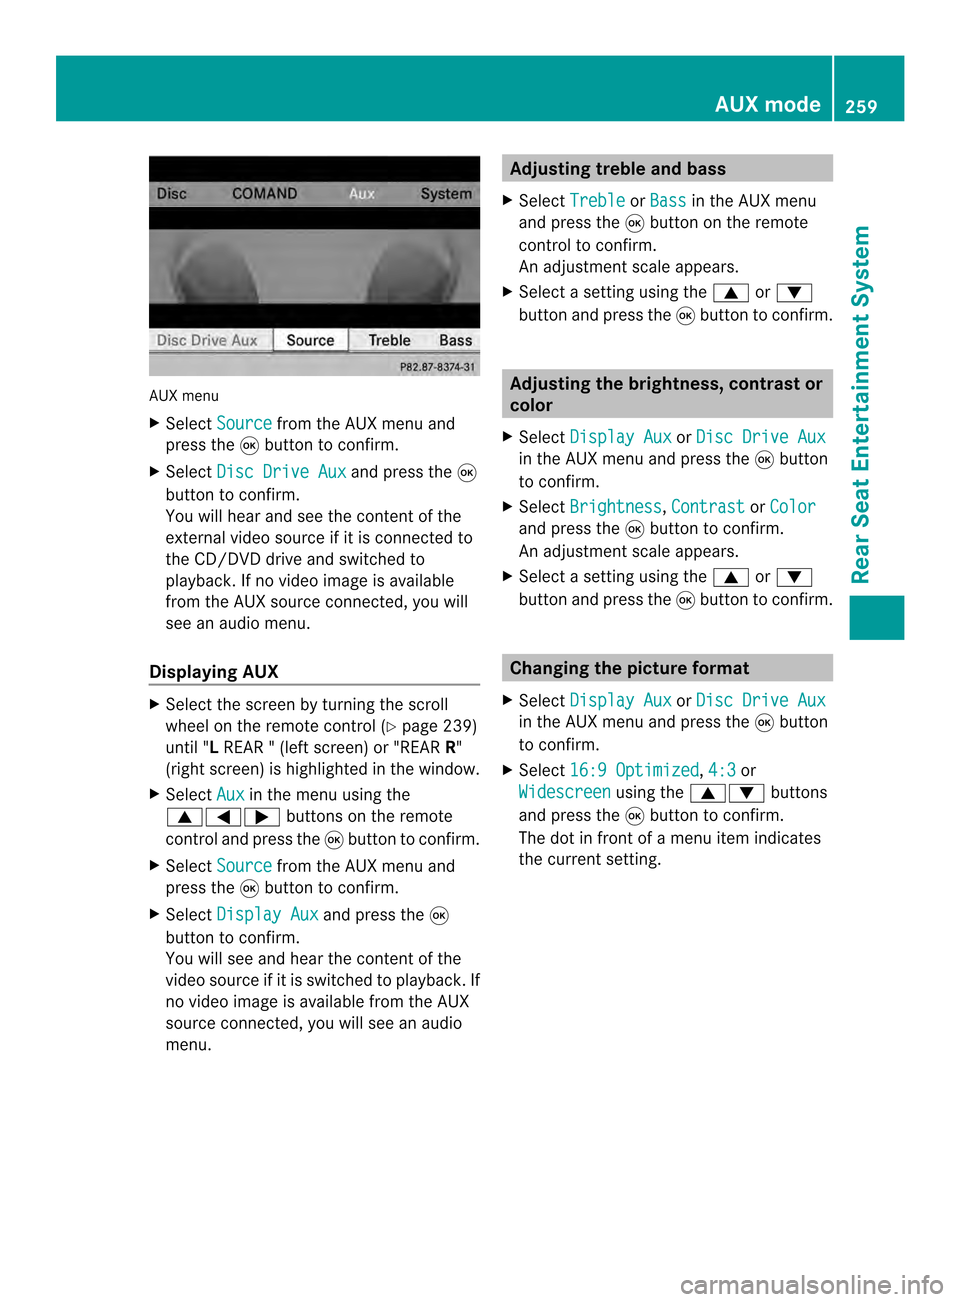
AUX menu
X
Select Source from the AUX menu and
press the 0016button to confirm.
X Select Disc Drive Aux and press the
0016
button to confirm.
You will hea rand see the content of the
external video source if it is connected to
the CD/DVD drive and switched to
playback. If no video image is available
from the AUX source connected, you will
see an audio menu.
Displaying AUX X
Select the screen by turning the scroll
wheel on the remote control ( Ypage 239)
until "L REAR " (left screen) or "REAR R"
(right screen) is highlighted in the window.
X Select Aux in the menu using the
00080006000A buttons on the remote
control and press the 0016button to confirm.
X Select Source from the AUX menu and
press the 0016button to confirm.
X Select Display Aux and press the
0016
button to confirm.
You will see and hea rthe content of the
video source if it is switched to playback. If
no video image is available from the AUX
source connected, you will see an audio
menu. Adjusting treble and bass
X Select Treble or
Bass in the AUX menu
and press the 0016button on the remote
control to confirm.
An adjustment scale appears.
X Select a setting using the 0008or0009
button and press the 0016button to confirm. Adjusting the brightness, contrast or
color
X Select Display Aux or
Disc Drive Aux in the AUX menu and press the
0016button
to confirm.
X Select Brightness ,
Contrast or
Color and press the
0016button to confirm.
An adjustment scale appears.
X Select a setting using the 0008or0009
button and press the 0016button to confirm. Changing the picture format
X Select Display Aux or
Disc Drive Aux in the AUX menu and press the
0016button
to confirm.
X Select 16:9 Optimized ,
4:3 or
Widescreen using the
00080009 buttons
and press the 0016button to confirm.
The dot in front of a menu item indicates
the current setting. AUX mode
259Rear Seat Entertainment System Z