2014 Lancia Voyager keyless entry
[x] Cancel search: keyless entryPage 131 of 364

To Unfold Third Row Seats
1. Pull up on the assist strap to lift
the seat out of the storage bin and
push the seat forward until the an-
chors latch.
2. Pull release strap marked “2” to
unlock the recliner.
3. Pulling strap “4” releases the seat-
back to return to its full upright posi-
tion.
4. Raise the head restraint to its up-
right position.
WARNING!
In a collision, you or others inyour vehicle could be injured if
seats are not properly latched to
their floor attachments. Always
be sure the seats are fully latched.
Sitting in a seat with the head restraint in its lowered position
could result in serious injury or
death in a collision. Always make
sure the head restraints are in
their upright positions when the
seat is to be occupied. Tailgate Mode
1. Pull release strap “3”, then pull
release strap “4” to rotate the entire
seat rearward.
2. To restore the seat to its upright
position, lift up on the seatback and
push forward until the anchors latch.
WARNING!
To avoid serious injury or death,
never operate the vehicle with oc-
cupants in the third row seat while
in the tailgate mode.
PLASTIC GROCERY BAG
RETAINER HOOKS
Retainer hooks which will hold plastic
grocery bag handles are built into the
seatbacks of all rear seats and some
front seats. The floor supports the
partial weight of the bagged goods.
DRIVER MEMORY SEAT
(for versions/markets,
where provided)
The Memory Buttons 1 and 2 on the
driver's door panel can be pro-
grammed to recall the driver's seat,
driver's outside mirror, adjustable
brake and accelerator pedals, and ra-
dio station preset settings. Your Re-
mote Keyless Entry (RKE) transmit-
ters can also be programmed to recall
the same positions when the UN-
LOCK button is pressed.
Your vehicle may have been delivered
with two RKE transmitters. Only one
RKE transmitter can be linked to each
of the memory positions.
Driver Memory Switch
125
Page 135 of 364

INTERIOR LIGHTING
Interior lights are turned on when a
door or liftgate is opened, the Remote
Keyless Entry (RKE) transmitter is
activated, or when the dimmer con-
trol is moved to the extreme top.
The interior lights will automatically
turn off in approximately 10 minutes
for the first activation and 90 seconds
every activation thereafter until the
engine is started, if one of the follow-
ing occur:
1. A door, sliding door or the liftgate
is left open
2. Any overhead reading light is left
on
NOTE: The key must be out of the
ignition switch or the ignition
switch must be in the OFF position
for this feature to operate.
Halo Lights (for versions/markets,
where provided)
Halo lights are strategically placed
soft lighting that help to illuminatespecific areas to aid the occupants in
locating specific features while driv-
ing at night.
The Halo control switch is located to
the right of the dimmer switch.
To activate the Halo lights,
rotate the Halo switch con-
trol upward or downward
to increase or decrease the
lighting.
PARKING LIGHTS
Turn the headlight switch
knob to the first detent to turn
the parking lights on. This also turns
on all instrument panel lighting.
HEADLIGHTS
Turn the headlight switch
knob to the second detent to
turn the headlights and
parking lights on. This also
turns on all instrument panel lighting.
To change the brightness of the in-
strument panel lights, rotate the dim-
mer control up or down.
AUTOMATIC HEADLIGHTS
(for versions/markets,
where provided)
This system automatically turns your
headlights on or off based on ambient
light levels. To turn the system on,
turn the headlight switch to the ex-
treme counterclockwise position
aligning the indicator with AUTO on
the headlight switch. When the sys-
tem is on, the Headlight Time Delay
feature is also on. This means your
headlights will stay on for up to 90
seconds after you turn the ignition
switch OFF. To turn the Automatic
System off, turn the headlight switch
clockwise to the O (Off) position.
Halo Control Switch
129
Page 151 of 364

NOTE: Premium sunroof console
models include all of above except
sunglass storage.
COURTESY/INTERIOR
LIGHTING
At the forward end of the console are
two courtesy lights (standard dome
light has two buttons). The lights turn
on when a front door, a sliding door or
the liftgate is opened. If your vehicle is
equipped with Remote Keyless Entry
(RKE) the lights will also turn on
when the UNLOCK button on the
RKE transmitter is pressed.
The courtesy lights also function as
reading lights. Press in on each lens to
turn these lights on while inside the
vehicle. Press a second time to turn
each light off. You may adjust thedirection of these lights by pressing
the outside ring, which is identified
with four directional arrows (LED
lamps only).
The area around the instrument panel
cupholders is also illuminated from a
light in the overhead console (premium
console only). This light is turned on
when the headlight switch is on, and
will adjust in brightness when the dim-
mer control is rotated up or down.
SUNGLASS STORAGE
(NON-SUNROOF ONLY)
At the front of the overhead console, a
compartment is provided for the stor-
age of two pairs of sunglasses.
From the closed position, press the
door latch to open the compartment.
The door will slowly rotate to the full
open position.
From this position, the door can be
fully closed or, by rotating upward
about 3/4 of the way and releasing,
positioned for conversation mirror
use.
NOTE: From the “conversation
mirror” position, the door can only
be closed.
Overhead Console
Over Door Latch
Full Open Position
Conversation Mirror Position
145
Page 152 of 364

To return to the full open position, the
door must first be closed and then
opened by pressing the latch again to
release.
REAR COURTESY/
READING LIGHTS (for
versions/markets, where
provided)
The overhead console has two sets of
courtesy lights. The lights turn on
when a front door, a sliding door or
the liftgate is opened. If your vehicle is
equipped with Remote Keyless Entry
(RKE) the lights will also turn on
when the UNLOCK button on the
RKE transmitter is pressed.
The courtesy lights also function as
reading lights. Press in on each lens to
turn these lights on while inside the
vehicle. Press the lens a second time to
turn each light off. You may adjust the
direction of these lights by pressing
the outside ring, which is identified
with four directional arrows.REAR OVERHEAD
CONSOLES (for
versions/markets, where
provided)
The rear overhead storage system is
available in two versions: with or
without sunroof.
An additional LED at the front of the
rear console shines down on the front
foot-well area while in courtesy mode,
for added convenience.Rear Console Halo Lighting
The rear overhead console has re-
cessed halo lighting around the pe-
rimeter of the console base. This fea-
ture provides additional lighting
options while traveling and is con-
trolled by the headlight switch. Refer
to “Lights/Halo Lights (for versions/
markets, where provided)” in “Un-
derstanding The Features Of Your Ve-
hicle” for further information.
Reading LightsOverhead Compartment Features
1 — DVD15 — Storage
2 — Rear HVAC 6 — DVD1
3 — Interior
Lights 7 — Interior
Lights
4 — Storage 8 —
Halo Light-
ing
1(for versions/markets, where
equipped)
146
Page 196 of 364

selection, press and release the SE-
LECT button until a check-mark ap-
pears next to the feature showing the
system has been activated or the
check-mark is removed showing the
system has been deactivated.
Remote Unlock Sequence
WhenDriver Door 1st Press is se-
lected, only the driver's door will un-
lock on the first press of the Remote
Keyless Entry (RKE) transmitter UN-
LOCK button. When Driver Door 1st
Press is selected, you must press the
RKE transmitter UNLOCK button
twice, to unlock the passenger's
doors. When All Doors 1st Press is
selected, all of the doors will unlock
on the first press of the RKE transmit-
ter UNLOCK button. To make your
selection, press and release the SE-
LECT button until a check-mark ap-
pears next to the feature showing the
system has been activated or the
check-mark is removed showing the
system has been deactivated. RKE Linked To Memory (for
versions/markets, where
provided)
When this feature is selected the
memory seat, mirror, and radio set-
tings will return to the memory set
position when the RKE transmitter
UNLOCK button is pressed. If this
feature is not selected then the
memory seat, mirror, and radio set-
tings can only return to the memory
set position using the door mounted
switch. To make your selection, press
and release the SELECT button until
a check-mark appears next to the fea-
ture showing the system has been ac-
tivated or the check-mark is removed
showing the system has been deacti-
vated.
Flash Lamps with Lock
When ON is selected, the front and
rear turn signals will flash when the
doors are locked or unlocked with the
RKE transmitter. This feature may be
selected with or without the sound
horn on lock feature selected. To
make your selection, press and releasethe SELECT button until a check-
mark appears next to the feature
showing the system has been acti-
vated or the check-mark is removed
showing the system has been deacti-
vated.
Automatic High Beams (for
versions/markets, where
provided)
When this feature is selected, the high
beam headlights will deactivate auto-
matically under certain conditions. To
make your selection, press and release
the SELECT button until a check-
mark appears next to the feature
showing the system has been acti-
vated or the check-mark is removed
showing the system has been deacti-
vated. Refer to “SmartBeam™” in
“Understanding The Features Of
Your Vehicle” for further information.
Headlamp Off Delay
When this feature is selected, the
driver can choose to have the head-
lights remain on for 0, 30, 60, or 90
seconds when exiting the vehicle. To
make your selection, scroll up or
down until the preferred setting is
190
Page 198 of 364

check-mark appears next to the fea-
ture showing the system has been ac-
tivated or the check-mark is removed
showing the system has been deacti-
vated.
Keyless Enter-N-Go™ (Passive
Entry) (for versions/markets,
where provided)
This feature allows you to lock and
unlock the vehicle’s door(s) without
having to press the RKE transmitter
lock or unlock buttons. To make your
selection, press and release the SE-
LECT button until a check-mark ap-
pears next to the feature showing the
system has been activated or the
check-mark is removed showing the
system has been deactivated. Refer to
“Keyless Enter-N-Go™” in “Things
To Know Before Starting Your Ve-
hicle”.
Easy Exit Seat (for versions/
markets, where provided)
This feature provides automatic
driver seat positioning to enhance
driver mobility when entering and ex-
iting the vehicle. To make your selec-
tion, press and release the SELECTbutton until a check-mark appears
next to the feature showing the system
has been activated or the check-mark
is removed showing the system has
been deactivated.
NOTE:
The seat will return to the
memorized seat location (if Recall
Memory with Remote Key Unlock is
set to ON) when the RKE transmitter
is used to unlock the door. Refer to
“Driver Memory Seat” in “Under-
standing The Features Of Your Ve-
hicle” for further information.
Tilt Mirror In Reverse (for
versions/markets, where
provided)
When this feature is selected and the
vehicle is placed in a reverse gear, the
driver's side mirror will tilt downward
to allow the driver to see into the pre-
vious blind spot and avoid objects in
close proximity to the rear of the ve-
hicle. To make your selection, press
and release the SELECT button until a
check-mark appears next to the feature
showing the system has been activated
or the check-mark is removed showing
the system has been deactivated.
Blind Spot Alert (for
versions/markets, where
provided)
There are three selections when oper-
ating Blind Spot Alert (“Blind Spot
Alert Lights”, “Blind Spot Alert
Lights/CHM”, “Blind Spot Alert
Off”). The Blind Spot Alert feature
can be activated in “Blind Spot Alert
Lights” mode, when this mode is se-
lected the Blind Spot Monitor (BSM)
system is activated and will only show
a visual alert in the outside mirrors.
The Blind Spot Alert feature can be
activated in “Blind Spot Alert Lights/
CHM” mode, in this mode the Blind
Spot Monitor (BSM) will show a vi-
sual alert in the outside mirrors as
well as an audible alert when the turn
signal is on. When “Blind Spot Alert
Off” is selected the Blind Spot Moni-
tor (BSM) system is deactivated.
To make your selection, press and re-
lease the SELECT button until a
check-mark appears next to the fea-
ture showing the system has been ac-
tivated or the check-mark is removed
showing the system has been deacti-
vated.
192
Page 238 of 364

ignition switch to the LOCK position,
wait 10 to 15 seconds, then repeat the
“Normal Starting” procedure.
KEYLESS ENTER-N-GO™
(for versions/markets,
where provided)
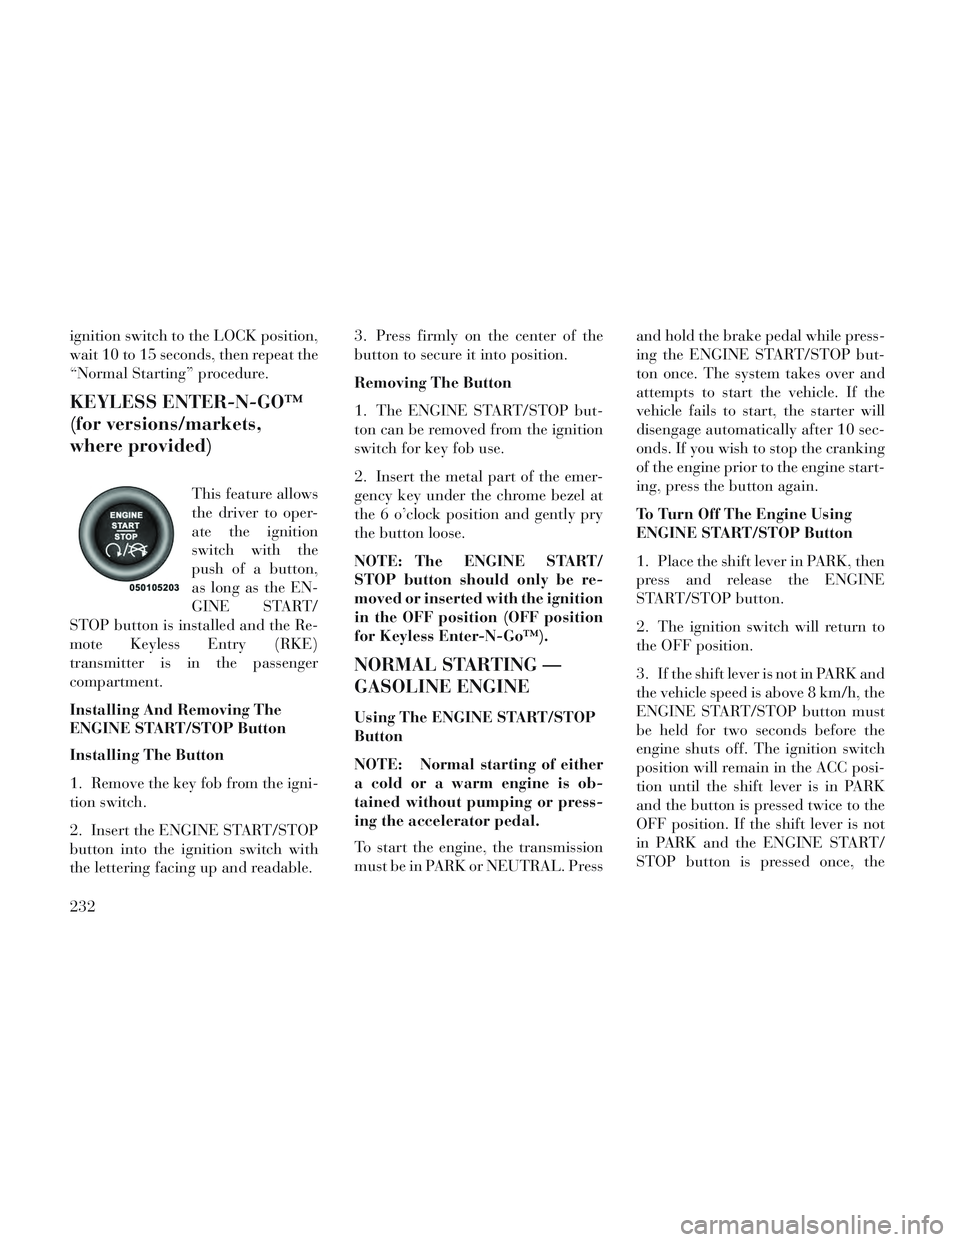
This feature allows
the driver to oper-
ate the ignition
switch with the
push of a button,
as long as the EN-
GINE START/
STOP button is installed and the Re-
mote Keyless Entry (RKE)
transmitter is in the passenger
compartment.
Installing And Removing The
ENGINE START/STOP Button
Installing The Button
1. Remove the key fob from the igni-
tion switch.
2. Insert the ENGINE START/STOP
button into the ignition switch with
the lettering facing up and readable. 3. Press firmly on the center of the
button to secure it into position.
Removing The Button
1. The ENGINE START/STOP but-
ton can be removed from the ignition
switch for key fob use.
2. Insert the metal part of the emer-
gency key under the chrome bezel at
the 6 o’clock position and gently pry
the button loose.
NOTE: The ENGINE START/
STOP button should only be re-
moved or inserted with the ignition
in the OFF position (OFF position
for Keyless Enter-N-Go™).
NORMAL STARTING —
GASOLINE ENGINE
Using The ENGINE START/STOP
Button
NOTE: Normal starting of either
a cold or a warm engine is ob-
tained without pumping or press-
ing the accelerator pedal.
To start the engine, the transmission
must be in PARK or NEUTRAL. Press
and hold the brake pedal while press-
ing the ENGINE START/STOP but-
ton once. The system takes over and
attempts to start the vehicle. If the
vehicle fails to start, the starter will
disengage automatically after 10 sec-
onds. If you wish to stop the cranking
of the engine prior to the engine start-
ing, press the button again.
To Turn Off The Engine Using
ENGINE START/STOP Button
1. Place the shift lever in PARK, then
press and release the ENGINE
START/STOP button.
2. The ignition switch will return to
the OFF position.
3. If the shift lever is not in PARK and
the vehicle speed is above 8 km/h, the
ENGINE START/STOP button must
be held for two seconds before the
engine shuts off. The ignition switch
position will remain in the ACC posi-
tion until the shift lever is in PARK
and the button is pressed twice to the
OFF position. If the shift lever is not
in PARK and the ENGINE START/
STOP button is pressed once, the
232
Page 334 of 364

FUSES/TIPM
Cavity Cartridge Fuse Mini-Fuse Description M15 — 20 Amp Yellow Rear View Mirror, Instrument Cluster, Multi- Function Control Switch, Tire Pressure Moni-tor, Glow Plug Module – Export Diesel Only, Assy-Shifter (Hall Effect), Acoustic Noise Cancellation
M16 —10 Amp Red Airbag Module/Occupant Classification Mod-
ule
M17 —15 Amp Blue Left Tail/License/Park Lamp, Running
Lamps
M18 —15 Amp Blue Right Tail/Park/Run Lamp
M19 —25 Amp Natural Automatic Shutdown #1 and #2
M20 —15 Amp Blue Instrument Cluster Interior Light, Switch
Bank, Steering Column Module, Switch Steer-ing Wheel
M21 —20 Amp Yellow Automatic Shutdown #3
M22 —10 Amp Red Right Horn (HI/LOW)
M23 —10 Amp Red Left Horn (HI/LOW)
M24 —25 Amp Natural Rear Wiper
M25 —20 Amp Yellow Fuel Pump, Diesel Lift Pump – Export Only
M26 —10 Amp Red Power Mirror Switch, Driver Window Switch
M27 —10 Amp Red Ignition Switch, Wireless Control Module,
Keyless Entry Module, Steering Column Lock
M28 —10 Amp Red Powertrain Control Module, Transmission
Feed, Transmission Control Module
328