Page 93 of 236
Starting Navigation
Navigation l
3-11
Editing POI Icons
Press POI ▶ Press the Edit POI Icon
button ▶ Press
Done
.
Press the Edit POI Icon button to select
the desired facility from the various facility
types.
Up to six favorite facilities can be set.
Press the Default button to reset the dis-
played POI icons.
Initially, Gas Station, Parking, Fast Food,
Hospital, Auto Service, and Bank are set
as default.
Searching POIs
Press the Search by local POI button ▶
Press the search criteria
(
Near current position , Near scroll mark
, or
Near destination ).
1
2
3
Page 140 of 236

4-26
Using Bluetooth® Wireless Technology
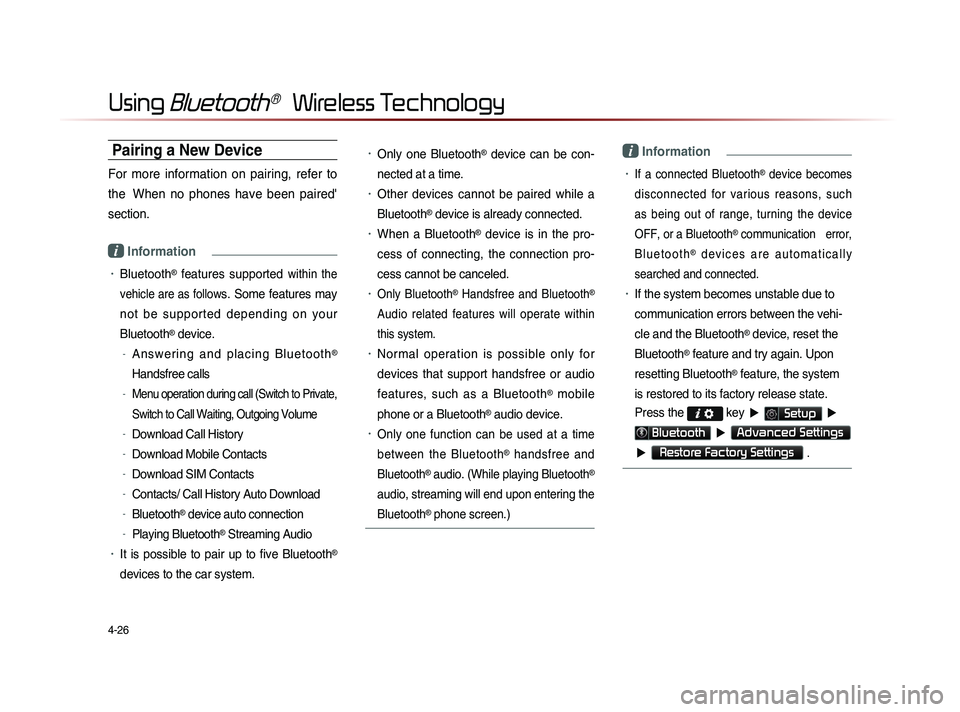
Pairing a New Device
For more information on pairing, refer to
the When no phones have been paired'
section.
i Information
• Bluetooth® features supported within the
vehicle are as follow
s. Some features may
not be supported depending on your
Bluetooth
® device.
-A n s w e r i n g a n d p l a c i n g B l u e t o o t h®
Handsfree calls
-Menu operation during call (Switch to Private,
Switch to Call Waiting, Outgoing Volume
-Download Call History
-Download Mobile Contacts
-Download SIM Contacts
-Contacts/ Call History Auto Download
-Bluetooth® device auto connection
-Playing Bluetooth® Streaming Audio
• It is possible to pair up to five Bluetooth®
devices to the car system.
• Only one Bluetooth® device can be con-
nected at a time.
• Other devices cannot be paired while a
Bluetooth
® device is already connected.
• When a Bluetooth® device is in the pro-
ces
s of connecting, the connection pro
-
ces
s cannot be canceled.
• Only Bluetooth® Handsfree and Bluetooth®
Audio related features will operate within
this system.
• Normal operation is possible only for
devices that support handsfree or audio
features, such as a Bluetooth
® mobile
phone or a Bluetooth
® audio device.
• Only one function can be used at a time
between the Bluetooth
® handsfree and
Bluetooth
® audio. (While playing Bluetooth®
audio, streaming will end upon entering the
Bluetooth
® phone screen.)
i Information
• If a connected Bluetooth® device becomes
disconnected for various reasons, such
as being out of range, turning the device
OFF, or a Bluetooth
® communication error,
B l u e t o o t h
® d e v i c e s a r e a u t o m a t i c a l l y
searched and connected.
• If the system becomes unstable due to
communication errors between the vehi-
cle and the Bluetooth
® device, reset the
Bluetooth
® feature and try again. Upon
resetting Bluetooth
® feature, the system
is restored to its factory release state.
Press the
key ▶ Setup ▶
Bluetooth ▶ Advanced Settings
▶
Restore Factory Settings .
Page 150 of 236

5-8
Voice Command Lists
Audio System Command List
FM/AM Radio
CommandOperation
Radio Plays the most recent frequency for the most
recently operated band
(Radio) AM Plays the most recent frequency for the corre-
sponding band
(Radio) FM Plays the most recent frequency for the corre-
sponding band In the case of FM.
The most recent frequency within the most re-
cently played FM1 or FM2 band is played
FM1/FM2
Plays the most recent frequency for the corre-
sponding band
AM <530~1710> Plays the desired AM band frequency (e.g. AM
"Five-Hundred Thirty")
FM <87.5~107.9> Plays the desired FM band frequency (e.g. FM
"Eighty-Seven point Five")
AM Preset <1~6> Plays the desired AM band preset frequency
FM1 Preset <1~6> Plays the desired FM1 band preset frequency
FM2 Preset <1~6> Plays the desired FM2 band preset frequency
Command
Operation
Preset <1~6> Plays the desired preset frequency for the cur-
rent band
Seek Up Searches and plays the next frequency of the
current band
Seek Down Searches and plays the previous frequency of
the current band
Preset Up Plays the next preset frequency of the current
band
Preset Down Plays the previous preset frequency of the cur-
rent band
Auto Store Searches all frequencies within the current
band and stores the 6 frequencies with the most
superior reception as preset buttons
Scan On
Scans receivable frequencies from the current
broadcast and plays for 10 seconds each
Scan Off Ends the currently operating Scan or Preset
Scan feature
Preset Scan Plays through all presets 10 seconds each, be-
ginning with the current preset
Page 151 of 236

Voice Command Lists
Voice Recognition l
5-9
SIRIUS Radio
Command Operation
SIRIUSPlays the last channel within the last band from
SIRIUS1, SIRIUS2, and SIRIUS3
SIRIUS1/SIRIUS2/
SIRIUS3 Plays the most recent channel for the corre-
sponding band
SIRIUS Channel
<1~223> Plays the desired SIRIUS band channel (e.g.
SIRIUS channel "Eleven")
SIRIUS1 Preset <1~6>
Plays the desired preset channel for SIRIUS1
band
SIRIUS2 Preset <1~6> Plays the desired preset channel for SIRIUS2
band
SIRIUS3 Preset <1~6> Plays the desired preset channel for SIRIUS3
band
Channel <1~223> Plays the desired channel of the current band
Preset <1~6> Plays the desired preset channel of the current
band
Channel Up Plays the next channel of the current band
Channel Down Plays the previous channel of the current band
Command
Operation
Preset Up Plays the next preset channel of the current
band
Preset Down Plays the previous preset channel of the current
band
Scan On Scans receivable channels from the current
broadcast and plays for 10 seconds each
Scan Off Ends the currently operating Scan or Preset
Scan feature
Preset Scan Plays through all presets for 10 seconds each,
beginning with the current preset
Page 161 of 236

UVO eServices
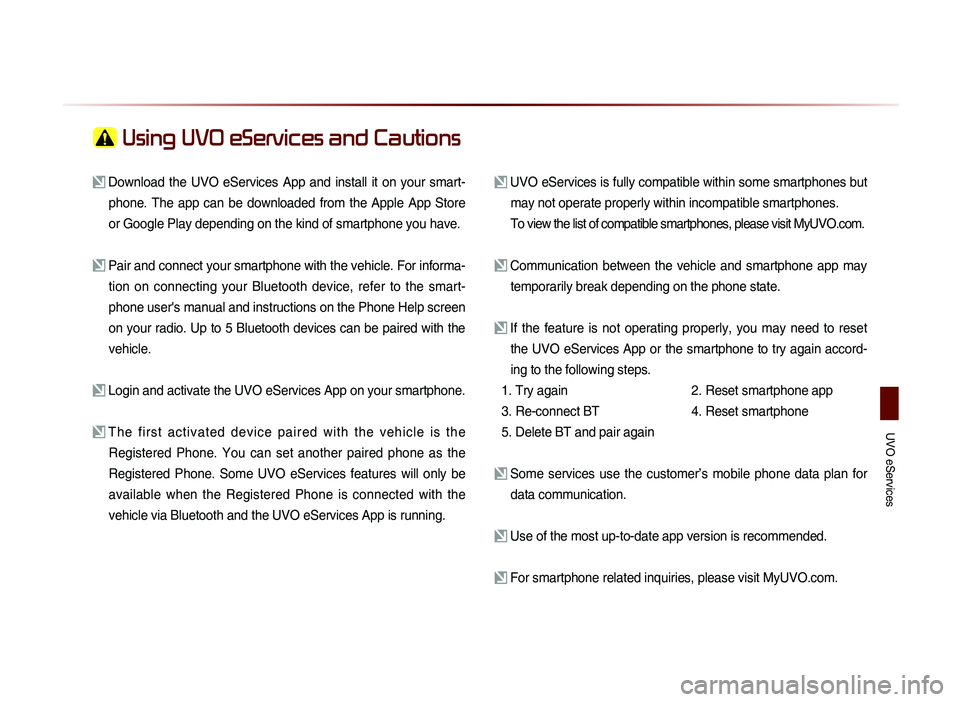
Using UVO eServices and Cautions
Download the UVO eServices App and install it on your smart-phone. The app can be downloaded from the Apple App Store
or Google Play depending on the kind of smartphone you have.
Pair and connect your smartphone with the vehicle. For informa-tion on connecting your Bluetooth device, refer to the smart-
phone user's manual and instructions on the Phone Help screen
on your radio. Up to 5 Bluetooth devices can be paired with the
vehicle.
Login and activate the UVO eServices App on your smartphone.
The first activated device paired with the vehicle is the Registered Phone. You can set another paired phone as the
Registered Phone. Some UVO eServices features will only be
available when the Registered Phone is connected with the
vehicle via Bluetooth and the UVO eServices App is running.
UVO eServices is fully compatible within some smartphones but may not operate properly within incompatible smartphones.
To view the list of compatible smartphones, please visit MyUVO.com.
Communication between the vehicle and smartphone app may temporarily break depending on the phone state.
If the feature is not operating properly, you may need to reset the UVO eServices App or the smartphone to try again accord-
ing to the following steps.
1. Try again
2.
Reset smartphone app
3. Re-connect BT
4.
Reset smartphone
5. Delete BT and pair again
Some services use the customer’s mobile phone data plan for data communication.
Use of the most up-to-date app version is recommended.
For smartphone related inquiries, please visit MyUVO.com.
Page 198 of 236
8-12
Using Setup
Driving Speed Setting
Press the Edit button within the "Driving
Speed Setting" menu to set the estimated
driving speed for residential roads, main
streets, and expressways. The set driving
speed is applied to calculate the estimated
time to reach the destination or waypoint.
The changed driving speed is used to cal-
culate the estimated time until the destina-
tion or waypoint.
Press the
Default button to reset the driv-
ing speed settings.
i Information
• D e f a u l t D r i v i n g S p e e d S e t t i n g s f o r
Residential, Main Streets, and Expressways
are 20mph, 35mph, and 60mph, respec-
tively.
Display
Press the Navigation button ▶ Press
Display▶ Set and press Done .
This menu is used to set the color of the
Route Indicator line displayed when receiv-
ing route guidance.
Page 200 of 236
8-14
Using Setup
Speed Alert Guidance
To change the Speed Alert Guidance
option, press the
Edit button within the
"Speed Alert Guidance" menu.
Driver Alert Guidance
To set the Driver Alert Guidance, option,
press the
Edit button within the "Driver
Alert Guidance" menu.
i Information
• Alerts provided within Driver Alert Guidance
may differ depending on actual road cond
i-
tions.
Default
Press the Navigation button ▶ Press
Default ▶ Set and press Done
.
This menu is used to reset saved changes
and user preferences.
Name Description
1 Initialize
Settings Resets all settings back to the
default state
2 Memory
Points Resets all saved memory point
information
1
2
Page 201 of 236
Using Setup
Setup l
8-15
i Information
• If the settings of an option are reset, then
all settings will be restored to the default
factory state.
• Heed caution as Home, Office and other
user locations may become deleted.
My Places
Press the key ▶ Press Setup
▶ Press
My Places
.
My Places
Press the My Places button ▶ Press
My Place ▶ Set and press Done
.
1
2
3
4
5
From the My Places list, select the desired
menu to either add, delete, or edit My
Places.
Name Description
1 Store current
position Add the current vehicle po-
sition as a My Place
2 Add My Places Add a My Place by using
search functions
3 Edit My
Places Edit information pertaining
to saved My Places, such
as name, location, and tele-
phone number
4 Delete selected
My Places Delete one or all saved My
Places
5 Edit group
name Edit name of corresponding
group
i Information
• By default, names of folders have been
set as "Group".