Page 159 of 422

�Û
�Ý
To turn the system completely off,
press the ON/OFF button.
Keep the system completely of f
f or short periods only.
To keep stale air and mustiness
f rom collecting, you should have
the f an running at all times. You can manually select various
f unctions of the climate control
system when it is in f ully automatic
mode. All other f eatures remain
automatically controlled. Making any
manual selection causes the word
AUTO in the display to go out.
Press the button to increase
the fan speed and airflow. Press the
button to decrease it.
This button turns the air
conditioningonandoff.Youwillsee
A/C ON or A/C OFF in the display.
When you turn the A/C of f , the
system cannot regulate the inside
temperature if you set the
temperature control below the
outside temperature.
In AUTO mode, the vehicle’s
temperature is independently
regulated, based on the driver’s and
passenger’s side setting. The system
also regulates each temperature
basedontheinformationof thesun
light sensor and the sun’s position
which is updated automatically by
the navigation’s global positioning
system (GPS). For example, if the
driver’s side of the vehicle is getting
too much sun, the system will adjust
to a lower temperature.
On models with navigation systemTo Turn Everything Of f
Semi-automatic Operation
Fan Control
A ir Condit ioning (A /C) But t on
Climate Control System
154
12/08/09 16:19:51 31SJC670_161
Features
Page 163 of 422
Theclimatecontrolsystemhastwo
sensors. A sunlight sensor is in the
top of the dashboard, and a
temperature sensor is under the
steering column. Do not cover the
sensors or spill any liquid on them. Sunlight and
Temperature Sensors
Climate Control System
158
SUNLIGHT SENSORTEMPERATURE SENSOR
12/08/09 16:20:21 31SJC670_165
Features
Page 169 of 422

�µ
�µ �µ
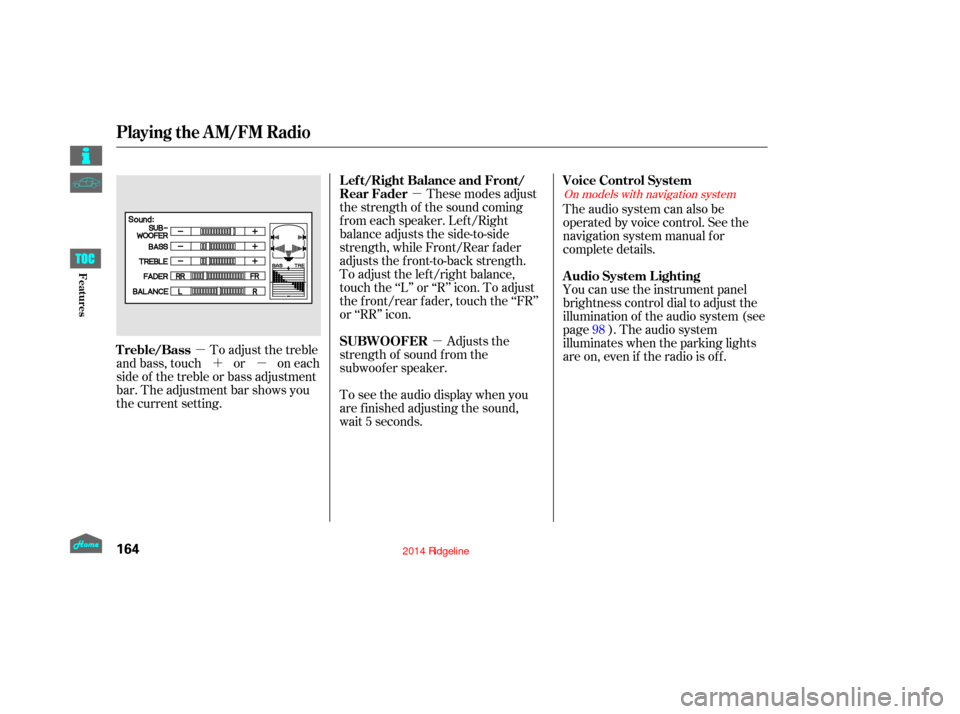
�´�µ These modes adjust
the strength of the sound coming
f rom each speaker. Lef t/Right
balance adjusts the side-to-side
strength, while Front/Rear f ader
adjusts the front-to-back strength.
To adjust the left/right balance,
touch the ‘‘L’’ or ‘‘R’’ icon. To adjust
the f ront/rear f ader, touch the ‘‘FR’’
or ‘‘RR’’ icon. The audio system can also be
operated by voice control. See the
navigation system manual f or
complete details.
To adjust the treble
and bass, touch or on each
side of the treble or bass adjustment
bar. The adjustment bar shows you
the current setting. Adjusts the
strength of sound f rom the
subwoof er speaker.
To see the audio display when you
are f inished adjusting the sound,
wait 5 seconds. You can use the instrument panel
brightness control dial to adjust the
illumination of the audio system (see
page ). The audio system
illuminates when the parking lights
are on, even if the radio is of f .
98On models with navigation system
L ef t/Right Balance and Front/
Rear Fader
Voice Control System
Treble/Bass SUBWOOFERA udio System L ighting
Playing the AM/FM Radio
164
12/08/09 16:21:11 31SJC670_171
Features
Page 201 of 422

�Û�ÝTo remove the disc that is currently
playing, press the eject button. You
will see ‘‘EJECT’’ in the display.
When you remove the disc f rom the
slot, the system begins the load
sequence so you can load another
disc in that position. If you do not
load another CD within 10 seconds,
the system selects the previous
mode (AM, FM1, FM2, or
To remove the disc f rom the
changer,firstselectitbypressing
the appropriate preset bar or
corresponding number on the screen.
When that disc begins playing, press
the eject button.
To take the system out of CD mode,
press the AM/FM button or XM
button. Each time you press the
AM/FM button, the system changes
to the next mode (AM, FM1, or FM
2). When you return to CD mode by
pressing the CD/AUX button, play
will continue where it lef t of f .
If you turn the system of f while a CD
is playing, either with the PWR
button or the ignition switch, play
will continue at the same point when
youturnitbackon.
If the disc was not recorded with text
data, only the track number is shown.
To scroll through the display, touch
the or icononthesideof
thedisplay.Togobacktothe
previous display, touch the Return
icon on the display.
Select the desired track/f ile by
touching the icon on the display. The
selected icon will be highlighted in
blue. The system begins to play the
selected track/f ile. With a disc in
MP3 or WMA, touch the f older icon
on the upper lef t of the screen to
move to the parent folder. The
current f older is highlighted in blue. Removing CDs f rom the In-dash
CD Changer
To Stop Playing a Disc
CD Changer (Models with navigation system)
196
12/08/09 16:25:06 31SJC670_203
Features
XM Radio).
Page 203 of 422

When a CD is not being played, store
it in its case to protect it f rom dust
and other contamination. To prevent
warpage, keep CDs out of direct
sunlight and extreme heat.
To clean a CD, use a clean sof t cloth.
Wipe across the CD f rom the center
to the outside edge.
AnewCDmayberoughonthe
inner and outer edges. The small
plastic pieces causing this roughness
can f lake of f and f all on the re-
cording surf ace of the CD, causing
skipping or other problems. Remove
these pieces by rubbing the inner
and outer edges with the side of a
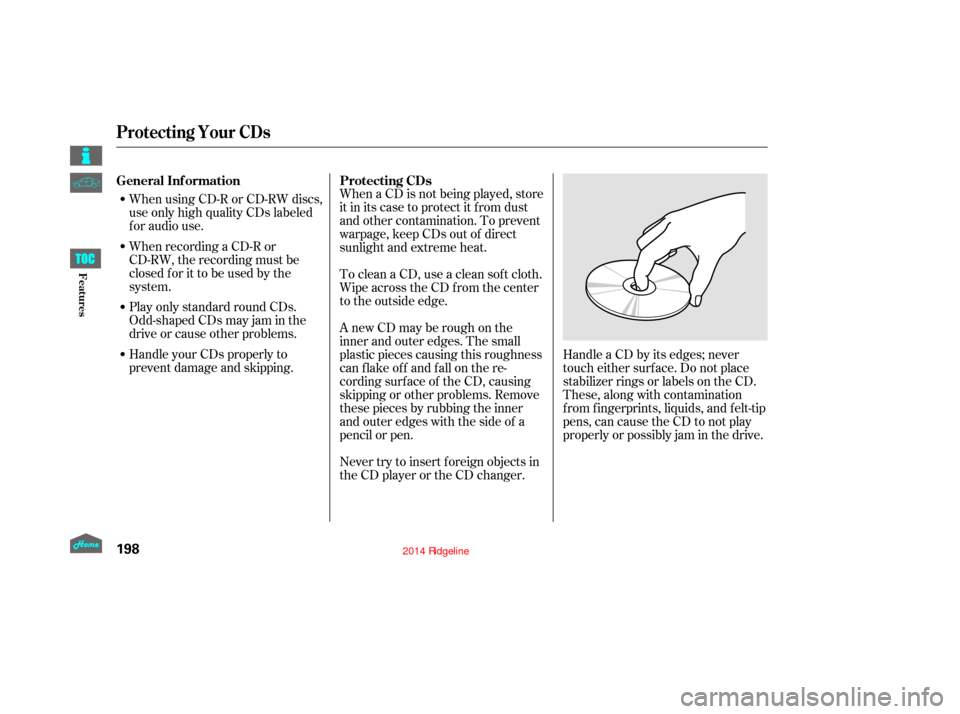
pencil or pen.Handle a CD by its edges; never
touch either surf ace. Do not place
stabilizer rings or labels on the CD.
These, along with contamination
f rom f ingerprints, liquids, and f elt-tip
pens, can cause the CD to not play
properly or possibly jam in the drive.
Never try to insert f oreign objects in
the CD player or the CD changer.
When using CD-R or CD-RW discs,
use only high quality CDs labeled
f or audio use.
When recording a CD-R or
CD-RW, the recording must be
closedforittobeusedbythe
system.
Play only standard round CDs.
Odd-shaped CDs may jam in the
driveorcauseotherproblems.
Handle your CDs properly to
prevent damage and skipping.
General Inf ormation
Protecting CDs
Protecting Your CDs
198
12/08/09 16:25:20 31SJC670_205
Features
Page 213 of 422

If equipped
The security system helps to protect
your vehicle and valuables f rom thef t.
The horn sounds and a combination
of headlights, parking lights, license
plate lights, and taillights f lashes if
someone attempts to break into your
vehicle or remove the audio unit.
This alarm continues for two
minutes, then the system resets. To
deactivate the system before the two
minutes have elapsed, unlock the
driver’s door with the key or the
remote transmitter.Once the security system sets,
opening any door (without using the
key or the remote transmitter), the
hood,ortheIn-BedTrunk,willcause
the alarm to activate. It also activates
if the radio and navigation
components are removed f rom the
dashboard or the wiring is cut.
The security system automatically
sets 15 seconds after you lock the
doors, hood, and the In-Bed Trunk.
For the system to activate, you must
lock the doors f rom the outside with
the key, or use driver’s lock tab, door
lock switch, or remote transmitter.
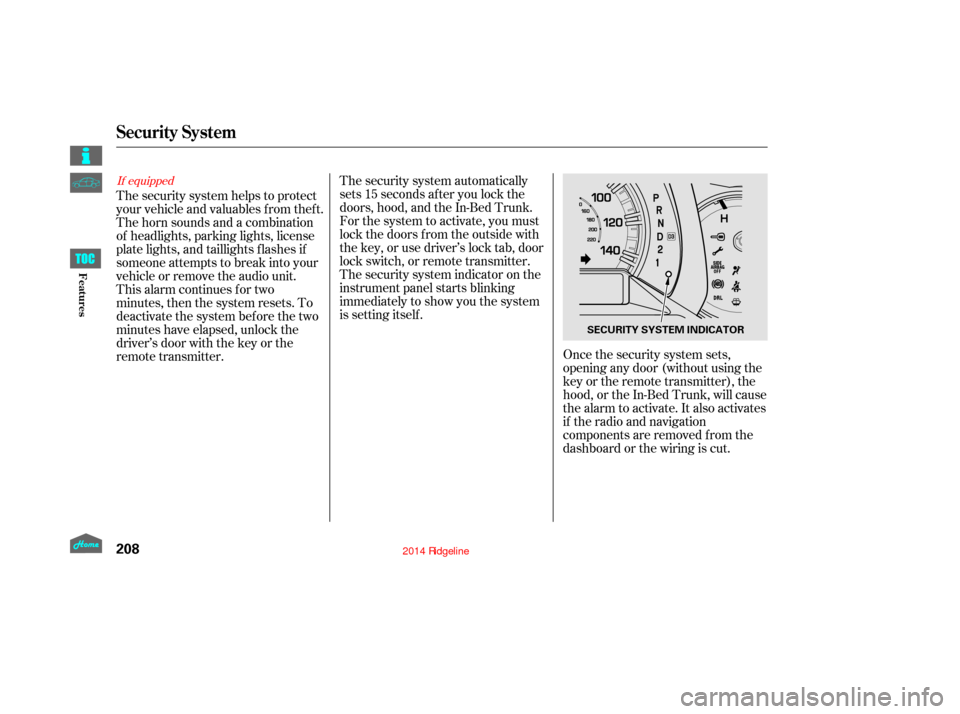
The security system indicator on the
instrument panel starts blinking
immediately to show you the system
is setting itself .
Security System
208
SECURITY SYSTEM INDICATOR
12/08/09 16:26:31 31SJC670_215
Features
Page 216 of 422

You can increase the set cruising
speed in any of these ways:You can decrease the set cruising
speed in any of these ways:
Press and hold the RES/ACCEL
button. When you reach the
desired cruising speed, release the
button.
Push on the accelerator pedal.
Accelerate to the desired cruising
speed, then press the SET/
DECEL button.
Cruise control may not hold the set
speed when you are going up and
down hills. If your vehicle speed
increases going down a hill, use the
brakes to slow down. This will cancel
thecruisecontrol.Toresumetheset
speed, press the RES/ACCEL button.
The CRUISE CONTROL indicator
on the instrument panel will come
back on.
To increase the speed in very
small amounts, tap the RES/
ACCEL button. Each time you do
this, your vehicle will speed up
about 1 mph (1.6 km/h). If you need to decrease your
speed quickly, use the brakes as you
normally would.
Tap the brake pedal lightly with
your f oot. The CRUISE
CONTROL indicator on the
instrument panel will go out.
When the vehicle slows to the
desired speed, press the SET/
DECEL button. Press and hold the SET/DECEL
button. Release the button when
you reach the desired speed.
To slow down in very small
amounts, tap the SET/DECEL
button. Each time you do this,
your vehicle will slow down about
1 mph (1.6 km/h).
CONT INUED
Changing the Set Speed
Cruise Control
211
NOTE:
12/08/09 16:26:52 31SJC670_218
Features
Page 218 of 422
The HomeLink Universal
Transceiver built into your vehicle
can be programmed to operate
up to three remote controlled
devices around your home,
such as garage doors, lighting, or
home security systems.Bef ore programming your
HomeLink to operate a garage door
opener, conf irm that the opener has
an external entrapment protection
system, such as an ‘‘electronic eye,’’
or other safety and reverse
If your garage door was
manuf actured bef ore April 1, 1982,
you may not be able to program
HomeLink to operate it. These units
do not have safety features that
cause the motor to stop and reverse
it if an obstacle is detected during
closing, increasing the risk of injury.Do not use HomeLink with any
garage door opener that lacks saf ety
stop and reverse f eatures.
If equipped
CONT INUED
HomeL inkUniversal Transceiver
General Inf ormation
213
12/08/09 16:27:05 31SJC670_220
Featuresstop features.