Page 4 of 469
3Quick Reference Guide
❙Headlights/Turn Signals
(P 136)
❙Wipers/Washers
(P 140)
❙Cruise Control Buttons
* (P 326)
❙Km/Mile Change Knob
(P 82)
❙CLOCK Knob
* (P 104)
❙MENU Button
* (P 90)
❙(+
/
(-
/ / Buttons
* (P 90)
❙Navigation System Voice Control Buttons
*
() See Navigation System Manual❙Bluetooth® HandsFreeLink ® System
Voice Control Buttons
* (P 246, 277)
❙
(Select/Reset) Knob
(P 84, 87)
❙SOURCE Button
* (P 90)
❙
(Display/Information) Button
* (P 86)
❙Brightness Control
(P 141)
❙Horn (Press an area around .)❙LaneWatch
TM *
(P 331)
❙Fog Lights
* (P 139)
* Not available on all models
Page 92 of 469
91
uuGauges and Displays uintelligent Multi-Information Display (i-MID)
*
Continued
Instrument Panel
■Customization flow
Press the MENU button.
1Customized Features
You can exit the customizing screen at any time by
pressing the MENU button.
Vehicle MenuVehicle InformationOdometer/Trip MeterAdjust Clock
*
Maintenance infoTrip Meter ResetSelect Trip/Odometer
* Not available on all models
Page 95 of 469

94
uuGauges and Displays uintelligent Multi-Information Display (i-MID)
*
Instrument Panel
■List of customizable options
*1: Default Setting Setup Group Customizable
Features Description Selectable settingsVehicle
Information
Maintenance info
Resets the Maintenance Minder
TM.
No/Yes
Odometer/
Trip Meter Trip Meter Reset
Resets the trip meter. Trip A/Trip B
Select Trip/Odometer Switches between odometer, trip meter A, and trip
meter B. ODO
*1/
Trip A /Trip B
Adjust
Clock
*
Sets time display 12 hour or 24 hour and adjust the time.
12 h
*1/ 24 h
Customize
Settings TPMS Calibration
*
Calibrates the TPMS.
Cancel/Initialize
Display
Setup Select
Wallpaper
*
Selects the full-size analogue clock or the wallpaper.
Clock
*1/
Image 1 /Image 2 /
Image 3
Import
Wallpaper
*
Imports an image file for a new wallpaper. Three images can be stored.
2
Importing Wallpapers
from USB P. 98
Delete
Wallpaper
*
Deletes an image file for a wallpaper. Image 1/Image 2/ Image 3
* Not available on all models
Page 99 of 469

uuGauges and Displays uintelligent Multi-Information Display (i-MID)
*
98Instrument Panel
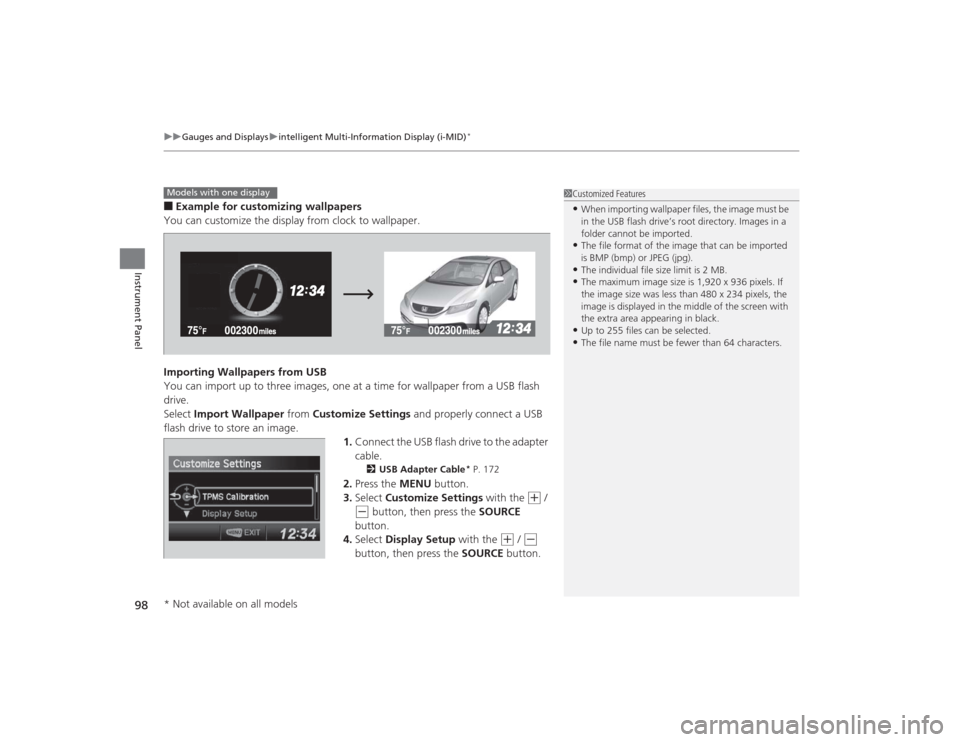
■Example for customizing wallpapers
You can customize the display from clock to wallpaper.
Importing Wallpapers from USB
You can import up to three images, one at a time for wallpaper from a USB flash
drive.
Select Import Wallpaper from Customize Settings and properly connect a USB
flash drive to store an image. 1.Connect the USB flash drive to the adapter
cable.
2 USB Adapter Cable
* P. 172
2.Press the MENU button.
3. Select Customize Settings with the
(+
/
(-
button, then press the SOURCE
button.
4. Select Display Setup with the
(+
/ (-
button, then press the SOURCE button.
1Customized Features•When importing wallpaper files, the image must be
in the USB flash drive’s root directory. Images in a
folder cannot be imported.•The file format of the image that can be imported
is BMP (bmp) or JPEG (jpg).•The individual file size limit is 2 MB.•The maximum image size is 1,920 x 936 pixels. If
the image size was less than 480 x 234 pixels, the
image is displayed in the middle of the screen with
the extra area appearing in black.•Up to 255 files can be selected.•The file name must be fewer than 64 characters.
Models with one display* Not available on all models
Page 106 of 469
105
uuClock uAdjusting the Clock
Controls
■Using the Settings menu on the audio/
information screen
1. Select Settings .
2. Select System.
3. Select Clock.
4. Select Clock Adjustment .
5. Select or to change hour.
6. Select or to change minute, then
select OK.
1Adjusting the Clock
You can customize the clock display to show the 12
hour clock or 24 hour clock.
2 Customized Features
* P. 233
The clock display is set to off by factory default.
You can turn the clock display on and off. 2 Customized Features* P. 233
The clock is automatically updated when your
smartphone is connected to the audio system.
Models with display audio
Models with display audio
3
4
3
4
* Not available on all models
Page 200 of 469
199
uuAudio System Basic Operation uAudio/Information Screen
Continued
Features
■Phone
Shows the HFL information.2 Bluetooth ® HandsFreeLink ®
* P. 277
■Info
Shows the Trip Computer , Clock/Wallpaper , Voice Info , or System/Device
Information information.■Audio
Shows the current audio information.■Settings
Enters the customizing menu screen.2 Customized Features
* P. 233
■HondaLink Apps
Connects with your smartphone
*1 to play personalized music information, and social
media streams.
2 Smartphone Apps P. 222
*1: Available on specific phones only. Check handsfreelink.honda.com for compatible phones
and hondalink.com for feature details.* Not available on all models
Page 201 of 469

uuAudio System Basic Operation uAudio/Information Screen
200Features
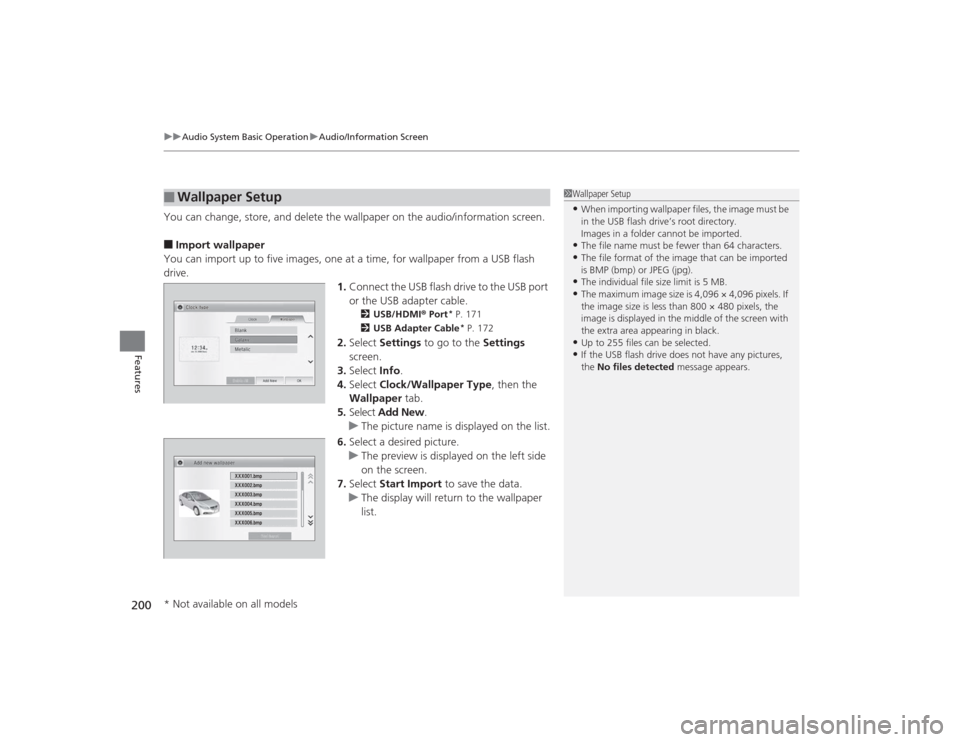
You can change, store, and delete the wallpaper on the audio/information screen.■Import wallpaper
You can import up to five images, one at a time, for wallpaper from a USB flash
drive. 1.Connect the USB flash drive to the USB port
or the USB adapter cable.
2 USB/HDMI® Port
* P. 171
2 USB Adapter Cable* P. 172
2.Select Settings to go to the Settings
screen.
3. Select Info.
4. Select Clock/Wallpaper Type , then the
Wallpaper tab.
5. Select Add New .
u The picture name is displayed on the list.
6. Select a desired picture.
u The preview is displayed on the left side
on the screen.
7. Select Start Import to save the data.
u The display will return to the wallpaper
list.
■
Wallpaper Setup
1Wallpaper Setup•When importing wallpaper files, the image must be
in the USB flash drive’s root directory.
Images in a folder cannot be imported.•The file name must be fewer than 64 characters.•The file format of the image that can be imported
is BMP (bmp) or JPEG (jpg).•The individual file size limit is 5 MB.•The maximum image size is 4,096 × 4,096 pixels. If
the image size is less than 800 × 480 pixels, the
image is displayed in the middle of the screen with
the extra area appearing in black.•Up to 255 files can be selected.•If the USB flash drive does not have any pictures,
the No files detected message appears.
* Not available on all models
Page 202 of 469

201
uuAudio System Basic Operation uAudio/Information Screen
Features
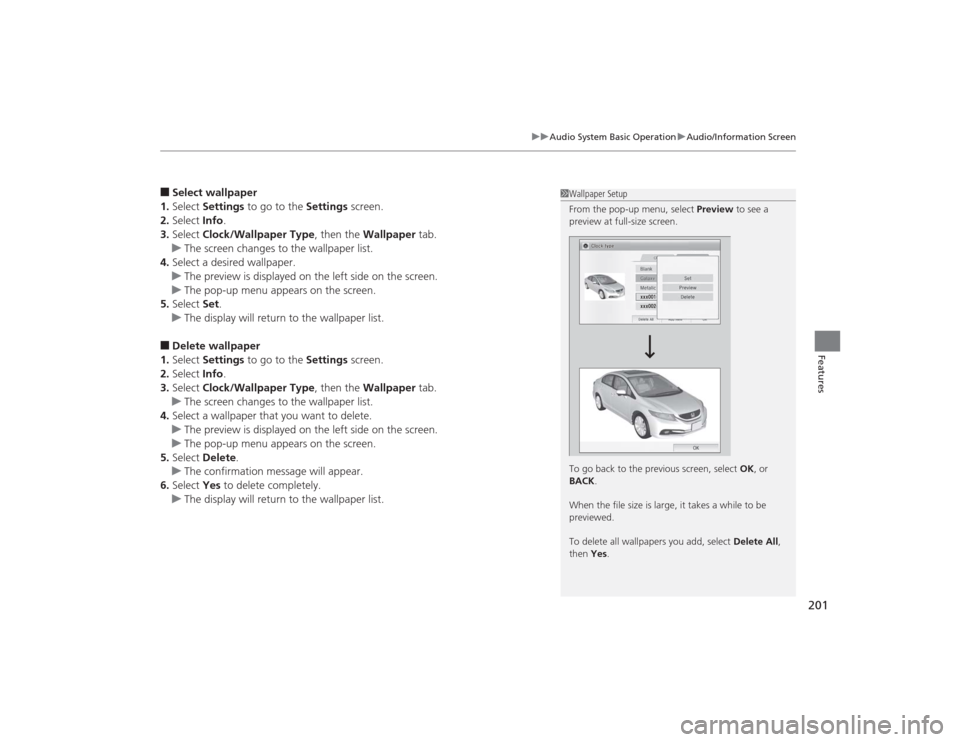
■Select wallpaper
1. Select Settings to go to the Settings screen.
2. Select Info.
3. Select Clock/Wallpaper Type , then the Wallpaper tab.
u The screen changes to the wallpaper list.
4. Select a desired wallpaper.
u The preview is displayed on the left side on the screen.
u The pop-up menu appears on the screen.
5. Select Set.
u The display will return to the wallpaper list.■Delete wallpaper
1. Select Settings to go to the Settings screen.
2. Select Info.
3. Select Clock/Wallpaper Type , then the Wallpaper tab.
u The screen changes to the wallpaper list.
4. Select a wallpaper that you want to delete.
u The preview is displayed on the left side on the screen.
u The pop-up menu appears on the screen.
5. Select Delete .
u The confirmation message will appear.
6. Select Yes to delete completely.
u The display will return to the wallpaper list.
1Wallpaper Setup
From the pop-up menu, select Preview to see a
preview at full-size screen.
To go back to the previous screen, select OK, or
BACK .
When the file size is large, it takes a while to be
previewed.
To delete all wallpapers you add, select Delete All,
then Yes .