2014 FORD SUPER DUTY clock
[x] Cancel search: clockPage 241 of 458
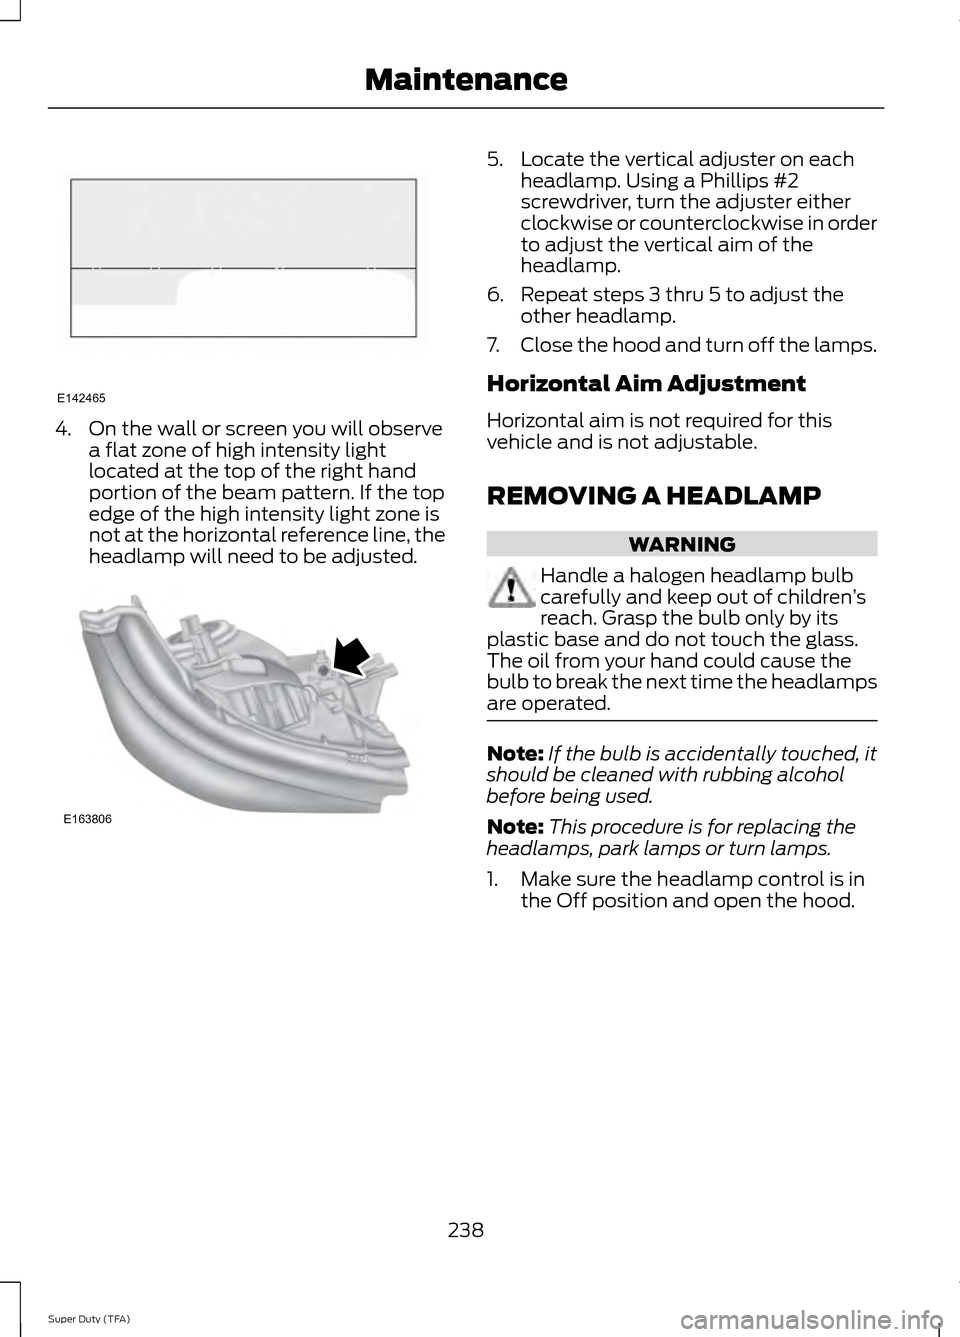
4. On the wall or screen you will observe
a flat zone of high intensity light
located at the top of the right hand
portion of the beam pattern. If the top
edge of the high intensity light zone is
not at the horizontal reference line, the
headlamp will need to be adjusted. 5. Locate the vertical adjuster on each
headlamp. Using a Phillips #2
screwdriver, turn the adjuster either
clockwise or counterclockwise in order
to adjust the vertical aim of the
headlamp.
6. Repeat steps 3 thru 5 to adjust the other headlamp.
7. Close the hood and turn off the lamps.
Horizontal Aim Adjustment
Horizontal aim is not required for this
vehicle and is not adjustable.
REMOVING A HEADLAMP WARNING
Handle a halogen headlamp bulb
carefully and keep out of children
’s
reach. Grasp the bulb only by its
plastic base and do not touch the glass.
The oil from your hand could cause the
bulb to break the next time the headlamps
are operated. Note:
If the bulb is accidentally touched, it
should be cleaned with rubbing alcohol
before being used.
Note: This procedure is for replacing the
headlamps, park lamps or turn lamps.
1. Make sure the headlamp control is in the Off position and open the hood.
238
Super Duty (TFA) MaintenanceE142465 E163806
Page 242 of 458
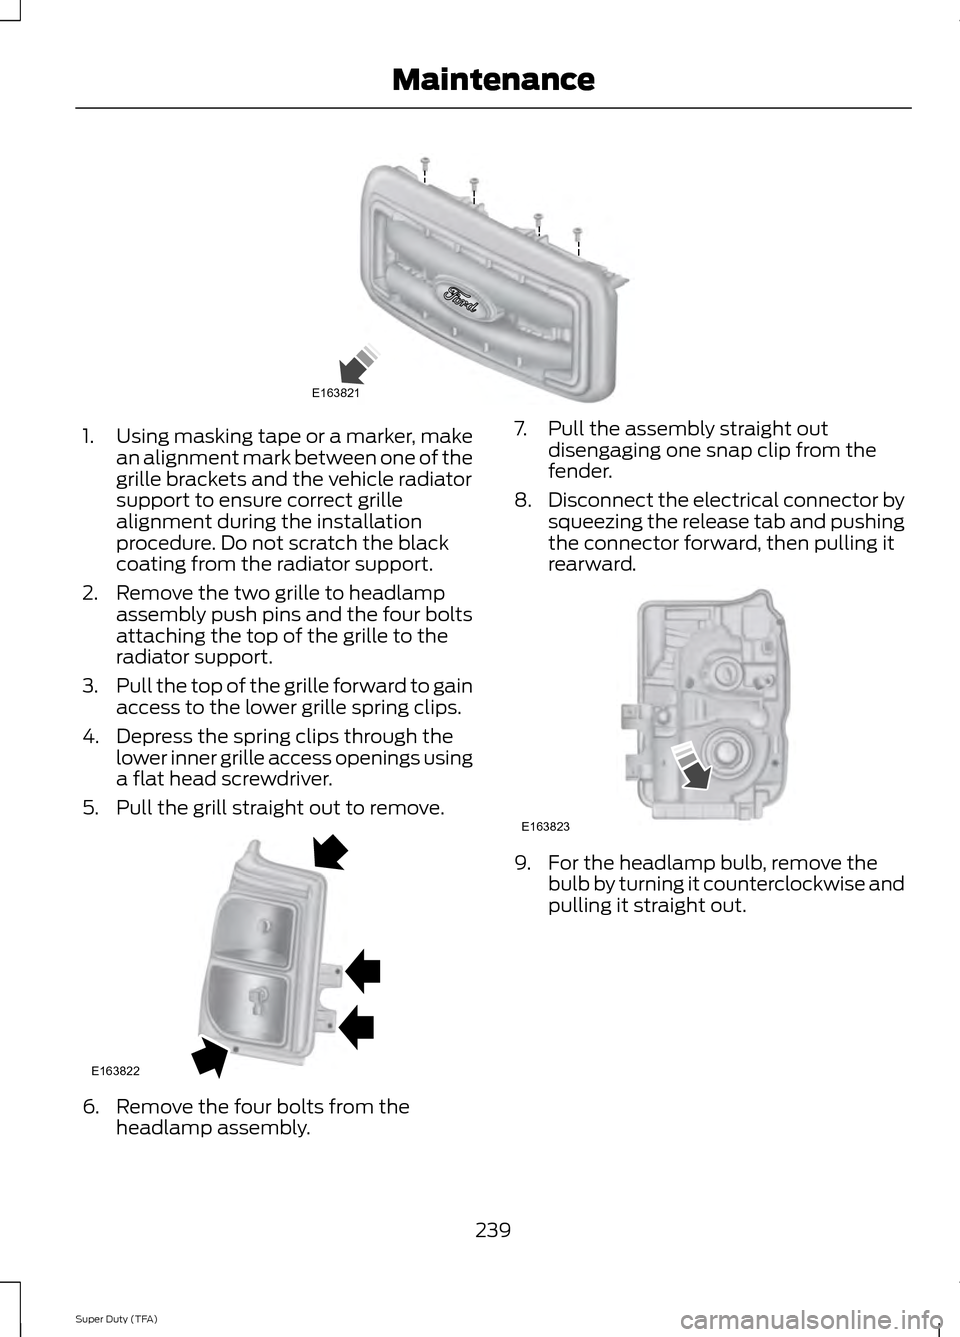
1.
Using masking tape or a marker, make
an alignment mark between one of the
grille brackets and the vehicle radiator
support to ensure correct grille
alignment during the installation
procedure. Do not scratch the black
coating from the radiator support.
2. Remove the two grille to headlamp assembly push pins and the four bolts
attaching the top of the grille to the
radiator support.
3. Pull the top of the grille forward to gain
access to the lower grille spring clips.
4. Depress the spring clips through the lower inner grille access openings using
a flat head screwdriver.
5. Pull the grill straight out to remove. 6. Remove the four bolts from the
headlamp assembly. 7. Pull the assembly straight out
disengaging one snap clip from the
fender.
8. Disconnect the electrical connector by
squeezing the release tab and pushing
the connector forward, then pulling it
rearward. 9. For the headlamp bulb, remove the
bulb by turning it counterclockwise and
pulling it straight out.
239
Super Duty (TFA) MaintenanceE163821 E163822 E163823
Page 243 of 458
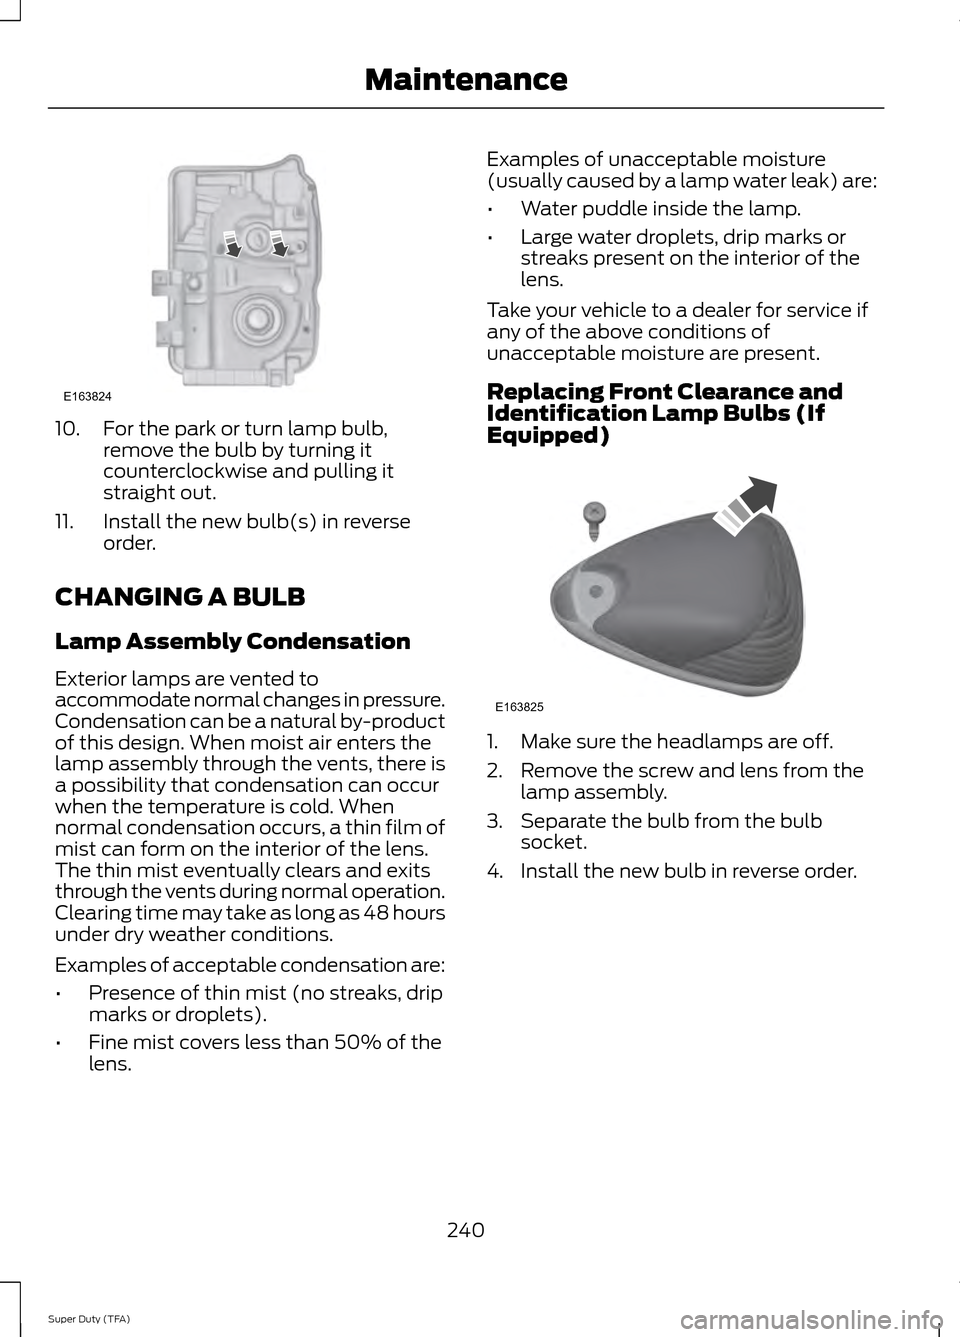
10. For the park or turn lamp bulb,
remove the bulb by turning it
counterclockwise and pulling it
straight out.
11. Install the new bulb(s) in reverse order.
CHANGING A BULB
Lamp Assembly Condensation
Exterior lamps are vented to
accommodate normal changes in pressure.
Condensation can be a natural by-product
of this design. When moist air enters the
lamp assembly through the vents, there is
a possibility that condensation can occur
when the temperature is cold. When
normal condensation occurs, a thin film of
mist can form on the interior of the lens.
The thin mist eventually clears and exits
through the vents during normal operation.
Clearing time may take as long as 48 hours
under dry weather conditions.
Examples of acceptable condensation are:
• Presence of thin mist (no streaks, drip
marks or droplets).
• Fine mist covers less than 50% of the
lens. Examples of unacceptable moisture
(usually caused by a lamp water leak) are:
•
Water puddle inside the lamp.
• Large water droplets, drip marks or
streaks present on the interior of the
lens.
Take your vehicle to a dealer for service if
any of the above conditions of
unacceptable moisture are present.
Replacing Front Clearance and
Identification Lamp Bulbs (If
Equipped) 1. Make sure the headlamps are off.
2. Remove the screw and lens from the
lamp assembly.
3. Separate the bulb from the bulb socket.
4. Install the new bulb in reverse order.
240
Super Duty (TFA) MaintenanceE163824 E163825
Page 244 of 458
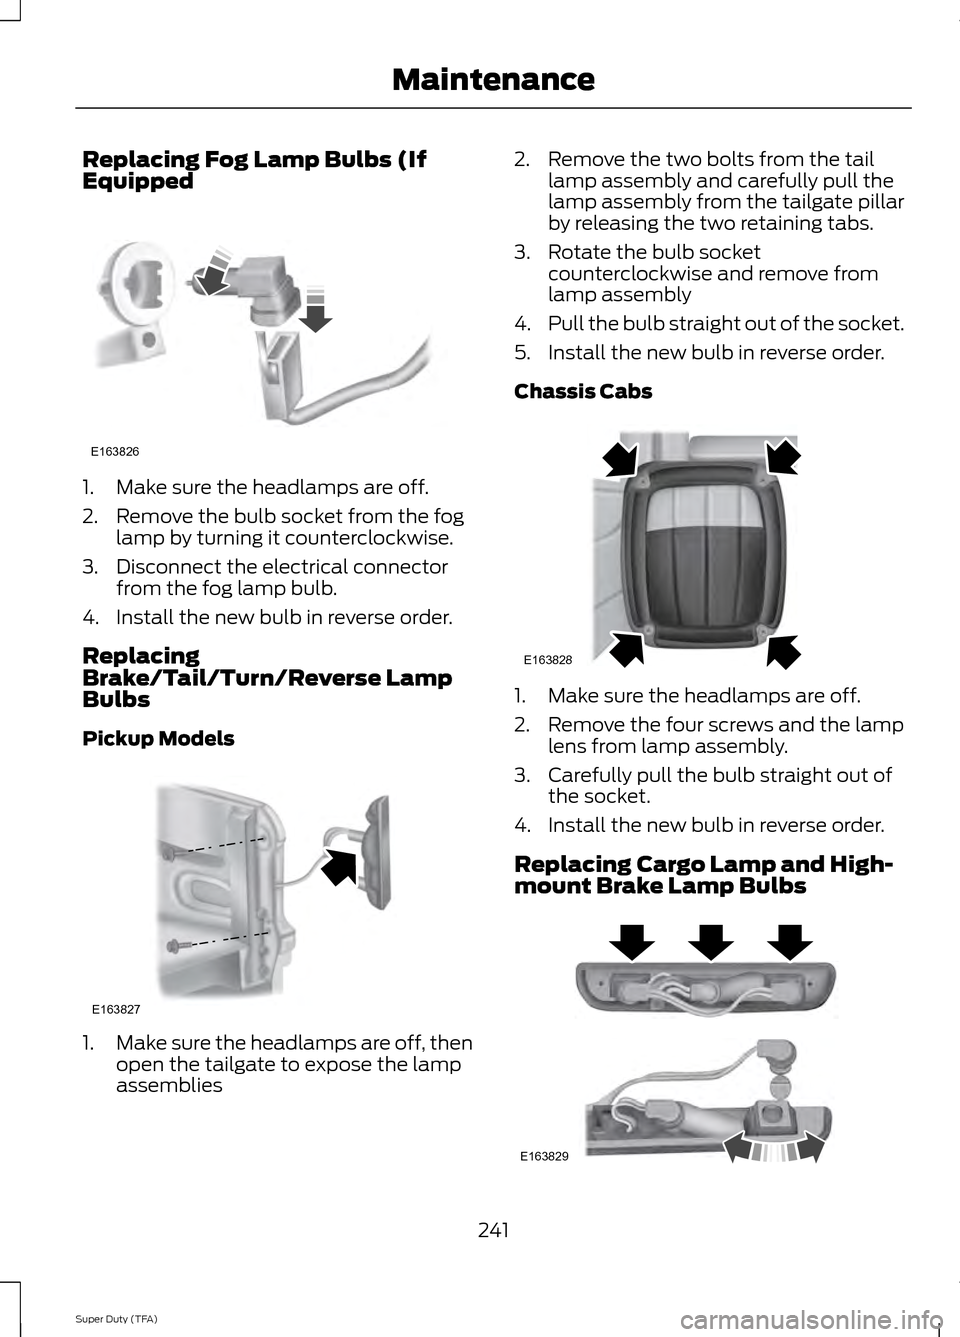
Replacing Fog Lamp Bulbs (If
Equipped
1. Make sure the headlamps are off.
2. Remove the bulb socket from the fog
lamp by turning it counterclockwise.
3. Disconnect the electrical connector from the fog lamp bulb.
4. Install the new bulb in reverse order.
Replacing
Brake/Tail/Turn/Reverse Lamp
Bulbs
Pickup Models 1.
Make sure the headlamps are off, then
open the tailgate to expose the lamp
assemblies 2. Remove the two bolts from the tail
lamp assembly and carefully pull the
lamp assembly from the tailgate pillar
by releasing the two retaining tabs.
3. Rotate the bulb socket counterclockwise and remove from
lamp assembly
4. Pull the bulb straight out of the socket.
5. Install the new bulb in reverse order.
Chassis Cabs 1. Make sure the headlamps are off.
2. Remove the four screws and the lamp
lens from lamp assembly.
3. Carefully pull the bulb straight out of the socket.
4. Install the new bulb in reverse order.
Replacing Cargo Lamp and High-
mount Brake Lamp Bulbs 241
Super Duty (TFA) MaintenanceE163826 E163827 E163828 E163829
Page 245 of 458
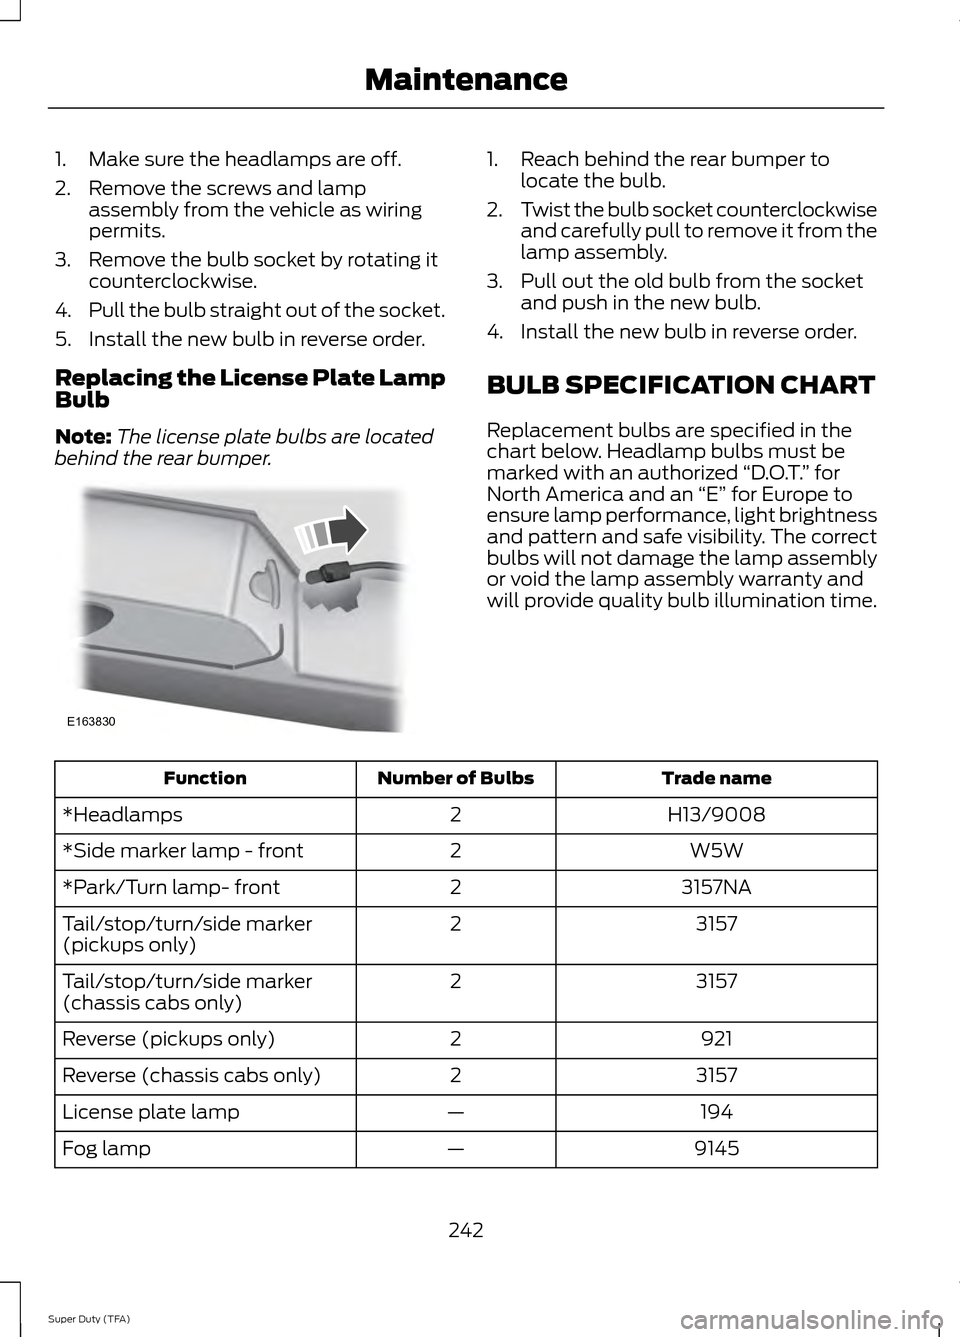
1. Make sure the headlamps are off.
2. Remove the screws and lamp
assembly from the vehicle as wiring
permits.
3. Remove the bulb socket by rotating it counterclockwise.
4. Pull the bulb straight out of the socket.
5. Install the new bulb in reverse order.
Replacing the License Plate Lamp
Bulb
Note: The license plate bulbs are located
behind the rear bumper. 1. Reach behind the rear bumper to
locate the bulb.
2. Twist the bulb socket counterclockwise
and carefully pull to remove it from the
lamp assembly.
3. Pull out the old bulb from the socket and push in the new bulb.
4. Install the new bulb in reverse order.
BULB SPECIFICATION CHART
Replacement bulbs are specified in the
chart below. Headlamp bulbs must be
marked with an authorized “D.O.T.” for
North America and an “E” for Europe to
ensure lamp performance, light brightness
and pattern and safe visibility. The correct
bulbs will not damage the lamp assembly
or void the lamp assembly warranty and
will provide quality bulb illumination time. Trade name
Number of Bulbs
Function
H13/9008
2
*Headlamps
W5W
2
*Side marker lamp - front
3157NA
2
*Park/Turn lamp- front
3157
2
Tail/stop/turn/side marker
(pickups only)
3157
2
Tail/stop/turn/side marker
(chassis cabs only)
921
2
Reverse (pickups only)
3157
2
Reverse (chassis cabs only)
194
—
License plate lamp
9145
—
Fog lamp
242
Super Duty (TFA) MaintenanceE163830
Page 281 of 458

•
To reduce the chances of interference
from another vehicle, perform the
system reset procedure at least three
feet (one meter) away from another
Ford Motor Company vehicle
undergoing the system reset procedure
at the same time.
• Do not wait more than two minutes
between resetting each tire sensor or
the system will time-out and the entire
procedure will have to be repeated on
all four wheels.
• A double horn will sound indicating the
need to repeat the procedure.
Performing the System Reset Procedure
Read the entire procedure before
attempting.
1. Drive the vehicle above 20 mph (32 km/h) for at least two minutes, then
park in a safe location where you can
easily get to all four tires and have
access to an air pump.
2. Place the ignition in the off position and
keep the key in the ignition.
3. Cycle the ignition to the on position with the engine off.
4. Turn the hazard flashers on then off three times. You must accomplish this
within 10 seconds. If the reset mode
has been entered successfully, the horn
will sound once, the system indicator
will flash and a message is shown in
the information display. If this does not
occur, please try again starting at Step
2. If after repeated attempts to enter
the reset mode, the horn does not
sound, the system indicator does not
flash and no message is shown in the
information display, seek service from
your authorized dealer. 5. Train the tire pressure monitoring
system sensors in the tires using the
following system reset sequence
starting with the left front tire in the
following clockwise order: Left front
(driver's side front tire), Right front
(passenger's side front tire), Right rear
(passenger's side rear tire), Left rear
(driver's side rear tire)
6. Remove the valve cap from the valve stem on the left front tire. Decrease the
air pressure until the horn sounds.
Note: The single horn chirp confirms
that the sensor identification code has
been learned by the module for this
position. If a double horn is heard, the
reset procedure was unsuccessful, and
you must repeat it.
7. Remove the valve cap from the valve stem on the right front tire. Decrease
the air pressure until the horn sounds.
8. Remove the valve cap from the valve stem on the right rear tire. Decrease the
air pressure until the horn sounds.
9. Remove the valve cap from the valve stem on the left rear tire. Decrease the
air pressure until the horn sounds.
Training is complete after the horn
sounds for the last tire trained (driver's
side rear tire), the system indicator
stops flashing, and a message is shown
in the information display.
10. Turn the ignition off. If two short horn
beeps are heard, the reset procedure
was unsuccessful and you must
repeat it. If after repeating the
procedure and two short beeps are
heard when the ignition is turned to
off, seek assistance from your
authorized dealer.
278
Super Duty (TFA) Wheels and Tires
Page 285 of 458

1.
Attach the spare tire lock key (A) to the
jack handle (B). 2. Fully insert the jack handle (with one
extension) through the bumper hole
and into the guide tube. The key and
lock will engage with a slight push and
counterclockwise turn. You will feel
some resistance when you turn the jack
handle assembly.
3. Turn the handle counterclockwise and
lower the spare tire until you can slide
the tire rearward and the cable is slack.
4. Remove the retainer through the center
of the wheel. If your vehicle is equipped
with a tether, perform the following
steps. 5.
Lift the spare tire on end to access the
tether attachment.
6. Use the lug wrench to remove the lug nut from the spare tire tether.
7. If not replacing the spare or flat tire to the underbody storage area, raise the
wheel retainer up into the installed
position.
8. Use the attached fastener strap (on the spare tire tether) to attach the
tether end to the winch retainer prior
to raising to the installed position.
Tire Change Procedure WARNINGS
When one of the front wheels is off
the ground, the transmission alone
will not prevent the vehicle from
moving or slipping off the jack, even if the
transmission selector lever is in position P. To help prevent the vehicle from
moving when you change a tire, be
sure to place the transmission
selector lever in position P, set the parking
brake and block (in both directions) the
wheel that is diagonally opposite (other
side and end of the vehicle) to the tire
being changed. Never get underneath a vehicle that
is supported only by a jack. If the
vehicle slips off the jack, you or
someone else could be seriously injured.
282
Super Duty (TFA) Wheels and TiresE162798
AB
AB E162799 E162800
Page 286 of 458

WARNINGS
Do not attempt to change a tire on
the side of the vehicle close to
moving traffic. Pull far enough off the
road to avoid the danger of being hit when
operating the jack or changing the wheel. Always use the jack provided as
original equipment with your vehicle.
If using a jack other than the one
provided as original equipment with your
vehicle, make sure the jack capacity is
adequate for the vehicle weight, including
any vehicle cargo or modifications. Note:
Passengers should not remain in the
vehicle when the vehicle is being jacked.
Park on a level surface, set the parking
brake and activate the hazard flashers. 1.
Turn the engine off and block the wheel
that is diagonally opposite of the flat
tire using the wheel chock. Note: Lock
the manual hub on the wheel if the
vehicle is a 4x4.
2. Remove the jack, jack handle, lug wrench and spare tire from the
stowage locations.
3. Use the tip of the lug wrench to remove
any wheel trim.
4. Loosen each wheel lug nut ½ turn counterclockwise, but do not remove
them until the wheel is raised off the
ground. F-250 and F-350 single rear wheel
vehicles
1. Insert the hooked end of the jack
handle into the jack and use the handle
to slide the jack under the vehicle.
2. Position the jack according to the following guides: Front (4x2)
Front driver side (4x4)
283
Super Duty (TFA) Wheels and TiresE142551 E162801 E162802 E162803